Why your milk is splattering everywhere during the stretch phase
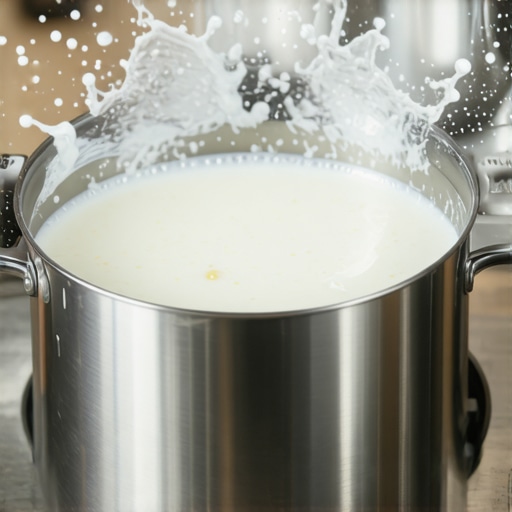
It happened again this morning. I was steaming milk, feeling confident, pouring gentle swirls into my espresso, when suddenly—splash! Milk splattered all over the counter, my shirt, and of course, my freshly brewed coffee. That frustrating moment where everything seems to go wrong just when you’re trying to enjoy a perfect cup. If you’ve ever experienced this, you’re not alone. Milk splattering during frothing is a common annoyance that can quickly turn your relaxing coffee ritual into a messy ordeal.
Mastering the Milk Frothing Chaos: What Causes Your Milk to Splash Everywhere
Many home baristas face this exact issue, often wondering why their careful steaming results in a mini dairy explosion. The truth is, there are a few sneaky reasons behind those unwelcome splatters, and understanding them is the first step toward a cleaner, more consistent microfoam. One of the most overlooked factors is the angle at which you hold your pitcher. If you’re not angling your milk pitcher just right, the steam wand can create turbulence that causes milk to spurt out unexpectedly. Additionally, low-quality or clogged steam tips can contribute to uneven steam delivery, leading to unpredictable sprays.
Early on, I made the mistake of rushing into steaming without paying attention to my pitcher angle or considering the cleanliness of my steam tip. I was so focused on creating perfect microfoam that I neglected these basic details, which only added to my mess. Once I learned to adjust my pitcher angle and cleaned my steam tip regularly, the splattering decreased dramatically.
If this sounds familiar, don’t worry—you are far from alone. This issue is common and fixable. Today, I want to share practical tips to tame that wild milk spray and turn your frothing into a smooth, mess-free experience.
Is Your Frother Overhyped or Worth the Effort?
Adjust Your Pitcher Angle for a Smoother Frothing Experience
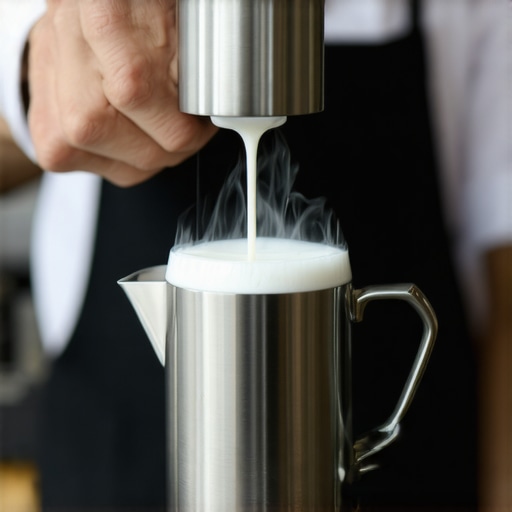
Start by positioning your milk pitcher at a slight angle, around 45 degrees. When I first tried this, I held the pitcher too upright, causing turbulence and splattering. By lowering the pitcher just enough to allow the steam wand to penetrate the milk evenly, I noticed a significant reduction in splashing. Aim the steam wand tip just below the milk surface and at an angle that promotes a vortex, which helps incorporate air evenly. Practice a consistent angle, and over time, it becomes second nature. Precise pitcher positioning directs the steam jet precisely where it needs to be, preventing unpredictable milk sprays.
Maintain Proper Steam Wand and Tip Cleanliness
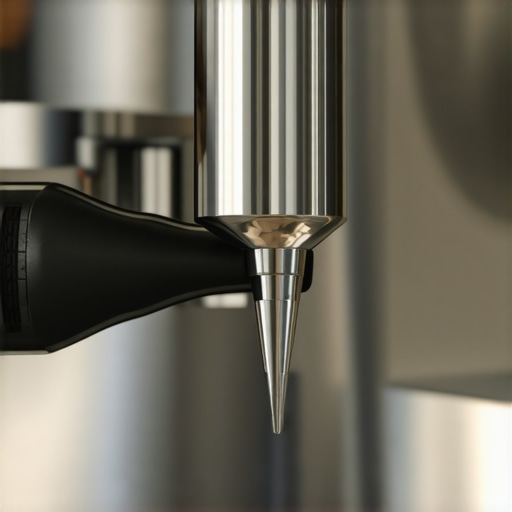
A clogged steam tip can create uneven steam flow, leading to spluttering. Regularly clean your steam wand and tip with a dedicated pipe cleaner, especially after every few uses. Use these simple pipe cleaners to ensure no milk residue blocks the tiny holes. I once neglected this step, and my frothing resulted in frequent sprays. After cleaning, the steam flowed smoothly, providing consistent microfoam. Keep the wand’s tip clear for even steam distribution and stable milk textures.
Master the Art of Gentle, Consistent Steaming
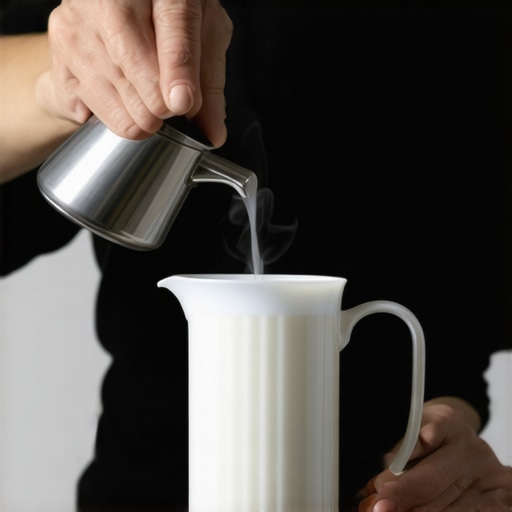
Rushing the steaming process can cause turbulence, resulting in splatters. Instead, start with a gentle initial thrust of steam to gradually heat the milk. Once warmed, lower the pitcher slightly to introduce air, then raise it to submerge the steam wand for uniform heat. When I adopted this slow, controlled approach, my milk no longer spattered, and I achieved velvety microfoam. Think of steaming like riding a bike; smooth pedaling yields the best ride. Patience here prevents messes and produces richer foam.
Pick the Right Milk and Frothing Tools
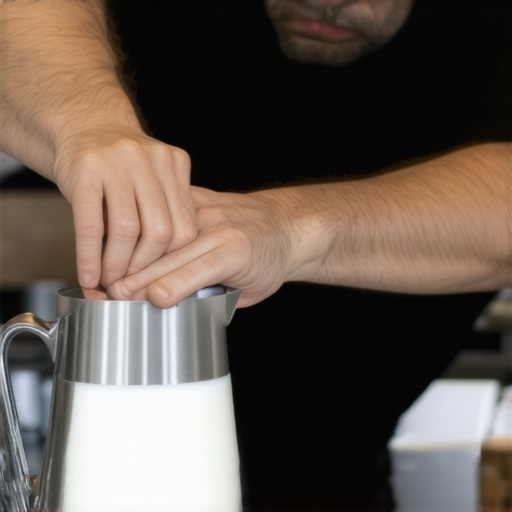
Choosing high-quality milk—preferably fresh, cold, and full-fat—makes a difference in control and outcome. Additionally, select a sturdy, well-designed pitcher with measurement marks to help maintain consistent angles. A reliable pitcher prevents wobbling that can lead to inconsistent steam exposure. I upgraded my old, flimsy pitcher to a thicker, stainless steel one with a spout designed for control, which immediately improved my frothing results. Investing in good gear minimizes accidental splashes.
Practice in a Controlled Environment
Frothing is a skill honed through repetition. I set aside a dedicated time each morning to practice slowly at first, focusing solely on pitcher angle and steam flow. Document your progress—note what works and what causes splatters—and adjust accordingly. Over a few sessions, I found that consistent technique drastically cut down on messes and improved foam quality. Think of it as calming a wild horse—steady, deliberate actions tame even the most unruly frothing experience. Regular practice builds muscle memory, making splattering a thing of the past.
Many coffee enthusiasts are unaware of the nuanced realities behind top-tier espresso equipment, often leading them to make costly mistakes or cling to misconceptions. While it’s tempting to believe that high-end gear automatically guarantees perfect shots, the truth is more complex. For instance, a common myth is that an expensive espresso machine alone ensures great coffee. However, without proper maintenance, correct tamping, or suitable grind size, even premium machines underperform. Learning to fine-tune each component often yields better results than simply upgrading your equipment.
What Advanced Baristas Know About Equipment that Beginners Overlook
For seasoned enthusiasts, understanding the intricate relationship between grinder burr alignment and shot consistency is crucial. Misaligned burrs can produce uneven particle sizes, leading to channeling or sour shots, regardless of grind setting. Regularly checking and calibrating your grinder according to expert advice—like the detailed guides on selecting the right grinder—can dramatically improve your results. Additionally, many overlook the importance of cleaning gear correctly; for example, clogged steam tips can cause spraying and spattering rather than smooth microfoam, despite frequent frothing practice.
Another overlooked factor is the significance of accurate pressure profiling and temperature stability. Even small fluctuations can result in bitter or flat flavors. Modern home espresso machines with PID controllers assist in maintaining consistent brewing temperatures, but some users underestimate the importance of initial machine calibration. An expert approach involves regularly inspecting seals and group head gaskets, as explained in expert posts that guide proper maintenance for peak performance.
Make no mistake—believing that equipment alone makes perfect coffee can be a trap. Instead, mastering the interplay of each component—grinder, machine, accessories—through careful calibration, routine maintenance, and understanding subtle nuances is what separates good baristas from great ones. Have you ever fallen into this trap? Let me know in the comments. And for more insights on optimizing your setup, explore our cornerstone guide on mastering home espresso—a step towards elevating your coffee game.
Keeping Your Coffee Equipment in Top Shape
Maintaining your espresso machine, grinder, and barista tools is crucial for consistent quality and longevity. Regular upkeep not only preserves performance but also prevents unexpected breakdowns that could disrupt your brewing routine. One of the most valuable investments I’ve made is a trusted set of pipe cleaners specific for steam tips, which allows me to clean tiny nozzles efficiently, ensuring steady steam flow and reducing spluttering during frothing.
” alt=”Hand cleaning steam wand with pipe cleaner” title=”Efficient steam wand maintenance” />
Adopt a Routine that Works for You
Establishing a weekly checklist can make maintenance less daunting. For instance, I schedule time every Sunday evening to descale my machine, clean all portafilters and baskets, and run a cleaning cycle through my grinder. Using a high-quality cleaning product like specialized espresso cleaner helps keep oils and residues at bay, maintaining the purity of each shot.
Tools I Trust for Long-Term Results
For grinder calibration, I rely on a burr alignment tool—it’s a game-changer for ensuring consistent particle size. Additionally, a sturdy flush wand makes cleaning after every shot quick and thorough, preventing blockages and buildup.
The Future of Maintenance: Smart Tech Innovations
Looking ahead, I predict that IoT-enabled espresso equipment will become standard, with sensors alerting users to descaling needs, water quality issues, or component wear. Companies like Breville are already experimenting with smart diagnostics, and this trend will likely make home barista maintenance more intuitive and less time-consuming. Implementing even basic digital scales with app integration, as discussed in our cornerstone guide, can elevate your consistency significantly.
How Do I Maintain My Equipment Over Time?
The key lies in establishing a regular cleaning schedule, using the right tools, and staying informed about your gear’s needs. Don’t skip descaling if you live in a hard water area, or neglect replacing worn gaskets—these small steps prevent costly repairs down the line. For detailed guidance on machine maintenance, check out our home espresso tips for beginners. Also, consider setting reminders on your phone or calendar to keep maintenance on track. Now, I challenge you to try incorporating one advanced tip: clean your steam wand with a dedicated pipe cleaner after every use. This small habit can dramatically improve pressure stability and foam quality, saving you time and frustration in the long run. For personalized advice, visit our contact page.
Throughout this journey into mastering your coffee setup, a few deeper lessons have truly transformed my approach. First, I learned that the devil is in the details—small adjustments in pitcher angle, regular steam tip cleaning, and patience during steaming can save hours of cleanup and frustration. Second, investing time in understanding your equipment’s quirks—like burr alignment or pressure profiling—pays off in the richest flavors and fewer messes. Lastly, embracing routine maintenance as a ritual rather than a chore keeps your gear performing at its best, ultimately making the art of home espresso both joyful and sustainable. These insights, born from personal experience, remind me that mastery isn’t just about equipment but about cultivating mindful habits.