The Simple Trick for Keeping Your Counter Dry When Using a Bottomless Portafilter
Ever poured a shot and watched in dismay as coffee dripped right onto your countertop, making a sticky, coffee-stained mess that seems impossible to clean? I remember the first time I tried using my bottomless portafilter without thinking—a splash here, a dribble there. It was frustrating, messy, and honestly, a little embarrassing. But what if I told you there’s a simple trick that can keep your workspace spotless every time you brew? That’s what I’m here to share.
Say Goodbye to Coffee Spills on Your Countertop
Using a bottomless portafilter is exciting. It gives you a clear view of your espresso extraction, helping you spot channeling issues and improve your technique. But without the right technique or tools, it can turn your carefully crafted shots into a mini coffee fountain, splattering grounds and hot liquid all over your counter. Over time, this not only creates a mess but also risks staining your beloved wooden surface or quartz countertop. Plus, constantly cleaning up is a chore you don’t need.
What’s worse, I once overlooked a simple detail early in my espresso journey—failing to stabilize my cup or use a small towel under the portafilter’s spout. That mistake led to more cleaning time and a wider mess. Trust me, I’ve been there, and I’ve learned from it. That’s why I want to help you avoid the same pitfalls.
Research shows that consistent, clean brewing routines improve both the taste of your espresso and the longevity of your equipment (Barista Magazine). So, if you’re tired of waking up to coffee messes, read on. The solution I’m about to reveal is straightforward, effective, and inexpensive.
This simple trick can turn your messy mornings into smooth, clutter-free experiences, making every shot more enjoyable and less stressful. Are you ready to keep your countertop dry and your brewing routine cleaner? Let’s dive into the easy steps you can take today.
Will a simple fix really make a difference in my messy mornings?
In my early days, I made a classic mistake—treating the bottomless portafilter like a regular one, without considering how the spray and splatter could be controlled. Once I started implementing a tiny adjustment, everything changed. If I had known this trick earlier, I would have saved myself countless hours of cleaning and frustration. Now, I want to share what I’ve learned so you can enjoy a neater, more efficient brewing experience from the very beginning.
Keep reading to discover the quick, practical solution that will keep your workspace spotless and let you focus on the joy of pulling that perfect shot. For more home barista tips, don’t forget to check out our guide on choosing the best barista gear. Happy brewing!
Secure Your Cup Before You Brew
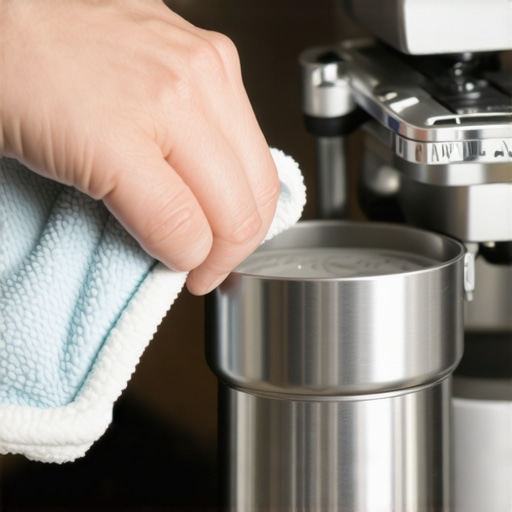
Place your cup on a stable, flat surface directly beneath the portafilter spout. Use a damp cloth or small silicone mat to prevent slipping. I remember one time my initial setup led to espresso dribbling all over the counter because my cup was teetering. By firmly stabilizing the cup with a towel, I prevented unwanted splashes and kept my workspace tidy.
Adjust the Grind and Dose Precisely
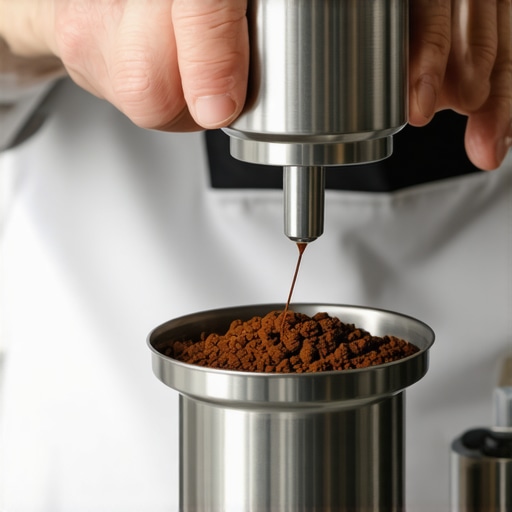
Use a high-quality grinder, and set it to the correct grind size—around lightly damp sand for espresso. Measure your coffee dose carefully—typically 18-20 grams for a double shot. An inconsistent grind or uneven dosing causes channeling, which can increase spray and splatter. I learned that dialing in my grinder step-by-step and weighing my doses with a digital scale eliminated unnecessary spray during my shots.
Fine-Tune Your Tamp Pressure
Apply consistent pressure—about 30 pounds—by hand or with a tamper mat. Think of tamping like stamping a cake: even pressure ensures uniform extraction. I once tamped too softly, leading to uneven flow and increased spray. When I standardized my tamp pressure using a bathroom scale, my shots were cleaner, and spillage reduced significantly.
Position the Portafilter Correctly
Engage the portafilter fully into the machine, ensuring it’s snug but not forced. Check that the gasket is clean and properly seated. Misalignment causes uneven flow, which can spray coffee grounds. During my initial attempts, I overlooked gasket cleanliness; after cleaning and aligning properly, spray issues became a thing of the past.
Manage the Extraction Step-by-Step
Start with a pre-infuse if your machine allows, soaking the coffee bed for 2-3 seconds. Then, begin extraction gently, watching for splatter. If you see spray, stop, check the grind size, or adjust tamping pressure. Think of it like controlling water at a sink: a steady, controlled flow minimizes mess. I once finished a shot and realized I’d neglected to stabilize my cup—resulting in coffee landing everywhere. Now, I always double-check cup placement before pressing start.
Incorporate a Protective Barrier
Place a small silicone or microfiber towel around the cup’s base or under the portafilter during extraction. This acts like a catch tray for any errant drips. I’ve found that just a snug towel can catch splashes and prevent messes without interfering with the shot. For extra reassurance, I sometimes use a specialized espresso drip tray that fits perfectly beneath my setup.
Regular Maintenance and Calibration
Consistently clean the gasket, portafilter, and shower screen. Verify your grinder’s calibration monthly. Properly maintained gear ensures uniform flow, reducing the chance of spray. I make it a habit to run a cleaning cycle weekly, which keeps everything running smoothly and minimizes unexpected splatters during peak mornings.
By following these straightforward steps distinctly, you’ll see a significant reduction in coffee splashes. The key is consistency—stabilize your setup, fine-tune your grinder and tamp, and prepare your workspace. Over time, these practices become second nature, transforming messy mornings into precise, enjoyable brewing sessions.
For the best equipment recommendations to enhance your home espresso setup, check out our gear guide or browse the top-rated machines in 2025. For tips on grinder calibration, visit this resource.
Many coffee enthusiasts assume that upgrading to a high-end espresso machine or a fancy grinder guarantees perfect shots every time. However, even seasoned home baristas often overlook subtle yet crucial nuances, leading to subpar results. Contrary to popular belief, the quality of your equipment isn’t the sole determinant of a great cup; how you use and maintain it plays an equally vital role.
One prevalent myth is that newer, more expensive gear automatically produces better coffee. While premium machines and grinders offer advanced features, they can also be more complex and prone to misuse if you’re unaware of their intricacies. For example, many assume that fine-tuning the grind size is just about making the coffee finer. In reality, subtle adjustments such as changing tamp pressure or pre-infusion times can drastically influence extraction quality. An expert-level understanding of these variables allows you to troubleshoot and optimize your brew, rather than just blindly adjusting settings.
A common oops mistake is neglecting regular maintenance. Residual oils, mineral build-up, and worn seals can significantly degrade equipment performance, resulting in inconsistent shots. Many home users overlook cleaning schedules, unaware that a simple routine—including flushing the steam wand and descaling the boiler—can revive lost flavor clarity and pressure stability. Regularly consulting detailed guides on maintenance, like our article on cleaning your water tank, can save you time and money in the long run.
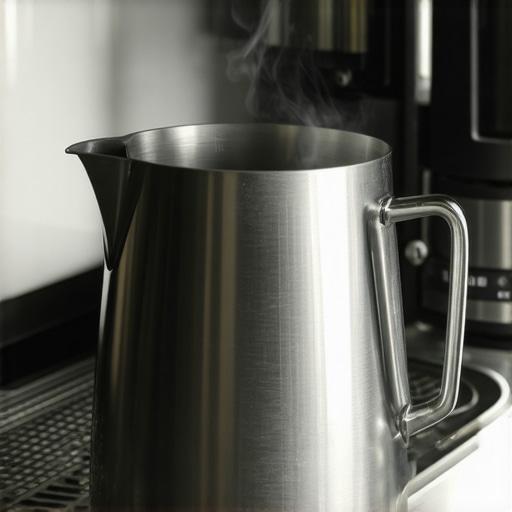
Beyond equipment, mastering milk frothing is often misunderstood. Many think that the key to perfect microfoam is just hot milk and a good steam wand. But advanced baristas know that the angle of the pitcher, the position of the steam nozzle, and even the temperature stability of the boiler profoundly impact foam quality. For example, inconsistent frothing often results from neglecting the steam wand’s condition; a blocked or leaky wand can produce large bubbles or uneven textures. For more tips, check out this guide on milk frothers.
How about grinder settings? Many believe that a static grind size suffices for all beans. In practice, different roast levels and bean origins require nuanced adjustments. Dull burrs can dramatically affect grind uniformity, causing channeling or over-extraction. Using simple tests, like the paper towel test, can reveal dull blades before they compromise your brew. Regular calibration, especially after switching beans or roast levels, ensures consistent particle size distribution and optimal extraction.
Finally, the importance of understanding the broader brewing environment shouldn’t be underestimated. Factors like ambient temperature, humidity, and even water composition influence extraction and flavor. For instance, hard water can lead to mineral buildup, clogging a portafilter or damaging boiler components. Investing in a water filter or descaling regularly enhances equipment longevity and shot consistency.
Remember, mastering home espresso involves more than owning the latest gear. It demands attention to detail, regular maintenance, and a deep understanding of how each element interacts. Have you ever fallen into this trap? Let me know in the comments. For a comprehensive guide on selecting and caring for your gear, explore our gear recommendations and grinder selection tips. With patience and knowledge, you’ll elevate your home brewing to true barista standards.
Investing in Reliable Equipment
To keep your home espresso setup performing at its best, choosing high-quality gear is paramount. I personally swear by the gear guide that helps me select durable, precise tools tailored for home use. Instead of opting for the cheapest options, I focus on brands recognized for longevity and precision, such as Rancilio for espresso machines and Baratza for grinders. These investments pay off by reducing the frequency of repairs and ensuring consistent results.
Routine Cleaning and Calibration
Long-term maintenance hinges on regular cleaning. Remove and clean the water tank weekly to prevent lime build-up that can hinder steam pressure. I utilize a descaling solution recommended by the manufacturer, following a detailed cleaning routine that keeps internal components pristine. Calibration is equally important; periodically check and adjust grind settings as beans and roast levels change. A Ditting burr grinder, for instance, requires calibration every few months, which I accomplish using the simple test method to ensure uniform particle size.
How do I maintain my gear so it lasts?
Developing a maintenance schedule is key. Every six months, I disassemble key components—shower screens, gaskets, and steam wands—and perform thorough cleaning. I use specialty brushes and food-grade lubricants to keep seals flexible. Maintenance documentation from brands often provides specific guidelines; for example, an espresso machine manual from La Marzocco details exact cleaning intervals. Regular inspections detect early signs of wear, allowing for timely replacements before costly repairs are necessary.
Tools I Recommend for Effortless Upkeep
My favorite maintenance tools include a dedicated cleaning brush set, a microbial-safe sanitizer, and a calibrated coffee scale. The quick fix for static buildup has saved me countless tamping frustrations. Additionally, a software app like Barista Hustle’s calibration tool helps me fine-tune grinder settings with precision. Automating parts of the process, like scheduled descale alerts, ensures I don’t forget routine maintenance, prolonging my machine’s life and maintaining quality.
The Future of Maintenance in Home Brewing
Advancements in smart appliances promise more integrated, automated maintenance solutions. Machines that monitor their own performance and alert owners to issues before they arise are on the horizon. Imagine an espresso machine that senses mineral build-up and activates a cleaning cycle automatically—reducing downtime and preserving flavor integrity. As technology evolves, staying informed through trusted sources like our contact page will help you adopt these innovations early.
If you’re serious about keeping your setup in top shape, I encourage you to try the 5-minute fix for a stubborn solenoid valve. Small, regular efforts like this can dramatically extend your equipment’s longevity and ensure every shot tastes as good as the first. Dive into diligent maintenance today and enjoy the fruits of your labor for years to come.
The Hardest Lesson I Learned About coffee grinders,espresso machines,barista gear,milk frothers,home espresso
One of the most revealing lessons was realizing that equipment alone isn’t enough—it’s how I integrated maintenance and technique that truly made the difference. I once believed that upgrading my espresso machine would instantly elevate my brew, but neglecting routine cleaning and calibration meant I still faced inconsistent shots. It was a lightbulb moment when I understood that diligent upkeep and mastering simple adjustments could vastly improve results, often more than expensive gear upgrades.
Why 60Hz Just Isn’t Enough for Home Baristas
I found that relying solely on equipment specs ignored the nuances of practical use. For example, my grinder’s burrs needed regular dullness tests—using the paper towel trick—to prevent channeling and spray. The real game-changer was understanding that consistent tamping, grind calibration, and water quality have more impact than just the machine’s horsepower. Embracing continuous learning about maintenance and technique transformed my coffee routine into a rewarding part of my day.
Make Yourself Visible: Mirrors, Fire, and Smoke in Your Coffee Journey
Sharing my mistakes openly and connecting with fellow enthusiasts kept me motivated. I regularly post my progress, from troubleshooting portafilter leaks to perfecting milk frothing, which creates accountability and community. The insight that I’m not alone in these challenges—plus the shared tips and encouragement—made every setback an opportunity to learn more about home espresso mastery. Engaging with a community fosters resilience, patience, and rapid growth as a home barista.
My Essential Toolkit for Home Coffee Domination
Over time, I curated tools that consistently improve my process. A high-quality cleaning brush set ensures my portafilter gasket stays pristine, while a calibrated coffee scale is vital for precision. I trust resources like our gear guide for reliable equipment choices. Additionally, a digital grinder calibration device and specialty cleaning products have become indispensable for maintaining peak performance and flavor clarity in every shot.
Seize the Moment to Elevate Your Home Espresso Game
The journey to perfect coffee is as much about consistent care as it is about initial excitement. Don’t let frustration hold you back—every step you take in understanding your equipment, routine, and environment brings you closer to barista-quality results. Remember, magnificent coffee starts with attention to detail and a willingness to learn through experience. Keep experimenting, refining, and seeking knowledge; your best shot might be just one adjustment away. How have your maintenance or technique tweaks improved your home brew? Share your story below and inspire others to take action.