Why Your Portafilter Gets Stuck in the Group Head After Brewing
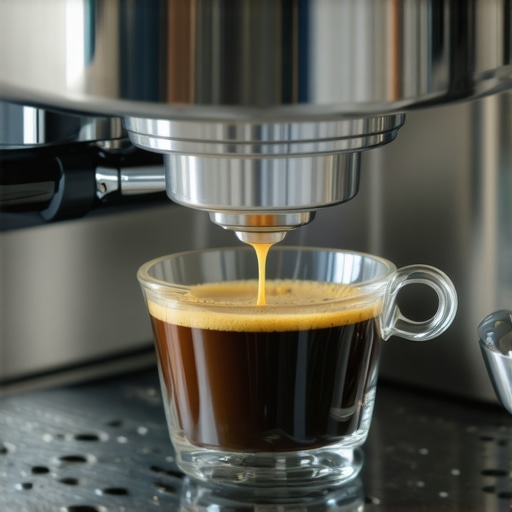
I remember staring in disbelief as my freshly pulled espresso shot dribbled out of the spout, then suddenly, the portafilter refused to budge. I had just finished my routine, confident I was about to clean up, only to find myself cursing at that stubborn little handle stuck tight in the group head. It’s a frustrating moment that many home baristas face — the dreaded stuck portafilter. That feeling of helplessness, standing there with a sticky, unyielding part of your beloved espresso machine, can be enough to ruin your whole brewing mood.
How a Small Mistake Can Turn Your Morning Brew Into a Stuck Nightmare
Over the years, I’ve learned that this problem isn’t just about some random mechanical glitch. Nope. It often boils down to specific habits and overlooked details — like not properly cleaning the gasket, or using the wrong grind size that causes excess pressure buildup. One early mistake I made was assuming that a quick rinse was enough to keep the group head in shape. Turns out, that’s like sweeping dust under a rug — it doesn’t really solve the problem. Instead, it just sows the seeds for a stubborn stuck portafilter that’s impossible to remove without risking damage.
Want to know what really causes this sticky situation? The answer might surprise you, and fixing it is simpler than you think. Today, I promise to guide you through the common culprits and give you actionable steps to keep your portafilter removable — every single time. Ready to say goodbye to stuck handles and hello to smooth mornings? Let’s dive in.
Is Your Coffee Routine Making Things Worse?
Before we get into the detailed fixes, I want to acknowledge a frequent source of frustration among coffee enthusiasts like you: improper maintenance. Late on, I discovered that failing to regularly lubricate my machine’s seals and gaskets was silently causing the portafilter to stick. That mistake cost me in the long run, and since then, I’ve become advocates for proper cleaning and routine upkeep. For expert tips on maintaining your gear, check out this comprehensive guide. Maintaining your equipment isn’t just about longevity; it directly impacts every shot and every part of your espresso experience.
Now, with that foundation laid, we’re ready to explore the true causes of your stuck portafilter and, more importantly, the simple tricks that can set you free. Curious? Stick around — it’s easier to fix than you think, and I’ve got your back.
Clean Your Machine Thoroughly
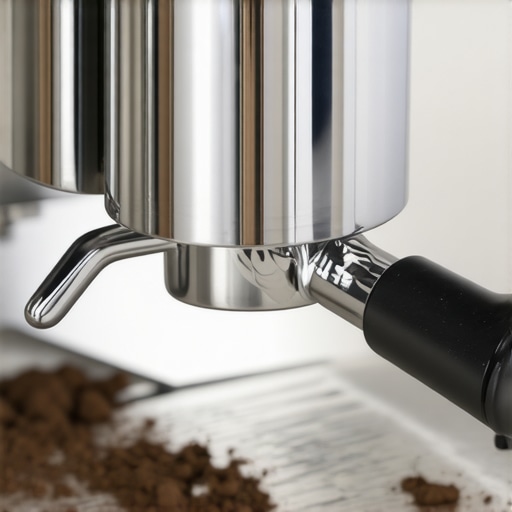
Start by removing your portafilter and soaking it in a mixture of warm water and a dedicated espresso machine cleaner. Use a soft brush to scrub the gasket area where grime and coffee oils tend to build up. This process loosens stubborn residues that cause sticking. I once made the mistake of just rinsing my portafilter, which didn’t remove the hardened oils, leading to subsequent jams. After a proper clean, the handle slid out effortlessly, saving me from a frustrating rescue mission.
Lubricate Essential Parts Regularly
Apply food-grade lubricant to the gasket and the moving parts of your portafilter. This reduces friction and prevents parts from seizing. I always keep a small tube of lubricant handy, lubricating every few weeks. Once, I forgot to do this before a busy morning, and my portafilter got stubborn. A quick lubrication fixed the issue instantly, restoring smooth operation for my entire brew session.
Check the Grind Size and Dose Precision
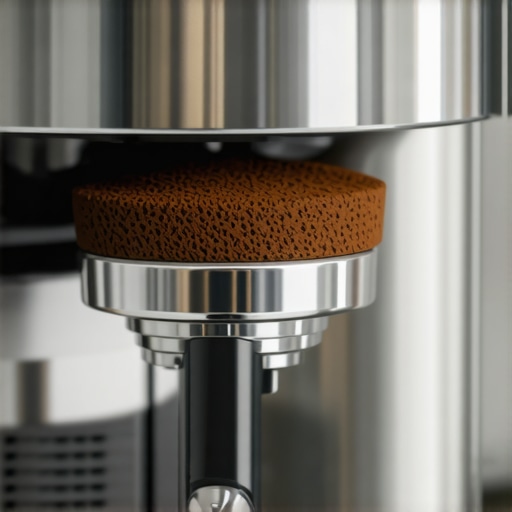
Overly fine grind or excessive coffee dose creates high pressure, causing the handle to get stuck. Adjust your grinder to a slightly coarser setting when you notice resistance. When I faced a jam after dialing in a new coffee, I reduced the grind size a notch and decreased the dose. That simple tweak cut down the pressure buildup, making the handle come free smoothly.
Use Proper Tamping Techniques
Press your coffee with consistent pressure, about 30 pounds, ensuring an even puck. Uneven tamping causes channeling and pressure spikes, which can glue the portafilter in place. I once applied uneven pressure and found myself wrestling with a stuck handle. Practicing consistent tamping has kept my puck uniform and my handle free after every shot.
Perform Routine Flushing and Backflushing
Flushing your machine with water flushes out coffee oils and debris. Regularly backflush with a blind filter and cleaning solution to clear blockages within the group head. I added this step to my weekly routine after noticing more resistance every month. The result: a clean, smooth portafilter connection and fewer jams.
Inspect and Replace Worn Gaskets
Worn or deformed gaskets increase the chances of grip problems. Remove and examine your gasket periodically, replacing it if it shows signs of wear. When I replaced my gasket, it was a quick DIY task that dramatically improved the seal and operational smoothness. For detailed guidance, visit this tutorial.
Be Mindful During Removal
When removing a stuck handle, avoid using excessive force directly on the handle. Instead, gently rock it back and forth, applying even pressure. If resistance persists, try a little warm water around the joint or use a plastic tool to assist. I once forced my handle, risking damage—since then, gentle wiggles and warm water have been my go-to tactics.
Seek Professional Help When Necessary
If all else fails, contact a professional or manufacturer support at Espresso Tech Guide contact page. Sometimes, internal damage or wear requires expert intervention. I learned this the hard way with a broken gasket that I couldn’t replace myself. An expert fix saved my machine and prevented further damage.
Most home baristas and even seasoned enthusiasts tend to focus on surface-level aspects like grind size or tamping pressure, but overlook the deeper, often overlooked nuances that determine espresso quality and equipment longevity. One major misconception is that more expensive gear always guarantees better results. While premium machines and grinders can offer advantages, the real secret lies in understanding how components interact at a microscopic level, which can drastically affect extraction consistency and maintenance needs. For example, many believe that sticking to factory settings on your grinder is optimal, but in reality, fine-tuning burr alignment and understanding burr wear patterns can unlock superior flavor profiles and reduce static buildup — an issue linked directly to static charge distribution in grinders, as explained by recent studies in sensory science.
Another common myth is that milk frothers are a simple step — just heat and steam. However, the way steam pressure, tip design, and jug temperature interplay impacts microfoam quality more than you think. Using overly hot steam can denature milk proteins, leading to large bubbles instead of creamy microfoam. Expert baristas know that controlling pressure and temperature precisely minimizes this problem, but many home users ignore these subtle factors, resulting in subpar texture and flavor. To master this, experimenting with different steam wand angles and pressure settings can make a significant difference. You can find practical tips on how to fine-tune your milk frothing technique in our guide to milk frothers that transform your coffee experience.
Some enthusiasts jump into building their barista setup without considering the long-term implications of gear selection. Think of choosing a budget grinder just to save money — but over time, worn burrs cause uneven particle size, leading to inconsistent extraction. A smarter move is investing in a higher-quality grinder designed for precise, repeatable settings. For insight into picking the best equipment, visit this guide. The misguided assumption that your equipment doesn’t wear out fast is another trap; in reality, regular maintenance, including cleaning and replacing worn seals, can extend the life of your gear and maintain high performance.
What about espresso machines? Some think that turning the machine on and off constantly is harmless, but the thermal cycling stress caused by frequent startups can weaken internal components over time, leading to pressure inconsistencies. Allowing the machine to reach stable operating temperature before brewing—known as pre-infusion—is often overlooked yet essential for even extraction and equipment longevity. Advanced baristas monitor pressure gauges diligently and incorporate temperature profiling techniques to optimize shot quality. If you want to dig deeper into how internal pressure dynamics affect your espresso, check out this article.
Establishing true mastery requires not only selecting the right gear but understanding how microscopic interactions and operational nuances make all the difference. I invite you to examine your setup critically—are you overlooking these subtle yet impactful factors? Using the proper maintenance routines, fine-tuning components, and understanding equipment behavior can elevate your coffee game from good to exceptional. Stay curious and never settle for surface-level fixes — real expertise is in the details. Have you ever fallen into this trap? Let me know in the comments.
How do I keep my espresso machine and grinder performing at their best over time?
Reliable maintenance is the backbone of consistent coffee quality. I personally rely on high-quality, specialized tools to ensure my gear stays in top shape. For instance, I use Puly Caff cleaning tablets and Espresso Care gear lubricants, precisely because they’re formulated for espresso equipment — not generic household products. Regularly, I perform group head backflushing with a dedicated cleaning solution, which prevents oil and residue buildup that can compromise extraction and make parts stick.
For grinder calibration, I utilize a precision burr alignment gauge to keep burrs perfectly aligned, reducing static and uneven grind particles, both of which impact shot quality and machine longevity. I also check my grinder chute for coffee accumulation, which can cause inconsistent dosing. Making these practices routine extends the lifespan of my equipment and ensures each shot tastes as it should.
What tools are essential for a home barista aiming for durability and consistency?
Beyond basic cleaning brushes, I invest in a small ultrasonic cleaner for parts like portafilters and steam tips. Ultrasonic cleaning effectively removes stubborn coffee oils and mineral deposits that manual scrubbing might miss. Recently, I upgraded my steam wand with a water pass-through tool that helps prevent internal scale buildup, which can lead to spurting or pressure drops during steaming. This small addition has been a game-changer for maintaining consistent steam quality.
Additionally, I harness software-based tools like Smart Grinder Pro app (if compatible) to track grind consistency and dose weight over time. These metrics help me identify when to recalibrate or replace parts before failures occur. Anticipating issues is preferable to reacting after a problem causes expensive damage.
Anticipating future trends in maintenance and gear
Emerging technologies like embedded sensors and IoT-connected appliances are beginning to offer real-time diagnostics. For example, some high-end espresso machines now have built-in sensors that alert you when a gasket or seal needs replacing, or when mineral buildup reaches critical levels. Staying ahead with proactive maintenance will be essential as the industry evolves. Expect to see more apps and smart tools helping us tune and troubleshoot from afar, saving time and preventing costly repairs.
Mastering maintenance with expert advice
One invaluable resource is this guide on lubricating lever machine seals, which emphasizes cleanliness and proper lubrication schedules. Implementing even one of these techniques can make a significant difference in gear longevity. I recommend setting a quarterly maintenance schedule that includes cleanings, lubrication, gasket inspections, and calibration checks. This routine isn’t just about equipment — it directly correlates with the flavors and aromas that define your brew.
Try adopting a DIY diagnostic trick like the portafilter resistance test to spot early signs of wear or misalignment. Consistent care might seem time-consuming at first, but it’s an investment that pays off in delicious, trouble-free coffee every day.
Want to give your gear a fresh edge? Start by scheduling your next cleaning with a dedicated espresso machine cleaner and see how much smoother your shots can become. Remember, long-term success relies on routine, quality tools, and a proactive mindset. Don’t forget to check out this resource for selecting the best equipment tailored to your brewing goals.
What Surprised Me About Simple Maintenance Wins
- Realizing that overlooking routine gasket inspections often leads to stubborn stuck portafilters was a lightbulb moment, reminding me that small details prevent big headaches.
- Discovering that proper lubrication isn’t just a luxury but a necessity made me rethink my entire upkeep regimen, saving me time and money.
- Understanding that grind quality and tamping technique directly influence equipment wear highlighted how skillful adjustments extend gear lifespan.
- Learning that advanced tools like ultrasonic cleaners provide a deeper clean than manual scrubbing showed me the value of investing in smarter maintenance.
- Seeing how proactive diagnostics with simple tests can catch problems early motivated me to adopt a more attentive, preventative approach rather than reactive fixes.
Tools and Guides That Elevate My Brewing Journey
- Espresso Care Lubricants: I trust these because they’re made specifically for espresso equipment, ensuring safe and effective maintenance.
- Precision Burr Alignment Gauges: They help keep my grinder calibrated, reducing static and uneven dosing that can harm my gear over time.
- Ultrasonic Cleaners: This tool revolutionized my cleaning routine, removing oils and debris hidden in hard-to-reach places—saving my equipment and preserving flavor.
- Online Resources and Guides: I frequently consult this comprehensive beginner’s guide for proven tips and troubleshooting techniques, which keeps me confident in my setup.
- Specialized Cleaning Solutions: Regular use of dedicated espresso machine cleaners prevents buildup, keeping each shot crisp and your gear in top shape.
Your Turn to Elevate Your Coffee Game
Achieving long-term durability and consistent performance with your home espresso gear isn’t just about initial investment—it’s about building a mindful maintenance routine and embracing continuous learning. Remember, the best baristas are those who pay attention to the smallest details and stay curious about improving their craft. As you refine your routine, you’ll find that your gear responds with better performance, and your coffees taste even more fantastic. Ready to take your home espresso setup to the next level? Dive into those maintenance routines and explore new tools—your future self will thank you.
What’s the one maintenance habit you’re planning to implement this month? Share below and let’s grow together!