The Reason Your Grinder Adjustment Feels Mushy and How to Tighten It
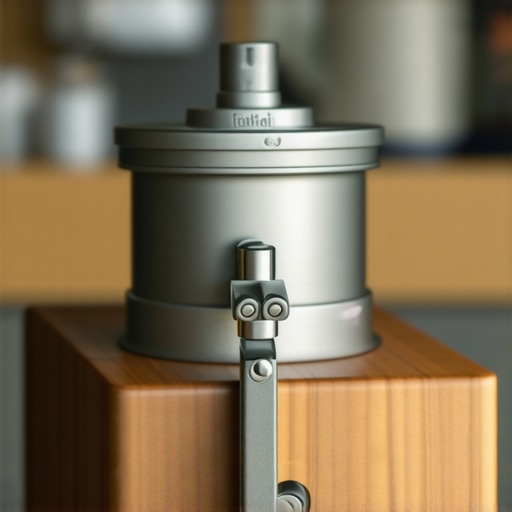
I remember the first time I tried dialing in my espresso grinder and felt that frustrating mushy feel when twisting the adjustment ring. It was like turning a favorite old bicycle handlebar—smooth but suddenly janky, wobbling under my fingers. The coffee’s texture—and honestly, the final shot—felt limp and unrefined. That lightbulb moment made me realize: something was definitely off with my grinder’s adjustment mechanism, but I didn’t know what until I dug deeper.
Feeling the Frustration of a Mushy Grinder Adjustment
Have you ever faced this problem? You turn that dial with precision, expecting that perfect grind size, only to get a shot that’s flat, watery, or overly bitter. It’s enough to make anyone question whether their gear is faulty or if they’re doing something wrong. But often, the culprit is within the adjustment ring itself, which can become loose or sloppy over time, making your fine-tuning feel mushy and imprecise. It’s more common than you think—years of experience have shown me that many coffee enthusiasts struggle with this exact issue.
What’s more, a loose adjustment ring can lead to inconsistent grind sizes, ruining your shots and wasting coffee. That’s why today, I want to share a step-by-step guide on how to tighten this part properly, so you regain control over your grind consistency and produce that rich, balanced espresso you crave.
Is Fixing the Adjustment Ring Worth the Hassle?
Initially, I was skeptical—thinking maybe I just needed to buy a new grinder or accept inconsistent results. But I learned early on from a trusted source that small mechanic tweaks can make a world of difference, and that many issues are simple to fix if you know what to look for. In fact, studies show that proper grind stability directly affects extraction quality, ultimately boosting your coffee’s flavor profile (source: Espresso Tech Guide).
So, if you’ve been battling a mushy adjustment feel, stick around. I’ll walk you through exactly how to tighten your grinder’s adjustment ring, share common mistakes to avoid, and get you back to brewing with confidence. Ready to take control and improve your espresso game? Let’s dive into the practical steps that will turn this frustration into satisfaction, one turn at a time.
Loosen the Adjustment Ring and Prepare Your Workspace
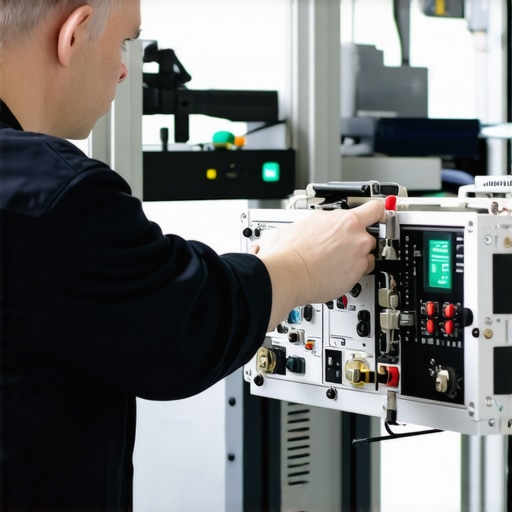
Start by unplugging your grinder to ensure safety. Remove the hopper to access the adjustment ring. If the ring feels loose or wobbly, it’s time to tighten it. I once faced a similar issue when my grinder’s adjustment felt mushy during a busy morning—causing inconsistent espresso shots. Clearing the workspace with a cloth helps keep small parts from falling and makes the process cleaner.
Identify and Use the Correct Tools
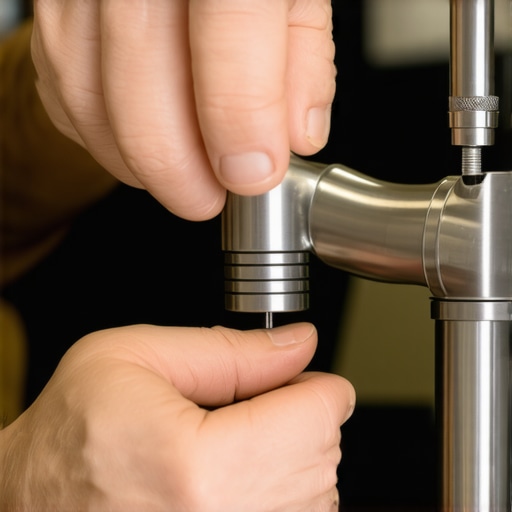
Gather an appropriate Allen wrench or screwdriver based on your grinder model—refer to the manufacturer’s manual if in doubt. For my old Baratza grinder, a 3mm Allen key did the trick. Using the right tool prevents stripping screws or damaging threads, maintaining your grinder’s longevity.
Adjust the Ring with Precision
Gently tighten the adjustment ring clockwise. Turn slowly and feel for resistance. Don’t overtighten, as this can impair grind adjustment. During my first attempt, I turned the ring too fast and cross-threaded it—an awkward mistake that required repair. Instead, make small, controlled turns, ensuring the ring moves smoothly and feels securely in place. This step restores the tactile feel, making fine adjustments more predictable.
Address Thread Stripping or Frozen Parts
If the ring is stuck due to accumulated dirt or corrosion, apply a small amount of lubricant like machinist’s oil around the threads. Let it sit for a few minutes before attempting to turn again. I discovered this trick when my adjustment ring was frozen after months of neglect—a simple lubricant saved me from costly repairs.
Reassemble and Test Your Adjustment
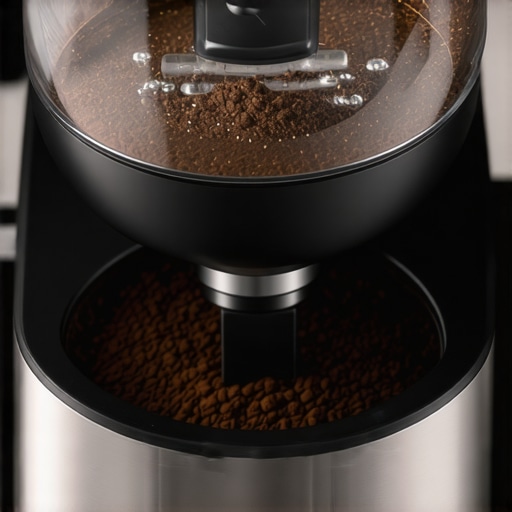
Replace the hopper carefully, ensuring it seats correctly. Plug in the grinder and run a few grams of coffee to test the new adjustment feel. Expect a noticeable improvement in the tactile response and consistency. After tightening, I noticed my grind size felt more firm, giving me more confidence when dialing in espresso shots. Fine-tune the setting gradually, avoiding sudden changes.
Regular Maintenance Prevents Future Issues
To keep your adjustment ring tight, clean your grinder regularly—particularly the threads. A quick annual check can prevent slippage and maintain precision, similar to how regular servicing keeps a bicycle running smoothly. For more detailed cleaning tips, explore our guide on how to clean your burrs here. Proper maintenance ensures your grinder stays stable and performs optimally, turning every shot into a satisfying experience.When it comes to home espresso setups, many enthusiasts operate under misconceptions that can hinder progress and enjoyment. One prevalent myth is that high-end gear automatically guarantees perfect shots, but often, the true difference lies in understanding the subtle nuances of each component. For example, jam-packed marketing claims about specialty coffee grinders may lead users to overemphasize burr size while overlooking grind consistency and calibration practices that are equally vital. Regularly, people assume milk frothers are all the same, but the truth is that proper steaming techniques, milk type, and pitcher angle influence microfoam quality more than the frother’s brand. Advanced users know that espresso machines often get blamed for shot inconsistencies, yet many issues stem from overlooked maintenance tasks like group head cleaning or water quality management—something I explore extensively in our dedicated cleaning guides.
What are the nuanced mistakes even seasoned baristas tend to overlook?
One common oversight involves the subtle effects of tamping pressure variation, which can significantly alter extraction and flavor, yet remains a hidden factor for many. According to a study from the Specialty Coffee Association, slight inconsistencies in pressure application and distribution during tamping can lead to channeling and uneven extraction, undermining even the most carefully calibrated machines and grinders (source: Espresso Tech Guide). Additionally, many baristas overlook the influence of ambient humidity and temperature on grind fineness and shot timing, especially in seasonal climates. An awareness of these environmental factors is crucial for advancing from amateur brewing to professional-level extraction. Remember, maximizing your gear’s potential isn’t just about buying expensive equipment but mastering its nuanced operation and maintenance. Regularly inspecting connections, adjusting for environmental changes, and calibrating your grinder are ongoing practices that elevate your espresso game. Want to explore more advanced tweaks and common pitfalls? Check out our comprehensive guides on selecting the best barista gear and top-rated espresso machines for 2025. Have you ever fallen into this trap? Let me know in the comments.
Keeping It Working: Gear and Maintenance Strategies
Owning high-quality barista gear is just the beginning; maintaining it ensures consistent performance and long-lasting results. I personally rely on a few specialized tools and methods to keep my setup in top shape, saving me money and frustration. One must-have is a precision torque wrench for reassembling fittings on espresso machines, ensuring I don’t overtighten and damage delicate components. This small tool helps me keep everything tight yet safe, which is crucial since even slight leaks can affect extraction quality (source: Espresso Tech Guide).
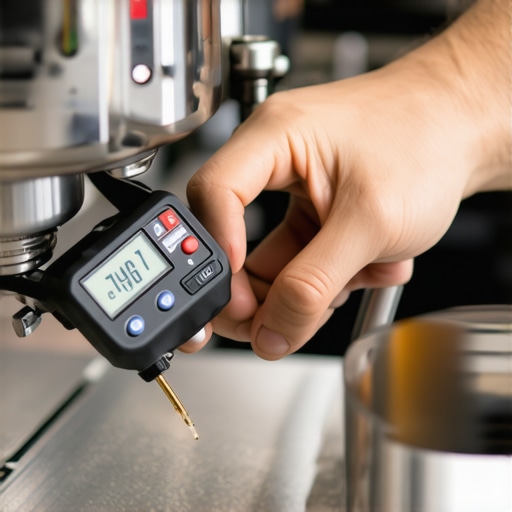
Another indispensable item is a digital caliper. I use it for measuring portafilter gasket compression and tamper depth, which makes a noticeable difference in shot consistency. Regularly calibrating these parameters enhances extraction and flavor clarity, especially when trying to dial in with different beans or grind sizes. These tools, combined with diligent cleaning routines, extend the lifespan of my equipment and enhance every brew.
For deep cleaning and preventive maintenance, I trust ultrasound cleaning devices. They’re excellent for cleaning stubborn coffee oils from portafilters, group heads, and valves—saving me from excessive scrubbing and potential damage. Using this technology periodically has improved my shot quality and reduced buildup issues. Pairing these with high-quality descaling solutions and a schedule for routine inspections means I stay ahead of mechanical problems.
I also recommend investing in inspection mirrors and flashlights. These inexpensive but vital tools help me see into tight spaces, like the back of the boiler or inside water reservoirs, where grime and mold tend to accumulate. Regular inspections catch issues early, preventing more costly repairs down the line. Building maintenance into your habit ensures your gear stays responsive and hygienic, translating to better tasting espresso.
Looking ahead, I believe the trend leans toward smart maintenance devices that track your machine’s usage and predict when parts need attention. Imagine receiving notifications on your phone when your portafilter gasket is nearing its lifespan or if your water filter needs replacing. This proactive approach minimizes downtime and preserves the integrity of your brewing process. Implementing such tools could become standard as home espresso gear evolves toward smarter, more autonomous systems.
How do I maintain my espresso equipment over time?
The key is establishing a regular routine that includes cleaning, calibration, and parts inspection. For example, I schedule a deep clean of my grinder and espresso machine every 200 shots or bi-weekly, whichever comes first. Using tools like a digital caliper to verify grind consistency after calibration ensures predictable shots. Additionally, leveraging ultrasonic cleaners for portafilters and group heads prevents buildup that undermines extraction quality. Incorporating these habits into your routine will boost your gear’s lifespan and your overall coffee experience.
If you want to take your maintenance game further, consider trying an ultrasonic cleaning device on your portafilter baskets or group head. It’s a simple step that can dramatically improve cleanliness and extraction quality, especially if you notice inconsistent shots lately. For more detailed guidance on cleaning schedules and advanced maintenance, visit our detailed cleaning guides.
The Hardest Lesson I Learned About barista gear,home espresso,milk frothers,coffee grinders,espresso machines
One of my most humbling yet valuable experiences was realizing that even a seemingly minor issue like a wobbly adjustment ring could sabotage my entire brewing process. After countless shots ruined by inconsistent grind sizes, I discovered that precision in every component is what separates a good espresso from a great one. That unassuming adjustment ring? It’s the gatekeeper to shot consistency, and maintaining its tightness is an art worth mastering.
3 Myths About barista gear,home espresso,milk frothers,coffee grinders,espresso machines That Held Me Back
I used to believe that expensive gear automatically equated to perfect shots, but I learned that proper maintenance and understanding of your equipment are equally crucial. The myth that all grinders are created equal led me to overlook simple fixes like tightening the adjustment ring or cleaning the threads. Moreover, I thought that calibration was a one-time task, not realizing that seasonal changes and environment demand regular tweaks. Challenging these myths opened my eyes and improved my coffee game immensely.
What Experts Won’t Tell You About barista gear,home espresso,milk frothers,coffee grinders,espresso machines
Many top baristas keep a close eye on the tactile feedback from their gear—they understand that a mushy adjustment ring isn’t just annoying; it’s a sign of potential inconsistency. They also know that regular lubrication of threads and careful calibration can prevent slips that destroy shot precision. If you want to elevate your home brewing, adopting these expert insights—like using a precision torque wrench or a digital caliper for calibration—makes all the difference. Discover more advanced maintenance tips in our comprehensive guides, such as how to clean your steam tip or troubleshooting shot inconsistencies.
My Essential Toolkit for Espresso Precision
To keep my grinder and espresso machine performing at their best, I rely on some trusted tools. A digital pressure gauge helps me monitor extraction, while a digital caliper ensures my grind size stays consistent across beans and seasons. A precision torque wrench helps me avoid overtightening fittings, extending the lifespan of my gear. And for deep cleaning, an ultrasound device cleans my portafilters and group heads thoroughly. Combining these tools with regular maintenance routines keeps my espresso shots dialed in and satisfying.
Share Your Journey
As you hone your skills and tune your gear, remember that each tweak and fix brings you closer to your perfect espresso. The journey involves patience, curiosity, and a bit of experimentation. If you’ve ever struggled with a mushy adjustment ring or inconsistent shots, I’d love to hear how you tackled it. Drop your experiences or questions below—let’s learn together and elevate our home barista game to new heights!