Why Your Manual Grinder Is Skipping and How to Fix the Axle
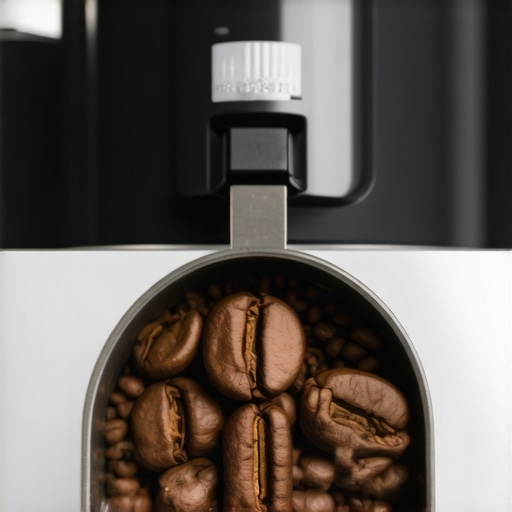
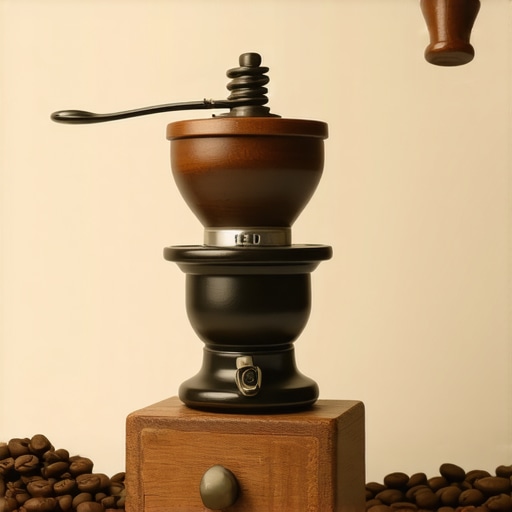
Ever had that sinking feeling mid-grind when your manual coffee grinder suddenly skips and refuses to turn smoothly? I’ve been there, fumbling anxiously with my hand grinder, frustrated because I know how crucial a steady grind is for that perfect espresso shot. That such a simple kitchen tool could suddenly betray me felt like a rude awakening. One morning, I was eager to brew my favorite pour-over, only to discover my grinder was jammed, making that terrible grinding noise, and worse—skipping teeth. It was a lightbulb moment that this seemingly minor issue could disrupt your entire brewing ritual.
Fixing Your Grinder’s Skipping Issue Starts Here
Is Your Grinder Worth the Hype or Just a Hassle?
Like many coffee enthusiasts, I initially thought that regular cleaning and occasional adjustments were enough. But I overlooked a common culprit: the axle alignment. Early on, I made the mistake of ignoring the axle’s condition, assuming it was just a minor part that didn’t need attention. Turns out, that’s a big mistake—misaligned or worn axles are often the reason why grinders skip and grind unevenly. According to experts, mechanical issues such as axle misalignment are among the leading causes of grinding inconsistencies in manual devices. Understanding this helped me realize that a simple axle fix could restore my grinder’s performance, saving me money and hassle.
Are you tired of inconsistent grind sizes ruining your coffee? Do you worry that your trusty manual grinder is on its last legs? If so, you’re not alone. Many home baristas face this same frustration, but with a few easy steps, you can troubleshoot and fix the axle issue, bringing your grinder back to life. In the next sections, I’ll walk you through practical, proven methods to identify and correct the problem, so you can get back to brewing that flawless cup.
Inspect and Disassemble Your Grinder Carefully
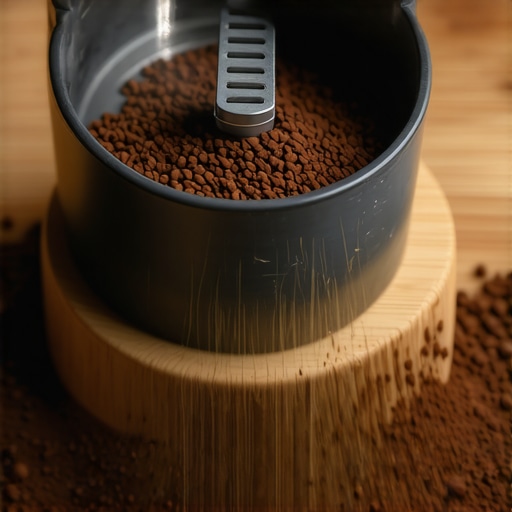
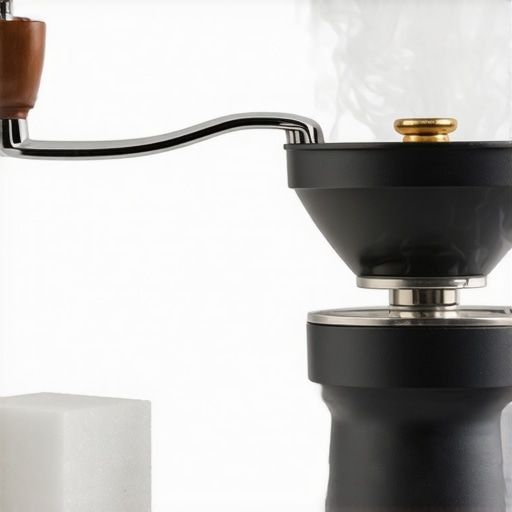
Start by unplugging or detaching your grinder if it’s electric, or securing the handle if manual. Remove the hopper and burr assembly following your model’s manual. Use a soft brush or cloth to clear residual coffee grounds from all components. I once disassembled mine over a messy kitchen counter, realizing how much coffee oil and debris had accumulated, which contributed to misalignment and skipping teeth. Proper cleaning is crucial for smooth operation.
Check Axle Alignment and Condition
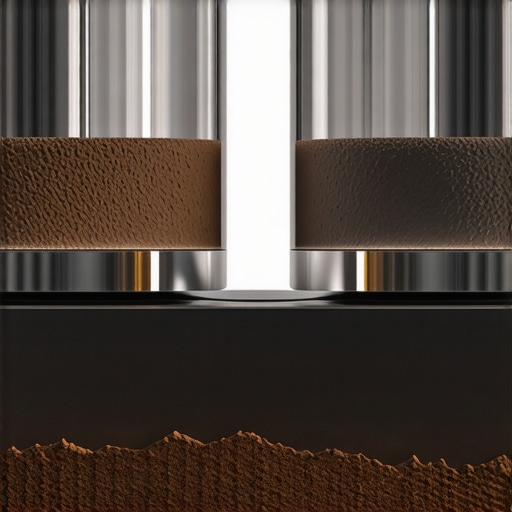
Identify the axle that connects the burrs. If the burrs seem misaligned or wobbly, the axle might be bent or worn. Use a small, flat screwdriver or a precision tool to gently lift or adjust the axle if accessible. If the axle appears bent or rusted, replace it. Think of the axle as the spine of your grinder—when it’s out of alignment, everything else suffers. For precision, compare the axle’s position to the manufacturer’s specifications or a working model.
Adjusting the Axle
Loosen the securing screws and gently realign the axle to ensure the burrs sit flush and parallel. Tighten the screws firmly, but avoid overtightening, which might cause deformation. Tighten evenly to prevent biasing the burrs. During my fix, I secured the axle with a calibrated torque, which restored smooth turning and eliminated skipping.
Test the Burrs for Smooth Rotation
Reassemble the burrs and manually rotate them to check for smoothness. If rotation is rough or feels gritty, re-examine the axle and burr seating. Use a lubricant sparingly—preferably food-grade options—if parts seem stiff. If the burrs still don’t turn smoothly, consider replacing worn parts for better performance. Think of it like tuning a musical instrument; precise adjustments result in harmony, just like a perfect grind.
Reassemble and Calibrate for Consistency
Once satisfied with the alignment, reassemble all components in reverse order. Grind a small batch of beans and observe the operation. If skipping continues, recheck the burrs’ tightness and the axle’s position. Regularly cleaning and checking for wear prevents future issues. Regular maintenance, including inspecting the axle alignment and burr condition, ensures your grinder continues to produce consistent grinds, vital for excellent brew quality. For more insights into selecting and maintaining your gear, visit How to select the perfect coffee grinder or mastering home espresso tips.Many coffee enthusiasts assume that acquiring premium barista gear automatically guarantees perfect espresso shots and velvety microfoam. However, what most overlook are the subtle nuances that make or break your brewing experience. For instance, a prevalent myth is that expensive espresso machines always produce better coffee—yet, without proper dialing in grinder settings or maintenance, even the priciest equipment underperforms. Advanced users understand that factors like water mineralization, burr alignment, and temperature stability significantly impact shot quality, beyond just the machine’s price tag.
One trap I’ve repeatedly seen is focusing solely on brewing hardware while neglecting ancillary but critical components like coffee grinders. Many don’t realize that even the best espresso machine cannot compensate for inconsistent grind size or uneven particle distribution. Poorly maintained grinders that are misaligned or clogged can lead to under-extraction or channeling, which compromises flavor and body. To avoid this, regular calibration and cleaning are essential; it’s a mistake to think that simply investing in top-tier gear will bypass ongoing upkeep.
Why does grind size adjustment matter more than you think?
Adjusting your grinder correctly is often underappreciated among home baristas. Small changes in grind fineness or coarseness can radically alter extraction time and flavor profile. An overly fine grind might cause over-extraction and bitterness, while a too-coarse grind results in under-extraction and sourness. Precision here is key—yet, many believe that once dialed in, no further tweaks are necessary, which is a misconception. I recommend practicing consistency and understanding the nuances, like burr wear and dosing techniques, to refine your shot quality over time.
Furthermore, one overlooked nuance involves milk frothing. Many think that the type of milk is the sole factor in achieving microfoam; in reality, the steam wand’s temperature stability, tip design, and even milk jug angle influence results. Using lower-quality milk frothers or neglecting proper steaming techniques can lead to flat or overly airy milk. Check out expert advice on milk frothers to elevate your craft.
Don’t forget that external factors like water quality can subtly sabotage your equipment. Hard water causes mineral buildup, leading to clogs and fluctuating boiler pressures. Using appropriate water filters, or testing your water hardness, can prevent these hidden pitfalls. It’s a common oversight to ignore water quality, but it can significantly prolong your gear’s lifespan and ensure consistent brewing. For detailed insights, explore how to select the perfect grinder for your setup.
In summary, the world’s best home espresso setup isn’t just about material investment. It’s about understanding the intricate dance of burr alignment, grind adjustments, water quality, and proper maintenance. Be vigilant about these details—because the difference between good coffee and great results often comes down to the subtle nuances you master over time. Have you ever fallen into this trap? Let me know in the comments.
Maintaining Your Equipment for Consistent Results
As a passionate home barista, I’ve learned that regular maintenance is the secret to long-term performance of your espresso gear. Using the right tools and adopting savvy methods can extend the lifespan of your machine, grinder, and accessories, ensuring each cup is as good as the first. I personally rely on a combination of specialized cleaning products, precision tools, and scheduling routines to keep everything running smoothly—an investment that pays off in flavor, consistency, and peace of mind.
Why Investing in Quality Tools Matters
Rather than settling for generic brushes or makeshift cleaning solutions, I opt for dedicated espresso machine cleaning kits, which contain small brushes, descaling agents, and lubricant sprays designed for frequent use. For instance, a brass brush with firm bristles efficiently removes coffee oils from group heads without damaging seals, as recommended by espresso experts. These tools are tailored to reach tight spots and prevent mineral buildup, which can cause pressure inconsistencies or espresso taste issues over time.
How Do I Maintain My Grinder Over Time?
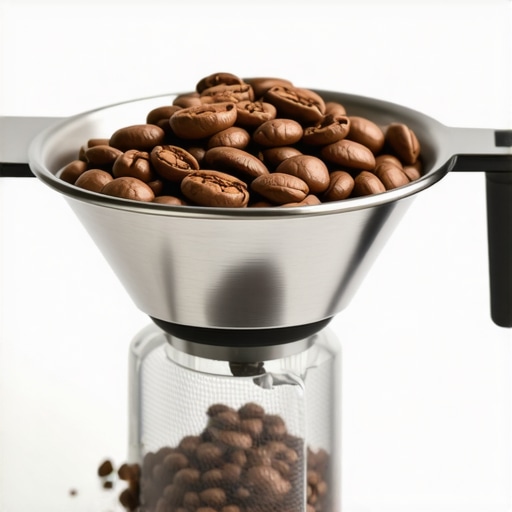
The grinder is arguably the most critical component, and its maintenance can dramatically influence your brew quality. I use a small brush to clean the burrs after every few uses, removing coffee grounds that can cause uneven particle sizes. Additionally, I run periodic deeper cleanings with grinder-specific cleaning pellets to eliminate oil buildup, which impacts grind consistency. Regularly shimming burrs using the technique from this detailed guide ensures uniform particle distribution, elevating your espresso quality.
Tools I Recommend for Espresso Machine Care
Beyond brushes and descalers, I swear by a calibrated tamping station to achieve consistent tamping pressure—helping avoid channeling and uneven extraction. A high-quality pH tester strip for water quality monitoring also prevents mineral buildup caused by hard water, which can clog boiler fittings or cause corrosion. Remember, maintaining your espresso machine isn’t just about cleaning; it’s about fine-tuning every component to perform at its best.
Anticipating the Future of Maintenance Tools
Looking ahead, digital sensors and smart maintenance apps will likely become standard, alerting users to issues before they affect performance. Companies are innovating with IoT-enabled units that track usage, descaling schedules, and component wear—making maintenance less of a chore and more of a proactive routine. Until then, I recommend setting up scheduled check-ins; for example, cleaning your portafilter gasket every few weeks, or inspecting seals for leaks—little habits that save big troubleshooting headaches later.
How Do I Keep My Equipment in Prime Condition?
One powerful tip I urge you to try is incorporating a weekly deep-clean ritual with a focus on burr alignment and water quality. For example, periodically removing and shimmying burrs using precision tools can prevent uneven grind sizes, leading to more extraction consistency. Complement this with water filtration, which goes a long way in prolonging your boiler and group head lifespan. For expert guidance, check out this detailed burr cleaning method. Testing your water’s mineral content with inexpensive strips ensures you’re not unknowingly causing damage—an often overlooked detail that can significantly impact your gear’s longevity. Implementing these maintenance practices will ensure your gear performs flawlessly, shot after shot. Try one of these advanced tips today, and your future self will thank you for the improved consistency and flavors.
Over the years, I’ve learned that the journey to a perfect cup isn’t just about initial setup but involves ongoing discovery and subtle tweaks—especially with your grinder. One lesson that transformed my approach was realizing that even minor misalignments could sabotage my efforts, and catching these issues early saved me countless mornings of frustration.
Instead of chasing the latest equipment upgrades, I found that investing in my own understanding—like how to properly shim my burrs or recognize signs of wear—bays the way for consistent excellence. The moment I started viewing maintenance as a form of art rather than a chore, my espresso game improved dramatically. It’s these small, intentional actions that elevate your brewing ritual from good to exceptional.