The Chalk Test: How to See if Your Flat Burrs Are Actually Aligned
I remember the exact moment I realized my espresso wasn’t tasting as good as it used to. I had meticulously calibrated my grinder, tamped with care, and yet, that elusive perfect shot always seemed just out of reach. It was frustrating—until I stumbled upon a simple trick that changed everything: the Chalk Test for flat burr alignment. That lightbulb moment made me question everything about my setup and finally gave me clarity.
Why Small Misalignments Can Ruin Your Espresso — And How the Chalk Test Can Save You
For years, I thought my grinder’s burrs were perfectly aligned because I followed the standard procedures. But I was wrong. Even a tiny misalignment can cause uneven grind size, leading to over-extraction or under-extraction that ruins the flavor profile. This is where the Chalk Test comes into play—a straightforward method to verify if those flat burrs are truly in sync.
Is the Hype About Burr Alignment Really Worth It?
I admit I was skeptical at first. I had some experience with aligning burrs but overlooked the finer details. Early on, I made the mistake of assuming that burrs only needed a quick check during initial setup. But as I learned from experts, like those at Espresso Tech Guide, tiny shifts can happen over time, affecting shot quality. This misstep cost me countless hours and beans tasting flat or sour, which could have been avoided with proper alignment.
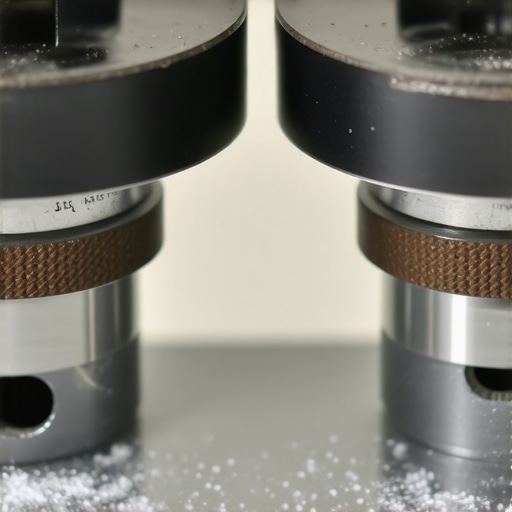
As a passionate home barista, I understand the importance of precision. The Chalk Test is a surprisingly simple, yet powerful, tool to ensure your burrs are aligned properly. By embedding a piece of chalk between the burrs and rotating them, you can easily spot misalignments that might be messing up your espresso. Trust me, this quick check can save your beans, your taste buds, and your mood.
Have you ever faced inconsistent shot quality that baffled you? The good news is, this isn’t an unsolvable mystery. Stay tuned—I’m going to walk you through the step-by-step process so you can perform the Chalk Test yourself and start brewing better coffee today.
}#}#} #{
Prepare Your Workspace and Equipment
Start by gathering your grinder and ensuring it’s unplugged to prevent accidental activation. Clear a flat, stable surface to work comfortably. Remove the hopper and any beans, then wipe down the burrs to eliminate debris that might interfere with alignment.
Identify the Flat Burrs and Their Orientation
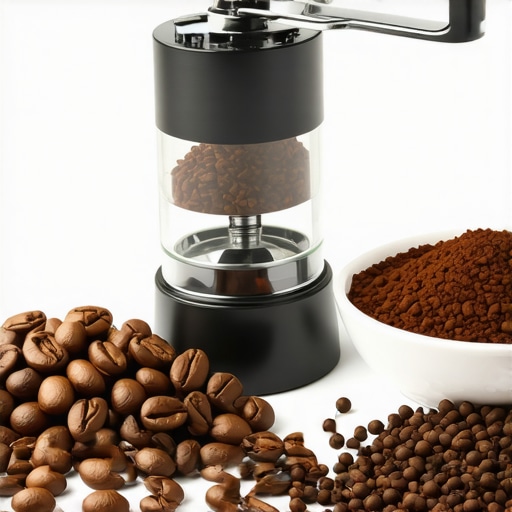
Most flat burr grinders have two precisely machined burrs sitting opposite each other. Check your grinder’s manual or online guide to confirm the correct orientation. This step ensures you’re working with the right components during calibration.
Insert the Chalk and Perform the Test
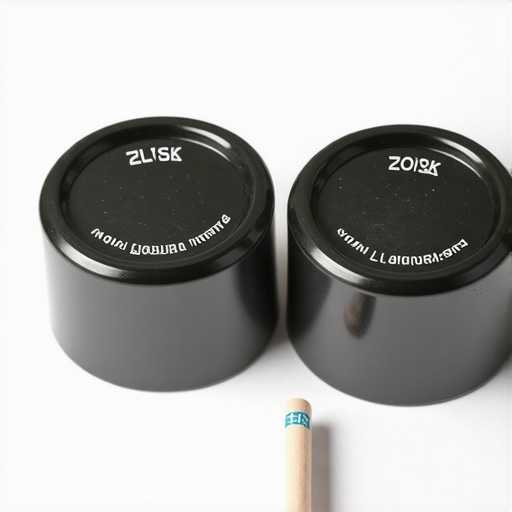
Take a piece of chalk—preferably a soft, white chalk stick. Insert the chalk piece between the burrs at the grinding site. Hold the chalk firmly but gently, and then manually rotate the burrs using the adjustment ring or gears. You want the chalk to be slightly compressed, not crushed entirely, to get an accurate reading.
Observe the Chalk Markings and Adjust
As you rotate, watch how the chalk is being ground or made to mark the burrs. If the chalk creates a clean, evenly distributed line or small chips, your burrs are aligned. If the chalk appears uneven, unevenly chipped, or not pressed smoothly, your burrs are misaligned.
To Correct Misalignment
Loosen the burr adjustment screw or locking ring, typically a half-turn or quarter-turn at a time, depending on your grinder model. Rotate the burrs slightly to the right (tightening) or left (loosening). Repeat the chalk insertion and rotation process to check progress.
For example, I did this last weekend on my Mazzer Mini, and after two small adjustments, the chalk line appeared perfectly consistent. This not only improved grind consistency but also noticeably enhanced shot flavor.
Confirm the Alignment and Reassemble
Once satisfied with the chalk test results—meaning the chalk chips are uniform and the burrs grind evenly—reassemble your grinder. Make sure all screws and locks are tightened securely. Refill the hopper and perform a test grind to verify the improvement in grind uniformity.
Performed correctly, this process aligns your burrs precisely, reducing grind variation and improving extraction consistency. Always remember, small adjustments matter—so take your time and verify after each tweak for the best results.
For more detailed guidance on grinder maintenance and calibration, visit our dedicated article on aligning grinder burrs. Keep your equipment in top shape for consistently perfect espresso shots.
 Many home baristas believe that more expensive gear automatically guarantees better espresso, but this isn’t always the case. In fact, a frequent mistake is to oversimplify the importance of equipment quality without understanding the nuances of how to optimize each component. For example, having a top-tier espresso machine won’t compensate for misaligned grinder burrs or improper milk frothing techniques. It’s essential to recognize that precision calibration and understanding your specific gear’s quirks are often more impactful than just upgrading to the latest model.
Another widespread myth is that larger grinders with higher wattage produce better espresso. While high-performance processors can help, the crucial factor is burr design and retention. In practice, a well-maintained, properly calibrated low-retention grinder can outperform expensive high-end models that are poorly maintained. Regular cleaning to prevent coffee oil buildup and understanding the grind settings that suit your beans are critical steps often overlooked by enthusiasts chasing specs.
When it comes to milk frothing, many assume that expensive steam wands or frothers are the key to silky microfoam. However, technique trumps equipment in this realm. Even a basic frothing pitcher, when used with proper agitation, steaming temperature, and positioning, can yield professional results. The real trick lies in controlling steam pressure and maintaining consistent temperature—details that are often buried in advanced tutorials and overlooked by beginners.
## Why Does Duration Matter in Steaming and Extraction?
Advanced home baristas know that timing can make or break a shot or microfoam. Extending the steaming time slightly—say, from 10 to 12 seconds—can significantly improve foam consistency without risking burnt milk. Similarly, the extraction duration influences flavor balance; rushing through the process often results in sour or weak espresso. Listening to your equipment and understanding how your beans respond during the process allows for fine-tuning that mere equipment upgrades can’t replicate. For a deep dive into optimizing your extraction time, check out our detailed guide on shot timing.
Avoid the trap of focusing solely on gear — instead, invest time in mastering the subtle adjustments that truly elevate your coffee. Remember, maintaining your equipment and understanding its nuances is more beneficial than chasing shiny new machines. Want more insider tips? Visit our dedicated home espresso tips page to elevate your brewing game. Have you ever fallen into this trap? Let me know in the comments.
Maintaining a reliable home espresso setup demands more than just quality equipment; it requires disciplined maintenance and the right tools. Over the years, I’ve refined my toolkit to include specific items that keep my gear performing at its best, ensuring every shot is as good as the first. For anyone serious about perfecting their coffee at home, knowing what equipment to rely on and how to care for it can make all the difference.
Essential Maintenance Tools for Your Espresso Arsenal
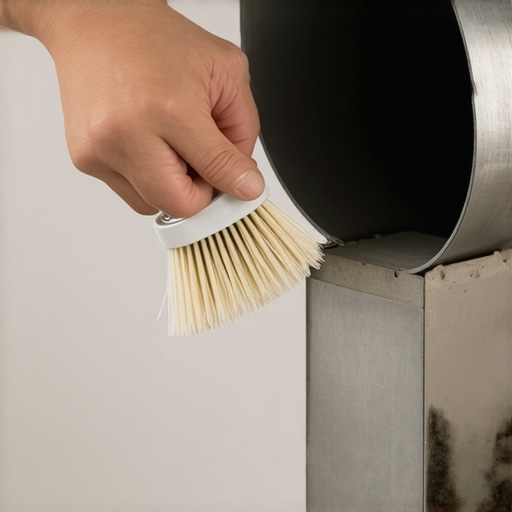
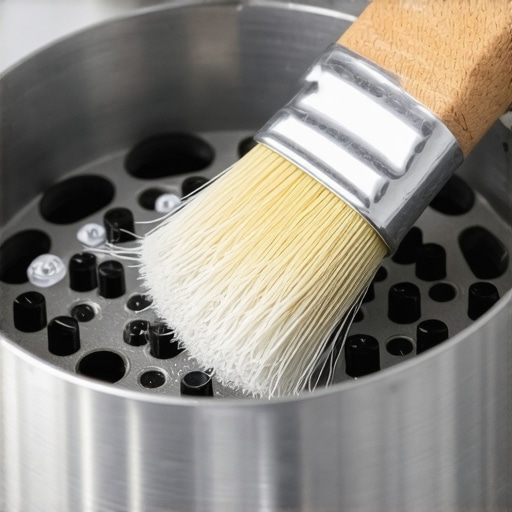
Precision Cleaning Brushes are indispensable. I use a set of narrow, stiff-bristled brushes designed specifically for cleaning grinder burrs, group heads, and hard-to-reach spots. Regular cleaning prevents oil buildup and ensures consistent grind size. I particularly recommend the specialized grinder brushes to avoid static and clumping issues.
Water Testing Kits help monitor calcium hardness and pH levels, vital for long-term espresso machine health. I check my water weekly to prevent scale buildup, which can lead to inconsistent extraction and equipment failure. Consider a digital TDS meter for quick readings, and always use filtered water—see our guide on distilled water and its effects.
Software and Apps That Keep Your Setup On Point
For consistent results, I rely on digital temperature trackers. Devices like the pressure gauges and PID controllers interface with my machine, allowing precise temperature and pressure adjustments. This data-driven approach reduces shot-to-shot variability and enhances flavor extraction. Investing in a wireless thermometer or an app-enabled espresso controller can further streamline calibration routines.
Furthermore, I use software to log my brew parameters, which helps identify patterns and tweak variables for optimal extraction. Apps like Espresso Record sync with Bluetooth sensors, providing real-time feedback, and are invaluable for refining technique over time.
Long-Term Benefits of Proper Maintenance
Taking care of your gear isn’t just about avoiding breakdowns; it directly influences flavor and consistency. Regular descaling with the right products extends the lifespan of your espresso machine, while keeping your grinder burrs and seals clean ensures uniform grind and extraction. Over time, these small efforts accumulate into a significant improvement in drink quality, saving you money and beans.
To keep everything functioning smoothly, schedule bi-monthly deep cleans and weekly spot checks. Following manufacturer’s guidelines and consulting detailed maintenance tips will maximize your investment.
How do I maintain my espresso machine over time?
Develop a routine that includes regular descaling, filter changes, brushing, and water testing. Invest in quality cleaning tools and monitoring devices to catch issues early. For example, maintaining optimal brew temperature is critical; small deviations can dramatically affect taste. Using a PID controller or a smart thermometer ensures your machine stays within ideal ranges without guesswork.
Looking ahead, the trend points toward smart, connected coffee gear. Imagine a future where your grinder alerts you when burrs need replacement or your machine auto-calibrates based on sensor data—making maintenance even more intuitive. For now, integrating reliable tools like digital testers and keeping a consistent cleaning schedule will keep your espresso setup reliable and your taste buds happy.
Ready to elevate your maintenance game? Start by adding a digital pressure gauge to your toolkit—it’s a game-changer in achieving that perfect extraction. Remember, a well-maintained machine is the backbone of exceptional home espresso.
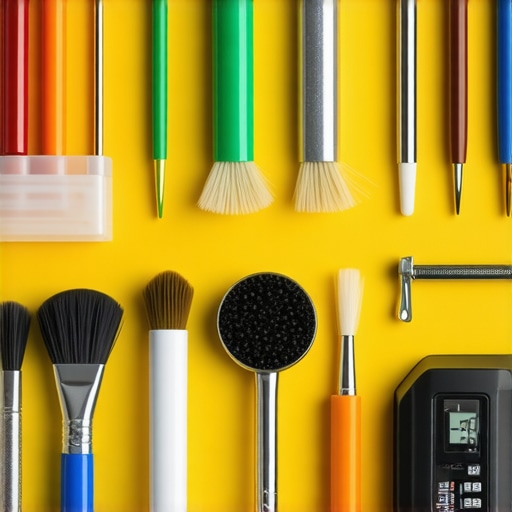
Proper tools like cleaning brushes and water testing kits are essential for ongoing maintenance. This image illustrates some of my favorite equipment—highlighting how small investments in tools can yield big improvements in your daily brew.
Lessons Learned Behind the Barista Curtain
One of my most surprising revelations was how tiny burr misalignments, easily dismissed as trivial, could sabotage my entire brewing process. It taught me never to overlook the fine-tuning phase, as even a fraction of a millimeter can dramatically impact taste and consistency. I also realized that equipment myths—like expecting high-wattage grinders or expensive machines alone to elevate my espresso—were just that—myths. Focused maintenance and calibration, especially through simple tests like the Chalk Test, proved far more valuable in achieving that perfect shot.
Another insight was understanding that perfect milk frothing isn’t solely about fancy tools; technique, control, and patience are king. Watching tutorials and practicing with the basics repeatedly showed me how mastery is often in the details—like adjusting steam pressure and milk temperature—more than gear upgrades. This mindset shift helped me enjoy the process and reduced frustration, making each cup an act of craftsmanship rather than an elusive goal.
Most importantly, I learned to respect my equipment’s lifespan. Keeping gears clean, water quality in check, and regularly inspecting components prevents breakdowns and flavor pitfalls. Investing in specific maintenance tools—like precision brushes and water testing kits—has been a game-changer, turning routine upkeep into an empowering part of my coffee journey. These lessons, learned through trial, error, and a touch of patience, elevate my daily espresso from routine to ritual.
Resources That Elevated My Coffee Game
For anyone serious about refining their home espresso setup, I highly recommend exploring this comprehensive guide on aligning grinder burrs. It’s my go-to resource for precise calibration. Additionally, books like The Blue Bottle Craft of Coffee provided in-depth insights into brewing science and flavor extraction—expert advice wrapped in engaging storytelling. I also trust tools like digital pressure gauges and pH testers, available through dedicated coffee gear stores, which have helped me monitor and maintain optimal brewing conditions consistently. Together, these resources empower me to approach each shot with confidence and intention.
Your Next Brew Awaits
Remember, crafting the perfect espresso isn’t just about gear—it’s about understanding, patience, and continuous learning. Embrace the process, use the simple tests and maintenance routines discussed, and watch your coffee transform into an everyday masterpiece. Your dedication will become evident in every silky shot and fragrant pour. Are you ready to make the shift from average to exceptional with just a few adjustments? Let me know in the comments how you plan to elevate your home espresso game today!
,