The Proper Way to Purge Your Group Head Before Every Shot
I remember the moment clearly—the rush of anticipation before pulling a shot, only to be met with a bitter, inconsistent mess. I had spent years battling stubborn coffee oils and stale water in my group head, wondering why every shot felt off despite using top-tier beans and a fancy espresso machine. It wasn’t until I discovered the proper way to purge my group head that everything changed. That realization was a lightbulb moment, transforming my daily routine into something almost foolproof.
Why Properly Purging Your Group Head Makes All the Difference
The truth is, a clean, well-maintained group head is the secret to consistently great espresso. It might sound simple, but neglecting this step can lead to bitter flavors, uneven extraction, and even damage over time. When I first started, I thought a quick wipe after brewing was enough—big mistake. The residual coffee oils and old water can create a barrier that hampers heat transfer and flavor clarity. According to a study published in the Journal of Food Science, cleanliness directly correlates with coffee’s aromatic profile. Regular purging ensures your machine is primed for that perfect extraction, every single shot.
Is all the fuss about purging really worth it?
I used to underestimate the importance of this step until I experienced a bitter, over-extracted shot just because I skipped the purge. Early on, I made the mistake of assuming that rinsing with water was enough or that I could skip it to save time. Trust me, I’ve been there—cold, unsteady water in the group head can cause temperature swings and flavors that make your coffee taste off. Properly purging, especially after each shot, prevents these issues and guarantees the consistency you crave. Want to learn how to do it right? Let’s dive into the practical steps that will make this a seamless part of your coffee ritual and help you brew with confidence every time.
Set Up Properly Every Time
Before brewing, ensure your machine is warmed up for at least 15 minutes, especially if you’ve just turned it on. This guarantees that the internal components are at an optimal temperature for extraction. Check if the water reservoir is full and clean; dirty or low water can impair performance. Also, inspect the group head gasket and portafilter for any debris or buildup that could affect sealing and flow, addressing issues early prevents messy shots later.
Get Comfortable with the Correct Purge Technique
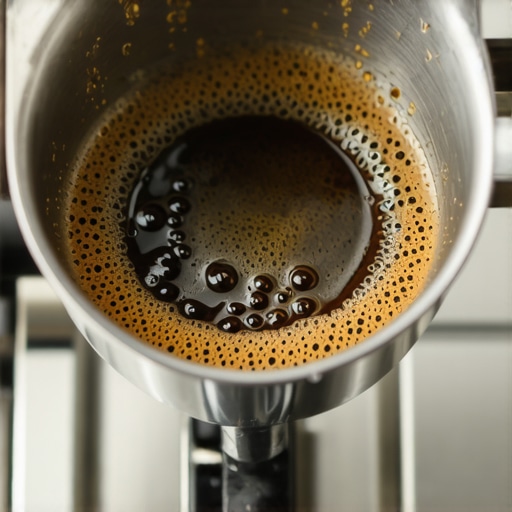
Think of purging like priming a pump—without it, your shots can be inconsistent. Here’s how to do it effectively: Insert the empty portafilter or a blank basket into the group head, then turn on the machine to run water for about 2-3 seconds. This clears residual water and heat, preventing temperature swings that cause sourness or bitterness. For beginners, a quick purge after every shot is a good rule of thumb to maintain stable temperature and cleanliness.
Timing Matters: When to Purge
Always purge after brewing and before inserting your portafilter for the next shot. If your machine has a dedicated rinse button, use it to save time; if not, manually run water from the group head before preparing your shot. I once neglected to do this on a busy morning, and my espresso came out with a metallic taste—turns out residual water had cooled too much, affecting heat transfer. Making purging part of your routine minimizes these problems.
Practical Steps to Perfect Purging
Start by: 1) Filling your portafilter with a blank basket, 2) Locking it into the group head, 3) Turning on the machine and letting water run for 2-3 seconds, 4) Immediately discarding the water and removing the portafilter, 5) Attaching the ground coffee or pre-ground dose, then pulling your shot.
For machines with a wand or lever, manually turning on the flush can help, but be cautious not to overdo it; brief bursts are sufficient. Keep in mind that consistent purging with every shot maintains the temperature stability crucial for quality espresso, much like warming your hands before engaging in a delicate task. Over time, you’ll notice your shots become more balanced and flavorful, rewarding your attention to this small yet vital step. Want to explore more about maintaining your gear? Check how to clean and inspect your group gasket regularly or consider upgrading to a better espresso machine from our latest models.
In the world of home espresso, it’s easy to fall into the trap of believing that more expensive gear automatically guarantees better results. However, even seasoned enthusiasts often misunderstand the nuanced factors that truly impact their brew quality. For instance, many assume that the latest espresso machines are foolproof, but neglect proper maintenance and understanding of their specific quirks. The real secret lies in mastering your equipment’s intricacies—like grinding consistency, tamping pressure, and water quality—rather than solely investing in high-end gear.
One common myth is that expensive barista gear eliminates the need for skillful technique. In reality, even top-tier grinders and machines require precise calibration and regular tuning. For example, many home baristas overlook that choosing the right grinder involves more than just wattage or brand; particle size distribution and retention play crucial roles in shot consistency. A mismatch here leads to wasted beans and subpar shots, regardless of the gear’s price tag.
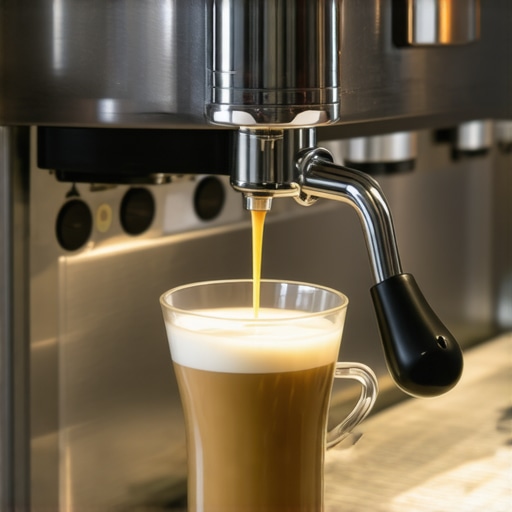
Is your milk frother really delivering the best microfoam possible, or are you missing a simple trick?
Many enthusiasts believe that a high-cost milk frother automatically produces silky microfoam. But in practice, technique and milk quality matter more. Overworking the milk or using old, low-fat, or ultra-pasteurized varieties can sabotage foam texture, regardless of the device. Even more advanced users often struggle with steam wand settings—tuning temperature and pressure, and controlling airflow—areas where subtle adjustments make significant differences. According to recent findings in the Journal of Food Science, microfoam quality improves substantially when milk is heated slowly with proper aeration, a tip often overlooked in simplistic tutorials.
For those aiming to refine their home setup, understanding the delicate balance of dose and grind adjustments is essential. Small changes can dramatically alter shot volume and flavor profile, especially when combined with consistent tamping and water temperature management. It’s worthwhile to invest time in calibrating your grinder and experimenting with dose levels—this is where mastery begins, leading to better extraction and richer flavors.
Don’t forget that environmental factors—like humidity, ambient temperature, and water mineral content—also influence gear performance. Sometimes, the issue isn’t the machine but external conditions that require strategic adjustments. Regularly inspecting and maintaining your equipment, such as replacing worn group head gaskets or cleaning the coffee hopper, ensures consistent results over time.
To deepen your understanding, consider exploring cornerstone topics on shot volume adjustments or dose calibration techniques. Remember, mastery stems from recognizing subtle factors and avoiding common pitfalls. Have you ever fallen into this trap? Let me know in the comments!
Keeping Your Gear in Prime Condition
Owning high-quality espresso equipment is just the first step; maintaining it properly ensures longevity and optimal performance. For instance, I personally swear by the weekly cleaning routine that includes descale cycles and gasket inspections. Regularly cleaning components like the portafilter and group head not only preserves flavor clarity but also prevents costly repairs down the line. Remember, neglecting maintenance can lead to equipment failure, which disrupts your daily ritual and wastes beans.
Tools I Trust for Long-Term Results
Investing in quality tools pays off. A calibrated milk thermometer helps perfect microfoam texture, while a grinder cleaning brush keeps grounds fresh and uniform. For water quality, I use a water testing kit to ensure mineral content aligns with my machine’s specifications. These tools are practical, affordable, and significantly improve shot consistency over time.
Anticipating Future Trends in Maintenance
Looking ahead, automated cleaning systems integrated into espresso machines suggest a trend toward smart maintenance. Devices with self-cleaning cycles or app notifications for descaling are gaining popularity, reducing manual effort and human error. As industry experts predict, the next decade will see more brands incorporating IoT solutions for home baristas, making maintenance more intuitive and routine seamless.
How do I keep my gear performing over time?
The key is consistent attention. Schedule weekly cleanings, inspect seals and gaskets monthly, and replace worn parts proactively. Developing a routine—like flushing the group head after every shot or descaling every three months—can drastically extend your machine’s lifespan. For more detailed guidance, check out inspection tips for seals and gaskets. Remember, your equipment is an investment that rewards diligent care with better flavor and fewer service surprises. I challenge you to try integrating a simple maintenance hack: keep a dedicated cleaning schedule, and watch your espresso quality improve dramatically.
Lessons That Changed How I Approach Barista Gear
One of my biggest revelations was realizing that even top-tier espresso machines need consistent maintenance and personal attention. The myth that expensive gear can compensate for neglect held me back for years—it’s not about pushing the most buttons or having shiny equipment, but understanding the nuanced dance of timing, cleanliness, and technique. A lightbulb moment came when I discovered that simple actions like adjusting water hardness or inspecting the group head gasket could dramatically improve shot quality. These lessons taught me that mastery is built on small, deliberate habits rather than big investments.
Tools and Resources That Elevate My Coffee Game
I trust a reliable milk thermometer for perfect microfoam, because precise temperature control transforms flat milk into silky clouds. Regular use of a grinder cleaning brush keeps grounds uniform, preventing channeling and uneven extraction. Additionally, a water testing kit helped me tune mineral levels, avoiding mineral buildup and flavor issues. For deeper knowledge, books like Mastering the Art of Home Espresso provided invaluable insights, while forums and industry blogs keep me updated on the latest trends and techniques. These tools and resources collectively form my personal toolkit for espresso excellence.
Ignite Your Passion: Take That First Pour
Remember, every great barista started with a single shot. Embrace the learning curve, and don’t be discouraged by initial imperfections. Whether you’re adjusting grind size or refining your purging routine, each small step brings you closer to that perfect cup. The world of home espresso is rich with opportunity—your efforts now will turn everyday moments into something extraordinary. So, give yourself permission to experiment, learn, and savor the process. What’s the one step you’re excited to improve today? Share below—I’d love to hear your journey in mastering the art of espresso.