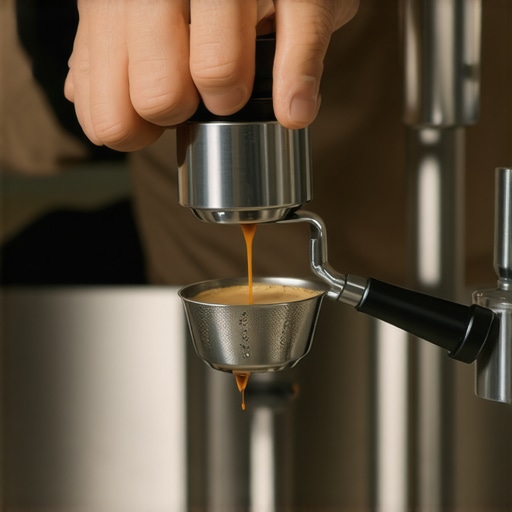
Why Your Espresso Shot Starts Fast Then Slows to a Drip
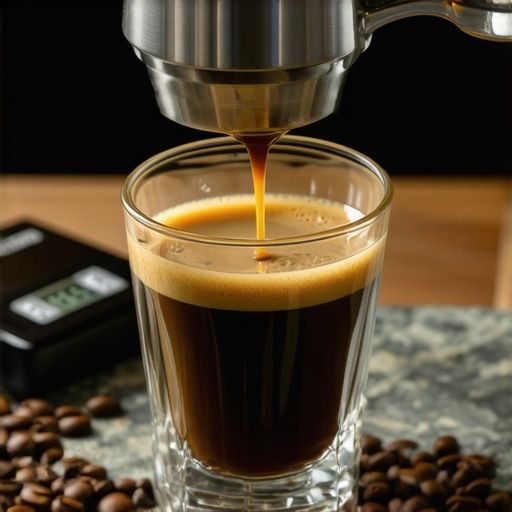
Have you ever pulled a shot of espresso only to watch it start with a quick, rich pour, then suddenly grind to a near halt, leaving you with a thin, disappointing stream? I’ve been there more times than I can count. That initial burst of bold flavor, followed by a sluggish drip, can feel like your machine is playing tricks on you, and honestly, it’s frustrating enough to make you question your entire setup.
Mastering the Rapid-Start Espresso Mystery
What’s really happening when your espresso begins with a blaze and then quickly dies down? Well, it turns out that this common issue often stems from uneven water flow or pressure problems in your espresso machine, and understanding these causes can make a world of difference. Today, I’ll walk you through the reasons behind the quick start and slow finish, backed by my own early mistakes and what I’ve learned along the way.
Is Your Machine Worth the Hype or Just a Dud?
Early in my home barista journey, I splurged on an expensive espresso machine, convinced that price would automatically mean perfect shots. Turns out, even top-tier gear can run into flow issues if not properly maintained or calibrated. One rookie mistake I made was neglecting regular cleaning, which led to clogs and uneven water pressure — problems that caused my shots to sputter and slow down. Trust me, even the best machines need a bit of TLC to perform at their peak.
Check Your Water Pressure and Flow
Start by inspecting your water pressure, which acts like the heartbeat of your espresso shot. Turn off your machine and open the steam wand to release built-up pressure. Then, run water through the group head without coffee to see if it flows smoothly. If it sputters or drips, sediment or mineral build-up might be blocking the flow. Descale your machine following manufacturer instructions or [consult this guide](https://espressotechguide.com/how-to-fix-a-leaking-group-head-without-calling-a-tech) for tips on clearing clogs and restoring proper pressure.
Clean and Maintain Your Brew Path
Residual coffee oils and old grounds accumulate inside components, causing uneven water flow akin to a clogged pipe. Remove the portafilter and soak it in warm, soapy water, then scrub with a brush. Disassemble the brew head if possible, and clean the shower screen, gasket, and filter basket thoroughly. Regular maintenance ensures water distributes evenly through the coffee puck. For stubborn clogs, you might need to check out [this quick fix method](https://espressotechguide.com/the-quick-fix-for-a-clogged-portafilter-basket) to clear internal blockages efficiently.
Adjust Your Grind Size and Dose
Coarser grind or underdosing creates channels in the coffee bed, causing water to shoot through quickly and then slow down. Use a high-quality coffee grinder and set it to a finer setting—think of it like adjusting a camera shutter for proper exposure. I once experienced this firsthand: after progressively refining my grind over a week, my shots became more consistent and flow improved markedly. Remember, precise dosing—about 18-20 grams—ensures even extraction. Learn more about selecting the right grinder [here](https://espressotechguide.com/how-to-select-the-perfect-coffee-grinder-for-your-brew) and perfect dosing techniques.
Examine Your Espresso Machine’s Components
Worn-out seals, gaskets, or valves act like leaky pipes, disrupting pressure and flow. Remove the portafilter, turn on the machine, and observe if water drips or escapes from unexpected places. Replacing worn seals, such as the group gasket, can restore pressure consistency. For step-by-step guidance, check [this quick gasket replacement](https://espressotechguide.com/how-to-replace-your-espresso-machines-group-gasket-in-10-minutes). Also, inspect the pressure valve; if it’s stuck or malfunctioning, it hampers the water’s journey, slowing flow or causing sputters. Regularly servicing your machine prevents these issues from becoming chronic.
Ensure Proper Tamping and Distribution
Uneven tamping is like squeezing a sponge unevenly—it causes channels for water to escape, resulting in uneven flow and weak shots. Use a calibrated tamper—possibly a [precision tamper](https://espressotechguide.com/the-truth-about-high-extraction-coffee-baskets)—and apply firm, even pressure until the coffee feels level and compacted. Invest in a distribution tool or [WDT technique](https://espressotechguide.com/the-hidden-benefit-of-using-a-puck-screen) to break apart clumps for uniform density. I once feathered my tamping pressure and observed a significant increase in shot consistency, with better flow and richer crema.
Monitor Machine Temperature
If your water isn’t hot enough, the extraction slows, causing a thin flow. Use a thermometer or read your machine’s temperature gauge to verify it’s within 195-205°F. Run a blank shot (no coffee) to test water temp; if it’s too low, you might need to descale or calibrate the temperature settings. Sometimes, a heating element scaling-up process reduces efficiency, which can be diagnosed through visual cues or [specific tests](https://espressotechguide.com/how-to-tell-if-your-brew-temperature-is-too-high). Proper temperature ensures optimal steam and extraction pressure, key for a fast start.
Sediment and Mineral Build-Up Control
Hard water leaves deposits inside the boiler and pipes, constricting flow. Regular descaling dissolves calcium buildup—use vinegar or commercial descaler, following manufacturer instructions. For deeper cleaning, remove and soak components like the shower screen. Prevent further buildup by installing a water filter, like those discussed [here](https://espressotechguide.com/why-your-espresso-machine-needs-a-dedicated-water-filter). A clean machine is like a well-oiled machine—everything runs smoothly, delivering that desired rapid, rich flow every time.
When it comes to crafting perfect espresso at home, many enthusiasts fall prey to misconceptions that hinder their progress. Unlike the popular belief that expensive equipment automatically guarantees stellar results, the truth is nuanced. For instance, many assume that glossy, high-end barista gear alone makes the barista; however, technique and maintenance often outweigh branding. This misconception can lead beginners to overspend on gear without mastering the fundamentals, like proper tamping or grind adjustments, which are vital for espresso quality. Additionally, a common trap is the overreliance on milk frothers as magic wands—thinking that their quality alone will produce barista-level microfoam. But even the best frother can’t compensate for poor milk texture or incorrect steaming techniques. For advanced enthusiasts, understanding how small variances—such as the exact temperature stability of an espresso machine—affect extraction can elevate your brewing. Research indicates that temperature fluctuations can significantly alter flavor balance, as noted in a study from the Journal of Food Science. This highlights the importance of monitoring your machine’s temperature with a reliable thermometer instead of assuming it’s always within ideal range. A hidden nuance often overlooked is the importance of grinder consistency. Even slight inconsistencies—like burr misalignment—can cause channeled shots or uneven extraction. I recommend regularly calibrating your grinder and inspecting burrs using guides like those on this troubleshooting page. Moreover, many users neglect proper cleaning of their equipment, which can lead to internal blockages and pressure issues, subtly impacting flow and flavor. For example, mineral deposits inside boiler elements may not be immediately visible but are detrimental over time. Regular descaling and thorough cleaning prolong machine life and maintain optimal performance. Finally, the myth that decaf espresso isn’t worth the effort persists—yet, with proper techniques, decaf can yield flavor profiles comparable to regular coffee, provided beans are fresh and grinder settings are fine-tuned. Always aim to understand the intricate dance between temperature, grind size, and tamping pressure, as these elements jointly determine shot quality. Want to explore these nuances further? Check out our detailed guide on mastering home espresso and optimize your setup. Have you ever fallen into this trap? Let me know in the comments and share your experiences. Remember, mastering espresso isn’t just about the gear—it’s about the technique, maintenance, and understanding the subtleties that most overlook.
Keeping your espresso setup running smoothly over time requires the right tools and consistent maintenance routines. While it might seem daunting at first, investing in quality equipment and adopting simple, effective practices can significantly extend the lifespan of your gear and improve your brewing results. Today, I’ll share the essential tools I personally rely on and the routines that have kept my machine performing at its best for years.
How do I maintain my espresso machine over time?
First and foremost, regular descaling is non-negotiable. Hard water deposits can clog internal pipes and pressure valves, leading to inconsistent shots or even equipment damage. I recommend using a high-quality descaler like Backflush, following manufacturer guidelines, and scheduling a deep clean every 1-3 months depending on your usage. Additionally, a good lubricating oil specifically designed for espresso machine components helps preserve seals and gaskets—replacing worn parts promptly prevents leaks and pressure drops that can ruin your shot quality.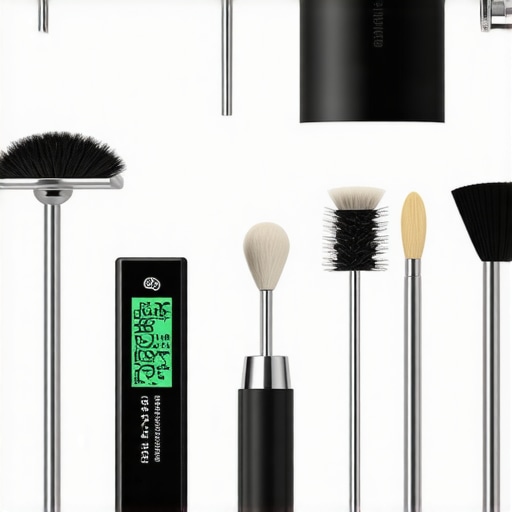
The tools I swear by for ongoing maintenance
One of my most valuable tools is a precision burr grinder calibration kit. Regular calibration ensures grind consistency, which is fundamental for steady pressure and flow during extraction. I personally use the calibrated coin method combined with a digital scale to maintain uniform dosing and grind size. A high-quality brush cleaner also makes quick work of removing coffee oils and grounds from burrs, preventing build-up that can cause uneven grinding and static issues. I found that my burr cleaning brush is an essential yearly component renewal—simple but effective.
For ongoing monitoring, a reliable espresso thermometer ensures your water temperature stays within the optimal 195-205°F range. Temperature fluctuations are a silent killer of shot consistency. I prefer models with digital readouts for precise calibration, and I check my machine’s performance with a temperature test method to confirm. Additionally, a water filtration system is an investment that preserves your machine—in particular, a certified water filter like those discussed here. It reduces mineral buildup and prolongs the need for descaling, saving time and money in the long run.
Scaling up your gear: The future of home brewing
Looking ahead, I predict that integrated IoT sensors will become standard in home espresso machines, allowing real-time monitoring of pressure, temperature, and water quality via smartphone apps. This technology could automate routine maintenance reminders and even tweak brewing parameters automatically, making it easier for enthusiasts to maintain perfect shots consistently. Already, some high-end models incorporate app-based diagnostics—an exciting development for those of us committed to quality and longevity.
To get started today, I recommend trying the precise burr calibration method I mentioned. It’s a small adjustment that can yield noticeably better flow and flavor. Remember—your gear isn’t just a machine; it’s a long-term investment in your coffee journey. Regular maintenance and the right tools will ensure your setup continues delivering those rich, complex espresso shots for years to come. If you’re interested in upgrading or fine-tuning your equipment, check out our guide to top-rated machines for 2025 to pick what’s best for your needs.
Over the years, I’ve learned that even the most sophisticated espresso machines won’t compensate for overlooked nuances in technique and maintenance. The real game-changer lies in understanding the subtle factors that influence your shot quality—things like consistent tamping, precise grind adjustments, and regular machine upkeep. These insights can transform your brewing routine from a series of trial-and-error attempts into a reliable craft, delivering rich, full-bodied espresso each time.
Lessons I Wish I Could Have Learned Sooner
- Don’t underestimate your grinder’s role: Small burr misalignments or inconsistent calibration can cause channeled extraction, leading to sour or bitter notes. Regular calibration and cleaning are non-negotiable for stable results.
- Temperature stability is key: A stable brew temperature ensures that extraction is even and flavors are balanced. Investing in a thermometer and monitoring your machine’s temperature has revolutionized my brewing confidence.
- Maintenance saves money and time: Descaling regularly and replacing worn seals prevent pressure issues that cause uneven shots. I learned this the hard way after a costly repair could have been avoided with routine upkeep.
- Technique over equipment: Even with high-end gear, inconsistent tamping or uneven distribution can wreck your shots. Practice with precision tools like a distribution paddle or calibrated tamper for uniformity.
Tools and Resources That Made a Difference
- Calibration tools: Ensuring your grinder and scale are spot-on is fundamental—these simple adjustments have improved my consistency exponentially.
- Maintenance guides: Knowing how to troubleshoot common issues like leaks or pressure drops has saved me countless trips to the repair shop.
- Expert articles: Deep dives into flavor profiles and troubleshooting techniques help deepen understanding and refine skills.
- Recommended gear reviews: Staying updated on the latest reliable machines ensures you’re investing in equipment that matches your commitment.
Your Next Espresso Adventure Awaits
Mastering the art of home espresso isn’t about perfection but persistence. Each small adjustment, every routine cleanup, and thoughtful technique brings you closer to crowning your coffee ritual with consistency and joy. Remember, the journey to better espresso is an evolving process—embrace it with curiosity and patience. Ready to elevate your brewing game? Share your biggest challenge or breakthrough below, and let’s learn from each other’s experiences. Your perfect shot is just a dial or a technique away—keep brewing, and enjoy every sip along the way!