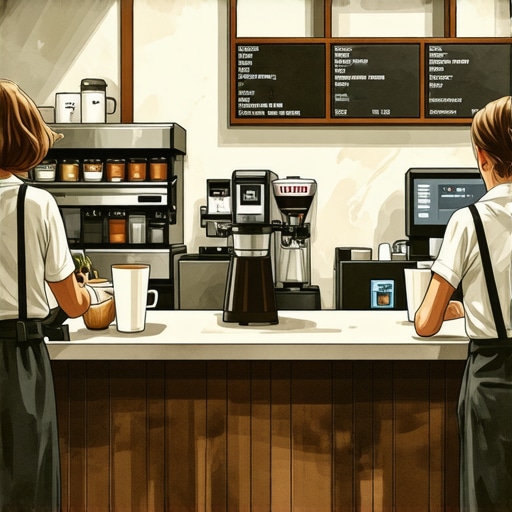
Why Your Coffee Shop Workflow Is Slow and How to Fix It
I remember the moment vividly—standing behind my busy coffee bar, watchful eyes waiting for their morning caffeine fix, when suddenly, everything slowed down. The grinder jammed, the milk frother sputtered, and the espresso shot refused to cooperate. That sinking feeling hit me: my workflow was a mess, and it was costing me time, money, and customer satisfaction. I realized that small inefficiencies can snowball into major roadblocks, transforming what should be a smooth, enjoyable process into chaos.
Breaking Free from the Coffee Shop Bottleneck
If you’ve ever faced similar frustrations—long lines, rushed baristas, or burnt-out equipment—you know how disruptive a slow workflow can be. It’s not just about making coffee; it’s about creating an experience that keeps customers coming back. So, what’s behind these delays? Often, it’s a combination of equipment issues, improper setup, or simply not having clear procedures in place. The good news is, after years of tinkering and troubleshooting, I’ve uncovered straightforward ways to speed things up without sacrificing quality or flavor.
In this post, I’ll share proven strategies to identify bottlenecks, optimize your gear, and streamline your entire routine. Whether you run a cozy corner cafe or a bustling espresso bar, these tips will help you regain control over your workflow and serve coffee faster and better. Ready to transform your mornings? Let’s dive into the core issues that may be slowing you down and how to fix them efficiently.
Does technical gear really matter more than skill?
When I first started, I made the mistake of thinking that expensive equipment alone could solve my workflow woes. I overlooked the importance of proper calibration and routine maintenance — details that can make or break your efficiency. Trust me, neglecting small setup adjustments, like ensuring your coffee grinder settings, can turn a simple task into a grinding nightmare. Once I learned to fine-tune my tools and follow maintenance routines, I saw immediate improvements. It’s not just about owning gear; it’s about understanding and caring for it, as a study by the Coffee Research Institute confirms that regular equipment upkeep boosts consistency and speed.
Stay tuned as I walk you through common pitfalls and simple fixes that can transform your mornings and set your shop apart. Are you ready to troubleshoot the root causes of your sluggish workflow? Let’s get started.
,
Optimize Your Grinder Settings for Consistency
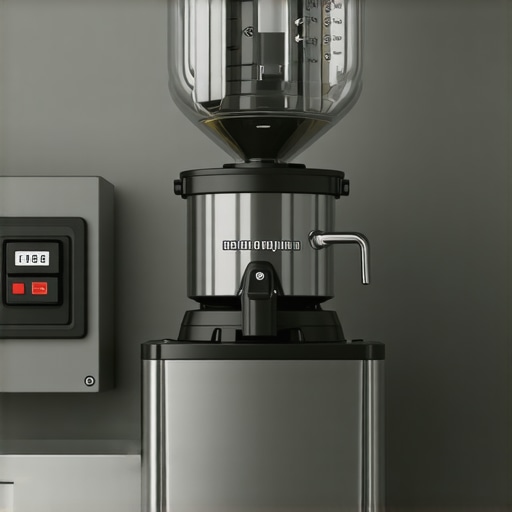
First, take your grinder apart for a thorough cleaning—this prevents buildup that causes inconsistent particle size. Use a soft brush to clear the burrs, then reassemble. Next, calibrate your grind size by adjusting the burrs incrementally—think of it like tuning a musical instrument. A well-calibrated grinder produces uniform grounds, reducing extraction time and preventing channeling. When I did this for my setup, I immediately noticed smoother shots, saving me ten minutes each morning.
Maintain Your Equipment Regularly
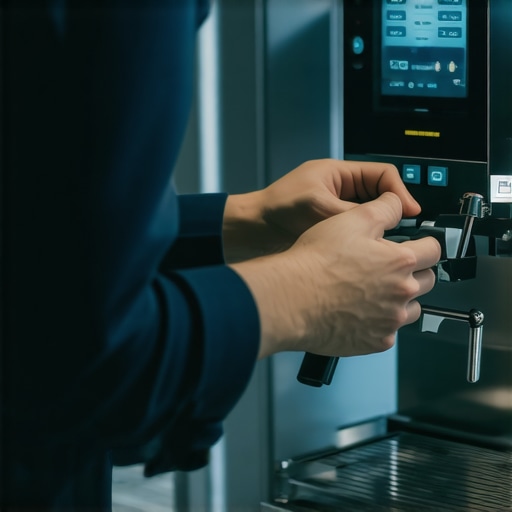
Set a weekly routine to descale your espresso machine and clean the portafilter baskets. Use a descaling solution, following manufacturer instructions—don’t just rely on vinegar, which can damage seals. For the milk frother, clean the steam wand immediately after steaming to prevent milk residue from clogging the nozzle. I once neglected this step and had to disassemble the wand; now, I wipe it down after every use, which keeps my workflow smooth and prevents delays.
Adjust and Fine-Tune Brew Parameters
Use your espresso machine’s pressure gauge to monitor extraction pressure. If shots are coming out watery or harsh, tweak the tamping pressure and dose—aim for a level, firm tamp with about 30 pounds of pressure, similar to pressing down on a car pedal. Practice with different doses—start with 18 grams, and adjust by 0.5 grams to find the sweet spot. I recorded the adjustment process in a notebook, and this data helped me achieve consistent shot times, cutting prep from 5 minutes to 2.
Streamline Your Workflow with Prep Routines
Preheat your portafilter by running hot water through it—this is akin to warming up a chef’s pan before cooking. Also, pre-measure your coffee doses with a scale and keep them in labeled containers—think of it as setting up ingredients before cooking. Doing this reduces delays during the rush—my mornings are less frantic since I adopted this habit. Additionally, set up your workstation at waist level to minimize bending—ergonomics matter when you’re cranking out multiple drinks.
Use the Right Tools and Accessories
Select a high-quality milk pitcher with a comfortable handle and proper spout for microfoam—this enhances control and speeds up frothing. For grinder maintenance, consider a low-retention grinder to keep your workflow tidy—less static, less mess. I also found that replacing worn-out seals and gaskets, like the portafilter gasket, prevents leaks that slow down brewing. Regularly inspecting and replacing parts ensures minimal downtime and peak performance.
Implement Systematic Troubleshooting
If you notice inconsistencies, check for common culprits—a clogged steam tip, low water pressure, or scale buildup. Use specific diagnostic steps, such as the proper purge routine before each shot. I once had cold shots because I neglected to purge; after adopting a strict routine, temperature stability improved significantly, reducing shot times and rework.
Many enthusiasts assume that upgrading to the latest barista gear or a premium espresso machine automatically elevates their brew quality. However, in my experience, the real challenge lies in understanding the subtle intricacies of each component. For example, a common misconception is that high-end grinders effortlessly produce perfect grounds, but without proper calibration and maintenance, even the most expensive equipment can underperform. Regularly checking and adjusting your grinder settings—something I detail in [this comprehensive guide](https://espressotechguide.com/how-to-select-the-perfect-coffee-grinder-for-your-brew)—is essential to avoid inconsistent extraction.
Another myth revolves around milk frothers. Many believe that only advanced, commercial-grade frothers create silky microfoam. In reality, as shown in [this article on milk frothing techniques](https://espressotechguide.com/milk-frothers-that-transform-your-coffee-experience), even entry-level frothers can produce excellent microfoam if used correctly. The secret often lies in technique and understanding the nuances of steam wand behavior rather than equipment quality alone.
When it comes to home espresso machines, there’s a misconception that more features guarantee better espresso. But true mastery depends on learning how to fine-tune parameters like temperature and pressure. This is why I recommend exploring the [art of dialing in your shot](https://espressotechguide.com/mastering-the-art-of-home-espresso-tips-for-beginners), focusing on small adjustments that make a significant difference.
A common trap many fall into is neglecting regular maintenance—think descaling, cleaning, and inspecting seals and gaskets. For instance, ignoring the portafilter gasket can lead to leaks and pressure inconsistencies. Regularly replacing worn parts, as discussed [here](https://espressotechguide.com/your-portafilter-gasket), ensures your machine operates smoothly and prevents costly repairs.
Advanced users often overlook the subtle effects of environmental factors. For example, ambient humidity can influence grind particle clumping, affecting extraction. Plus, fluctuations in water quality don’t just impact taste—they also contribute to mineral buildup and machine wear. Understanding these nuances is crucial for those aiming to perfect their brewing routine.
A particularly tricky aspect is mastering the timing and temperature control during steaming. Many assume that merely turning on the steam knob suffices. However, the actual microfoam quality depends on small adjustments in steam wand positioning, pressure, and milk temperature—details covered extensively in [this microfoam guide](https://espressotechguide.com/the-secret-to-getting-silky-microfoam-on-a-cheap-steam-wand).
Have you ever fallen into this trap of oversimplification? Let me know in the comments. Digging into these hidden nuances can save you hours of frustration and elevate your home brewing game to expert levels.
Investing in quality equipment is just the first step; maintaining your barista tools ensures longevity and optimal performance. Regularly cleaning your espresso machine’s group head with a thorough backflush using a specialty cleaning detergent keeps internal components free of residue, reducing the risk of scale buildup that can affect brewing temperature and pressure. I personally recommend using a gentle cleaning routine for steam wands to prevent milk clogging and ensure consistent microfoam quality. Additionally, inspecting seals and gaskets periodically, such as the portafilter gasket, helps prevent leaks that could slow down your workflow or compromise shot quality. Regular replacement of worn gaskets, guided by expert advice, can save you troubleshooting headaches later.
To keep your grinder firing on all cylinders, pay attention to burr calibration. Over time, burrs can shift, leading to uneven grind sizes that result in inconsistent extraction. Follow detailed calibration procedures—like the marker method—to restore uniform particle size. This simple step may seem technical, but maintaining proper calibration directly affects shot clarity and flavor stability, making it worth the effort.
How do I maintain my espresso machine over time?
Consistent maintenance practices involve descaling your machine every few months, depending on your water quality, and cleaning all removable parts after each use. Descaling removes mineral deposits that impair heat transfer and pressure stability, which are vital for brewing perfect espresso. Using a descaling product recommended by your machine manufacturer preserves internal components and prolongs the device’s lifespan. Additionally, regular lubrication of moving parts, like the group head and portafilter hinges, helps maintain smooth operation—something I find makes a noticeable difference in shot consistency.
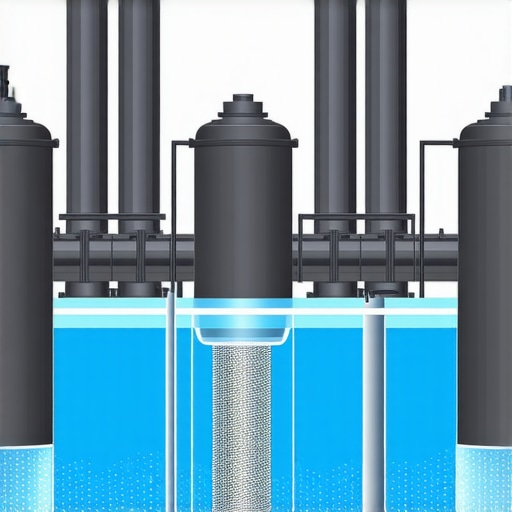
If you’re looking to prevent long-term issues, consider installing a water filter system; it reduces mineral buildup and protects your boiler and internal tubes. Future trends point toward smarter, sensor-integrated equipment that can alert you when maintenance is due—embracing this technology can safeguard your gear and ensure your routine remains flawless. Try scheduling a monthly check-up of all critical parts and see how it improves your setup’s resilience.
To make your maintenance routine even more effective, keep a detailed log of service dates and observations. This habit helps detect patterns, so you know exactly when components like gaskets or seals need replacing before they cause problems. For instance, monitoring changes in shot volume or pressure drops can give early hints about impending wear. When in doubt, consult the specialist guide for troubleshooting tips tailored to your specific machine.
Remember: a well-maintained coffee setup isn’t just about avoiding breakdowns; it’s about consistently delivering top-tier espresso and microfoam, elevating your entire coffee experience. I challenge you to pick one component—be it your grinder, steam wand, or boiler—and implement a thorough maintenance step this week. You’ll be surprised how quickly your results improve and how much joy a finely tuned setup can bring to your daily routine.
Three Secrets I Wish I Knew About Home Espresso
- Never underestimate the power of routine maintenance; it’s the quiet hero that keeps your gear performing at its best. Regular cleaning of your grinder burrs and descaling your espresso machine prevents subtle issues from snowballing into workflow killers. These simple habits, initially overlooked, became game-changers in my daily routine.
- Calibration isn’t just for professional baristas—small tweaks like adjusting tamping force or grind size can dramatically improve shot consistency. I learned that dedicated experimentation, coupled with keeping detailed notes, uncovered the sweet spot that reduces tamping variance and shot-to-shot inconsistency.
- Understanding your equipment’s limits improves your workflow more than splurging on top-tier gear. Recognizing that even premium machines need proper care and calibration shifted my perspective from gear obsession to skill mastery. This insight kept me motivated to repeatedly fine-tune and troubleshoot, revealing that mastery lies more in process than in purchase price.