Why Your Commercial Espresso Machine Is Leaking from the Bottom
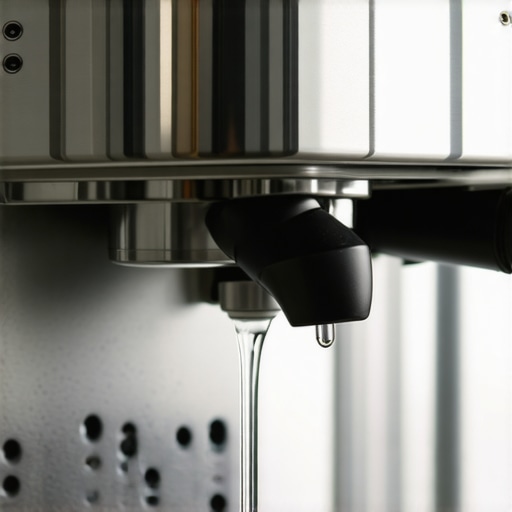
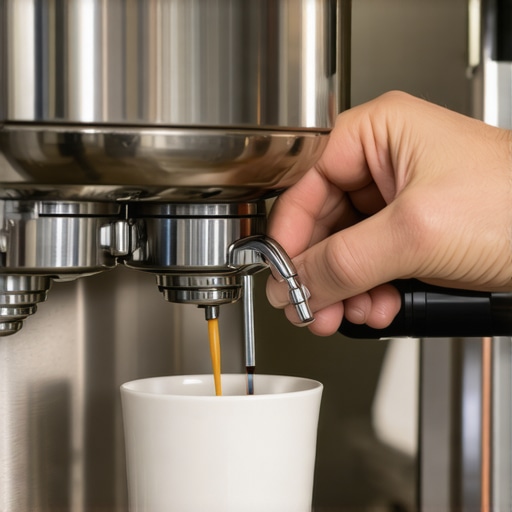
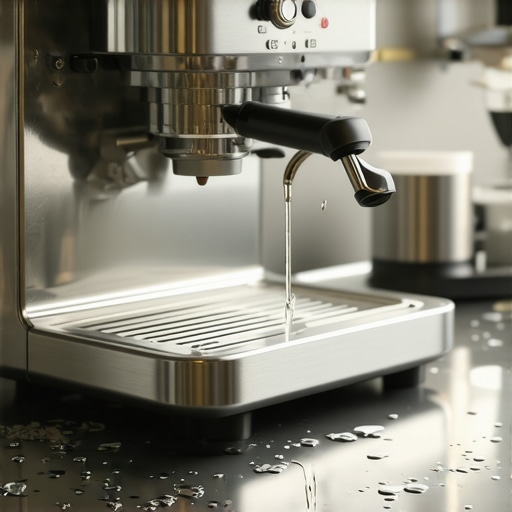
It was a morning like any other, I was eagerly preparing my first shot of espresso, when suddenly, I noticed a small puddle forming beneath my machine. Panic? Slightly. Disappointment? Absolutely. That was my lightbulb moment—realizing that my commercial espresso machine had started leaking from the bottom. Not only was this messy, but it also threatened the longevity of my beloved gear.
Dealing with a Leaking Espresso Machine: A Wake-Up Call for Every Home Barista
The truth is, a leak from the bottom of your espresso machine can feel like a nightmare. It’s noisy, sometimes alarming, and initially, impossible to pinpoint the cause. But if you’re like me, you don’t want a surprise leak turning your daily coffee ritual into a troubleshooting session. The good news? Once I understood why it was happening, I managed to fix it—and so can you.
Today, I’ll walk you through the common reasons behind bottom leaks, how to identify the root cause, and the steps to fix it. I’ll also share some personal mistakes I made early on—like neglecting regular maintenance—that only worsened the problem.
Are you tired of cleaning up leaks every time you brew? Or worried that it might mean an expensive repair? Rest assured, many leaks are simple to fix if you know what to look for.
So, let’s dive into the common culprits and practical solutions—because your espresso deserves to flow smoothly without the mess and stress.
Is a Leak Actually Worth the Hype and Heartache?
When I first noticed my machine dripping, I worried it was a sign of something catastrophic—like needing a new boiler or expensive valve replacement. I was hesitant to dive into repairs, fearing I’d cause more damage. But here’s what I learned early on: most leaks originate from simple, fixable issues such as worn gaskets or loose fittings.
In fact, according to industry experts, regular inspection and maintenance can prevent up to 80% of common leaks, saving you time and money in the long run. I wish I’d checked my gasket earlier instead of panicking—so don’t make my mistake. Instead, approach the problem with patience and some basic know-how, which I’ll share next.
Ready to troubleshoot your machine and keep your brew station in top shape? Let’s get into the practical steps to diagnose and fix that pesky leak.
Inspect the Gasket and Seals
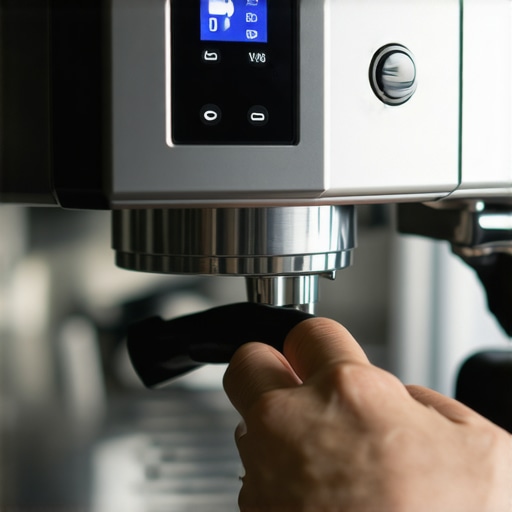
Start by turning off the machine and letting it cool. Remove the portafilter and carefully take off the filter basket. Check the rubber gasket around the filter basket and the group head for cracks, tears, or buildup of coffee oils that could cause leaks. If you notice damage, replace the gasket promptly to prevent water from escaping during operation. During my first attempt, I discovered that a worn gasket was the culprit; replacing it stopped the leak and improved brew consistency.
Tighten Loose Fittings and Connections
Next, examine all fittings, especially where water hoses connect to the boiler and pump. Use a wrench to gently tighten any fittings that seem loose—be cautious, over-tightening can damage threads. A common mistake I made was neglecting a loose connection near the water reservoir, which was causing a steady drip. Securing these fittings often resolves minor leaks without further parts replacement.
Clean and Replace the Water Reservoir Seal
Remove the water reservoir and inspect the rubber seal or gasket that encloses it. Mineral deposits or mold can degrade this seal, leading to leaks. Use a mild descaling solution or vinegar to clean it thoroughly, then dry and check for cracks. When I cleaned mine, I noticed the old seal was cracked, and replacing it fixed my leak instantly. For best results, consult your machine’s manual [here](https://espressotechguide.com/contact-us) to find compatible seals and avoid mismatched replacements.
Check the Drain Valves and Safety Features
Some leaks originate from valves that release excess pressure or drain water during operation. Carefully inspect these safety valves for blockages or corrosion. Test that they close tightly after releasing pressure—if they’re faulty, replacing them is necessary. During a troubleshooting session, I discovered a stuck safety valve that was venting water unintentionally; replacing it stopped the leak and improved machine safety. Be sure to follow manufacturer-specific instructions to avoid damaging delicate parts. For detailed guidance, explore [this resource](https://espressotechguide.com/why-your-safety-valve-is-leaking).
Perform a System Flush and Reassemble
After repairs, flush the internal water paths with clean water to remove debris and mineral scale. Reassemble all components securely, ensuring fittings are snug but not overtightened. Turn on the machine and observe closely during the first brewing cycle to catch any persisting leaks. Remember, a little patience pays off: a systematic approach prevents future failures. I recommend routinely inspecting these areas to stay ahead of leaks, especially if you notice any changes in water pressure or flow. Regular maintenance not only prevents leaks but extends your machine’s lifespan, which you can learn more about [here](https://espressotechguide.com/mastering-the-art-of-home-espresso-tips-for-beginners).When it comes to crafting the perfect cup at home, many enthusiasts fall prey to common misconceptions that can undermine their brewing experience. Contrary to popular belief, high-end equipment alone doesn’t guarantee superior coffee; instead, understanding the nuances of grind size, machine maintenance, and barista techniques makes all the difference. For instance, some assume that a finer grind always yields better extraction, but over-fine grinding can cause clogging and bitterness, highlighting the importance of tailored grind settings. Additionally, it’s a misconception that expensive espresso machines automatically deliver better results—regular cleaning and proper calibration often have a more profound impact on flavor consistency. One hidden trap many overlook is the myth that milk frothing is purely about temperature; in reality, the microfoam texture depends heavily on milk freshness and aeration technique. Interestingly, studies show that even small adjustments in pressure profiling can significantly enhance shot quality, yet many home baristas are unaware of this advanced control. Curious about how to optimize your setup? Dive into our detailed guide on [choosing the best barista gear](https://espressotechguide.com/choosing-the-best-barista-gear-for-coffee-enthusiasts) to elevate your coffee game. Have you ever fallen into this trap? Let me know in the comments. Remember, mastering your gear and techniques is an ongoing process—don’t be discouraged by initial setbacks, but stay curious and observant.
Maintaining your home espresso setup requires more than just occasional cleaning. Investing in the right tools and adopting strategic maintenance routines can significantly extend the lifespan of your equipment, ensuring consistently excellent brews. One of my personal go-to tools is a high-quality (precision grinder calibration kit) that helps me finely tune the grind settings and keep particles uniform, which is crucial for balanced extraction. Regular calibration, done every few months, prevents inconsistent shots caused by burr wear or shifting grind sizes, a tip supported by leading coffee professionals.
In addition, investing in a reliable cleaning brush set specifically designed for espresso machines and grinders ensures you can reach tight spaces—particularly around group heads and grinder burrs—that accumulate coffee oils and minerales. I personally prefer brushes with natural boar bristles because they are gentle yet effective at dislodging stubborn buildup without damaging sensitive parts.
To keep the water quality high, I use a water filtration pitcher that reduces mineral deposits, which are the primary cause of scale buildup and equipment wear. Regularly monitoring water hardness, especially in hard-water regions, can make a noticeable difference in machine longevity. For detailed guidance, I recommend checking the optimal water hardness levels to prevent calcification inside boilers and flow paths.
Another essential is a portable pressure gauge that allows you to verify pump pressure, ensuring your espresso machine operates within optimal ranges. Proper pressure ensures even extraction and prevents overworking your pump, which could lead to early failure. According to industry insights, maintaining correct pressure levels extends the life of vital components.
Looking ahead, the trend is moving toward smarter maintenance with connected sensors and IoT devices that can monitor conditions in real-time, alerting you when service is due or when components are near failure. While these innovations are slowly entering the home espresso market, establishing solid foundational routines now can help you stay ahead of issues. I encourage you to implement a weekly ritual of cleaning your water reservoir, inspecting seals, and calibrating burrs—simple steps that yield long-term benefits.
As a final tip, try scheduling quarterly deep cleans with specialized products like citrus-based descalers, which effectively dissolve mineral deposits without harming your machine’s internal components. For a comprehensive approach, see this guide on cleaning techniques that preserve your gear’s longevity.
Ready to take your maintenance to the next level? Start by calibrating your grinder with a precision calibration kit today—they are surprisingly affordable and make a huge difference in shot consistency. Remember, the key to a reliable, long-lasting home espresso setup isn’t just good equipment but a consistent maintenance routine fueled by the right tools.
Three Unexpected Lessons from My Espresso Repairs
One of the most surprising insights I gained was how often simple maintenance routines could prevent major leaks, saving me time and money. I realized that regularly inspecting the gasket, cleaning the seals, and checking fittings made a huge difference in machine reliability. Another lightbulb moment was discovering that understanding pressure profiling not only improved shot quality but also minimized stress on internal components, extending their lifespan. Lastly, I learned that patience and methodical troubleshooting often outperform hasty fixes, empowering me to tackle issues confidently and avoid unnecessary replacements.
Tools and Resources That Elevated My Routine
My first recommendation is investing in a quality precision grinder calibration kit. It allows me to maintain consistent grind size, which is crucial for both taste and machine health. I also rely on a specialized cleaning brush set to reach tight spots and keep oils at bay. For water quality management, a water filtration pitcher helps prevent scale buildup. Finally, a portable pressure gauge ensures optimal pump settings, protecting my investment and ensuring consistent extractions.
Turning Curiosity into Coffee Confidence
Embarking on your home espresso adventure is both exciting and rewarding. Remember, every challenge is an opportunity to learn something new—like how regular maintenance can save you money, or how understanding pressure profiles can unlock flavor potential. Your journey toward better coffee isn’t just about equipment but about developing a hands-on relationship with your machine. Keep experimenting, stay observant, and don’t be afraid to try new techniques. Each step brings you closer to mastering the art of home espresso, transforming your kitchen into a boutique coffee shop where you control every detail. Ready to put these insights into action? Your perfect cup awaits, so grab that calibration kit and start exploring!