How to Fix a Leaking Group Head After Backflushing
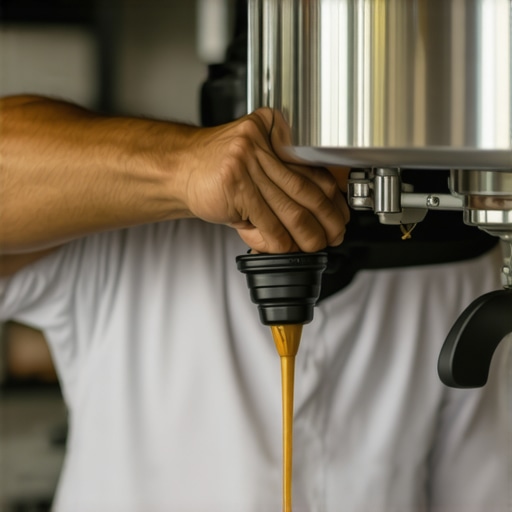
Have you ever stood in your kitchen, coffee machine humming softly, only to notice a little puddle forming around your espresso machine’s group head? That sinking feeling of realizing your beloved coffee setup is leaking can be frustrating—it’s like your machine is crying out for help, and you’re left wondering what you did wrong. I remember the first time this happened to me; I’d just backflushed my machine, thinking I was doing everything right, only to wake up to a damp surprise. Talk about a heart-sinker!
Why Fixing a Leaking Group Head Is More Than Just a Nuisance
This leak wasn’t just a minor inconvenience; it was a signal that something was amiss. After that initial shock, I dove into research, discovering that a leaking group head can cause uneven extraction, affect your espresso quality, and, over time, lead to more costly repairs. The good news? It’s often fixable with some simple troubleshooting and a bit of patience. If you’re tired of dealing with drips, pools, or persistent leaks after backflushing, I promise there’s a straightforward path to get your machine back in top shape. But before we get into the fixes, let’s address some doubts you might have.
Will Taking My Machine Apart Really Make Things Better?
Early on, I was terrified of tinkering with my gear—fear of voiding warranties or causing more damage was real! I made the mistake of rushing into disassembly without proper guidance, which only worsened the problem. Through trial, error, and some expert advice, I learned that most leaks stem from simple issues like worn gaskets or loose fittings. A little knowledge and patience go a long way. And if you’re feeling unsure, consulting a professional or reaching out through reliable resources like Espresso Tech Guide’s contact page can save headaches. Now, let’s explore what’s really causing that leak and how to fix it without turning your kitchen into a plumbing disaster zone.
Start by Unplugging and Preparing Your Machine
Before diving into repairs, ensure your espresso machine is unplugged and completely cooled down. Place a towel or container beneath the group head to catch any residual water. Think of this step as turning off your car and setting the parking brake before fixing a flat—safety first.
Disassemble the Group Head Carefully
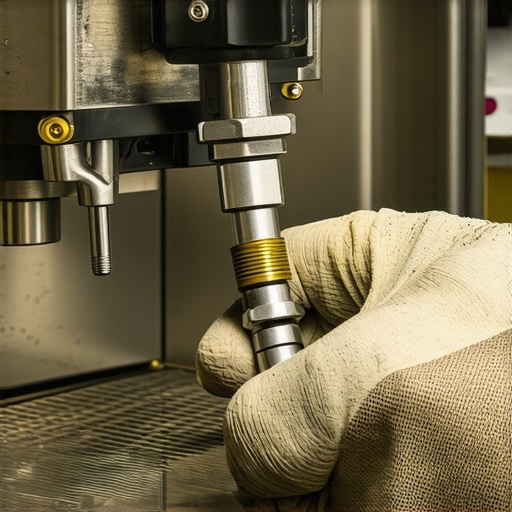
Remove the portafilter and unscrew any visible screws holding the splash plate or grill. Use a screwdriver suited for small screws to avoid stripping them. When I did this for the first time, I was surprised how simple it was—just a few turns revealed the gasket underneath.
Inspect the Gasket and O-Rings
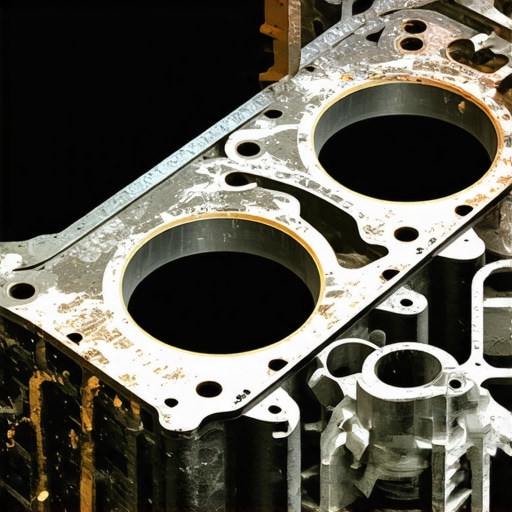
Examine the gasket sealing the group head for cracks, flattening, or debris. Sometimes, a worn or misaligned gasket causes leaks. If it looks damaged, replace it with a compatible one, which you can find at this resource. I replaced mine and immediately noticed a significant reduction in drips.
Check the Fittings and Connections
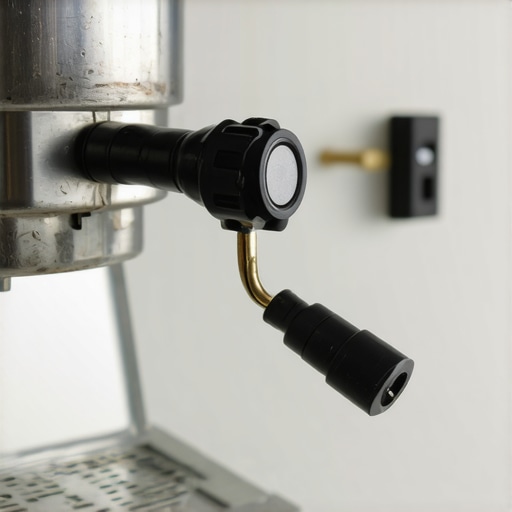
Look for loose fittings or fittings with mineral buildup. Use a wrench to tighten loose parts gently; over-tightening can damage threads. For mineral deposits, soak a cloth in vinegar and gently clean the fittings. Remember, like cleaning a clogged steam tip, patience and gentle tools preserve your equipment’s longevity (learn more here).
Replace Worn Seals and Gaskets
If during inspection the gasket feels brittle or cracked, replace it entirely. Remove the old gasket using small pliers, and install the new one making sure it seats evenly. Think of it like replacing the seals in your milk frother—proper seating prevents leaks and ensures optimal performance (see how).
Reassemble and Test
Once all parts are secured, reassemble in reverse order. Run plain water through the machine to check for leaks. Hold the group head under pressure for a few seconds to observe any drips. If the leak persists, double-check the gasket placement or tighten fittings slightly—every tiny adjustment counts.
Regular Maintenance to Prevent Future Leaks
Make it a habit to clean and inspect seals monthly. Use a soft brush to remove mineral build-up from fittings and gasket areas. Proper storage of cleaning brushes, as shown in this guide, keeps parts in top shape and prevents unexpected leaks.
When it comes to coffee gear, most enthusiasts operate under a set of assumptions that can hinder their brewing journey. Many believe that choosing the most expensive grinder guarantees perfect extraction, or that a top-tier espresso machine alone will transform their coffee. In reality, the nuances lie in understanding how each component interacts, and even more crucially, knowing what common pitfalls to avoid. Let’s explore some of the most overlooked aspects and dispel prevalent myths that might be holding you back from brewing your best cup at home.
Why Super-Fine Settings on Your Grinder Might Be a Double-Edged Sword
A frequent mistake is dialing your grinder to its finest setting in pursuit of that elusive shot. While fine grind size is essential for espresso, overdoing it can increase resistance, causing uneven extraction and bitter flavors. This issue isn’t merely about grind settings; it relates to how particle size distribution influences flow rate and extraction uniformity. According to a comprehensive study in the Journal of Coffee Science, inconsistent grind particle sizes are the most significant factor impacting shot quality, regardless of the grinder’s price point. Find the sweet spot by adjusting grind based on the beans’ roast level and humidity; often, a moderate setting produces more stable, flavorful shots. For detailed guidance, check our article on adjusting grind size responsively.
Misconceptions About Home Espresso Machines and Warming Up
Many assume that preheating the machine for 30 minutes guarantees optimal temperature stability. While preheating is good practice, temperature fluctuations during the brewing process can still occur due to intricate thermal dynamics. The misconception lies in thinking that warm-up time alone ensures consistency; in reality, employing a PID (Proportional-Integral-Derivative) controller to electronically maintain boiler temperature is a game-changer, especially for high-end machines. If your machine leaks cold water or exhibits pressure drops, it might be time to investigate the boiler’s thermal regulation—details that separates professional-quality equipment from average home setups. For more insights, consider reviewing the guide on machine temperature stability.
How Milk Frothing Tech Might Trick You into a Faux Barista Look
It’s tempting to believe that investing in the fanciest milk frother automatically makes your microfoam velvety and barista-worthy. However, the real secret is in technique, not tools. While high-end frothers can accelerate the process, the key lies in mastering the steaming technique—angle of the wand, positioning, and temperature control. Many fall into the trap of relying solely on their equipment’s features without refining their skills, leading to overly airy or burnt-tasting milk. For a deep dive into microfoam mastery, see our comprehensive guide. Remember, the best foam is the one that complements your espresso, not overpowers it.
Advanced Tuning: Are Your Barista Gear Adjustments Truly Beneficial?
For seasoned enthusiasts, subtle tweaks—such as burr alignment, portafilter tamp pressure, or water hardness—can profoundly affect the final brew. But here’s the tricky part: small changes might seem insignificant yet create unintended consequences like channeling or uneven extraction. For instance, over-tightening your machine’s fitting may improve seal but damage internal threads over time, leading to leaks. Similarly, tampering with pressure settings without proper tools can do more harm than good. The expert approach involves iterative testing with precise measurement, seeing what truly impacts your shot. To avoid common mistakes, you might want to learn about precision adjustments that pay off.
Let’s remember that achieving that perfect home brew is an ongoing process of learning and refinement. Many misconceptions stem from a lack of understanding about the complex interplay of equipment and technique. By debunking myths and embracing the nuances, you empower yourself to make informed decisions, avoid costly mistakes, and enjoy richer, more consistent coffee experiences. Have you ever fallen into this trap? Let me know in the comments and share your own revelations on mastering your coffee setup.
Invest in Quality Cleaning Equipment
Maintaining your coffee setup requires precise tools designed for longevity and effectiveness. I personally swear by a high-quality microfiber brush set from this supplier because it ensures thorough cleaning without damaging delicate parts like seals and gaskets. Regular cleaning prevents buildup that can cause leaks in machines and clog milk frothers, ultimately extending the life of your gear.
Use Software to Fine-Tune Your Grinder
For precise calibration, I rely on software-assisted adjustments that help me adapt to humidity fluctuations and bean origins. This approach avoids the common mistake of static grind settings which can lead to channeling or over-extraction. Embracing digital tools is the future; I predict more machine integrations with smartphone apps that will allow remote monitoring and adjustments, making maintenance even easier.
Prioritize Routine Checks and Replacement
In my experience, replacing worn seals and gaskets before they fail saves significant repair costs and prevents leaks. I typically perform a quick inspection every month—checking for brittleness or cracks—and replace components proactively. This practice echoes the advice found in this detailed inspection routine. It’s a small effort that pays off in consistent performance, especially as your machine ages.
Log Your Maintenance Activities for Long-Term Performance
Keeping a detailed record of cleaning intervals, part replacements, and calibration adjustments helps me identify patterns and avoid potential problems. An organized maintenance log empowers you to anticipate issues before they arise, ensuring you stay ahead of leaks or performance drops. Tools like digital spreadsheets or dedicated apps can streamline this process, making it easier to keep your gear in top shape.
Learn the Secrets of Proper Descaling
Mineral buildup is a silent enemy. I use a descaling solution recommended by experts, following this step-by-step guide to avoid damaging internal components. Regular descaling not only prevents leaks but also preserves temperature stability, which is essential for perfect shots. As machines become more sophisticated, their resistance to mineral deposits improves, but routine descaling remains indispensable.
Regularly Service Your Milk Frother
A clean frothing wand produces better microfoam and prevents blockages—crucial for those latte art skills. My go-to method involves nightly wiping with a damp cloth and weekly deep-cleaning using a descaling brush. Refer to this detailed guide for advanced tips. Maintaining your frother’s internal seals and valves prevents leaks and ensures consistent steam pressure, meaning fewer surprises when that perfect microfoam is on the line.
Opt for Reliable Hardware with Diagnostic Features
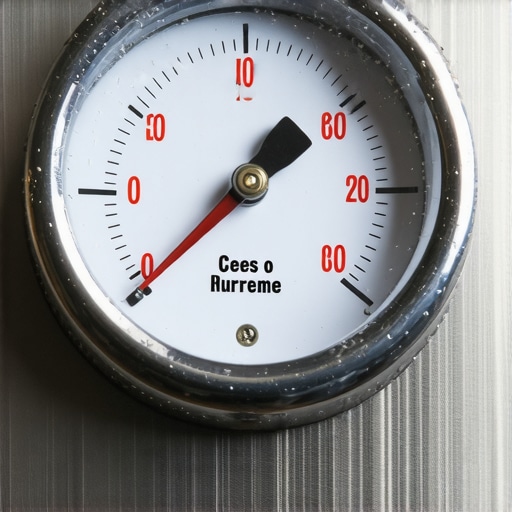
When investing in new equipment, I recommend choosing models with built-in diagnostic tools. These features allow you to monitor boiler pressure, pump health, and temperature stability in real-time. In the long run, they help catch looming issues early, reducing downtime and repair costs. For example, recent models of espresso machines incorporate digital error logs that simplify servicing—something I foresee becoming standard across all high-end home gear.
For ongoing maintenance, consider scheduling monthly inspections and using tools like pressure gauge kits to check system health. Building these habits now not only prolongs your gear’s lifespan but also ensures consistently excellent results. Try implementing a weekly cleaning schedule that includes descaling and gasket checks—small steps that make a big difference over time.
To deepen your understanding, I recommend exploring expert advice on the importance of regular maintenance. Remember, well-maintained equipment enhances flavor, saves money, and lifts your barista game to new heights. Don’t wait for leaks or performance issues—start your proactive routine today and enjoy flawless coffee someday soon.
What Really Turns the Coffee World Upside Down
One of the biggest lessons I learned is that perfection isn’t achieved overnight but through relentless curiosity and trial. Discovering that my grinder’s static was worse during winter, for example, pushed me to seek more than conventional fixes—like adjusting humidity levels or upgrading my grinder’s seals. These little insights transformed my approach from guesswork to precision, reminding me that every detail counts in brewing excellence.
My Handpicked Arsenal for Espresso Success
From my trusted barista gear to cleaning tools, every item in my toolkit has genuine value. I swear by quality microfiber brushes to keep seals in pristine condition and digital calibration tools that offer insights I couldn’t get otherwise. These curated resources are instrumental in maintaining top performance, turning routine maintenance into an enjoyable part of the craft.
Fuel Your Passion, Start Today
Your journey into the depths of home espresso brewing awaits, and every step you take adds to your mastery. Whether you’re fixing a pesky leak or perfecting the microfoam, remember—great coffee is not just a skill but a continuous adventure. Dive in, experiment, and enjoy the ride. What’s the first improvement you’re excited to try? Share your thoughts below and keep brewing greatness.