How to Clear a Stubborn Blockage in Your Three-Way Solenoid Valve
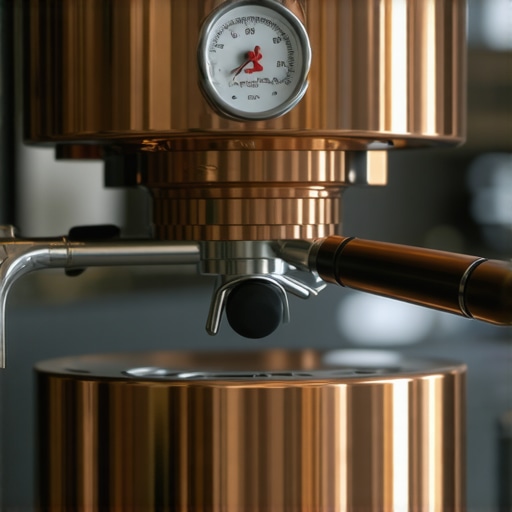
I’ll never forget the moment I was in the middle of pulling a perfect shot when suddenly, nothing. The machine’s pressure dropped, and my espresso shot sputtered to a halt. Frustration welled up as I realized I was facing a stubborn blockage in my three-way solenoid valve—a critical component I didn’t fully understand at the time. That lightbulb moment taught me that even with quality gear, neglected maintenance or small mistakes could cause big headaches.
Why a Blocked Three-Way Solenoid Valve Can Sabotage Your Coffee
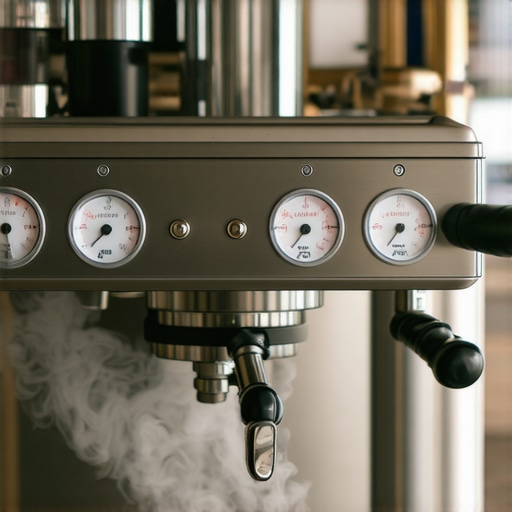
Many home baristas overlook the importance of the three-way solenoid valve, assuming it’s a minor part. But trust me, when this valve gets clogged or stuck, it disrupts the entire brewing process. You might notice your machine taking longer to release pressure, inconsistent shots, or even water leaking from unexpected places. Understanding why this part matters is essential to keep your espresso at its best.
Is Routine Maintenance Really Worth the Effort?
Early on, I made the rookie mistake of neglecting regular cleaning, thinking a quick wipe was enough. Turns out, oils, mineral deposits, and coffee grounds can build up inside the valve, leading to stubborn blockages. Regular descaling and proper cleaning routines are invaluable. If you’re curious, I recommend checking out this guide on maintaining your gear, which includes tips applicable to solenoid valves.
This initial misstep is common but easily rectified once you know what to look for and how to prevent it. The good news? Troubleshooting a blockage isn’t rocket science—once you grasp the principles, you’ll save time and avoid costly repairs.
In the next sections, we’ll dive into the practical steps you can take to clear that stubborn blockage and get your machine back to brewing perfection. But first, I want to see—have you ever faced a similar problem with your espresso gear? Drop a comment below.
Disassemble the Machine Carefully
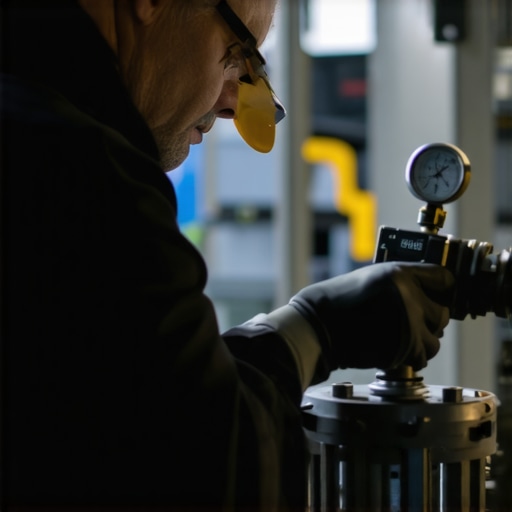
Start by unplugging your espresso machine and removing the water reservoir. Use a towel to catch any residual water. Locate the solenoid valve, typically near the group’s back or underneath the machine. Use a screwdriver to detach the panels around it, being gentle to avoid damaging delicate parts. Remember, patience is key—rushing can cause unnecessary damage.
Remove and Inspect the Valve
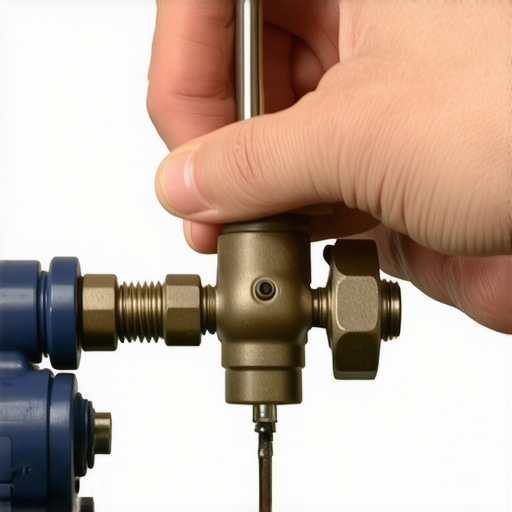
Carefully disconnect the electrical wires from the solenoid coil, noting their positions. Then, unscrew the valve using a suitable wrench or pliers. Once removed, examine the internal components—look for coffee grounds, mineral deposits, or oils blocking the small ports. Keep the parts organized for reassembly. During my first attempt, I found hardened coffee grounds clogging the valve’s opening, preventing proper pressure release.
Deep Clean the Valve Components
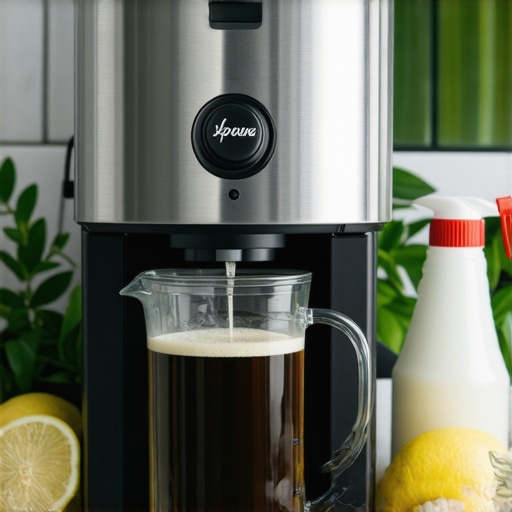
Soak the disassembled parts in a descaling solution or warm vinegar for about 15-20 minutes to loosen stubborn deposits. Use a soft brush or toothpick to gently scrub away residues—be cautious not to damage the delicate edges. For internal or hard-to-reach areas, a pipe cleaner or compressed air can help dislodge debris. After cleaning, rinse thoroughly with water to remove any cleaning solution residue.
Check and Clear the Ports
Use a fine needle or pin to carefully clear the small ports and channels inside the valve. These tiny openings are often the culprits behind blockages. For instance, I once cleared a stubborn port with a needle, restoring water flow and fixing my machine’s pressure issue. Ensure there’s no debris left that might cause future clogs.
Reassemble and Test
Reattach the parts in reverse order, reconnecting the electrical wires securely. Reinstall the valve into your machine, tighten all screws, and replace panels. Fill the reservoir with water and run a test cycle without coffee. Observe for leaks and listen for proper valve operation. If the machine pressurizes correctly and water flows smoothly, you’ve successfully cleared the blockage. Remember, regular maintenance can prevent future issues—consider incorporating routine cleaning protocols inspired by guides like this maintenance guide.
Prevent Future Blockages
To keep your solenoid valve functioning flawlessly, perform periodic descaling and wipe down the internal components. Use filtered water to minimize mineral buildup—this simple step can save you hours of troubleshooting. Also, avoid using stale coffee grounds or dirty cups that could introduce oils or debris into the system. Consistent care ensures your espresso remains top-notch and your machine lasts longer.
When it comes to high-end coffee gear, many enthusiasts operate under misconceptions that can hinder their brewing mastery. It’s easy to assume that expensive equipment automatically guarantees perfect results, but the real nuance lies beneath the surface. For example, many believe that simply choosing the latest espresso machine or grinder is enough, ignoring the importance of understanding each component’s specific nuances and maintenance needs. Misjudging the role of timing and calibration is a common trap that newbie and seasoned baristas alike fall into, leading to inconsistent results and wasted beans.
What Advanced Coffee Tech Enthusiasts Should Know About Machine Calibration
Beyond basic settings, precise calibration of your espresso machine, including the PID tuning, can drastically improve shot consistency. Many assume that once calibrated, your machine is set for life, but factors like mineral buildup, temperature fluctuations, and even ambient humidity can drift your settings over time. Regular recalibration, informed by professional insights, ensures your machine maintains optimal performance. A study published in Journal of Coffee Research emphasizes the impact of proper calibration on flavor extraction and crema stability, highlighting the need for ongoing precision adjustments.
The common myth that
cheap grinders can rival premium burrs is another falsehood that’s costing serious home baristas. Many believe that type of grinder doesn’t matter as long as the coffee is fresh, but grinder quality directly affects grind consistency and extraction. In reality, even minor inconsistencies in grind size—often overlooked—can cause shot variability and bitterness. Advanced users recognize the importance of choosing the right grinder for your specific setup and regularly maintaining it to prevent clogging and retention issues.
Common Mistakes in Milk Frothing That Prevent Flawless Microfoam
Many home baristas fall into the trap of over-heating the milk or not introducing enough airflow, resulting in a froth that is either too thick or not velvety enough for latte art. The nuance here is in the technique of positioning and the temperature control. Using a handheld milk frother requires finesse—too much agitation can ruin microtexture, and too little can leave it flat. Moreover, the myth that frothing milk should always be done at the same temperature ignores the fact that different milk types and ambient conditions demand adjustments. Mastery involves understanding your tools and environment intimately.
Take note: not all milk frothers are created equal. Some low-cost devices might seem appealing but lack the precision control needed for fine microfoam. A better investment is a quality electric or manual frother that allows you to adjust parameters, giving you more consistent results and reducing ‘oops’ moments during your coffee ritual.
Is Your Equipment Truly Ready for Prime Time? The Hidden Factors
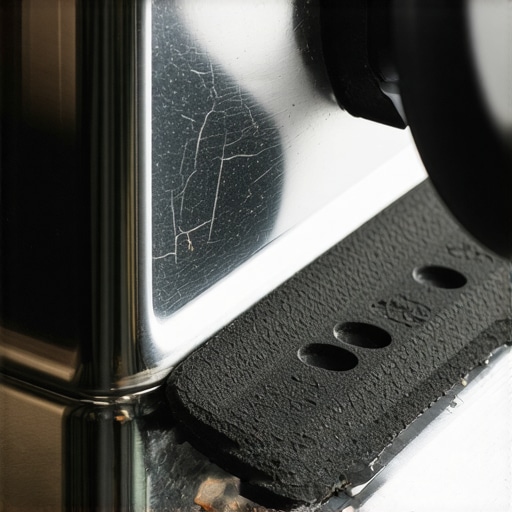
Often overlooked are the subtle signs that your gear requires maintenance or upgrades. For example, a worn group gasket or a misaligned drip tray can cause pressure drops or leaks, sabotaging your efforts. Recognizing these signs before they escalate into costly repairs is a sign of a true enthusiast. Regularly inspecting and maintaining your gear, rather than assuming ‘out of sight, out of mind,’ ensures longevity and consistently great coffee.
Don’t let misconceptions or neglect hold back your barista skills. Deep knowledge and attention to detail make all the difference, transforming ordinary equipment into extraordinary brewing experiences. Have you ever fallen into this trap? Let me know in the comments and share your stories of gear upgrades or mishaps!
Choose Your Maintenance Arsenal Wisely
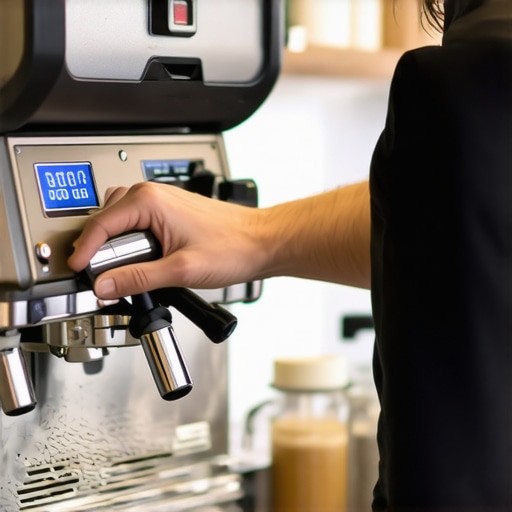
Maintaining your coffee gear isn’t just about cleaning; it’s about investing in tools that deliver precision, longevity, and ease of use. For grinders, I swear by the Baratza Sette 30—its grind consistency and simple calibration routines make regular upkeep straightforward. When it comes to espresso machines, I rely on a proper backflushing kit combined with a quality water softener to prevent mineral buildup. This combo ensures my machine runs flawlessly for years.
Tools That Make Long-Term Results Possible
Investing in a good PID controller allows me to maintain stable brewing temperatures, which is crucial for consistency. For milk frothing, I use the Hario Bamboo Frother—its design provides tactile control over microfoam creation. Regular maintenance tools like soft brushes and descaling solutions are non-negotiables; they prevent clogging and corrosion. Remember, a well-maintained setup is the foundation for spectacular brews day after day.
Scaling Up: What Equipment Supports Growth
If your home setup starts to outgrow your current tools, consider upgrading to a high-end espresso machine with integrated temperature stability and pre-infusion features. Additionally, a shot timer app—like the Compak E5—can help refine your technique through precise time measurements. The trend is moving towards smarter, interconnected equipment that offers real-time diagnostics, so stay ahead by investing in tools that can evolve with your skill level.
How Do I Maintain My Coffee Gear Over Time?
My top advice is to create a routine that includes descaling every 1-2 months, inspecting seals and gaskets quarterly, and calibrating grinders and PID controllers at least twice a year. Using the right cleaning brushes for burrs and internal channels can prevent buildup and ensure uniform extraction. Remember, neglected gear will inevitably lead to inconsistent shots and costly repairs. Regular checkups are an investment in your coffee experience. Want to optimize your equipment further? Try integrating a digital stopwatch app integrated with your process to ensure precise extraction times—it’s a game-changer for perfect beans every time.
Stay proactive, follow maintenance schedules, and choose tools with longevity in mind. It’s the secret to becoming a true home barista master.
Lessons Only Experience Can Teach About Barista Equipment
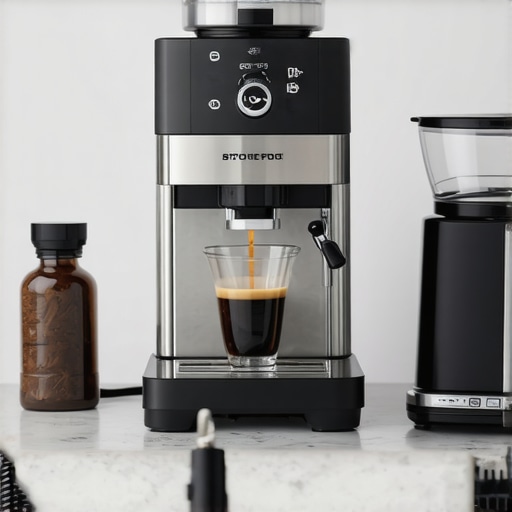
One of the most valuable lessons I learned was the importance of patience when maintaining espresso gear. Rushing through cleaning or calibration only leads to setbacks. I’ve found that embracing routine checks, even on seemingly minor parts like gaskets or valves, prevents unexpected failures and lengthy downtimes. Additionally, understanding that small, consistent efforts—like descaling and proper grinder maintenance—are the secrets to consistently excellent shots rather than chasing quick fixes.
Another insight is realizing that not all tools are created equal. Investing in a quality grinder or thermometer might seem costly upfront, but the payoff manifests in uniform extraction and flavor consistency. The realization that calibration isn’t a one-time task but requires periodic attention has transformed my approach to home brewing. These lessons transform equipment from mere appliances into dependable partners in crafting perfect espresso.
Tools and Resources That Elevated My Coffee Skills
The journey wouldn’t be the same without the right resources. I rely heavily on guides like this comprehensive coffee grinder selection guide because it demystifies what to look for based on your brewing style. For maintenance, I trust this resource on milk frothers, which has helped me choose devices that produce velvety microfoam reliably. And for calibration tips, this PID calibration tutorial has been a game-changer, ensuring my brew temperature remains spot-on.
Seize the Barista Spirit and Elevate Your Craft
Embarking on this path of continuous learning and diligent maintenance has deepened my appreciation for every cup I brew. Remember, mastering your espresso equipment isn’t about perfection from the start but about persistent passion and curiosity. Every small adjustment, cleaning routine, or tool improvement brings you closer to that coveted café-quality shot. Now is the time to refine your skills and embrace the process—your perfect espresso awaits.
What specific gear upgrade or maintenance routine has made the biggest difference in your home brewing experience? Share your stories below—I’d love to hear how you’re elevating your coffee game!