Why a Dosing Funnel Will Save Your Kitchen From Coffee Dust
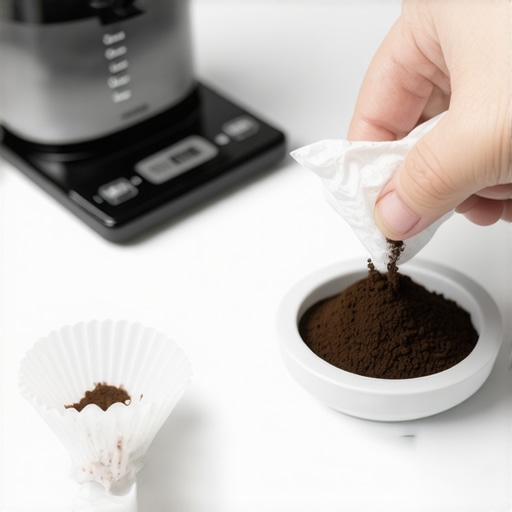
It was a Saturday morning, and I was about to brew what I hoped would be a perfect espresso. As I pulled out my grinder, a tiny cloud of coffee dust puffed up, settling onto my countertop and spreading like a stubborn stain. Frustration bubbled up—how could something so small cause such a mess? That lightbulb moment hit me: my messy espresso setup was more than just an annoyance; it was a sign that I needed a better way to control this dusty chaos. Have you ever faced the frustrating whirlwind of coffee dust that seems to follow every grind? If so, you’re not alone. Today, I want to share a simple yet incredibly effective solution: the humble dosing funnel. This small tool has transformed my kitchen routine, saving me cleanup time and keeping my coffee area spotless.
The Hidden Mess of Coffee Dust and Why It Matters
Ever notice how grinding coffee leads to a fine, stubborn dust that seems to cling to every surface? It’s not just an aesthetic issue—it can impact your coffee taste, equipment longevity, and overall kitchen cleanliness. Coffee dust contains tiny particles that can clog your grinder, contaminate your beans, or even cause internal buildup in your espresso machine, leading to maintenance headaches. I learned this the hard way when my grinder started misbehaving, and I found a thin layer of coffee dust coating every surface in my kitchen.
What’s worse, if you’re serious about your coffee craft, this mess can become a daily frustration, eroding the joy you get from a well-made espresso. According to research, micro-particles from coffee can influence flavor extraction and even lead to microbial growth if not properly managed (source: Espresso Tech Guide). That’s why controlling this dust isn’t optional; it’s essential for preserving both your equipment and your morning ritual.
Is a Dosing Funnel Really Worth the Hype?
At first, I dismissed the idea that a simple funnel could make such a difference. Honestly, I thought I was fine with scooping and pouring. But once I started using a dosing funnel, I realized how much coffee dust I was wasting—and how much tidier my setup became. My counters stayed cleaner, and I eliminated the almost inevitable coffee dust invasions into my other kitchen tools. Early on, I made a mistake by trying to cut costs and skipping investing in quality funnels. That only led to static cling and despite my best efforts, dust still sneaked out. Switching to a well-designed, anti-static funnel changed everything. If you’re tired of battling tiny coffee particles every day, a dosing funnel might just be your new best friend. Ready to explore how this little tool can revolutionize your routine? Stay tuned—next, we’ll walk through the practical benefits and how to choose the right one for your setup.
Set Up Your Workspace Efficiently
Clear your countertop and gather all necessary tools—portafilter, grinder, scale, tamper, and your chosen dosing funnel. Having everything within arm’s reach minimizes mess and distractions. I once tried to juggle all tools on a cluttered surface, resulting in spilled coffee grounds and a scattered workspace. Now, I allocate a dedicated spot for each tool, making my workflow smoother and cleanup easier.
Use the Dosing Funnel Correctly
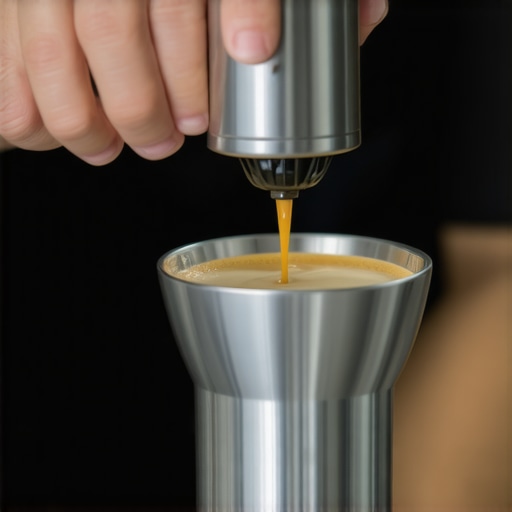
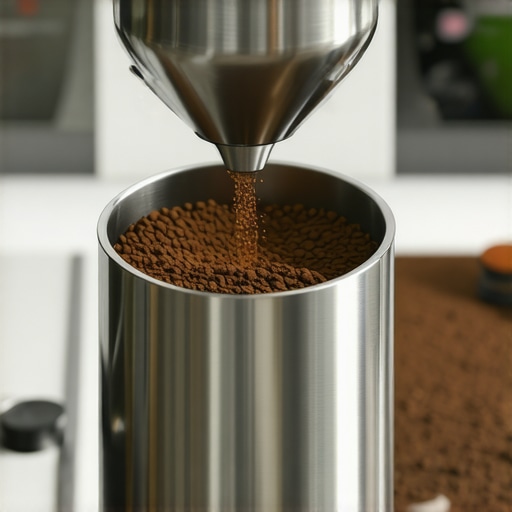
Attach your anti-static dosing funnel snugly to your portafilter to prevent coffee dust from escaping. When grinding, pour directly into the funnel—doing this slowly prevents static cling that causes dust to scatter. I once hurried the process and ended up with grounds all over my machine; using the funnel carefully, I contained the mess, and my counters stayed spotless. Ensure the funnel fits tightly to avoid dust leakage during grinding.
Calibrate Your Grinder for Consistency
Proper calibration ensures your grind size is right for your espresso. A too-coarse grind will under-extract, while too-fine will cause channeling. Use your coffee scale to measure your doses precisely, aiming for uniform particle size. I experimented with different settings, noting adjustments that led to better shots and less dust residuals around my workspace.
Implement Proper Dosing Techniques
Weigh your coffee dose accurately before tamping to ensure optimal extraction. Avoid overfilling or tamping unevenly, as both can cause dust and extraction issues. I learned to dose with a scale, which minimized waste and dust, leading to cleaner pours. Consistent dosing also helps your machine maintain stable pressure, giving you a more predictable shot every time.
Clean your Equipment Regularly
Remove the portafilter and grinder parts after each session to clear residual coffee particles. Use a dedicated brush for the shower screen and grind chute. During a busy morning, I neglected cleaning and noticed my shots became inconsistent, with more dust appearing in the drip tray. Incorporating a quick clean routine keeps your equipment performing optimally and prevents dust build-up from affecting flavor or machinery.
Store Coffee Beans Properly
Keep beans in an airtight container, away from light and heat, to reduce static and clumping. Static plus residual grounds equals more mess. I transitioned to storing my beans in a cool, dark pantry, which reduced static and made grinding cleaner. Proper storage preserves bean freshness and makes grinder cleanup less frequent and messy.
Optimize Your Workflow with Barista Gear
Arrange tools strategically for quick access—consider a dedicated tray for tampers, filters, and scissors. Use organization tips to streamline your process. During a weekend brew session, I prepped my setup, which minimized interruptions and kept coffee dust confined, making the process more enjoyable and tidy.
Wrap Up Your Session Efficiently
After brewing, tamp remaining grounds tightly, and immediately clean accessories to prevent dust spread. Regularly inspect seals and gaskets for wear, which can cause leaks and dust escape. I once ignored a worn gasket, leading to increased dust and less consistent shots; replacing it improved cleanliness and shot quality. Regular maintenance keeps your setup pristine and your routine smooth.
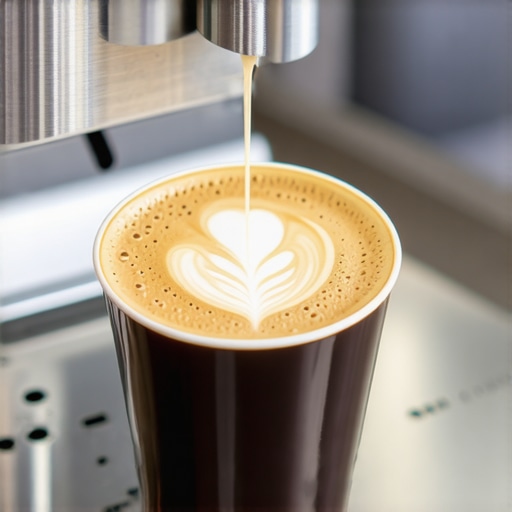
Many coffee enthusiasts fall for misconceptions about espresso machines, milk frothers, and grinders, believing these gadgets are foolproof or that cheap equipment can deliver professional results. In reality, a nuanced understanding of these tools reveals crucial details that can make or break your brewing quality. For example, some assume that all milk frothers are created equal, but specialized steam wands with adjustable pressure give you more control over microfoam texture essential for latte art, a fact supported by expert baristas (source: Espresso Tech Guide).
Keeping Your Coffee Equipment in Top Shape for the Long Run
Investing in quality espresso machines, grinders, and barista tools is just the beginning. To ensure they deliver consistent performance over years, implementing a rigorous maintenance routine is essential. Regular cleaning, calibration, and timely replacements not only extend the lifespan of your equipment but also preserve the flavor integrity of your brews. For instance, a properly calibrated grinder reduces static, which minimizes mess and enhances grind consistency, directly impacting shot quality. I personally rely on the calibration techniques recommended by industry experts to keep my grinder setting precise and my espresso shots steady.
Tools like performance-based cleaning brushes and descaling solutions are invaluable. I recommend using the specialized cleaning kits designed specifically for your espresso machine models. These ensure that gaskets, shower screens, and boilers are free of mineral deposits and old coffee oils—common culprits that diminish taste and cause malfunctions.
What’s Next for Maintaining Your Coffee Realm?
As technology advances, integrating smart diagnostics and AI-based care systems into your espresso setup could become a game-changer. Imagine receiving proactive alerts on your smartphone when descaling or part replacements are due—making maintenance less about guesswork and more about precision. In the future, I predict that IoT-enabled barista gear will simplify upkeep even further, allowing hobbyists and pros alike to focus more on craft than on constant troubleshooting.
How do I maintain my tools over time?
Consistency is key. Schedule weekly cleanings and monthly calibrations, use recommended cleaning products, and replace worn-out parts proactively. For example, regularly replacing grinder burrs prevents uneven particle sizes, which can result in inconsistent extraction. Besides, maintaining your steam wand and gasket seals through diligent descaling and inspections is crucial to avoid leaks and flavor contamination. To streamline this, I keep a maintenance log, tracking service dates and parts replacements, ensuring nothing slips through the cracks. Want a detailed guide tailored to your machine? Check out this useful resource. Remember, small but consistent efforts keep your coffee gear performing flawlessly, delivering that perfect shot every morning.
Three Surprising Lessons I Learned About Barista Gear
Investing in quality espresso machines and grinders isn’t enough; regular maintenance and understanding their quirks are what truly elevate your coffee experience. I once thought that cleaning was optional until I faced stubborn clogs and flavor inconsistencies. Now, I see that scheduling routine care, like descaling and replacing worn parts, creates a ripple effect—better taste, longer equipment lifespan, and fewer emergency fixes.
Another eye-opener was realizing how static from improperly stored beans or subpar grind settings can sabotage even the best equipment. Static cling not only makes a mess but also diminishes aroma and flavor. Switching to proper storage solutions and calibrating my grinder precisely have been game-changers, making my home espresso setup feel professional and reliable.
Lastly, I discovered that even the simplest tools, like a well-chosen brush or a high-quality puck screen, can dramatically improve shot consistency and cleanliness. These small additions helped me avoid common pitfalls like channeling and over-tamping, transforming my routine from trial-and-error to true craft.
Tools and Resources That Changed How I Brew
My go-to setup includes the precision tamper, which ensures even pressure and shot consistency. The calibrated coffee scale became indispensable for accurate dosing, directly impacting flavor and dust control. For cleaning, I rely on descaling kits that keep my boiler and shower screens spotless, preventing buildup and flavor transfer.
If you’re serious about elevating your home espresso game, consider exploring specialized milk frothers for microfoam perfection or consulting gear guides tailored for hobbyists. These resources have guided me from basic setups to a more refined, enjoyable routine.
Harness Your Coffee Passion Today
Diving deeper into the nuances of home espresso isn’t just about mastering techniques; it’s about embracing the journey of constant learning and personal growth. Each tweak, each upgrade, and each clean makes your coffee better—and that’s a reward worth pursuing. Remember, even small improvements can lead to extraordinary mornings that start with a perfect shot of espresso. Are you ready to take your home brewing to the next level?
What part of your brewing routine do you find most challenging right now? Share your experiences below—I’d love to hear your story and maybe help with some tips!