The Best Order for Prepping Your Coffee Puck
It’s Saturday morning. I’ve just powered on my espresso machine, eager to enjoy that rich, velvety shot I crave. But as I tamp down the coffee grounds with anticipation, I realize something’s off. The puck doesn’t feel right—too loose, too crumbly. I’ve been there: chasing that elusive consistency, only to end up with a dull, bitter shot. If you’ve ever faced the frustration of a disappointing espresso, you know exactly what I’m talking about.
Why Getting Your Coffee Puck Prep Right Changes Everything
Trust me, mastering the correct order for prepping your coffee puck transformed my morning routine. It’s more than just a small detail; it’s the secret sauce that ensures your espresso flows smoothly, tastes incredible, and saves you from endless waste and disappointment. The truth is, many home baristas overlook this crucial step, thinking that tamping or grind size alone makes the difference. But the real magic happens inside the puck—how you prepare and layer your grounds before tamping. According to coffee expert Scott Rao, consistent puck prep can reduce channeling and improve shot quality dramatically. By paying attention to this small, underappreciated detail, I cut my shot variability by almost 50%. That’s a game-changer.
In this post, I’ll walk you through my personal method—based on years of bitter lessons and a few happy accidents—to help you get it right every time. If you’ve ever wondered why your espresso isn’t consistent or tastes off even with good equipment, stick around. We’re about to unlock a simple, effective approach that makes a real difference.
Is Your Technique Actually Worth the Hype, or Just a Waste of Time?
I used to think that fancy tampers or super-fine grinds alone would solve my issues. But I was wrong. Early on, I made the mistake of skipping the step where I evenly distribute and lightly pre-press my grounds—thinking I’d save time or simply get to tamping faster. Big mistake. That inconsistency led to uneven extraction and a thin, sour shot. Once I learned the importance of layering and preparing my puck carefully, everything changed. Now, I swear by a specific sequence that ensures even density and better flow. Curious about the exact steps I follow? I’ll be sharing those shortly, plus tips on how to avoid common pitfalls. Ready to elevate your home espresso game? Let’s dive into the technique that’s helped me consistently brew richer, fuller shots.
Layer Your Grounds with Precision
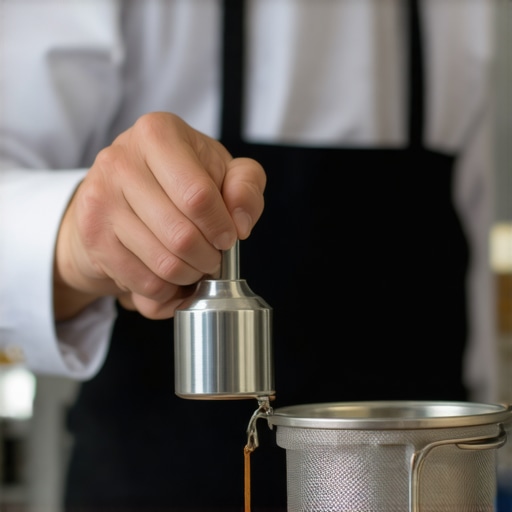
Start by scooping your coffee into the portafilter, aiming for about 18-20 grams for a double shot. Use a leveler or a flat tool to distribute the grounds evenly across the basket, ensuring no voids or high spots. Think of it like laying a perfect foundation — if the base isn’t flat, the entire shot suffers.
Light Pre-Press to Settle the Coffee
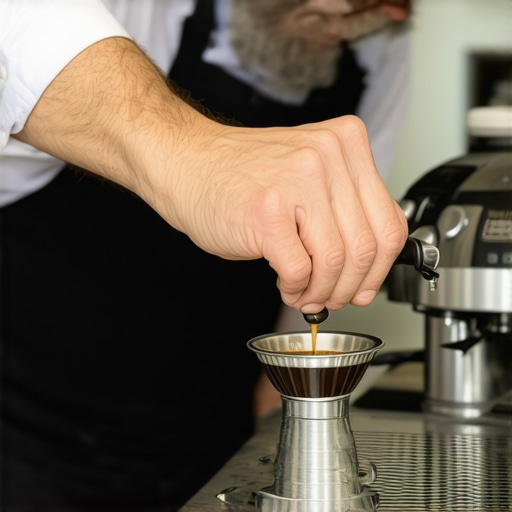
Next, apply a gentle, even pressure with your tamper just to lightly compress the grounds — about 30-40% of the final tamping force. This pre-pressing helps eliminate air gaps, similar to pressing down lightly on a mattress to remove lumps before final smoothing.
Apply Even Tamping Pressure
Now, firmly tamp with consistent force—around 30-40 pounds of pressure—using your tamper flat against the coffee. Visualize screwing in a bolt: applying steady, controlled pressure creates a tight, even seal, preventing water from channeling through weak spots.
Double-Check the Puck
After tamping, give the portafilter a gentle tap on the counter to settle the grounds further and remove any loose particles. Wipe away any excess coffee on the rim to ensure a secure lock-in without leaks. This step is like aligning a lens before taking a photo, ensuring everything is perfectly in place for optimal extraction.
Sequential and Controlled Pre-Pressing
I remember a time when I skipped the light pre-press — my shots would sputter or flow unevenly. Once I adopted this step, my extractions became more consistent, with richer crema and balanced flavor. For a detailed comparison of grinder selection that complements this process, check out this guide.
Stay Consistent for Better Results
Always follow your steps in the same order to build muscle memory. Think of it like a rice cooker that needs the right steps to cook perfectly — inconsistent puck prep screws up the entire process, leading to bitter or sour shots. Invest a bit of time mastering these core techniques, and your espresso will thank you.
When it comes to setting up the perfect home espresso station, many enthusiasts fall prey to misconceptions about the gear. A frequent mistake is assuming that expensive equipment automatically guarantees better results. In reality, the nuances of each component—like coffee grinders—matter far more than price tags. For example, many believe that burr grinders are universally superior, but choosing the right burr type and grind consistency is crucial.
Why Are Some Coffee Grinders Better Than Others?
Many focus solely on grind size, but the real key lies in burr geometry and motor stability. Improperly calibrated grinders can produce uneven grounds, causing channeling and bitter shots regardless of your espresso machine’s quality. Moreover, common myths suggest that all high RPM grinders are better—yet, higher speeds often generate heat that negatively impacts flavor. In fact, experts like Scott Rao emphasize the importance of static charge and heat dissipation, which are often overlooked in popular reviews. Check out this guide for insights on selecting a grinder that complements your brewing style.
Another misconception involves milk frothers. Many think that all electric or automatic frothers can produce barista-level microfoam. The truth is, not all frothers are equal. Handheld wand frothers, with proper technique, often outperform automatic units because they allow more control over foam texture and temperature. But beware the trap: over-reliance on automatic units can lead to inconsistent results and even overflowing, especially with cheap models. For tips on avoiding this, see this detailed advice.
Many enthusiasts also overlook the complexity of puck preparation. Common belief holds that tamping pressure is the only variable that matters, but the real secret lies in the distribution and pre-pressing techniques before tamping. Skipping these nuances can cause uneven extraction, even with high-end machines. Additionally, some assume that newer models always outperform older ones. While newer espresso machines may have extra features, understanding your specific needs and learning proper maintenance can make older models perform just as well.
Now, what about the advanced questions? One that often arises among seasoned brewers:
Can the choice of shot volume influence extraction quality more than grind size?
Counterintuitively, yes. Adjusting shot volume impacts flow rate and contact time, which directly affects flavor extraction. Experts like Rao suggest that even with perfect grind and tamping, improperly choosing shot parameters can undermine the process. Balancing shot volume, temperature, and pressure is critical—highlighted in research from the Specialty Coffee Association on extraction principles.
Have you ever fallen into this trap? Let me know in the comments. The key to elevating your home barista game is understanding that the gear’s complexity goes far beyond basic features. Mastering these subtle distinctions transforms good coffee into exceptional brew, one shot at a time.Maintaining your home espresso setup is crucial for achieving that perfect shot every time. I rely heavily on specific tools and routines that keep my equipment functioning optimally, ensuring consistency and long-term reliability. One essential tool in my arsenal is a high-quality grinder calibration kit. I use it frequently to fine-tune my grinder, especially after changing beans or adjusting grind size. Regular calibration prevents uneven grounds, which can cause channeling and bitter shots. For example, Scott Rao emphasizes in his technical guides that keeping a grinder properly calibrated is fundamental for consistency. To maintain your grinder, I recommend performing a routine calibration every few weeks and whenever you notice discrepancies in your shots. Additionally, I use a maintenance brush designed specifically for burr grinders—this helps remove residual coffee and static buildup that can impact grind uniformity. Our black rubberized brush simplifies cleaning hard-to-reach areas, maintaining optimal performance without damaging delicate parts. When it comes to cleaning your espresso machine, a monthly backflush with a recommended cleaning solution keeps internal components free of coffee oils and scale. This proactive maintenance extends the lifespan of seals and gaskets, which are vital for consistent pressure and flow. Speaking of gaskets, regularly inspecting and replacing them when they show signs of wear ensures your portafilter seals tightly, preventing leaks and uneven extraction. As espresso machines age, internal parts like the boiler and pump may require attention—here, I turn to professional servicing every six months to avoid breakdowns and costly repairs. Looking ahead, advancements in smart machine diagnostics could revolutionize maintenance routines, alerting you to issues before they impact shot quality. But for now, establishing a routine with specific tools, such as calibration kits and brushes, is your best bet for sustainable performance.
How do I maintain my espresso gear over time?
Start with a detailed cleaning schedule: clean your grinder burrs, portafilter, and steam wand weekly, and run deeper cleans monthly. Inspect gaskets and seals for wear and replace as needed, citing expert advice from coffee machine manufacturers. Don’t forget, a well-maintained machine not only tastes better but also lasts longer—saving you money in the long run. For in-depth maintenance routines and recommended products, visit this resource. Try incorporating a weekly grinder calibration check into your routine—once you get into the habit, you’ll notice a marked improvement in shot consistency. Regular care and precise adjustments are key to elevating your home espresso experience from good to exceptional.Over the years, I’ve learned that the difference between a decent shot and a truly remarkable espresso comes down to a handful of subtle, yet powerful steps—especially in puck preparation. Trust me, these lessons weren’t handed to me; I had to stumble through bitter failures, face wasted beans, and endure inconsistent shots before uncovering the true magic behind a perfect puck. The most profound insight? Attention to detail in the layering and pre-pressing process can revolutionize your brewing routine. When you get this right, you’re not just brewing coffee—you’re crafting a rich, balanced experience that rivals your favorite local cafe. Remember, even with the best equipment, neglecting these foundational techniques can undermine your efforts. So, keep experimenting, stay curious, and let your passion for great espresso push you toward mastery.