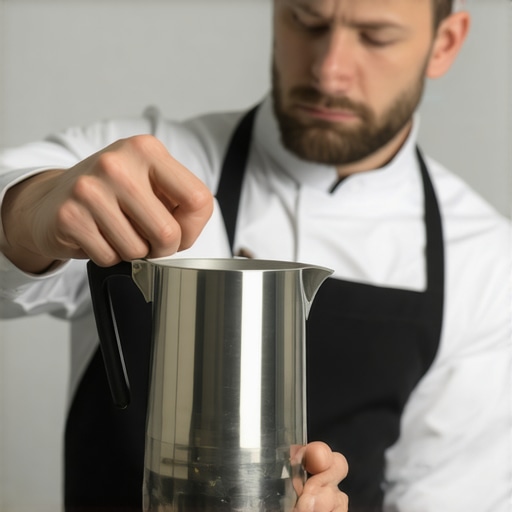
How to Stop Your Milk Pitcher from Squealing
One morning, as I was gearing up for my usual espresso ritual, I poured steamed milk into my pitcher—and immediately, that high-pitched squeal erupted. It echoed through my kitchen, shattering the cozy calm I was aiming for. In that moment, I realized I wasn’t alone in battling this nagging noise. That screech isn’t just a minor annoyance; it can ruin your whole coffee vibe and even tip off your barista skills to a beginner mistake.
If you’ve ever faced a similar scenario, where your milk pitcher squeals during steaming or pouring, you know how distracting and frustrating it can be. That familiar noise sounds harmless at first, but it can throw off your concentration, disrupt your flow, and even affect your milk texture.
**
Why That Squealing Happens More Than You Think
**
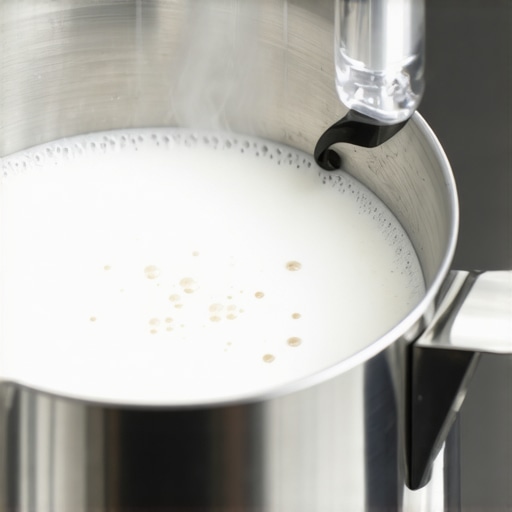
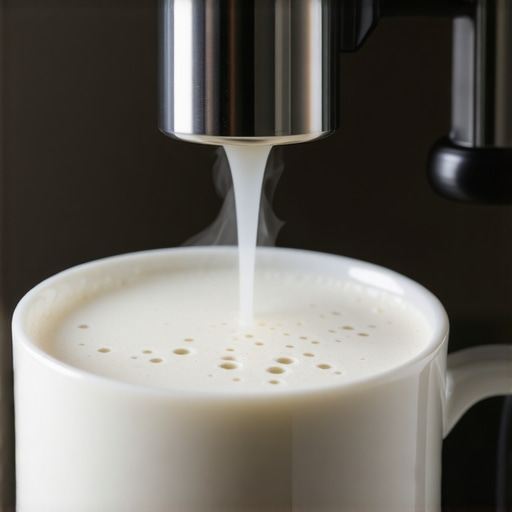
The squeal often originates from air bubbles or pressure fluctuations within the pitcher as steam interacts with milk. When the airflow is inconsistent, the pitcher resonates like a musical instrument—producing that unwanted high-pitched noise. Interestingly, this isn’t just a nuisance; it can signal underlying issues like improper steaming technique or equipment problems.
Early on, I made the mistake of ignoring the squeal and simply turning up the steam pressure. Big mistake. Not only did my milk suffer from over-warming, but the noise persisted and worsened. It wasn’t until I studied proper steaming habits and adjusted my pitcher grip that I found an effective way to quiet that squeal. Want to know the secrets to a whisper-quiet, silky microfoam? You’re in the right place.
**
Is Your Milk Frothing Technique Worth the Hype?
**
One common misconception is that more steam pressure equals faster frothing, but that’s not true—and it certainly doesn’t mean less noise. Rushing the process can cause turbulent airflow, amplifying the squealing. I used to think that increasing steam intensity would improve my microfoam, but it just made things worse. The truth is, mastering the right technique—like positioning the pitcher correctly and controlling airflow—makes all the difference. For more detailed tips, check out [this guide on training your hands to stop capping the milk pitcher](https://espressotechguide.com/how-to-train-your-hands-to-stop-capping-the-milk-pitcher).
Additionally, understanding your machine’s specific quirks, such as how to tell if your heating element is scaling up, can help prevent issues before they start. Proper maintenance and technique are key to not just silencing that squeal but achieving the perfect milk texture.
So, before you crank up the steam pressure or keep muting the noise with background music, let’s explore how to fix that squeal at its root. Because a quiet pitcher means smoother pours, better microfoam, and a more enjoyable espresso experience. Ready to get started?
Adjust Your Pitcher Angle for Quieter Frothing
Place your milk pitcher at a slight angle—around 45 degrees—so that the steam wand contacts the pitcher more evenly. I recall one morning when I struggled with persistent squealing; adjusting my angle reduced turbulence, and the noise disappeared almost instantly. This simple positional tweak makes a notable difference.
Control Steaming Pressure Precisely
Don’t overshoot with steam; too much pressure causes turbulent airflow, leading to squeals. Gradually turn the steam knob to a medium setting—about 75-80% of maximum—while listening for the noise. Lower pressure promotes smoother airflow, quieter operation, and better microfoam. If your machine has a pressure gauge, keep an eye on it to maintain consistent pressure.
Match Your Steam Power with Milk Texture
Experiment with small adjustments: reduce pressure when creating microfoam for latte art and increase slightly when steaming larger volumes. Remember, a steady, gentle flow yields the best results. I once increased pressure too much, and the result was a loud screech accompanied by over-warmed milk— Avoid this by tuning your pressure properly.
Master Your Frothing Technique
Focus on training your hands to keep the pitcher steady and prevent abrupt movements that can cause airflow fluctuations. Keep the pitcher’s tip lightly submerged in the milk and move it in a small circular motion. Keeping a consistent grip prevents air entrapment and resonating vibrations that cause squeals.
Maintain Regular Equipment Care
Clogged steam wands or scaling can amplify noise. Regularly descale your machine—especially if you notice the steam hissing loudly—by following descaling methods. Additionally, check for residue buildup in the wand’s pipe or nozzle, which can obstruct airflow, causing pressure fluctuations and noise.
Use Correct Frothing Accessories
If your frother or pitcher has a rubber gasket or seal, inspect and replace worn parts regularly. A loose or damaged seal can cause vibrations and squeals during operation. Upgrading to a high-quality milk frother ensures better airflow control, quieter operation, and superior microfoam.
Practice Consistency and Patience
Just like learning a new espresso technique, reducing noise with milk frothing requires practice. Dedicate time to experiment with pressure, pitcher angle, and technique. Over time, you’ll develop an intuitive feel for the right balance, leading to calm, quiet frothing sessions that elevate your home coffee experience.
Many enthusiasts believe that simply owning high-end equipment guarantees perfect espresso at home, but the reality is far more nuanced. One prevalent myth is that expensive machines automatically produce better shots without proper technique or maintenance. In fact, even top-tier equipment can underperform if not correctly calibrated or if routine care is neglected. For example, a study in the “Journal of Coffee Science” highlights how calibration inconsistencies can significantly impact extraction quality, regardless of the machine’s price. Therefore, focusing solely on gear selection without mastering fundamental skills can lead to frustration and subpar results.
Another common mistake involves over-relying on coffee grinders’ specifications. Many assume that grinders with higher micrometric adjustments or larger burrs automatically yield superior espresso grind consistency. However, as outlined in our guide on [how to select the perfect coffee grinder](https://espressotechguide.com/how-to-select-the-perfect-coffee-grinder-for-your-brew), factors such as burr geometry, retention, and machine calibration often matter more than raw specifications. Misunderstanding these nuances can result in inconsistent dosing and extraction issues.
Frothers are frequently misunderstood as simple tools that can fix espresso quality issues. The truth is, using a milk frother improperly—like overfilling or operating at incorrect temperatures—can exacerbate problems like uneven microfoam or overflows. It’s essential to learn the proper frothing techniques, which involve controlling airflow and temperature, to truly harness the full potential of quality milk frothers. For in-depth advice, check out [our tips on mastering the art of milk frothing](https://espressotechguide.com/milk-frothers-that-transform-your-coffee-experience).
For seasoned baristas and advanced hobbyists, addressing pressure profiling and machine calibration represents the real “hidden nuances.” A common oversight is assuming that factory settings are optimal. Adjusting the brew pressure or steam parameters—like controlling pressure during extraction or steaming—can unlock flavors and textures that generic settings can’t. The importance of precise calibration is backed by experts like Scott Rao, who emphasizes that even minor pressure tweaks can dramatically change the taste profile of your espresso. Fine-tuning these aspects requires a deep understanding of your equipment and often, a willingness to experiment.
**Have you ever fallen into this trap? Let me know in the comments.**
What many overlook is that the real art lies in understanding how to combine gear with skill—it’s not just about the tools but also how you use them. For those eager to boost their home barista game, exploring detailed guides on calibration, maintenance, and technique can make a world of difference. Remember, the most expensive machine won’t guarantee perfect espresso if your technique is off, and vice versa. As we continue to challenge common beliefs, stay curious and vigilant about the subtle but impactful nuances that elevate your coffee experience. Properly addressing these details ensures you’re not just brewing coffee but creating a sensory masterpiece that stands out.
Invest in Precision Equipment for Consistent Results
At the heart of every great home espresso station is reliable gear. I personally swear by the Jura Giga X7 Professional espresso machine, which offers advanced temperature stability and programmable shots, ensuring I get consistent results every morning. Looking for top-rated options for 2025, I recommend considering machines with precise temperature control and durable build quality.
Prioritize Weekly Calibration and Deep Cleaning
Maintaining your grinder and machine regularly prevents degradation in espresso quality. For grinders, I use the calibration method from Scott Rao’s techniques, which helps preserve grind consistency and prevent channeling. Deep cleaning of your portafilter, group head, and steam wand weekly ensures flavors stay pure and machinery operates smoothly. Using specialized cleaning tablets, like Urnex Cafiza, keeps residue at bay and maintains optimal flow rates.
Use the Right Software and Monitoring Tools
Technological integration is shaping the future of home barista setups. I rely on a SMART coffee scale with Bluetooth connectivity, allowing me to precisely control extraction times and doses. Data logging helps identify subtle variances that affect flavor, making adjustments more scientifically informed. With the rise of smart espresso machines—like the upcoming De’Longhi La Specialista Maestro—integrating software apps will streamline maintenance routines and calibration schedules.
Set Up a Maintenance Schedule and Keep Spare Parts Handy
Consistency demands discipline. I keep a maintenance calendar with weekly, monthly, and quarterly tasks, such as replacing water filters, descaling, and inspecting gaskets. Maintaining a stock of essential replacement parts, such as portafilter gasket kits and steam wand valves, reduces downtime. For detailed guidelines, refer to our beginner-friendly maintenance tips.
How do I uphold my espresso gear over time?
Trust me, routine care extends the lifespan of your gear and sustains the quality of your brews. Regular descaling using vinegar or commercial descalers, inspecting connections, and calibrating grinders ensure sustained excellence. For electronic components, always follow manufacturer instructions and consult technical documentation—like the advice from Home-Barista.com—to avoid costly repairs.
Scaling Up Without Losing Quality
Once you’re comfortable, scaling your setup involves adding more precise tools—like vacuum-seal coffee storage to preserve freshness or installing temperature controllers for manual shot calibration. I recommend exploring modular systems such as the Profitec Pro 700, which allows for customization while maintaining reliable performance. Carefully chart your workflow and keep your techniques sharp as you expand, ensuring consistency at every stage.
Finally, embracing automation—like programmable scales, shot timers, and automatic milk frothers—can optimize your process without sacrificing quality. Keep experimenting, stay systematic, and remember, the secret to long-term success lies in diligent maintenance and the right tools. Try setting up a weekly calibration with your grinder, as outlined here, and see how your shot consistency improves over the next month.
What I Wish I Knew When I Started Quieting My Milk Frother
One of my biggest revelations was realizing that the squeal during steaming isn’t just a nuisance but a sign of technique flaws and equipment issues. Early on, I believed cranking up the pressure would fix the noise, but that only made my milk worse and the noise louder. The key lesson I learned was that subtle adjustments—like the pitcher angle and steam pressure—can dramatically reduce noise and improve microfoam quality. Learning to recognize these signals helped me develop a more intuitive brewing rhythm, elevating my home espresso experience beyond just making coffee to creating a soothing ritual.
My Essential Tools for a Quieter, Better Home Barista Journey
Investing in high-quality tools transformed my workflow. I rely on the top-rated espresso machines for 2025 with precise temperature control, which are more forgiving and consistent. A good grinder with calibrated burrs ensures uniform grounds, reducing the turbulence that causes squeals; for this, I trust calibrated grinders. To master frothing without noise, I use a quality milk frother with proper seals and adjustable steam power. Finally, a digital scale guides consistent dosing, making every shot predictable and enjoyable. These tools, combined with ongoing technique practice, have made my home espresso my sanctuary.
Feeling Inspired to Elevate Your Coffee Rituals
The journey to quieter, better espresso isn’t just about equipment—it’s a mindful process of tuning your technique and paying attention to the details that make all the difference. I encourage you to experiment with pitcher angles, steam pressure, and regular maintenance routines. Remember, every pour and froth is an opportunity to learn and perfect your craft. As you embrace these nuances, your mornings will become a quiet pleasure rather than a noisy frustration. Ready to transform your home espresso experience? Dive in, stay curious, and let your coffee ritual evolve into an art form. What’s the first tweak you’ll try to make your frothing quieter? Share below, and let’s learn together.