Why Your Portafilter is Leaking from the Sides
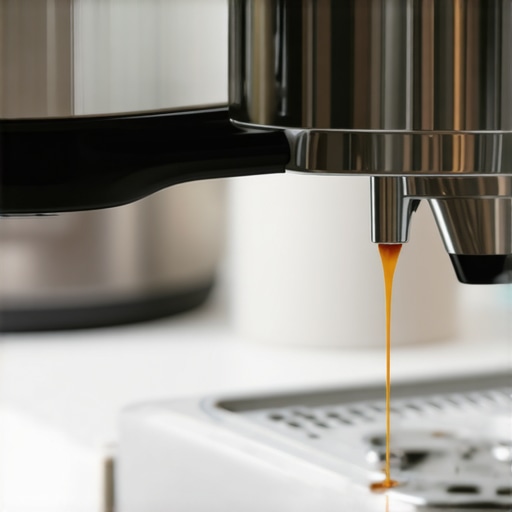
I’ll never forget the first time my espresso shot sputtered and sprayed, leaving a messy ring around my machine. That frustrating moment was a lightbulb for me—something was definitely wrong with my portafilter. If you’ve experienced the same, you know how infuriating it can be to get a perfect shot only to have it leak from the sides, wasting coffee and making your routine feel like a leak emergency. But don’t worry—I’ve been there, and there’s a good chance we can fix this together.
Understanding the Chaos of Leaking Portafilters
When your portafilter starts leaking during or after brewing, it feels like your espresso machine has a mind of its own. This isn’t just about a messy counter; it can seriously affect your espresso quality, taste, and even the longevity of your gear. The good news? Most leaks come down to a few common issues, and with a little troubleshooting, you can often fix them yourself. In this post, I’ll walk you through the main reasons your portafilter might be leaking and how to put an end to that drip-drip-drip once and for all.
Is Your Leaking Portafilter Really Worth Fixing or Just a Fluke?
Early on, I made the mistake of ignoring a small leak, thinking it was just a minor hiccup. But over time, that tiny drip turned into a constant mess and slowly started affecting my shot quality. One thing I’ve learned from countless hours of trial and error is that many leaks are a sign of wear or improper assembly—not a fatal flaw. For example, a worn gasket can be replaced easily, and often the whole problem is solved without calling in a technician. Want to see more tips on maintaining your gear? Check out my guide on choosing the right barista gear.
Now, before you panic and think your espresso dreams are over, let’s walk through what’s actually causing your portafilter to leak—so you can stop it from ruining your coffee routine. Ready to become a leak-fixer extraordinaire? Keep reading!
Inspect the Gasket Carefully
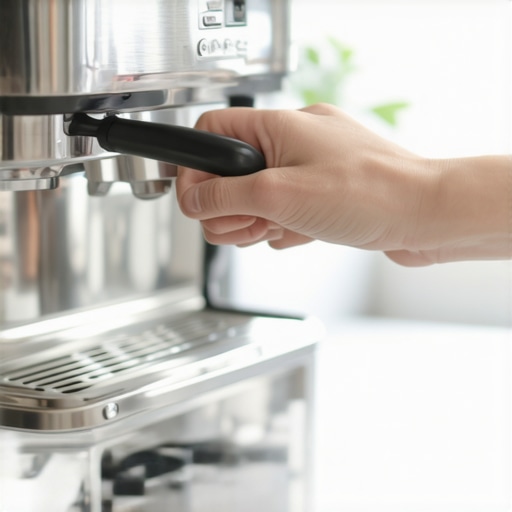
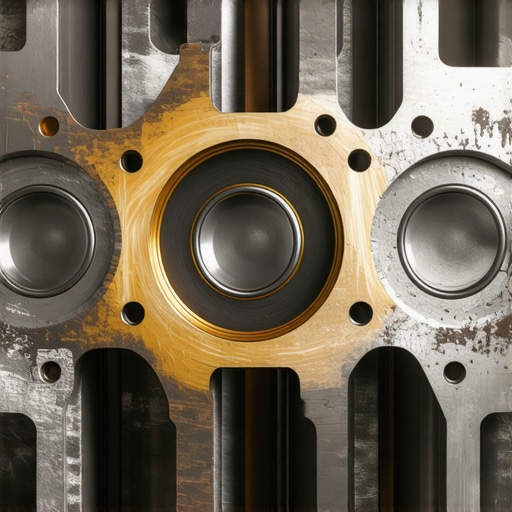
Begin by removing the portafilter from your espresso machine and inspecting the rubber gasket underneath. Look for cracks, tears, or excessive wear, much like checking a rubber seal on a high-quality milk frother that needs replacement to prevent leaks. I once overlooked a small crack in mine, which caused a steady drip until I replaced it. Purchase a compatible gasket and replace it following your machine’s manual or existing guides. Regularly inspecting and replacing worn gaskets can prevent leaks from ruining your shot or making a mess on your counter.
Ensure Proper Portafilter and Basket Fit
Check for Dents and Warping
Examine the portafilter itself for dents or warping, which can prevent a tight seal. Think of it as making sure your coffee grinder’s burrs aren’t dull—if they are, your grind will be inconsistent, leading to poor extraction. Replace or realign a warped portafilter to regain a proper seal; a misfit here is a common culprit behind leaks during extraction. Also, verify that your basket fits snugly without wobbling. An improper fit causes uneven pressure and leaks, much like trying to pour milk into a bad frother that doesn’t create consistent foam.
Align the Group Gasket Correctly
Sometimes, the group gasket (the rubber ring around the brew head) shifts out of place. To fix this, turn off your machine, remove the head, and realign the gasket ensuring even contact around the portafilter. This step is akin to correctly positioning a milk frother whip to ensure even heating and frothing. An aligned gasket prevents water from escaping during brewing, sealing the deal like a well-changed shower screen that keeps water where it should be.
Maintain and Replace the Seal Components
Over time, seals degrade due to coffee oils, residue, and regular wear. Regular cleaning with a descaling solution can prolong their life, similar to cleaning your milk frother after each use to maintain performance. If cleaning doesn’t restore the seal, replace the gasket and any worn o-rings. These simple parts are the unsung heroes in keeping your machine tight—when they fail, leaks follow. For detailed instructions on replacing portafilter parts, check out guides on replacing the group gasket.
Final Checks and Testing
After completing these steps, reassemble the machine carefully, ensuring all components are seated properly. Run a test shot with minimal coffee to observe any leaks. It’s like testing a milk frother with plain water before brewing your perfect latte—if no leakage occurs, you’re good to go. If it still leaks, double-check each step, focusing on gasket positioning and component fit. Persistent leaks might signal deeper issues requiring professional servicing, but most fixes are DIY-friendly and cost-effective.
By methodically inspecting, aligning, and replacing worn parts, you can eliminate leaks and restore your portafilter’s integrity. Think of it as fine-tuning your gear—every adjustment brings you closer to that flawless espresso shot every time. Maintaining your portafilter’s seals is not just about preventing messes; it’s about protecting the quality of your brew and enjoying a consistent, tasty espresso every day.
While many DIY coffee enthusiasts focus on selecting shiny espresso machines or high-end grinders, there’s a hidden nuance often overlooked: the assumption that purchasing top-tier equipment automatically guarantees exceptional results. In reality, mastering barista gear isn’t just about equipment quality but also about understanding the intricacies of each component’s role in the brewing process.
For instance, many believe that the most expensive home espresso machines guarantee perfect shots, but in my experience, skill and maintenance often matter more. A common myth is that grinders with the finest settings always produce better coffee; however, choosing the right grinder involves balancing grind consistency with ease of use, not just fineness. Beware of the trap that more expensive gear equals superior taste — it’s a nuanced dance of variables that even professionals master over years.
Advanced Mistakes and Hidden Traps Boosting Your Coffee Game
One advanced mistake I see often is neglecting the maintenance of your milk frother or milk frothing equipment. Regular cleaning and proper technique are crucial; otherwise, lingering oils can clog pores, leading to poor microfoam and a DOMINANT off-flavor. An unnoticed yet costly trap is misaligning the portafilter or tamping with excessive force, which causes uneven extraction and inconsistent crema. Even seasoned baristas occasionally fall into this, so always double-check your setup before brewing.
For those aiming for mastery, understanding the subtle effects of dialing in your grind and temperature control cannot be overstated. Experts like Scott Rao emphasize precision and consistency, citing studies that show small adjustments in tamping pressure or water temperature can dramatically alter flavor profiles. Remember, the devil is in the details—aligning your gear correctly, cleaning diligently, and practicing methodical adjustments are your best bets for elevating your coffee game.
Have you ever fallen into this trap? Let me know in the comments. Your insights help build a community that shares the true art of brewing excellent coffee.
Keeping Your Equipment Running Smoothly
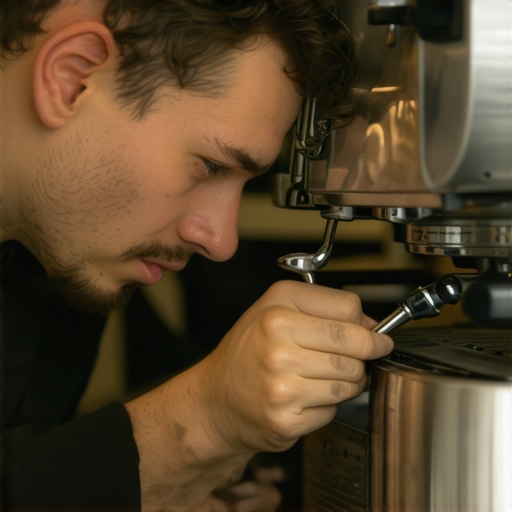
Beyond selecting the perfect espresso machine or grinder, maintaining their performance over time is crucial to brewing consistently excellent coffee. Investing in quality tools for routine upkeep ensures your gear stays in top shape, saving you money and frustration down the line. For example, I personally rely on a dedicated burr cleaning kit that makes deep-cleaning much easier and helps prevent flavor degradation caused by old coffee oils. Regular maintenance isn’t glamorous, but it’s the foundation of long-term success.
The Importance of Proper Calibration and Tools
For those serious about precision, having the right calibration tools can make all the difference. A high-quality burr-sharpness tester helps me determine when my grinder’s burrs are dull and need replacing, avoiding inconsistent grind sizes. Likewise, a reliable calibration weight allows me to set my grind settings with scientific accuracy, ensuring every shot hits the mark. Trends suggest that as home brewing evolves, smart calibration tools integrated with digital apps might become mainstream—making it easier than ever to dial in your setup for peak performance.
How do I maintain my barista gear over time?
Maintaining your barista gear involves more than just cleaning; it entails proactive checks and timely replacements. For example, regularly inspecting for worn gaskets and replacing them as needed prevents leaks and pressure loss. I prefer to schedule bi-annual deep cleans of my espresso machine, including descaling and inspecting hoses, which keeps components functioning optimally. Integration of digital maintenance reminders can help automate this process, ensuring no step is overlooked. Remember, neglecting small issues now often leads to costly repairs later, so stay vigilant with your gear.
Tools I recommend for effortless upkeep
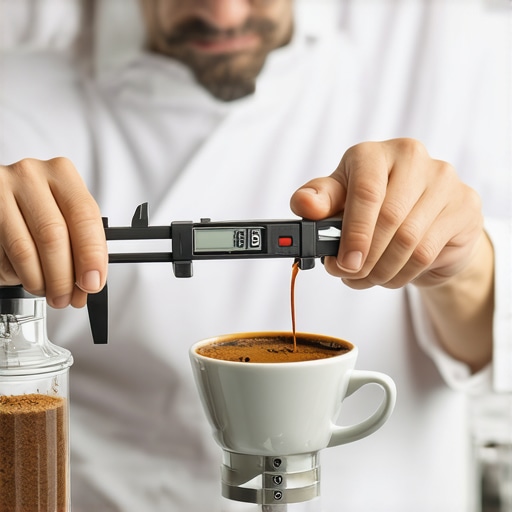
For efficient cleaning, I swear by a specialized grinder brush that reaches all the nooks, and I keep a set of microfiber cloths for wiping down my machine’s exterior. Replacing worn seals and gaskets at the first signs of degradation saves headaches and preserves shot quality. I also recommend a high-quality digital caliper to measure portafilter tamp pressure accurately—a detail often overlooked but vital to consistency. As the trend toward smart, connected brewing gear grows, keeping these foundational tools sharp will be instrumental in maintaining your espresso excellence.
Embrace the Future of Coffee Maintenance
Looking ahead, I predict more sophisticated yet user-friendly tools will emerge, making maintenance less of a chore and more of an integrated experience. Smart sensors that monitor water quality or alert you when seals need replacing are already on the horizon, promising to revolutionize home barista routines. Incorporating these innovations now can help you stay ahead, ensuring your equipment performs flawlessly for years to come. For inspiration, check out the latest trends in top-rated espresso machines for 2025.
Try this advanced tip today
To truly optimize your setup, experiment with a precise grinder calibration using a digital caliper. This can dramatically improve shot consistency and flavor extraction. Take five minutes to measure and adjust your grind settings accordingly—you might be surprised at the difference it makes. Regular calibration is the secret weapon for elevating your home espresso game to professional levels.
The Hardest Lesson I Learned About espresso gear
The biggest realization I had is that most portafilter leaks stem from simple, fixable issues rather than needing costly replacements. Years ago, I spent hundreds on repairs until I discovered that inspecting and replacing worn gaskets or realigning components made all the difference. Patience and attention to detail transformed my approach, saving time and money while improving my espresso quality.
My Essential Toolkit for espresso gear
- Replacement Gaskets and Seals: Quality rubber seals are affordable and vital for preventing leaks. I trust the ones from reputable suppliers for durability and compatibility.
- Calibration Tools: A digital caliper helps me measure portafilter and basket thickness accurately, ensuring a snug fit and consistent pressure during extraction.
- Cleaning Kits: Regularly cleaning and inspecting components prolongs their life. A dedicated burr brush and microfiber cloths keep my gear spotless.
- Instructional Guides: Step-by-step tutorials and manuals are invaluable. I learned more from trusted guides than trial-and-error alone.
Your Turn to Try
Tackling leaks isn’t just about fixing a mess—it’s about taking control of your brewing path. By methodically checking gaskets, ensuring proper alignment, and maintaining your gear, you unlock the true potential of your espresso setup. Remember, each small adjustment brings you closer to that perfect shot, elevating your home coffee experience. Don’t shy away from these DIY fixes—embrace them and enjoy the rich rewards of a well-maintained machine. What’s the one small fix you’ve been hesitant to try? Share your stories below and join the community of passionate coffee lovers.