How to Fix a Steam Valve That Feels Hard to Turn
There was that morning when I eagerly started my espresso machine, ready for my routine dose of mornings. But as I reached for the steam wand, I was met with a stiff, unyielding valve that refused to turn. Frustration crept in. I thought, “Is this thing about to give up on me?” That moment made me realize how critical a well-functioning steam valve is—without it, your espresso experience can quickly turn sour. If you’ve ever battled with a valve that feels like trying to twist a rusty bolt—firm, stubborn, and uncooperative—you know exactly how frustrating it can be.
Why a Hard-to-Turn Steam Valve Can Ruin Your Coffee Routine
A stuck or resistant steam valve isn’t just a minor annoyance—it’s a real hurdle to achieving that silky microfoam or a quick, efficient steam cycle. When the valve becomes hard to operate, it often signals underlying issues like mineral buildup, corrosion, or worn seals. These problems can lead to inconsistent pressure, leaks, or even damage to your machine over time. If ignored, you might find yourself in a cycle of frustration, wasting beans and precious time, or worse, risking costly repairs. That’s why knowing how to troubleshoot and fix a stubborn steam valve is essential for any home barista or coffee enthusiast.
From my own experience, the first mistake I made was ignoring the signs and forcing the valve open—that only worsened the problem. Instead, I learned that a gentle, informed approach can restore your valve’s mobility and keep your machine humming smoothly. Today, I want to share with you the practical steps and tips I’ve gathered—based on real-world trials—to help you regain control of your steam wand.
Is it Worth Fixing a Stubborn Valve or Should You Just Replace It?
This is a common question I hear. Especially when the valve feels immensely resistant, the initial thought is, “Should I call a technician or just buy a new machine?” Honestly, in most cases, a stubborn valve is a fixable problem. With a little patience and the right approach, you can often restore smooth operation without breaking the bank. Remember, many early mistakes—like using harsh chemicals or ignoring mineral buildup—only complicate the fix. For more tips on maintaining your equipment, check out my guide on home espresso maintenance. Now, let’s explore how to identify the root causes and get that stubborn valve turning freely again.
loosen the connection and access the valve
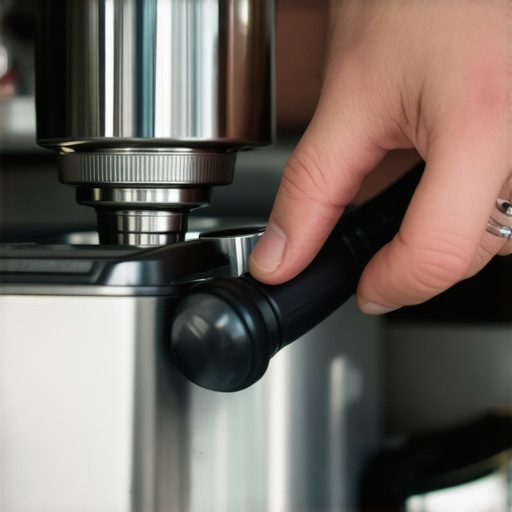
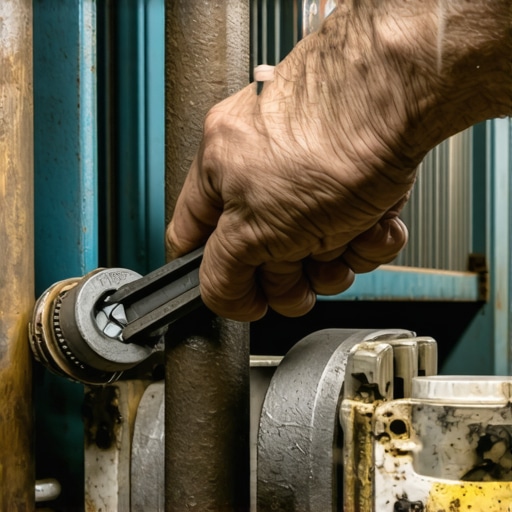
Begin by unplugging your espresso machine and allowing it to cool completely. Remove the steam wand attachment and locate the valve assembly. Use a wrench to gently loosen any fittings or connectors securing the valve, taking care not to apply excessive force that could damage parts. When I fixed my machine, I found that removing the outer panels gave clearer access, making the process smoother. Be cautious to keep all screws and small parts organized for reassembly.
Clean mineral deposits and corrosion
Use a descaling solution or a vinegar-water mixture (1:1 ratio) to soak the valve components. Submerge the affected parts for about 30 minutes, then scrub gently with a soft brush or toothbrush—especially around the valve stem and seals. For stubborn buildup, a needle or pin can help dislodge debris. In my experience, soaking overnight significantly loosened mineral deposits, restoring smoother movement. Regular cleaning prevents these issues from recurring.
Inspect and replace seals and gaskets
Carefully examine the rubber seals and gaskets for cracks, wear, or stiffness. Damaged seals can cause resistance and leaks. Replace any compromised parts with genuine replacements, which are often available from appliance parts suppliers. When I replaced my gasket, the difference was immediate—operation became effortless, and leaks ceased. Using high-quality, compatible seals ensures longevity and optimal function.
Lubricate moving parts carefully
Apply a food-grade lubricant, such as silicone grease, to the internal moving parts of the valve. Avoid over-lubricating—just enough to facilitate smooth motion. This step can prevent future stiffness caused by friction. In my case, a light coating after cleaning made the valve turn with minimal effort. Regular lubrication during routine maintenance keeps the valve responsive and prolongs its lifespan.
Reassemble and test your machine
Once cleaned, lubricated, and inspected, reattach the valve fittings securely. Replace any panels or covers and run a test cycle to check for resistance or leaks. Turn on the machine and open the steam valve gently; it should move smoothly without resistance. During my first test, I eased the valve open gradually, and it responded perfectly, enabling me to produce silky microfoam again. If resistance persists, revisit the cleaning or consider replacing the valve altogether.
Regular maintenance, including descaling and inspecting seals, can prevent stubborn valves. For more detailed tips on maintaining your equipment, review my guide on home espresso maintenance. Keeping your steam valve in good shape ensures consistent performance and richer coffee experiences every time.
Many enthusiasts believe that choosing the most expensive grinder or machine guarantees perfect coffee, but in reality, there’s a lot more complexity involved. One misconception is that grind size and machine settings alone dictate flavor—while important, the consistency of grinder burrs and regular calibration play an even more critical role, as highlighted in expert studies. Skipping routine maintenance such as cleaning grinder burrs or descaling your espresso machine often leads to subtle flavor degradation that newcomers overlook. For instance, uneven burr wear can cause inconsistent particle sizes, resulting in channeled shots and poor extraction, despite using high-quality beans. Additionally, advanced baristas know that subtle tweaks—like adjusting tamp pressure or pre-infusion duration—can dramatically improve shot quality, yet many overlook these fine-tuning opportunities.
One common myth is that milk frothers are a plug-and-play solution for perfect microfoam. The reality is that the temperature and milk type significantly influence foam quality, and improper techniques can cause splattering or flat milk. An often neglected detail is the role of static electricity in grinder chutes, which can cause uneven dosing or messy grinds. Implementing simple fixes like anti-static measures not only keeps your workspace tidy but also improves grind consistency.
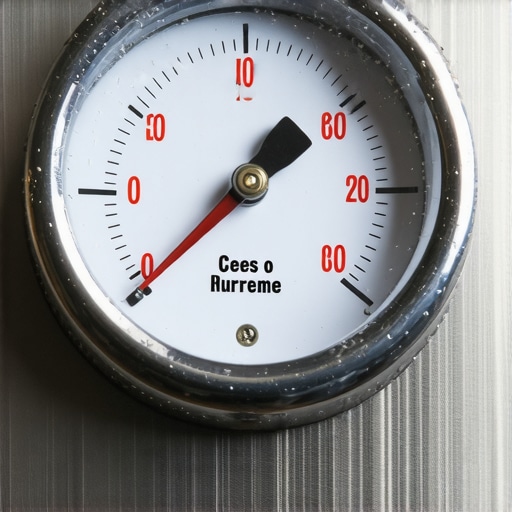
A critical advanced mistake to avoid involves misjudging your espresso machine’s optimal temperature range. Overheating can burn the coffee, while too low a temperature results in sour flavors. Using an external thermometer or monitoring pressure gauges, as discussed in
[mastering the art of home espresso](https://espressotechguide.com/mastering-the-art-of-home-espresso-tips-for-beginners), helps dial in precise brewing parameters. Remember, even the best equipment won’t perform optimally without understanding its nuances.
Have you ever fallen into this trap? Let me know in the comments! For more insights into fine-tuning your gear and avoiding common pitfalls, explore our extensive resources at [your trusted espresso guide](https://espressotechguide.com/contact-us). Keep refining your craft, because the difference between good and exceptional often lies in these subtle details.
Keep Your Espresso Gear Running Smoothly: Tools and Techniques
Maintaining your home espresso setup isn’t just about occasional cleaning; it involves investing in the right tools and adopting proven methods to ensure long-term performance. As an enthusiast, I’ve found that using precision gauges, specialized cleaning kits, and consistent routines makes all the difference in holding onto that barista-level quality. For instance, a calibrated pressure gauge allows me to monitor and fine-tune my machine’s brewing parameters with confidence, avoiding the common pitfalls of over or under-extraction. To explore top-rated options, check out my guide on premium espresso machines for 2025.
One often overlooked tool is the burr cleaning brush. Regularly cleaning your grinder’s burrs with a dedicated brush prevents buildup of fines and static, which can dramatically impact grind consistency. Using a specialized burr cleaning tool makes this process quicker and more thorough, saving you from inconsistent shots. Furthermore, a digital thermometer is invaluable for monitoring water temperature, crucial for dialing in perfect extraction, especially as seasons change or after descaling.
Another vital maintenance habit is descaling with precision. I recommend a descaling solution, like Dezcal, paired with a calibrated flow meter to measure the efficacy of your cleaning routine. This small investment ensures your boiler, pipes, and brewing head stay free of mineral deposits, extending the lifespan of your machine. Over time, I’ve noticed that consistent maintenance reduces the frequency of more costly repairs, like replacing heating elements or pumps.
Looking ahead, automation and smart sensors will likely revolutionize home espresso maintenance, allowing real-time monitoring of temperature, pressure, and water quality via smartphone apps. I predict that soon, you’ll be able to receive alerts when your grinder burrs need cleaning or when your machine’s thresholds are outside optimal ranges, minimizing downtime and guesswork. To prepare for this future, start integrating data-driven tools now—your future self will thank you.
How do I maintain my gear to keep it reliable over time?
Developing a proactive routine is key. Regularly check and replace worn seals and gaskets—these components are essential for maintaining consistent pressure and preventing leaks. A quick visual inspection after every few dozen shots will reveal cracks or stiffness, which you can address before they cause more significant problems. Additionally, keep internal moving parts lubricated with food-safe silicone grease, such as Tomric’s, to prevent resistance and wear.
For your grinder, keeping static at bay enhances consistency. Applying anti-static mats or using a static-reduction spray on chute surfaces dramatically reduces fines clinging to burrs, resulting in uniform grounds. A simple, yet effective step is to run the grinder for a few seconds with a damp cloth wrapped around the chute—a trick I learned from seasoned baristas—that instantly reduces static buildup.
Investing in quality tools not only simplifies maintenance but also elevates your overall espresso experience. For more expert tips on selecting the best barista gear, visit this comprehensive guide. Remember, regular and precise maintenance doesn’t just extend your equipment’s life; it consistently delivers the high-quality shots you crave.
Try adopting a monthly deep-clean routine using a specialized cleaning cycle for your espresso machine, combined with targeted use of tools like a burr brush and digital thermometer. Once your routine becomes second nature, you’ll notice a steady improvement in shot quality, machine longevity, and overall satisfaction.
**Don’t forget** that staying ahead with preventive maintenance is the smart way to avoid surprises. So, grab that burr cleaning brush today, and start protecting your investment—your future barista self will thank you!
What I Wish I Had Known About Fixing My Coffee Gear Sooner
One profound lesson I learned was that patience and a gentle touch are invaluable when dealing with stubborn components like a resistant steam valve. For example, forcing the valve open only worsened the issue, leading me to unnecessary replacement costs. Embracing a methodical approach—cleaning, inspecting, and lubricating—turned frustration into success and deepened my appreciation for the intricacies of my espresso machine.
Another insight I discovered is that regular maintenance is not just preventative but essential for reliable performance. Over time, ignoring routine tasks like descaling or seal checks can transform minor stiffness into major problems. Invest in a good burr cleaning brush or a digital thermometer, and your machine will thank you with consistent shots and rich microfoam, elevating your coffee experience every day.
Finally, I realized that understanding the subtle cues of your machine—like unusual noises or pressure fluctuations—can prevent costly repairs. Becoming attuned to these signals, much like tuning a musical instrument, ensures your gear remains in harmony, giving you control and confidence behind your home barista station.
My Essential Toolkit for Maintaining Coffee Gear’s Peak Performance
I rely on a few trusted tools that have truly transformed my routine. First, a high-quality burr cleaning brush keeps static and fines at bay, ensuring grind consistency. My digital thermometer helps fine-tune water temperature, vital for extracting maximum flavor. A calibrated flow meter allows me to verify that my descaling routines are effective, preventing mineral buildup that can cause resistance or leaks. Lastly, a set of genuine replacement seals and gaskets, sourced from reputable suppliers, has saved me from unnecessary machine downtime and kept my espresso consistently excellent.
These tools, combined with a dedicated cleaning and inspection schedule, have helped me maintain my espresso machine in top shape, reducing repairs and elevating my everyday brewing results. For a more comprehensive list and buying options, I recommend checking out my guide on barista gear for coffee lovers.
Your Next Step Toward Barista-Level Coffee at Home
Now is the perfect moment to take control of your espresso routine and eliminate those stubborn valves once and for all. By applying patience, the right tools, and a proactive maintenance mindset, you can transform your coffee experience from frustrating to fulfilling. Imagine starting each morning with the confidence that your equipment is ready to deliver luscious microfoam and rich crema—remember, your gear is an extension of your passion. So, embrace these tips, stay consistent, and enjoy the journey toward craft-level brewing every day.
Have you ever struggled with a stuck steam valve or other stubborn machine parts? Share your experiences below—I’d love to hear how you tackled similar challenges and what worked best for you!
,