How to Flush Your Heat Exchanger for the Ideal Brew Temp
I will never forget the morning I finally upgraded to a gorgeous, heavy-duty prosumer espresso machine. I ground my beans to perfection, tamped with precision, and pulled what I thought would be a god-shot. Instead, my first sip tasted like liquid ash mixed with pennies. I was devastated. How could a machine that cost more than my first car produce something so completely undrinkable? It took me weeks of bitter mornings and wasted bags of specialty beans to realize I was making a classic beginner mistake: I was brewing with flash-boiled water straight from a resting heat exchanger.
The Hidden Trap of the Heat Exchanger Design
If you own a heat exchanger (HX) espresso machine, you own a mechanical workhorse. These machines are incredible because they allow you to steam milk and brew espresso simultaneously. But they have a dirty little secret. When your machine sits idle, the water inside the brewing tube rests inside a boiler that is kept at steam temperature—well over 240°F. When you finally pull a shot, that first blast of water is scalding hot, completely scorching your coffee grounds. This is exactly the reason your group head temperature drops mid-shot or spikes wildly at the beginning, destroying those delicate flavor notes.
Is managing brew temperature on an HX machine actually worth the hassle?
You might be wondering if you really need to go through a whole ritual just to get a decent espresso. Can a few degrees really alter the taste that much? The answer is a resounding yes. According to a study on extraction kinetics by the Specialty Coffee Association, brewing espresso outside the tight window of 195°F to 205°F dramatically alters the extraction rate, leading to heavy bitterness or sour, under-extracted cup profiles. By mastering a simple cooling flush, you take back control of your brew temperature, turning a temperamental metal beast into a highly consistent, professional-grade extractor.
Early on, my biggest mistake was thinking that leaving the machine on all day meant it was ready to brew at any second. I didn’t realize that the longer it sat, the hotter that trapped water became. Once I learned to purge that overheated water, my shots instantly transformed from harsh and hollow to sweet, complex, and rich. Have you ever noticed your first espresso shot of the morning tasting significantly more bitter than the second? Let me know in the comments if you have been struggling with this exact issue! Let’s dive into the simple routine that will fix your brew temperatures forever.
Step-by-Step Guide to Performing the Perfect Cooling Flush
Think of your heat exchanger espresso machine like a garden hose left out in the baking summer sun. If you turn on the nozzle immediately, the first blast of water is scalding hot and will burn your plants. You have to run the tap for a few seconds to get to the cool, fresh water underneath. Operating an HX machine requires the exact same patience. To get highly consistent shots, you must purge that superheated water trapped in the group head before inserting your portafilter. Skipping this step is one of the main reasons why your espresso shot is extracting faster on the left side or channeling wildly due to instant thermal shock of the puck.
Listen for the Hiss and Dance
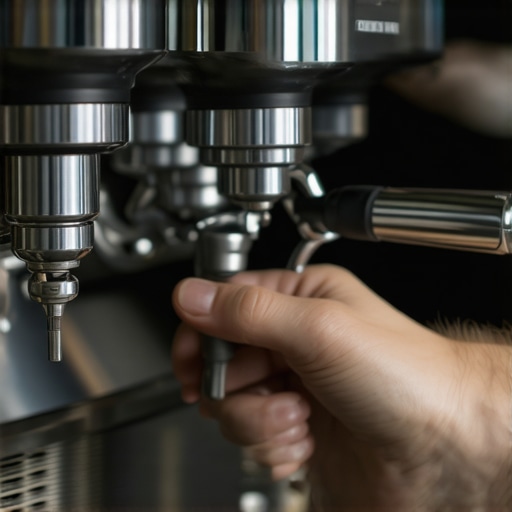
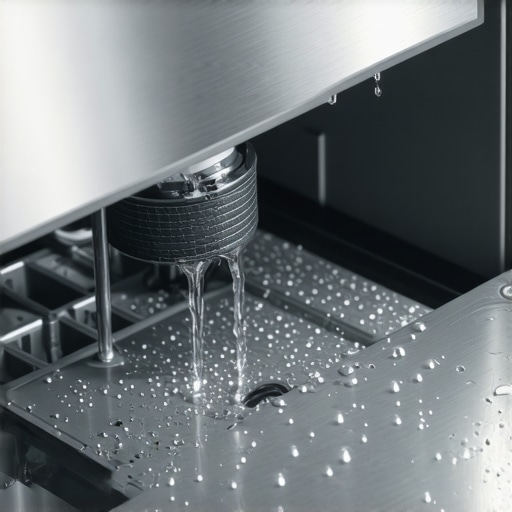
The easiest way to perform a cooling flush without expensive digital thermometers is by using your senses. When you lift the brew lever on a rested machine, you will hear an angry, crackling hiss, and you will see flash-boiled water sputter violently from the group head. This is the water you need to eliminate. Keep the pump running until the sputtering stops and transitions into a perfectly smooth, silent stream of water. I call this the ‘water dance’. The moment the stream calms down, stop the pump. This is your baseline starting point, indicating that the water temperature has dropped back into the safe brewing zone of around 200°F.
The Flush-and-Go Method vs. Flush-and-Wait
Depending on your machine’s specific restrictor design, you have two tactical choices. With the ‘Flush-and-Go’ method, you grind, distribute, and tamp your coffee first. Once your portafilter is locked and loaded in your hand, you perform the flush until the sputtering stops, immediately lock in the portafilter, and pull the shot. This ensures you catch the water at its absolute coolest. Alternatively, the ‘Flush-and-Wait’ method involves doing a longer flush first, waiting a precise amount of time (usually 30 to 45 seconds) for the group head to rebound to a specific temperature, and then pulling the shot. I highly recommend starting with Flush-and-Go; it is simpler, wastes less water, and reduces the risk of the reason your group head temperature drops mid-shot.
Why Speed is Critical After the Flush
I learned this lesson the hard way during a busy Sunday morning hosting family. I flushed the group head, but then got distracted trying to find my favorite scale. By the time I locked in my portafilter and engaged the pump two minutes later, the water inside the heat exchanger had already cooked back up to a boiling 212°F. The shot tasted like burnt rubber. To avoid this, you must minimize the time between the end of your flush and the start of your extraction. If you wait longer than 15 seconds, the heat exchanger will rapidly rebound, forcing you to start the flush over again. Keep your workflow tight and your barista gear nearby so you do not lose precious seconds searching for your tamper.
When discussing high-end home espresso, the general consensus online is that buying expensive barista gear automatically guarantees a perfect cup. However, after years of testing different setups, I have realized that one of the biggest myths in the coffee community is that buying a premium machine solves your temperature stability issues out of the box. In fact, many home baristas end up frustrated because they do not understand the thermal dynamics of their equipment, resulting in sour or bitter extractions that ruin premium single-origin beans.
Why does my espresso taste incredibly sour even when my machine is fully heated?
The most common culprit behind an aggressively sour extraction is a phenomenon known as water channeling combined with a cold group head, even if your steam boiler is screaming hot. Many enthusiasts assume that if a machine has been turned on for an hour, the water hitting the coffee puck will be at the perfect brewing temperature. However, research conducted by the Specialty Coffee Association shows that group head metal mass acts as a massive heat sink. If you do not pull a short warming flush to heat up the actual group head metal before locking in your portafilter, the water temperature will plummet instantly when it hits the cold brass, leading to under-extraction. This is why your single-origin beans taste like vinegar despite your machine being fully turned on.
Another trap that many advanced users fall into is over-complicating their puck preparation tools while neglecting the actual physics of their baskets. I often see people spending hundreds of dollars on fancy distribution tools while completely ignoring their tamping technique. In my experience, using a wet tamper is a recipe for disaster. It causes the dry coffee grounds to cling to the metal surface, which destroys the integrity of your puck. To avoid this, always make sure you understand the problem with using a wet tamper on dry grounds before starting your shot ritual.
Ultimately, getting the best out of your machinery is about consistency and avoiding simple maintenance oversights. For example, many espresso enthusiasts forget to regularly clean their water supply lines, which directly impacts flow rate and thermal dynamics. You can easily prevent mechanical inconsistencies by avoiding the risk of leaving your machines water intake tube dirty. Have you ever fallen into this trap and wondered why your shots tasted inconsistent from day to day? Let me know in the comments below, and let’s troubleshoot your setup together!
Once you have dialed in your temperature management and perfected your water flow, the next hurdle is keeping that precision alive day after day. It is incredibly easy to let minor mechanical drift ruin your morning shots without even realizing it. Over the years, I have learned that the key to avoiding sudden drops in cup quality is not buying new gadgets, but maintaining a strict schedule for your existing setup. If you do not keep up with basic wear and tear, you will eventually find yourself wondering why your espresso machine pressure gauge stays at zero during your morning pull.
How do I maintain my home espresso setup over time?
To keep your setup performing like new, you must establish a strict hierarchy of cleaning and replacement intervals. First, clean your group head daily with a simple backflush using clean water, and do a chemical backflush weekly. Second, pay close attention to the rubber parts on your machine. I always recommend changing your group gasket every six months. If you wait too long, the intense heat of the boiler will bake the rubber into a hard plastic-like ring. Knowing the reason your portafilter gasket is getting brittle will help you prevent leaks and maintain a perfect, airtight seal during high-pressure extractions.
For my grinder, I rely heavily on a monthly deep clean rather than relying solely on chemical cleaning tablets. I physically disassemble the burr chamber to vacuum out packed-down grinds. If you are using a conical burr grinder, you can easily use the mess-free way to clean a conical burr grinder to keep your grinds fluffy and free from rancid, oxidized coffee oils that ruin fresh extractions.
The Future of Temperature Stability and Home Extraction
Looking ahead, I predict we are going to see a massive shift toward predictive thermal profiling in home machines. Instead of relying on manual cooling flushes or simple PID controllers, the next generation of prosumer gear will likely use real-time flow and temperature sensors at the puck level, automatically adjusting heating elements mid-shot to compensate for any thermal loss. In fact, advanced technical whitepapers by coffee engineering pioneers like Scentone suggest that digital profiling of water chemistry and real-time thermal micro-adjustments will soon be standard in even entry-level appliances.
Until those futuristic machines dominate the market, we must rely on our skills, our senses, and our barista gear. My challenge to you for tomorrow morning is simple: perform a targeted, five-second cooling flush right before you lock in your portafilter, and taste the difference. I guarantee you will notice an immediate reduction in bitterness and a beautifully balanced sweetness.
What I Actually Learned About Heat Exchangers After Months of Frustration
When I first jumped into the world of high-end home espresso, I fell victim to the assumption that buying expensive gear would instantly fix all my extraction issues. I was wrong. The single hardest lesson I learned was that the physical temperature inside your heat exchanger boiler has a mind of its own. Here is the unvarnished truth about managing an HX machine that the product manuals never tell you:
- Temperature is a moving target: A PID controller on a heat exchanger machine only monitors the steam boiler, not the water that actually hits your coffee puck. You have to actively manage the group head temperature yourself.
- Water chemistry dictates thermal stability: Scaling inside the thermosyphon loops acts like an insulating blanket, causing massive temperature drops. Understanding how to tell if your water hardness is damaging your boiler is non-negotiable for long-term consistency.
- Bigger baskets require different techniques: If you scale up your dosing, you cannot use cheap, generic accessories without creating massive extraction channels. This is exactly why your tamper size actually matters for perimeter extractions.
- Rushing the process is a recipe for bitter cups: If you try to pull a shot before the thermal loop has stabilized, your extraction will fail, leaving you wondering why your cup tastes like burnt toast.
The Home Barista Library: My Personal Toolkit
I didn’t figure this out on my own; it took a lot of reading and practical testing. If you want to dive deeper into the physics of home espresso, here are the exact resources, tools, and guides that helped me turn my bitter extractions into sweet, rich morning cups:
- For Espresso Machine Technical Maintenance: The step-by-step diagnostic breakdowns on how to maintain consistent thermal performance. If your machine’s pressure readings seem erratic, you can troubleshoot using the guide on why your espresso machine pressure gauge stays at zero.
- The Specialty Coffee Association (SCA) Resources: Their standards and research on water temperature kinetics and extraction science are invaluable for anyone looking to go beyond the basics.
- Essential Equipment Upgrades: A deep-dive guide to selecting the right setup components for your kitchen, especially when choosing the best barista gear for coffee enthusiasts who want repeatable results.
- Grinder Optimization Guides: Because temperature control is only half the battle, learning the mess-free way to clean a conical burr grinder is essential to ensure your flow rate matches your thermal profile.
Tomorrow Morning is Your Fresh Start
There is no reason to let your beautiful machinery intimidate you or produce mediocre coffee. Every home espresso journey is filled with a few bitter, over-extracted milestones. But once you understand how to dance with the thermal dynamics of your heat exchanger, you will unlock flavors you didn’t think were possible in a home kitchen. Tomorrow morning, take your time, listen for that sizzling water to quiet down, and pull your shot with confidence. Have you ever struggled with getting the water temperature right on your heat exchanger? Let me know in the comments below, and let’s troubleshoot your morning routine together!