Why Your Espresso Shot Is Extracting Faster on the Left Side
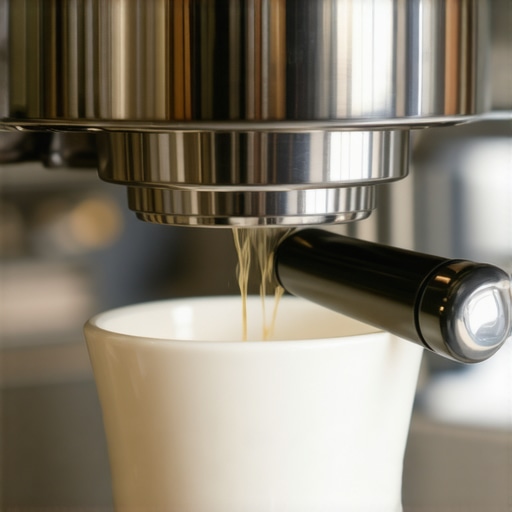
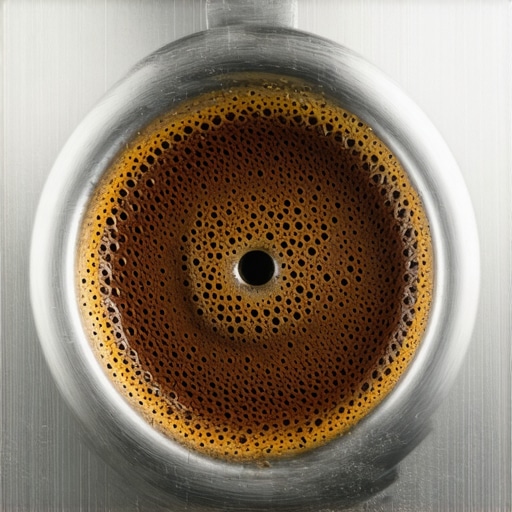
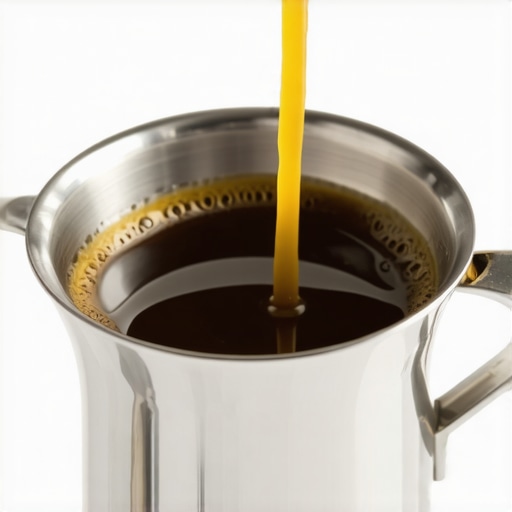
It’s 7:00 AM, the house is still, and I’m crouched down at eye level with my machine like I’m performing surgery. I hit the brew lever, the pump hums to life, and then it happens. The left side of my portafilter gushes like a broken hydrant while the right side stays bone-dry for three agonizing seconds. If you’ve ever felt that spike of caffeine-fueled rage when you realize why your bottomless portafilter is making a huge mess, you aren’t alone. It’s not just a weird aesthetic quirk; it’s a sign that your puck is failing you, and your morning cup is going to be a sour, unbalanced disaster. Today, I’m going to help you level the playing field—literally and figuratively.
Why Your Espresso Keeps Leaning to the Left
When I first started mastering the art of home espresso, I assumed my machine was broken. I blamed the pump, the group head, and probably even the humidity in the air. But here’s the cold, hard truth: water is lazy. It wants the path of least resistance. If your shot is favoring the left, it’s because you’ve accidentally built a ‘shortcut’ for the water on that side. This phenomenon, often called channeling, happens when the density of your coffee puck is inconsistent. Whether it’s a distribution issue or a tilted tamp, that water is going to find the easiest way out, leaving half of your coffee high and dry while the other half gets over-extracted into oblivion.
Is It Possible Your Countertop Isn’t Level?
Most people roll their eyes when I suggest this, but have you actually checked your machine with a spirit level? It’s a common fear that our expensive gear is inherently flawed, but often the environment is the silent killer. If your machine is tilted even slightly, gravity will pull that initial water to one side of the shower screen. However, even on a perfectly level surface, your technique is the most likely culprit. Early in my journey, I fell for the problem with cheap spring-loaded tampers that I thought would save me, only to realize I was tamping at a slight angle every single time.
The Tamping Mistake That Ruined My Mornings
I spent months convinced that I just needed to buy my way out of the problem. I went down the rabbit hole of choosing the best barista gear, thinking a new shiny tool would magically fix my uneven flow. In reality, the issue was my ‘shoulder-tilt.’ I was subconsciously putting more pressure on the left side of the tamper because of how I was standing. Research published by the American Chemical Society suggests that even tiny variations in puck porosity can lead to massive differences in flow rate, meaning a fraction of a millimeter tilt can ruin your shot. By focusing on the move for more consistent puck compression, I finally saw those beautiful, centered tiger stripes. Have you noticed your shots pulling to one side lately, or do you suspect your grinder might be the one playing favorites?To fix that annoying side-pull, you have to look at the coffee bed as a tiny, fragile dam. Water is a force of nature that will find every hairline fracture in your work. If your portafilter is gushing on the left, it is because that side of the dam is weaker than the right.
Break Apart the Clumps with Better Distribution
Most of us dump the grounds into the basket and call it a day, but that is where the disaster starts. Static electricity causes the coffee to form tiny boulders that are denser than the loose powder around them. When I first started, I used a homemade tool with thick sewing needles, only to realize why your WDT tool is actually causing more channeling if the needles are too thick—it literally drags the coffee and creates ruts. Use a tool with 0.35mm needles to stir the grounds in a circular motion, starting from the bottom and working your way up. This homogenizes the density so the water has no choice but to pass through evenly. 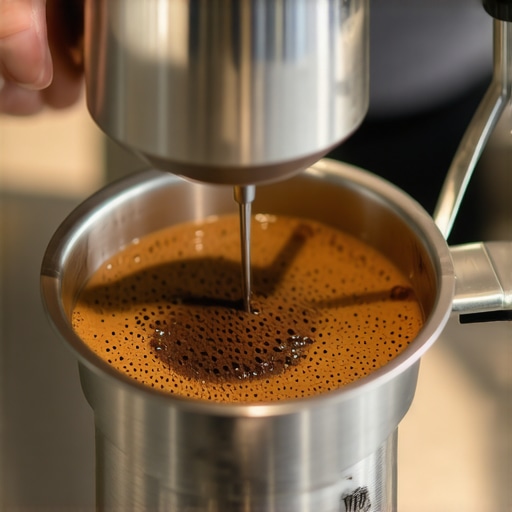
Master the Level Press Every Time
Even with perfect grounds, a slanted tamp ruins everything. I used to think I was pressing straight down, but my ‘shoulder-tilt’ was creating a ramp for the water. If you are still using the stock equipment, you might notice why your plastic tamper is making your espresso sour—it flexes under pressure, making it nearly impossible to get a flat surface. To fix this, use a three-finger grip: place your thumb and index finger on the rim of the basket while you press. This allows you to feel if the tamper is sitting level. For a more permanent solution, look into the move for more consistent puck compression by using a self-leveling spring-loaded tool.
Check Your Shower Screen for Clogs
Sometimes the problem isn’t you; it is the machine. If coffee oils and old grounds are stuck in the tiny holes of your shower screen, the water will be forced to one side before it even touches the coffee. I remember one Tuesday morning I was so frustrated by a wonky flow that I actually took a spirit level to my kitchen counter. The counter was flat, but my shower screen was half-blocked with gunk. This is exactly why your machine needs a backflush every single week. Remove the screw, soak the screen in backflush detergent, and you will likely see a perfectly vertical rain of water again.
Look at Your Grinder Settings Again
If your shots start off okay but then suddenly veer to one side, your grind might be too coarse or inconsistent. Learning how to select the perfect coffee grinder for your brew is vital because cheap grinders produce ‘fines’ and ‘boulders’ at the same time. The water blasts through the loose boulders, causing the shot to lean. If you notice a screeching sound during your morning routine, check the reason your grinder burrs are touching early, which could be creating uneven particle sizes that make level extraction impossible.Beyond just the physical distribution, there is a hidden layer to the side-pull mystery that most beginners overlook: the gas trapped inside your beans. We are often told that fresher is better, but that is a half-truth that leads to massive extraction headaches.
Stop Using Beans Straight from the Roaster
If you are pulling shots with beans roasted 48 hours ago, you are fighting a losing battle against carbon dioxide. As the gas escapes, it creates turbulence inside the puck, literally pushing water away and causing those erratic side-channels. According to research by the Specialty Coffee Association, coffee often needs five to ten days of resting to achieve peak solubility. Without this, you will find why your espresso shot has no crema even with fresh beans because the gas prevents the water from actually penetrating the coffee cells. 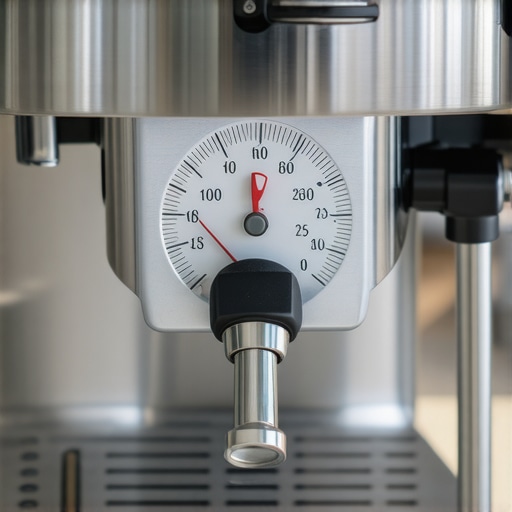
Is Your Water Actually Eating Your Boiler From the Inside?
This is the biggest trap I see advanced home baristas fall into. In an effort to keep things pristine, they use distilled or RO water. This is a fatal mistake. Water is a hungry solvent; when it is stripped of minerals, it becomes aggressive and leaches metals directly from your machine’s internals. You might think you are being careful, but the mistake of using distilled water in your boiler is that it not only ruins the flavor—making it flat and sour—but it also confuses your machine’s sensors. If the water has no conductivity, the auto-fill sensor won’t work, and you risk burning out your heating element. Instead, you need to understand how to tell if your water hardness is damaging your boiler while still maintaining enough mineral content for a balanced extraction.
The 9-Bar Obsession is Slowing You Down
Every manual says you need exactly 9 bars of pressure, but in my experience, chasing that number blindly is a recipe for frustration. If your grind is slightly off, forcing 9 bars through a brittle puck just guarantees a mess. I have found that pressure profiling or even just backing off to 7 or 8 bars can often yield a much sweeter, more forgiving shot, especially on top-rated espresso machines for coffee lovers in 2025 that allow for manual control. Don’t forget that why the first shot of the day is always a throwaway—the thermal instability of the group head usually means your first attempt is just a sacrificial lamb to the coffee gods. Many people also over-invest in the machine while neglecting the grinder. You can have a $5,000 machine, but if you don’t know how to select the perfect coffee grinder for your brew, you are just making expensive brown water. Even your milk prep has nuances; if you find why your milk frother creates bubbles instead of foam, it’s usually because you are introducing air for too long, not because the tool is broken. Have you ever fallen into this trap? Let me know in the comments.Once you’ve figured out why your shots are pulling to one side, you enter the ‘maintenance phase’ of your home barista journey. This is where most people fail. They treat their machine like a toaster, but it is actually more like a high-performance car engine. One of the biggest mistakes I see—and I did this for years—is over-tightening the portafilter. You don’t need to crank it until the handle points to the moon. In fact, [the reason your portafilter gasket is getting brittle](https://espressotechguide.com/the-reason-your-portafilter-gasket-is-getting-brittle) is often that excessive pressure, combined with heat, is crushing the seal into a permanent, hardened state.
Stop Cranking Your Portafilter Handle Every Morning
I used to think a tighter seal meant a better shot, but I was just destroying my gear. Eventually, I had to learn [how to replace a group gasket without scratching the chrome](https://espressotechguide.com/how-to-replace-a-group-gasket-without-scratching-the-chrome) because I’d flattened mine into a useless pancake. According to technical documentation from Cafelat, switching from standard rubber to food-grade silicone gaskets is a game-changer; silicone doesn’t suffer from the same thermal vulcanization, meaning it stays soft and pliable for years. If you find your handle spinning too far or leaking, it’s time to swap. 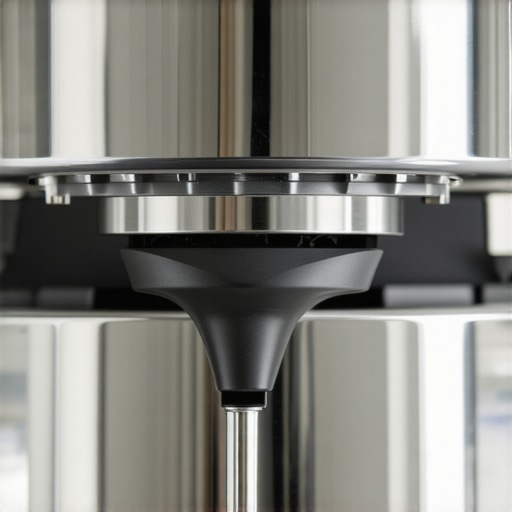
Keep the Grinder Chute Clear of Old Grounds
Your grinder is the heart of your workflow, but it is also a magnet for stale oils. If you notice your morning double suddenly tastes like a dusty basement, you need to learn [how to clean the grinder chute without taking it apart](https://espressotechguide.com/how-to-clean-the-grinder-chute-without-taking-it-apart). Old coffee sits in the ‘dead space’ of the chute and oxidizes, tainting every fresh bean that passes through. I personally use a small bellows once a week to blast out the retention. If you don’t, [why your espresso tastes like vinegar after cleaning](https://espressotechguide.com/why-your-espresso-tastes-like-vinegar-after-cleaning) might actually be the result of cleaner residue mixing with rancid oils you missed.
How do I maintain my espresso setup over the long haul?
The key is consistency, not intensity. I follow [the best routine for a weekend deep clean](https://espressotechguide.com/the-best-routine-for-a-weekend-deep-clean) that includes backflushing with detergent and scrubbing the shower screen. Over time, parts will fail—that is just physics. You might need to [how to swap out a broken power switch on an older machine](https://espressotechguide.com/how-to-swap-out-a-broken-power-switch-on-an-older-machine) or learn to [how to diagnose a faulty espresso machine thermostat](https://espressotechguide.com/how-to-diagnose-a-faulty-espresso-machine-thermostat) if your water temperature starts jumping around. If you hear a weird noise, don’t ignore it; [the reason your pump makes a clicking sound](https://espressotechguide.com/the-reason-your-pump-makes-a-clicking-sound) is usually a simple fix if caught early, but a catastrophic failure if left to fester.
What the Next Decade of Home Brewing Looks Like
Looking ahead, I predict we are going to see a massive shift toward integrated sensors in [top-rated espresso machines for coffee lovers in 2025](https://espressotechguide.com/top-rated-espresso-machines-for-coffee-lovers-in-2025). We are moving away from simple ‘dumb’ boilers toward units that can detect mineral buildup before it ruins your heating element. It makes [choosing the best barista gear](https://espressotechguide.com/choosing-the-best-barista-gear-for-coffee-enthusiasts) even more exciting because the barrier to entry for professional-level shots is getting lower every year. My best advice for you today? Go pull your shower screen off right now. If it’s covered in black sludge, that is your sign to start a real maintenance schedule.
Three Harsh Truths About Crafting Better Espresso
Over the years, I’ve realized that the ‘side-pull’ is often just a symptom of a larger misunderstanding of the brewing process. First, expensive gear won’t hide poor technique; in fact, high-end machines are often less forgiving of a bad tamp than entry-level models. Second, while you are mastering the art of home espresso, you have to accept that you will waste a significant amount of coffee before the muscle memory kicks in. Finally, the smallest variables—like a dusty grinder chute or a slightly old bean—can derail even the most expensive setup. Consistency is a habit, not a hardware upgrade.
#IMAGE_PLACEHOLDER_E#
Barista Gear That Actually Lives Up to the Hype
If you are tired of inconsistent shots that lean to one side, I highly recommend focusing on tools that remove human error. Start by learning how to select the perfect coffee grinder for your brew because grind uniformity is responsible for 80% of your extraction quality. I also suggest choosing the best barista gear that prioritizes ergonomics, such as a self-leveling spring-loaded tamper. These tools are designed to ensure a perfectly horizontal coffee bed every single time, which is the most effective way to stop water from finding a path of least resistance on the left or right side.
Stop Chasing Perfection and Start Enjoying the Process
At the end of the day, pulling the perfect shot is as much an art as it is a technical skill. While it is frustrating when your portafilter gushes from one side, each failed attempt is a valuable data point helping you refine your craft. Whether you are using one of the top-rated espresso machines for coffee lovers in 2025 or a refurbished manual lever machine, the goal remains the same: a delicious, balanced cup of home espresso. Don’t let a messy shot ruin your morning—simply clean the shower screen, adjust your distribution, and try again. Have you ever noticed your shots pulling to the left or right? Let me know in the comments below!