The Problem with Cheap Spring-Loaded Tampers
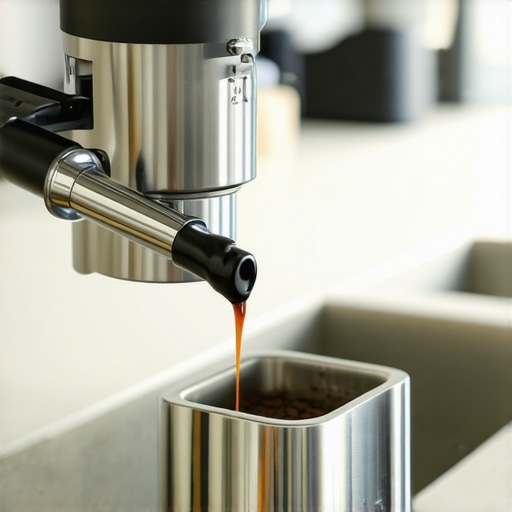
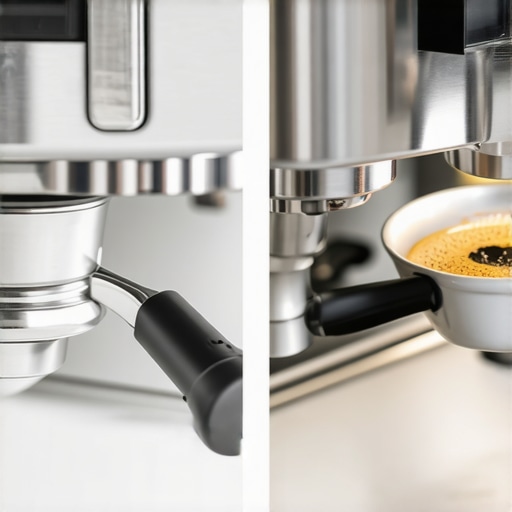
I was standing in my kitchen at 6:30 AM, staring at a shot of espresso that looked more like murky dishwater than liquid gold. I had the beans, I had the machine, and I had even followed the best home espresso tips I could find. But there it was: a geyser of coffee spraying out the side of my portafilter. I blamed my grinder. I blamed the roast. I even worried that my pressure gauge was broken. Then I looked at the puck. One side was a crater, the other a mountain. My ‘fail-safe’ $15 spring-loaded tamper had seized up mid-press, leaving me with a tilted mess. That was the day I realized that high-quality barista gear isn’t about looking professional—it’s about removing the variables that ruin your morning. Today, I’m going to show you how to spot a dud before it wastes your expensive beans.
The $20 Trap That Ruins Your Extraction
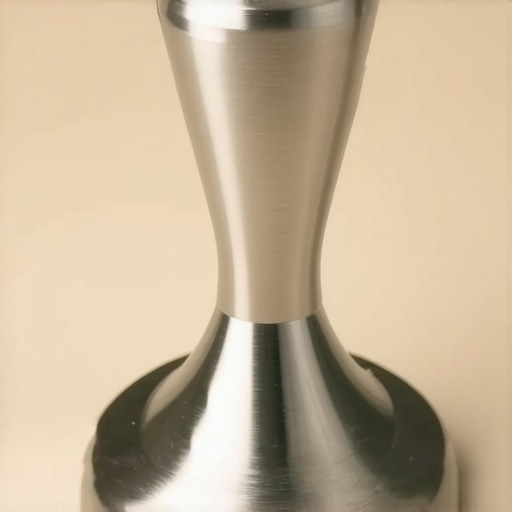
It feels like a genius move at first. You see an ad for a spring-loaded tamper that promises a perfect 30 pounds of pressure every time for the price of a fast-food lunch. You think, ‘Why spend $100 on a premium one when this looks identical?’ I made that exact mistake. I thought I was being savvy, but in reality, I was adding a hidden layer of frustration to my routine. Cheaply made spring mechanisms often suffer from internal friction or ‘sticking’ that makes the compression feel gritty and uneven. According to data from the Specialty Coffee Association, water follows the path of least resistance, meaning even a microscopic tilt in your puck leads to catastrophic channeling. These budget tools often have such loose tolerances that they wobble inside your basket, making consistent puck compression a total roll of the dice.
Is a fancy tamper just overpriced jewelry?
I know what you’re thinking because I thought it too. It’s just a piece of metal, right? But the difference between a tool that is machined to 58.5mm and a cheap 58mm ‘spring’ version is the difference between a clean extraction and a bottomless portafilter mess that covers your backsplash in brown spots. When the tamper doesn’t fit the basket wall perfectly, it leaves an uncompressed ring of coffee around the edge. This is often why your espresso tastes sour even when your grind size is correct. Have you ever pulled a shot and noticed one side of the puck was significantly wetter than the other? Let’s break down why that hardware in your hand is likely the culprit.
Diagnose Your Grinder Burrs in Seconds
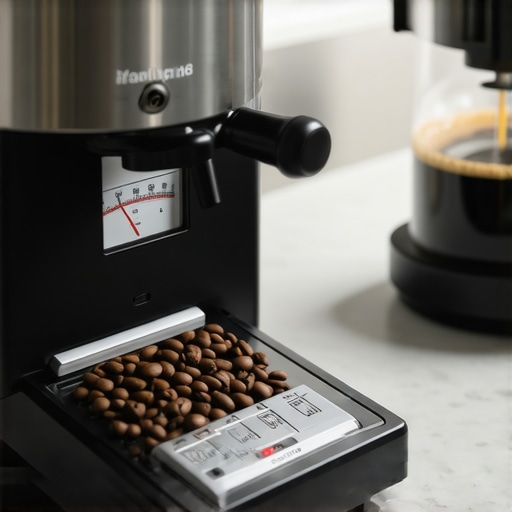
Most people assume their grinder is fine because it spins. But think of your burrs like the tires on a car—eventually, the tread disappears. I remember trying to dial in a light roast from Ethiopia last summer. No matter what I did, the shot tasted like a sour battery. I finally opened the chamber and realized the ‘sharp’ edges felt more like a butter knife. This is how to tell if your espresso grinder burrs are dull before you waste a $20 bag of specialty beans. If you rub a pinch of ground coffee between your thumb and forefinger and it feels like sandpaper rather than flour, you are looking at uneven particles that will never extract correctly. 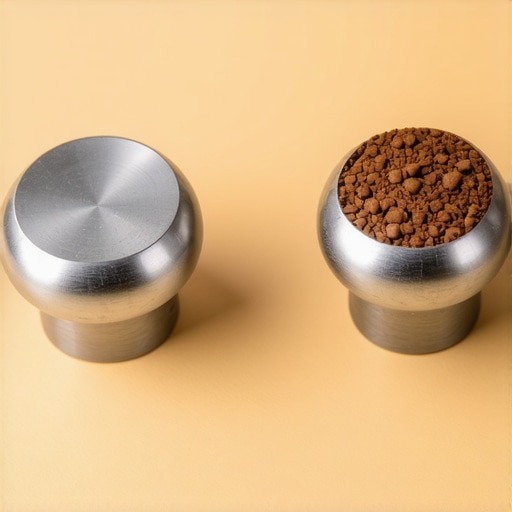
Stop Swirling Your Distribution Tool Aimlessly
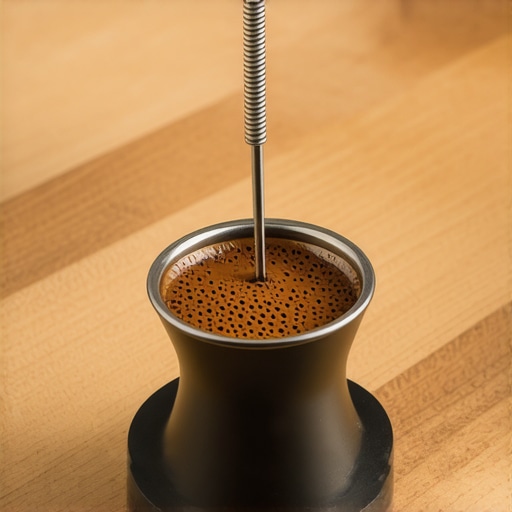
A lot of us buy those spinning distribution tools thinking they solve everything. But if the depth isn’t set perfectly, you are just compressing the top layer of the puck and leaving a cavern of loose grounds underneath. I have seen many enthusiasts wonder why your distribution tool might be ruining your extraction. Instead of relying on a spinner, use the WDT method with thin needles to break up clumps from the bottom up. This ensures the density is uniform through the whole basket.
The Fingertip Check for a Level Tamp
Even with a high-end tamper, you can still tilt the puck. Here is the trick: as you press down, place your thumb and index finger on the rim of the basket and the base of the tamper simultaneously. You will feel immediately if one side is higher than the other. If you ignore this, you will find how to fix the wobble in your coffee portafilter becomes a secondary concern compared to the massive channel you just created. Also, watch out for moisture. I once grabbed a tamper that I had just rinsed, and the resulting puck was a sticky, uneven disaster. Understanding the problem with using a wet tamper on dry grounds is vital; moisture creates instant clumps that water will blast right through.
Keep Your Hardware Performing Like New
I used to think a quick wipe was enough, but coffee oils turn rancid fast. If you do not keep up with the best routine for a weekend deep clean, your machine will eventually produce shots that taste like burnt rubber. I once neglected my steam wand for a week, and the milk started to smell like old cheese. Now, I always make sure to follow the best way to purge your steam wand without burning your hand after every use. This prevents milk backflow into the boiler and keeps your textures silky for every cup.Wait, before you go buying a machine based on the ’15-bar’ sticker on the box, let’s talk about the biggest lie in home espresso marketing. We’ve been conditioned to think more pressure equals more crema, but the pros know that 15 bars is actually a recipe for channeling. According to the Specialty Coffee Association, the golden standard for extraction is 9 bars of pressure. When you blast grounds with 15 bars, you aren’t getting ‘extra’ flavor; you’re just compacting the puck so hard that the water finds a crack and tunnels through, leaving most of your coffee dry. If you find your shots are consistently harsh, you might need to learn how to adjust the expansion valve on your prosumer machine to bring that pressure down to reality.
Stop Chasing the 15-Bar Marketing Gimmick
I’ve seen so many enthusiasts blame their beans when the culprit was actually a machine set too high at the factory. Lowering your pressure allows for a more forgiving extraction and a much wider ‘sweet spot’ when dialing in. If you are using a cheaper machine, you might struggle with this, which is why top-rated espresso machines for coffee lovers in 2025 often feature adjustable OPVs (Over Pressure Valves) as a standard. It’s about control, not raw power.
Why does your first shot always taste like a chemistry experiment?
It’s a common frustration: you dial everything in perfectly on Sunday, then Monday morning’s first shot is a sour mess. This happens because of ‘thermal lag.’ Most home machines don’t have the mass to stay hot when they aren’t actively being used. This is why the first shot of the day is always a throwaway—the internal components haven’t fully reached an equilibrium yet, leading to a temperature dip right as the water hits the coffee. 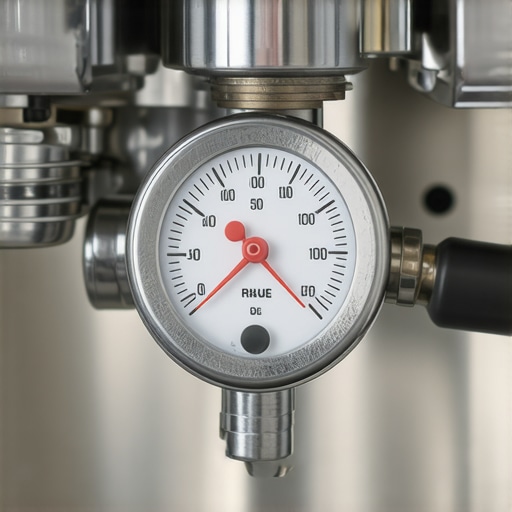 Then there’s the ‘Hopper Trap.’ We love the convenience of dumping a whole bag of beans into the grinder, but have you noticed why your shots taste different on a full hopper compared to an almost empty one? It’s called bean weight variance. A full hopper puts physical pressure on the beans at the bottom, feeding them into the burrs faster and subtly changing the grind size. For the ultimate consistency, I’ve switched to single-dosing—weighing exactly 18g every time. If you’re still using the stock equipment, you might even find why your plastic tamper is making your espresso sour is just the tip of the iceberg compared to temperature fluctuations. One final ‘oops’ that can kill your machine: using distilled water. It sounds like a great idea to prevent scale, but water needs minerals to ‘grab’ flavor. More importantly, check out the truth about using distilled water in your machine before you accidentally fry your boiler’s sensors.
Mastering the Single Boiler Dance
If you aren’t using a dual-boiler setup, you know the pain of waiting for steam. But a common mistake is not purging the ‘wet steam’ before it hits your pitcher. If you don’t, you’re just adding water to your milk, which ruins the protein structure needed for microfoam. I learned the secret to perfecting your milk texture on a single boiler the hard way—by serving far too many watery lattes. If you want that cafe-quality feel without a massive investment, looking into milk frothers that transform your coffee experience can be a more consistent bridge for beginners. Always remember that the gear is only as good as the maintenance; even the best setup fails if you ignore why your machine needs a backflush every single week. Have you ever fallen into this trap? Let me know in the comments.
Your Grinder is Hiding a Stale Secret
I used to think my grinder was a pristine chamber of precision, but the truth is much grittier. If you aren’t careful, yesterday’s dark roast is lurking in the chute, waiting to ruin today’s light-roasted single origin. This is how to tell if your grinder is retaining too much coffee and why it matters more than you think. When coffee sits in the internal ‘dead space,’ it oxidizes, turning your sweet shot into a bitter mess. I’ve found that even the top-rated espresso machines for coffee lovers in 2025 can’t save a shot contaminated by stale remnants. If you’ve just bought a new piece of kit, remember that burrs need a break-in period; I always look for the best way to season new grinder burrs fast to ensure my grind distribution is consistent from day one. Mazzer, a legend in the industry, notes in their technical documentation that steel burrs actually perform better after several kilograms of coffee have smoothed out the microscopic factory burrs. 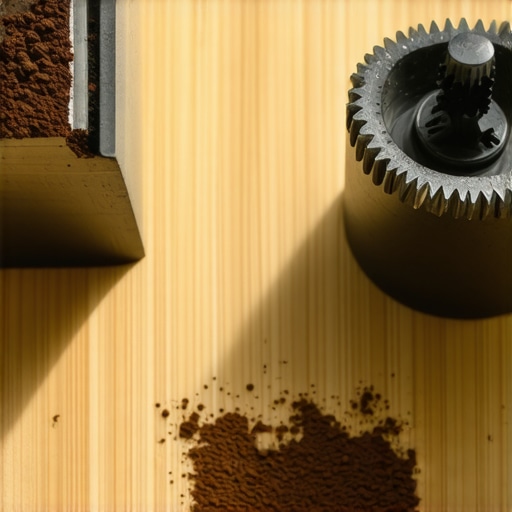
Stop Letting Hard Water Kill Your Boiler
The silent killer of every home setup isn’t the beans—it’s the water. Scale buildup is like plaque in your machine’s arteries. I’ve seen enthusiasts wonder how to fix a steam wand that has lost its power, only to find the internal copper tubing choked with calcium. While it’s tempting to use zero-mineral water, the mistake of using distilled water in your boiler is that it can actually cause the metal to leach or trick your sensors into thinking the tank is empty. I personally use a dedicated filtration pitcher that leaves just enough magnesium for flavor but strips the heavy calcium. If you don’t stay on top of this, you’ll eventually find why your espresso machine pressure gauge stays at zero is a much more expensive problem than a simple filter change.
How do I maintain my espresso gear over the long haul?
Maintenance isn’t a chore; it’s a ritual. Every Sunday, I perform a chemical backflush because I know why your machine needs a backflush every single week to prevent rancid oil buildup in the group head. I also keep a small brush handy to clear the grinder chute daily. Looking forward, I predict we are entering the era of ‘Smart Maintenance,’ where machines will use conductivity sensors to tell us exactly when a gasket is failing before it leaks. For now, we have to be the sensors. If you’re looking to upgrade your workflow or have questions about specific parts, you can always contact us for advice. This weekend, I challenge you to deep-clean your grinder’s burr chamber—you’ll be shocked at the difference in clarity. For more on our editorial standards, check our privacy policy.
Everything I Learned the Hard Way in My Quest for the Perfect Shot
Looking back at my first year of home brewing, I realize I spent way too much time obsessing over the wrong things. I thought a 15-bar pump was a feature, not a bug, until I learned that lower pressure actually makes your shots more forgiving. If you’re struggling with consistency, remember that even a perfect machine can’t fix a poor grind. Before you give up, make sure you know how to select the perfect coffee grinder for your brew to ensure those particles are uniform. Another lightbulb moment? Realizing that why your espresso shot has no crema even with fresh beans often comes down to temperature stability or the age of the roast, not a lack of pressure. Don’t be afraid to pull a few bad shots; every ‘sink shot’ is just a data point helping you calibrate your palate.
#IMAGE_PLACEHOLDER_E#
The Gear That Actually Earned a Permanent Spot on My Counter
I’ve tested dozens of gadgets, but only a few are non-negotiable. First, a precision 58.5mm tamper is mandatory because it eliminates that pesky uncompressed ring of coffee. Second, if you aren’t using a dual boiler, mastering the secret to perfecting your milk texture on a single boiler will save you from the frustration of watery lattes. I also swear by a WDT tool with needles thinner than 0.4mm to prevent the channeling we discussed earlier. If you’re looking to upgrade, I’ve compiled a list of top-rated espresso machines for coffee lovers in 2025 that focus on temperature control and adjustable pressure rather than marketing fluff. These tools aren’t just about vanity; they are about making your home espresso routine repeatable every single morning.
Take Your Morning Ritual Back from the Gimmicks
The journey to mastering home espresso is rarely a straight line. It’s a series of small adjustments, better habits, and learning to trust your taste buds over a shiny box’s marketing claims. Don’t let a bad shot ruin your day; just purge the wand, brush the burrs, and try again. You have the tools and the knowledge to move beyond the entry-level mistakes. It’s time to stop fighting your equipment and start enjoying the craft. Have you ever struggled with getting your milk foam just right, or is your grinder giving you the most trouble lately? Let me know below.