How to Tell if Your Grinder Is Retaining Too Much Coffee
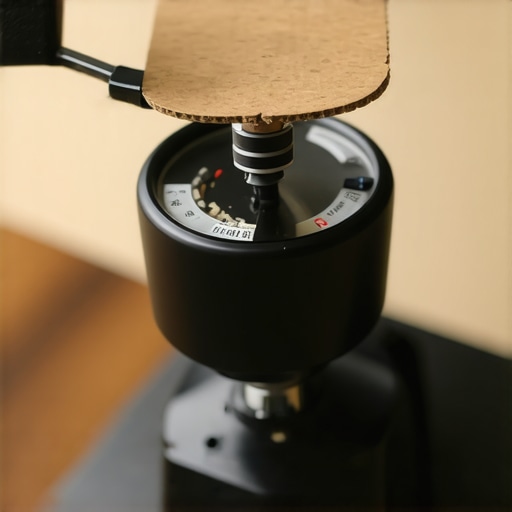
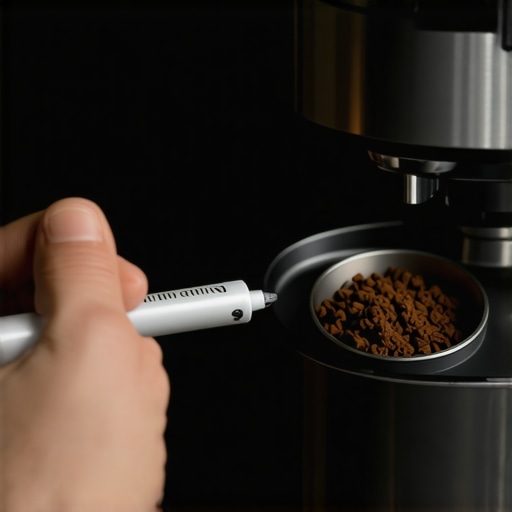
I used to think my kitchen was haunted. Every morning, I’d measure out precisely 18 grams of expensive, single-origin beans, dump them into my grinder, and watch in confusion as only 16.2 grams landed in my portafilter. I was losing nearly two grams of coffee to the “void.” At first, I ignored it. I figured a little bit of dust left behind wouldn’t hurt anyone. But then came the morning I switched from a dark, oily French roast to a bright, floral Ethiopian. My first shot didn’t taste like blueberries; it tasted like a muddy mess of burnt rubber and citrus. That’s when I realized my grinder was hoarding stale grounds like a caffeinated dragon, and it was single-handedly destroying my espresso game.
Stop Letting Stale Grounds Sabotage Your Morning Shot
Coffee retention is the silent killer of consistency. You can buy the fanciest top-rated espresso machines for coffee lovers in 2025, but if your grinder is holding onto yesterday’s leftovers, you’re never going to get that cafe-quality flavor at home. I spent months chasing my tail, thinking my technique was the problem. I even started adjusting the expansion valve on my prosumer machine because I thought my pressure was wonky. In reality, I was just mixing fresh beans with stale dust. This is why many people find that the first shot of the day is always a throwaway. Today, we’re going to figure out exactly how much your grinder is “keeping for itself” and how to fix it.
Is Zero Retention Actually Possible or Just Marketing Hype?
When I first started out, I made the classic mistake of thinking I could just “purge” the grinder by running it for a split second. I was so wrong. I ended up wasting more coffee than I saved, and the retention stayed right where it was—wedged deep in the chute. Skeptics often argue that a gram here or there doesn’t matter, but the science says otherwise. According to research by the coffee experts at Barista Hustle, even tiny amounts of exchanged grounds—known as “exchange retention”—can radically shift your extraction times and bitterness. If you don’t know how to stop your grinder from retaining coffee without a bellows, you are essentially playing a guessing game with your flavor profile every single time you push the button. Have you ever noticed your 18-gram dose suddenly turning into 19 grams because a chunk of old coffee finally decided to fall out? If you are currently looking for a new setup, knowing how to select the perfect coffee grinder for your brew involves more than just looking at the motor size; it’s about how much of that coffee actually makes it into your cup. Let’s look at the tell-tale signs that your current gear is working against you.
Stop Guessing and Start Weighing Your Output
To fix a problem, you first have to measure it. I used to just eyeball my portafilter, assuming that if the mound looked ‘about right,’ I was golden. I was wrong. You need to perform an ‘In-Out’ test. Weigh your beans to the hundredth of a gram before they go in, and weigh the grounds as they come out. If you find a discrepancy of more than 0.2 grams, you have a retention issue. However, keep in mind that why your coffee scale is giving you inconsistent readings might be due to a low battery or an uneven surface, so ensure your tools are calibrated before you blame the grinder. When I first did this with my old flat-burr setup, I realized I was losing 1.5 grams every single time. That is enough of a difference to turn a balanced 1:2 ratio shot into a sour, under-extracted mess.
A Single Drop of Water Ends the Static Nightmare
Static electricity is the glue that keeps coffee stuck inside your machine. In the winter, when the air is dry, this problem gets exponentially worse. You might notice why your grinders static gets worse in winter is because the low humidity turns your grinder into a Van de Graaff generator, making grounds cling to the chute like magnets. The fix is the Ross Droplet Technique (RDT). Take a small spray bottle or even the back of a spoon, add a literal drop of water to your beans, and stir them before grinding. 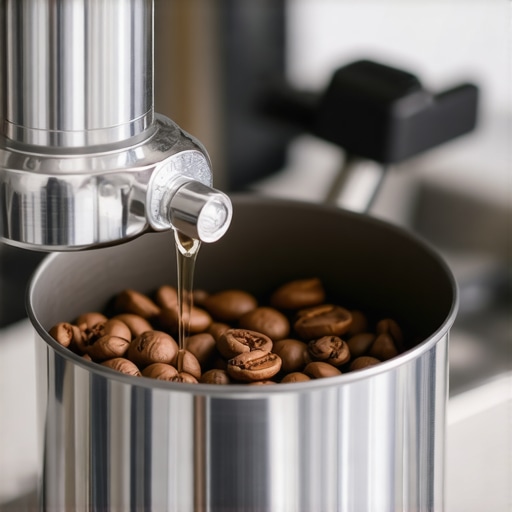 This tiny amount of moisture neutralizes the charge, allowing the coffee to flow freely. I once forgot to do this after moving my setup near a heater, and I ended up with a ‘beard’ of coffee stuck to the front of my machine that took twenty minutes to clean.
Reach Those Hidden Grounds Without a Full Teardown
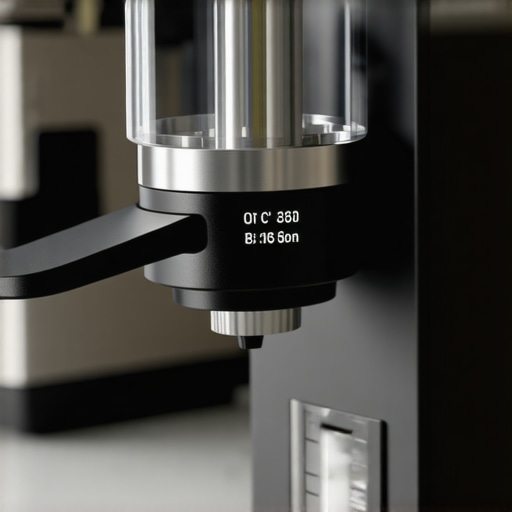
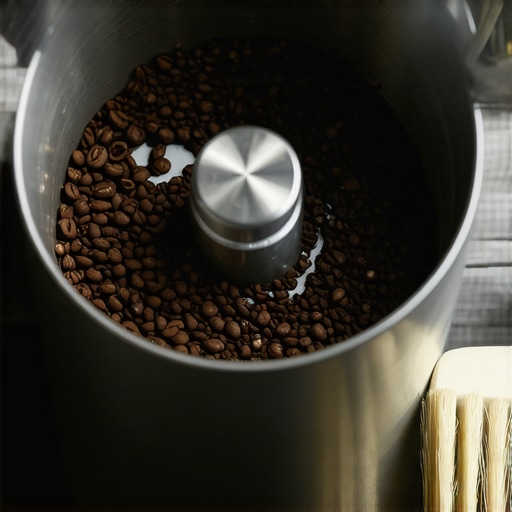
You don’t always need to pull out the toolkit to maintain a clean flow. Most of the ‘stale’ flavor comes from coffee compressed in the exit chute. Learning how to clean the grinder chute without taking it apart usually involves using a flexible pipe cleaner or a dedicated coffee brush. I once tried to clear a clog using a plastic straw, but it just pushed the debris further in. Now, I use the trick for getting ground coffee out of tight corners by using a small, handheld vacuum with a narrow nozzle attachment while simultaneously brushing the burrs. This creates a suction effect that pulls out the ‘exchange’ grounds that otherwise stay trapped for days. If you are using a more traditional setup, finding the mess-free way to clean a conical burr grinder involves a quick purge with a handful of sacrificial beans after any deep cleaning.
Why a Half-Empty Hopper Ruins Your Workflow
Many home baristas love the look of a full hopper, but the weight of the beans (the ‘popcorning’ effect) actually changes how the burrs feed. If you aren’t single dosing, you will notice why your shots taste different on a full hopper compared to when it is nearly empty. The pressure of the beans above forces them into the burrs faster, creating a slightly different grind distribution. To combat retention and inconsistency, I switched to single dosing—weighing only what I need for that specific shot. This ensures no beans are sitting in the hopper getting stale, and it forces me to clear the chute every time, leading to that elusive ‘zero retention’ experience.
While everyone focuses on the shiny exterior of their setup, the real magic—or misery—happens in the micron-sized gaps between your burrs. Most enthusiasts assume that buying high-end barista gear for coffee enthusiasts automatically solves consistency issues, but that is a dangerous myth. In fact, some of the most expensive grinders are the biggest culprits of ‘exchange retention,’ where old grounds are pushed out only by the force of new ones entering. I once spent an entire Saturday morning wondering why my shots were running faster and faster, only to realize I had reached the point where the reason your grinder burrs are touching early was actually a buildup of micro-fines acting as a physical shim. It is a frustrating cycle that makes you want to throw your portafilter through the window.
Can you actually over-prep your coffee puck?
Conventional wisdom says you should use every tool in the shed: a distributor, a WDT needle, and a heavy tamper. However, I’ve found that many people are actually over-working their coffee. If you aren’t careful, why your distribution tool might be ruining your extraction comes down to uneven density. These spinning levelers often compress the top 3mm of the puck while leaving the bottom loose and airy, leading to massive channeling that your bottomless portafilter will happily spray all over your shirt. A study by the team at Socratic Coffee famously highlighted that puck resistance is often more about internal structural integrity than just a flat surface. If you’re struggling with messy shots, you might be falling for the ‘polished top’ trap.
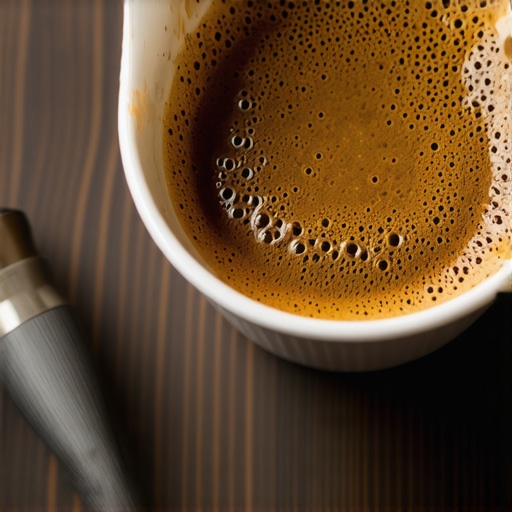
Another nuance that experts rarely mention to beginners is the danger of moisture in the wrong places. We talk about the Ross Droplet Technique for static, but there is a flip side: the problem with using a wet tamper on dry grounds. If even a tiny bead of water from your cleaning cloth stays on the base of your tamper, it creates a ‘slug’ of mud on the surface of your puck. This creates a localized area of high resistance that forces water to find a path around it, guaranteed to produce a sour, salty shot. It is these tiny ‘oops’ factors that separate a hobbyist from a home pro. Similarly, I’ve seen people damage their group heads because they think tighter is better; knowing why your portafilter handle should never be tightened too-far will save you from a costly gasket replacement down the line.
Have you ever fallen into this trap of over-complicating your workflow only to find the results getting worse? Let me know in the comments below! Realizing that ‘more gear’ doesn’t always mean ‘better coffee’ was the hardest lesson I had to learn. Sometimes, the best move is to simplify, weigh everything, and ensure your grinder isn’t holding onto a secret stash of stale dust. If you can master the ‘In-Out’ balance and keep your tools dry, you are already ahead of 90% of home baristas.
Maintaining my setup isn’t just about aesthetics; it’s about preserving the life of my boiler and the precision of my burrs. I learned the hard way that scale is a silent killer of prosumer gear. I used to ignore my water quality until my machine started making a weird pulsing sound, which is when I realized that learning how to tell if your water hardness is damaging your boiler is the most important skill you can have. Beyond the water, you have to look at the group head daily. If you aren’t doing a chemical backflush, you’re essentially drinking yesterday’s burnt oils in every new shot. That is why your machine needs a backflush every single week. I personally use Cafiza for this, but the consistency of the routine matters far more than the specific brand you choose. If you want to dive deep into a reset, I recommend following the best routine for a weekend deep clean to really refresh your palate and your gear.
How do I maintain my espresso setup over time?
Consistency in maintenance comes down to having the right spare parts ready before they fail. According to the Specialty Coffee Association (SCA) Water Quality Handbook, the mineral balance in your water doesn’t just protect the metal; it literally dictates how many flavor compounds are pulled from the coffee cell structure. If your water is too soft, the coffee tastes flat; too hard, and your machine will be dead in a year. I keep a spare silicone gasket in my ‘coffee drawer’ because knowing how to replace a group gasket without scratching the chrome is a ten-minute job that prevents a massive mess later on. 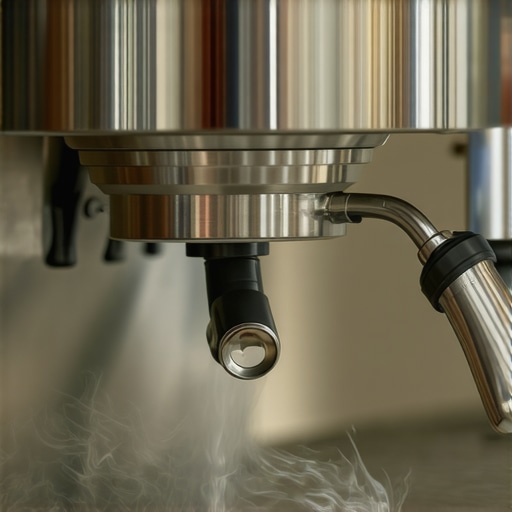 I’ve seen too many enthusiasts neglect the steam wand as well, leading to milk buildup inside the tip. You should definitely learn how to stop using a wet cloth on your steam wand to avoid introducing bacteria or cooling the wand too quickly. Looking ahead, I predict we will see more home machines with integrated sensors that monitor scale accumulation in real-time, effectively acting as a ‘check engine’ light for your boiler. For now, we have to rely on manual tests and discipline. My challenge for you this week is to perform a water hardness test on your tap; it’s the single biggest favor you can do for your espresso game.
What My Neighbors Wish I Knew About Early Morning Grinding
Over the years, I have learned that the loudest part of the morning isn’t actually the steam wand; it’s the grinder vibration echoing through the countertop. I finally figured out how to position your grinder to minimize countertop vibration so my family could sleep while I dial in. Another lightbulb moment was realizing that why your espresso shot has no crema even with fresh beans is often due to stale exchange coffee sitting in the chute for hours. I also stopped rushing my manual grind because I understood why your manual grinder takes longer for the same beans—it is about precision over speed. Lastly, never underestimate the importance of your tamper; I discovered why your plastic tamper is making your espresso sour by creating micro-channels that ruin an otherwise perfect puck.
The Toolkit That Keeps My Caffeine Routine Stress-Free
If you want to avoid the common pitfalls of a home setup, these are the items I keep within arm’s reach. First, a reliable scale is non-negotiable, but you must know why your coffee scale is giving you inconsistent readings to ensure accuracy. #IMAGE_PLACEHOLDER_E# I also keep a stash of backflush detergent because I know why your machine needs a backflush every single week to prevent rancid oil buildup. To keep my workspace tidy, I spent time researching how to pick a coffee mat that doesnt absorb odors, which makes a huge difference in kitchen hygiene. Finally, always have a spare silicone group gasket on hand—knowing how to replace a group gasket without scratching the chrome is the ultimate pro-home-barista skill.
Your Journey Toward the God Shot Starts Tomorrow
Becoming a master of home espresso is less about owning the most expensive machine and more about understanding the tiny variables you can control. Every time you weigh your dose or purge your grinder, you are building the muscle memory required for excellence. Don’t be discouraged by a bad shot; treat it as a necessary data point for your next brew. Have you ever found a massive clump of old coffee inside your grinder and realized that was the reason your shots were tasting off? Let me know your coffee horror stories in the comments below!