The Reason Your Grinder Burrs Are Touching Early
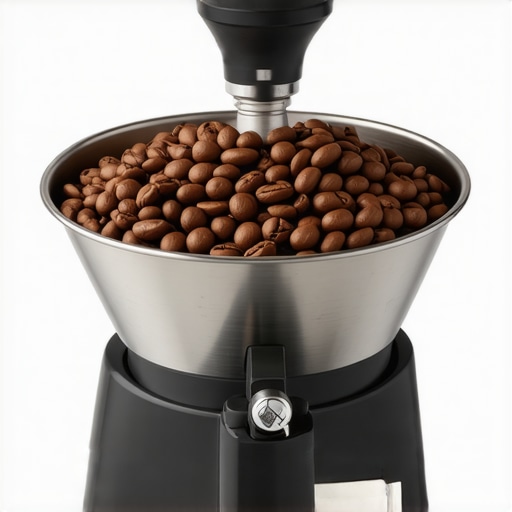
I remember the first time I heard it: a high-pitched, metallic “chirp” that sounded like a dying bird trapped inside my machine. I was trying to dial in a light roast, chasing that sweet spot for a morning latte, when I realized my adjustment dial wouldn’t move any further—even though the grounds were still coming out like coarse sea salt. It was terrifying. I genuinely thought I’d permanently scarred the steel or burnt out the motor. That chirp is the sound of your burrs touching, and if it is happening way earlier than the “zero” mark on your dial, you are not losing your mind. You are likely dealing with a mechanical misalignment or a build-up of old oils that is robbing you of your favorite brew. Have you ever heard that metallic scrape and felt your heart sink?
Stop the Screech Before It Costs You Money
My biggest mistake early on was thinking that [the trick to finding the true zero point on your grinder](https://espressotechguide.com/the-trick-to-finding-the-true-zero-point-on-your-grinder) was simply a matter of turning the knob until it didn’t move anymore. I once forced the dial so hard on a premium unit that I nearly stripped the threads, all because I didn’t realize a tiny bit of coffee debris was jammed in the adjustment path. If your burrs are meeting too soon, we need to look at the geometry of your machine. Whether you are [choosing the best barista gear for coffee enthusiasts](https://espressotechguide.com/choosing-the-best-barista-gear-for-coffee-enthusiasts) or trying to revive an old workhorse, understanding the physical gap between those blades is the difference between a balanced shot and a sour mess. Today, I am going to show you how to diagnose if it is a simple cleaning issue or if you need to learn [the right way to align your flat burrs for better shots](https://espressotechguide.com/the-right-way-to-align-your-flat-burrs-for-better-shots).
Is it actually worth the hassle to fix?
Most people assume a little burr rub at coarser settings is just a quirk of the machine. It isn’t. According to technical standards from the Specialty Coffee Association, even a micron-level misalignment can lead to massive particle size variance. This inconsistency is often [why your shot extraction time changes every single day](https://espressotechguide.com/why-your-shot-extraction-time-changes-every-single-day). If you can’t reach the fine settings needed for espresso because the burrs are already grinding against each other, you are effectively locked out of the best flavors your beans have to offer. We are going to strip away the mystery of why this happens so you can get back to [mastering the art of home espresso](https://espressotechguide.com/mastering-the-art-of-home-espresso-tips-for-beginners) without the mechanical anxiety.
Clean the Gunk Before You Tear it Apart
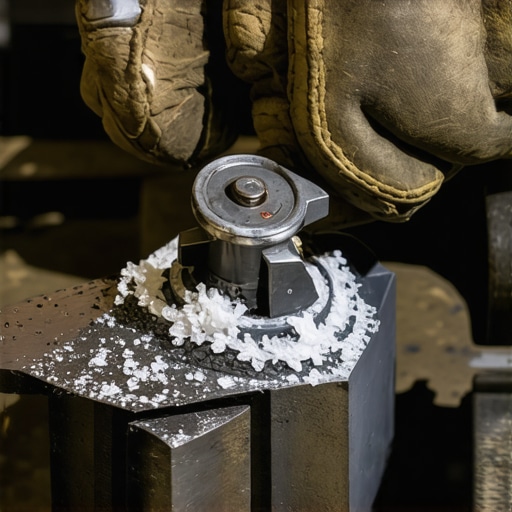
The most common reason for a premature chirp isn’t a bent shaft; it’s a barricade of rancid oils and packed fines. Imagine your burrs are like the tires on a car; if there’s a rock stuck in the tread, the whole ride feels off. I remember working on a secondhand Mazzer that screeched at a setting meant for French Press. I was convinced the previous owner had dropped it. After twenty minutes using the trick for getting ground coffee out of tight corners, I pulled out a compressed wafer of coffee that was as hard as plastic. Once that was gone, the “zero point” moved back by three full numbers. Before you buy new parts, take the top burr carrier off and use a stiff brush. If you find the coffee smells like old crayons, those oils are acting like a shim, pushing your burrs together unevenly.
Clear the Debris Hiding in Your Threads
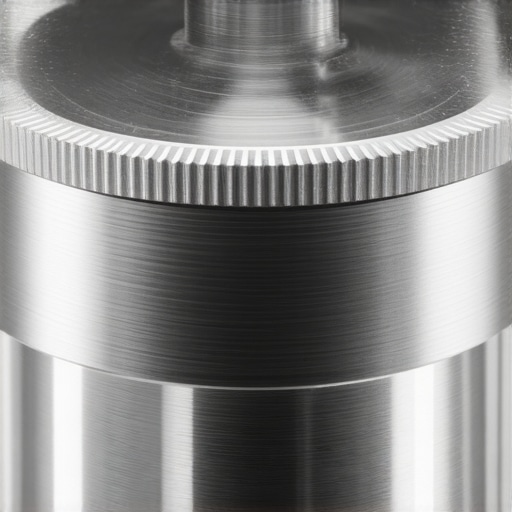
When you rotate your adjustment collar, you are moving the burrs along a threaded path. If a single grain of sand or a fragment of a coffee bean gets lodged in those threads, it creates a “false bottom.” You think you’ve reached the limit of the machine, but you’ve actually just hit a physical block. This is often why your grinder adjustment moves while you’re grinding—the vibration shakes the collar until it hits that debris. I usually take a wooden toothpick to the threads of the adjustment ring to ensure there’s nothing preventing a smooth, deep travel. If the threads feel “gritty” or provide uneven resistance, you’re not getting a true reading of your grind size. #IMAGE_PLACE_HOLDER_B#
The Dry-Erase Trick for Real Alignment
If the machine is spotless but the chirp remains, you need to verify if the burrs are actually parallel. This is the core technique of the fix. Take a dry-erase marker and color the very outer edge (the “flats”) of your burrs. Reassemble the grinder and slowly turn the dial until you hear that first faint metallic whisper. Stop immediately. Disassemble it again and look at the ink. If the ink is rubbed off on only one side, your burrs are tilted. This misalignment is why you must learn the right way to align your flat burrs for better shots because it tells you exactly where to place tiny aluminum foil shims to level things out. Even if you’ve just finished how to properly season new steel burrs for better consistency, a slight tilt from the factory can ruin your extraction.
Listen to the Motor Instead of Forcing the Dial
One of the most dangerous things you can do is try to “power through” the resistance. If the motor sounds like it is straining or the pitch drops significantly, you are creating friction that generates heat. This heat expands the metal, making the burr rub even worse. This is the move that saves your grinder from unnecessary wear: always adjust your grinder while the motor is running, especially when going finer. This ensures that any beans caught between the teeth are pushed through rather than being crushed into the adjustment mechanism. If you suspect the burrs are simply past their prime, checking how to tell if your espresso grinder burrs are dull can save you hours of troubleshooting a mechanical issue that is actually just a maintenance one.The industry loves to sell you on the idea of ‘absolute zero,’ but here is the truth: your zero point is a ghost. Most hobbyists believe that once they find the trick to finding the true zero point on your grinder, the job is done and the setting is locked in forever. In reality, a coffee grinder is a dynamic environment where metal is a living thing. As your motor runs, it generates significant friction and heat, and basic physics dictates that those steel burrs will expand as they warm up. This thermal drift is often why your shot extraction time changes every single day despite you never touching the adjustment collar. If you find your burrs chirping at a setting that was silent ten minutes ago, you aren’t seeing a mechanical failure; you’re seeing the reality of thermal expansion.
Does temperature actually ruin your grind consistency?
Research conducted by the Coffee Excellence Center at ZHAW has shown that the temperature of the beans and the burrs themselves during the grinding process can shift the median particle size by several microns. This subtle shift is the difference between a syrupy ristretto and a watery mess. This is why a setting that worked perfectly at 8:00 AM feels ‘off’ by 10:00 AM after you’ve pulled several back-to-back shots. If you are choosing the best barista gear for coffee enthusiasts, you need to account for this drift rather than constantly blaming your tamping technique. #IMAGE_PLACE_HOLDER_C#
The danger of over-fiddling with distribution tools
Here is a trap I see even seasoned home baristas fall into: the ‘perfectionist spiral.’ You hear a tiny metallic chirp, you panic about alignment, and then you start over-compensating with every needle and wedge in your kit. But the truth is that why your distribution tool might be ruining your extraction is often down to over-compacting the top layer of the puck before the tamper even makes contact. If your burrs are slightly out of alignment, no amount of swirling a WDT tool will fix the fundamental physics of the water taking the path of least resistance through a poorly ground bed. Furthermore, many enthusiasts forget why the first shot of the day is always a throwaway—that stale coffee sitting in the retention chute acts as a mechanical buffer. If you adjust your dial based on a mix of old and new grounds, you’re chasing a tail you’ll never catch. I’ve seen people assume their machine is broken, even checking the reason your commercial grinder keeps tripping the breaker, when the only real issue was a lack of purging and a misunderstood zero point. Have you ever fallen into this trap of over-adjusting your gear when a simple purge or a bit of patience would have solved it? Let me know in the comments.
The Three Items That Actually Live in My Drawer
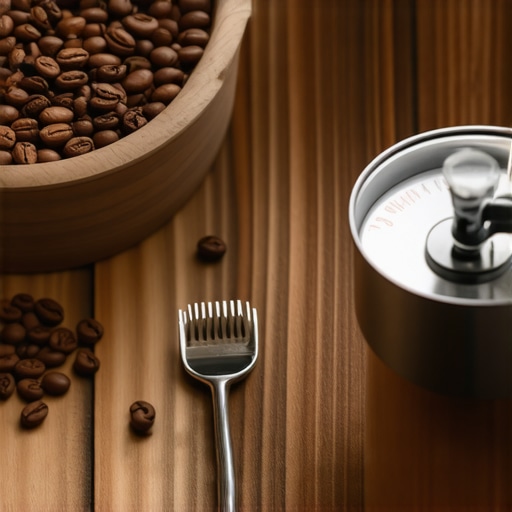
I’ve spent years realizing that even top-rated espresso machines for coffee lovers in 2025 are only as good as the person cleaning them. I don’t use thirty different gadgets; I use a stiff group brush, a dedicated Purg-O-Matic or similar chemical, and a simple wooden toothpick. I use a toothpick because it is the only thing that effectively lets you clean the grinder chute without taking it apart. If you let that chute clog, your motor works twice as hard, leading to heat buildup that ruins the flavor of your beans before they even hit the portafilter.
How do I keep my gear running for a decade?
Maintenance isn’t about the big annual overhaul; it’s about the boring five-minute daily habits. According to La Marzocco’s official Home preventive maintenance documentation, ignoring your group gasket and shower screen leads to uneven pressure and eventually baked-on residues that require professional intervention. I personally make it a point to follow the best routine for a weekend deep clean because I’ve seen what happens when you don’t. If you’ve noticed your portafilter handle moving further to the right over time, you’re already behind. Learning how to replace a group gasket without scratching the chrome is a rite of passage for every home barista. #IMAGE_PLACE_HOLDER_D#
Stop Letting Hard Water Kill Your Boiler
If you aren’t testing your water, you are playing Russian roulette with your machine’s heating element. Most people wait until they see white flakes in their espresso before they check how to tell if your water hardness is damaging your boiler. I use a BWT or Third Wave Water system because I’ve seen far too many beautiful boilers ruined by simple calcium buildup. This is especially true for those mastering the art of home espresso on high-end dual boiler units where descaling at home can be a total nightmare. In the near future, I expect we will see more consumer-grade machines with built-in TDS sensors that prevent the pump from even engaging if the water chemistry is too aggressive. It sounds high-tech, but it is the logical next step for gear longevity.
Backflushing is Not Optional
I see people skip this because they’re afraid of chemicals. Don’t be. Understanding why your machine needs a backflush every single week is the difference between tasting the coffee you paid for and tasting the ghost of a month-old dark roast. It keeps the three-way solenoid valve from sticking, which is the number one reason for pressure drops. If you use milk frothers that transform your coffee experience, remember that milk proteins are a different kind of enemy; a quick purge is never enough. This weekend, I have a challenge for you: take a screwdriver and actually remove your shower screen. If you see a layer of black sludge underneath, don’t panic—just clean it. It is the single most satisfying free upgrade you can give your morning cup.
Lessons from a Decade of Burr Rub Anxiety
Over the years, I’ve realized that the ‘chirp’ is often just your machine asking for a little attention rather than a sign of a broken motor. First, remember that metal expands; your zero point at 7 AM isn’t your zero point at noon. Second, the biggest upgrade you can give your setup isn’t a new tool, but a deeper knowledge of how your burrs sit and move. Finally, stop chasing ‘perfect’ and start chasing ‘consistent’—a slightly misaligned grinder that is clean will always beat a high-end unit clogged with old oils. When you learn how to select the perfect coffee grinder for your brew, focus on ease of cleaning as much as grind quality.
My Essential Maintenance Arsenal
I don’t believe in cluttered counters. My toolkit for top-rated espresso machines for coffee lovers in 2025 stays simple. I always keep a digital TDS meter handy to prevent scale before it starts. A simple wooden toothpick is my secret weapon for reaching into the chute to prevent clogs that lead to the reason your espresso machine is tripping the breaker. Lastly, a stiff-bristled brush is non-negotiable for sweeping away the fines that create that dreaded metallic friction. These tools aren’t flashy, but they are the difference between a machine that lasts two years and one that lasts twenty. #IMAGE_PLACE_HOLDER_E#
Take Control of Your Morning Brew
The journey to the perfect shot isn’t about avoiding every mechanical hiccup; it’s about knowing how to respond when they happen. Don’t let a little static or a drifting adjustment dial discourage you. Every time you open up your machine, you’re learning the language of espresso. Whether you are aiming for the secret to a perfect flat white at home or just a clean morning double shot, trust your senses and your maintenance routine. You’ve got the knowledge now—go use it. Have you ever been surprised by what you found hidden inside your grinder after a deep clean? Let me know in the comments below!