The secret to a perfect flat white at home
I remember standing in my kitchen at 6:30 AM, staring down a mug of what was supposed to be a silky flat white. Instead, it looked like a bubble bath gone wrong. Big, soapy bubbles sat on top of a watery espresso base, looking more like a failed science experiment than a craft beverage. I had spent a decent chunk of change on one of those top-rated espresso machines, yet my kitchen counter felt like a graveyard of failed morning rituals. It is incredibly frustrating when you know exactly how that first sip should feel—that velvety, heavy-cream-like texture—but all you get is lukewarm disappointment. After months of trial and error, I realized the ‘secret’ isn’t just a better machine; it is a fundamental shift in how you handle the steam wand. Today, I am going to pull back the curtain on the exact techniques that transformed my morning coffee from ‘passable’ to ‘better than the cafe down the street.’
The Great Microfoam Struggle and Why It Matters
The flat white is the ultimate test of a home barista because it is so unforgiving. Unlike a latte, which can hide a multitude of sins under a large volume of milk, the flat white is a concentrated balance of strength and texture. My biggest hurdle early on was that I was creating bubbles instead of foam because I didn’t understand the concept of ‘stretching.’ I would just dunk the wand deep into the pitcher and hope for the best. The result? Scalded milk that tasted like cardboard. If you have been struggling with a texture that is either too thick and ‘scoopable’ or too thin and watery, you are likely missing the window where the magic happens. We need to focus on the ‘wet paint’ consistency that characterizes true microfoam.
Is Cafe Quality Actually Possible on a Home Setup?
The short answer is yes, but you have to stop treating your steam wand like a toy. One of the most embarrassing mistakes I made during my first year was forgetting to purge the steam wand properly before starting, which injected a burst of condensation directly into my milk. It ruined the fat structure before I even started. According to the Specialty Coffee Association (SCA), the ideal temperature for milk sweetness and protein stability is between 131-149°F (55-65°C); anything higher and those proteins denature, killing your chance at a glossy finish. To get this right, you need to master the perfect swirl in your milk pitcher. This vortex is what integrates the air you have introduced into the rest of the liquid, creating that uniform, glossy texture. Have you ever felt like your steam wand was actually fighting against you? It is time to win that battle. Even if you are working with milk texture on a single boiler, the principles of air injection and rolling remain the same. Before we dive into the step-by-step mechanics, make sure you understand how to texture milk for a flat white versus a latte, as the timing of your ‘stretch’ phase is what makes or breaks the drink. Let’s get into the specifics of the pour.To get that velvet texture, you have to treat the milk pitcher like a precision instrument. I used to think I could just ‘feel’ it, but until I started looking for specific visual cues, I was just guessing. The first step is all about the tilt. You want your pitcher tilted slightly toward you and the wand submerged just barely off-center. Think of the steam wand as a jet engine; if it is dead center, you are just pushing air down. If it is too close to the edge, you are splashing.
Find the Sweet Spot for the Steam Wand
Positioning is about 80% of the battle. You need to submerge the tip about half an inch into the milk before you even turn the steam on. Once the power is up, you slowly lower the pitcher until the tip is just at the surface. You should hear a sound like paper tearing—not a loud screeching or a deep rumble. If it sounds like a screaming banshee, your wand is too deep. If it looks like a bubble bath, you are too high. This is where choosing the best barista gear for coffee enthusiasts really pays off; a high-quality pitcher with a sharp spout gives you much better control over this initial placement.
Kill the Air Intake Early
The biggest mistake home baristas make is stretching the milk for too long. For a latte, you might stretch for 5-8 seconds. For a flat white, you only want about 2 to 3 seconds of that ‘tearing’ sound. You are essentially injecting just enough air to give the milk body without making it stiff. Once the pitcher starts to feel the same temperature as your hand (about body temp), you must lift the pitcher to submerge the wand tip and stop the air intake. If you keep stretching past this point, you will end up with a cappuccino-style head of foam that sits on top like a hat. 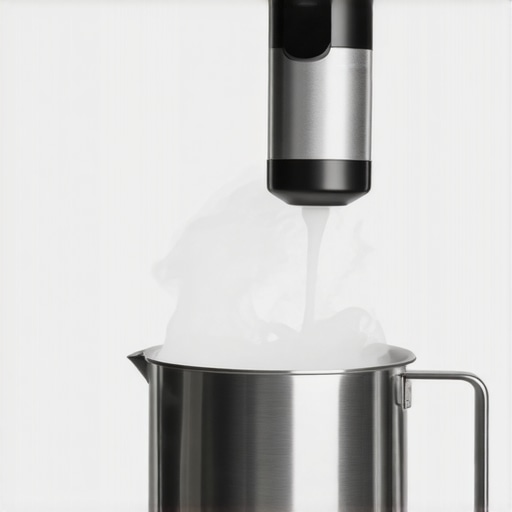
Spin the Milk Like a Centrifuge
Now comes the ‘rolling’ phase. This is where you create silky microfoam on a single boiler machine by using the steam’s energy to vortex the milk. You want to see the surface spinning rapidly. This spinning motion is what breaks down those tiny bubbles you just created into a uniform, glossy liquid. I remember one morning I was so distracted by the sound that I forgot to watch the vortex, and I ended up with a literal fountain of hot water and milk all over my coffee mat because I did not have the wand angled correctly. It was a mess, but it taught me that the vortex is what ‘polishes’ the milk.
Don’t Let the Microfoam Die Before the Pour
Once you hit about 140°F, turn the steam off and immediately stop using a wet cloth on your steam wand and use a dedicated microfiber instead to prevent buildup. But do not just set the pitcher down! Microfoam is a temporary state of matter; if you let it sit, the foam will separate from the milk. You need to keep swirling the pitcher on the counter until you are ready to pour. It should look like wet, glossy paint. If you see any stray bubbles, give the pitcher a firm ‘thump’ on the counter to pop them. If you are using milk frothers that transform your coffee experience, this swirling step is even more critical because they tend to create more separation than a steam wand.
The One-Way Fix for Clogs
If you notice your steam pressure is weak, you might have milk dried inside the tip. Knowing the one way to fix a clogged steam wand without chemicals—usually a quick pin-tool or a long soak—will save your morning when the machine is not cooperating. Never force it, just keep the tip clean after every single use.If you have ever felt like your high-end setup is still producing mediocre results, you are not alone. There is a persistent myth in the community that if you just spend more on the boiler, the coffee quality will naturally follow. In my experience, a $3,000 machine paired with a mediocre grinder is a recipe for expensive disappointment. You are almost always better off with a modest machine and a world-class grinder. Many enthusiasts overlook the right way to align your flat burrs for better shots, assuming they come perfectly calibrated from the factory. They rarely do. This misalignment causes a bimodal particle distribution, where some grounds are too fine and others too coarse, leading to a shot that is simultaneously sour and bitter because parts of the puck are over-extracted while others are under-extracted.
The Grinder Trap Most Enthusiasts Fall Into
When you select the perfect coffee grinder for your brew, you are actually investing in consistency. The real trap isn’t the machine’s pressure; it’s the static and retention in your grinder. I have seen countless baristas obsess over 0.1-gram precision on their scales while ignoring the 2 grams of stale, oxidized coffee sitting in their grinder’s discharge chute. This old coffee contaminates your fresh dose, ruining the flavor profile of even the most expensive single-origin beans. If you aren’t purging a small amount of coffee or cleaning the chute regularly, your ‘fresh’ morning shot is actually a blend of today’s beans and yesterday’s leftovers.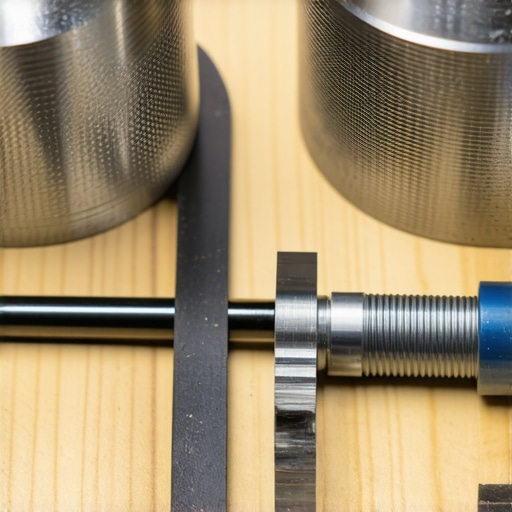
Why does my shot extraction time change every single day?
This is the specific question that keeps home baristas up at night. You use the same beans, the same dose, and the same grind setting, yet today’s shot ran five seconds faster than yesterday’s. While humidity and temperature play a role, research published in the journal Matter (2020) by a team of mathematicians and coffee experts suggests that espresso consistency is actually improved by grinding slightly coarser than the traditional ‘dust’ consistency. Grinding too fine creates micro-clogs that force water to find the path of least resistance, creating channels. To combat this, focus on the move for better espresso distribution without fancy tools. A simple manual agitation or the ‘shaker’ method can ensure the density of the puck is uniform, preventing those rogue fast-flowing shots. Why your shot extraction time changes every single day often comes down to these microscopic channels rather than the machine itself.
Stop Chasing Gear and Start Mastering Variables
The most sophisticated machines in our top-rated espresso machines list are only as good as the person operating them. An advanced mistake is ignoring the ‘seasoning’ of your equipment. New steel burrs often produce inconsistent results for the first 5 to 10 pounds of coffee. If you are frustrated with a brand-new setup, give it time to settle. Have you ever fallen into this trap where you keep chasing the perfect gear instead of mastering the variables like distribution and burr alignment? Let me know in the comments. We often forget that the machine is just a tool; the barista provides the soul of the drink.
It is one thing to pull a single great shot, but it is an entirely different challenge to keep that quality consistent over months of daily use. I have learned the hard way that the difference between a machine that lasts fifteen years and one that ends up on a scrap heap is often just ten minutes of weekly effort. You can buy all the best barista gear for coffee enthusiasts, but if you do not respect the mechanical limits of your equipment, the coffee will inevitably suffer. In my own kitchen, I transitioned from being a ‘reactive’ owner to a ‘proactive’ one after a scale-clogged boiler nearly ruined my favorite machine.
Clean your group head or suffer the bitter consequences
The biggest enemy of flavor is not the age of your beans, but the rancid oils trapped behind your shower screen. Every time you pull a shot, a small amount of coffee oil is sucked back into the internal plumbing. If you do not perform a thorough cleaning, these oils oxidize and turn every subsequent shot into a bitter, acrid mess. This is why your machine needs a backflush every single week using a dedicated detergent. I personally use a small amount of Cafiza because it breaks down those oils without leaving a chemical aftertaste. If you have an E61 machine, you also need to know how to properly lubricate your e61 group head cam after a heavy chemical clean, otherwise you will feel a gritty resistance in the lever that eventually wears down the brass components.
How do I keep my espresso machine running like new for years?
Maintenance is mostly about water chemistry. According to the La Marzocco technical handbook, maintaining a total hardness of 90-150 ppm (parts per million) is crucial to prevent both scale buildup and copper corrosion in high-end boilers. If your water is too hard, your machine will start taking longer to heat up; if it is too soft, the water becomes ‘hungry’ and eats into your metal pipes. I always recommend using a dedicated filter or ‘third wave’ water packets to ensure your boiler stays pristine. If you are using a stand-alone unit, don’t forget the small things, like how to clean the tiny air hole in your automatic milk frother, which often gets overlooked until the foam quality mysteriously disappears.
Your grinder needs a deep dive too
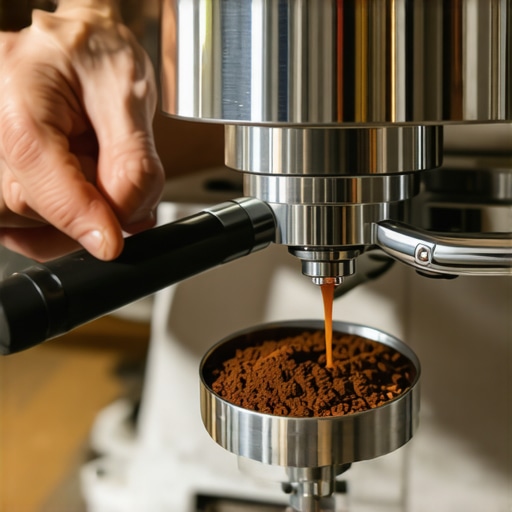
While most people focus on the machine, the grinder is where the real ‘maintenance debt’ accumulates. I make it a habit to perform the move that saves your grinder from unnecessary wear, which is simply adjusting the grind setting while the burrs are spinning. Changing settings while the motor is off can trap beans between the burrs and strain the engine. For the internals, a simple brush isn’t enough. I have found that learning how to clean your grinders discharge chute with a pipe cleaner is the only way to truly remove the compacted ‘fines’ that cause static and retention. It is a satisfying, if slightly messy, ritual that ensures every gram you weigh in is exactly what you get out.
What comes next for the home barista?
Looking ahead, I predict the next big shift in home espresso will be ‘smart’ maintenance—sensors that actually monitor the health of your boiler and the alignment of your burrs in real-time, much like a modern car dashboard. We are already seeing this with high-end milk frothers that transform your coffee experience by using infrared sensors to stop at the perfect temperature. Until that tech becomes affordable, you have to be the sensor. I challenge you to try one thing this week: find the true zero point on your grinder. Knowing exactly where your burrs touch is the ultimate calibration for consistent recipes. Mastering this technical side is what separates a person who ‘has’ an espresso machine from someone who is truly a barista.
The Hardest Lessons I Learned Chasing the God Shot
After years of tinkering, I have realized that the most expensive gear cannot compensate for a lack of routine. One of the biggest ‘lightbulb moments’ for me was accepting why the first shot of the day is always a throwaway; the thermal instability of the group head and the stale grinds in the chute are variables you just cannot ignore. I also learned that bitterness isn’t always about the beans. Often, it is the danger of leaving old coffee oils in your portafilter spouts that masks the true flavor profile of your roast. Finally, stop trying to fix every bad shot by changing the grind size immediately—sometimes you just need to check your puck prep and distribution first.
My Essential Toolkit for Better Morning Extractions
If you want to move beyond basic brewing, there are a few tools that I consider non-negotiable. First, a high-quality WDT tool or a shaker is vital for even distribution. Second, never underestimate the power of cleanliness; I use a specific set of brushes and have even mastered cleaning the grinder discharge chute with a pipe cleaner to ensure zero retention. For those focused on texture, practicing the trick to swirling milk without splashing will save your counter space and your microfoam quality. These items are the backbone of any serious barista gear for coffee enthusiasts collection.
#IMAGE_PLACEHOLDER_E#
Your Journey to the Perfect Flat White Starts Now
Mastering home espresso is a marathon, not a sprint. It is a hobby that rewards patience, cleanliness, and a willingness to fail. Don’t be discouraged by a few sour shots or a pitcher of bubbly milk; every mistake is just data telling you how to adjust your technique for tomorrow. By focusing on the fundamentals of temperature, distribution, and maintenance, you are already ahead of 90% of home users. If you are just starting out, I highly recommend mastering the art of home espresso with these beginner tips to build a solid foundation. Have you ever struggled with inconsistent shots that run too fast one day and too slow the next? Let me know in the comments below!