Why Your WDT Tool Is Actually Causing More Channeling
I still remember the morning I finally threw my expensive acupuncture needle tool across the kitchen in a fit of caffeine-deprived rage. I had just spent five minutes meticulously “distributing” my grounds, only for my bottomless portafilter to spray espresso all over my favorite white t-shirt. I was doing everything the internet told me to do. I had the fancy gear, one of those top-rated espresso machines, and fresh beans, yet my shots looked like a garden hose on full blast. It took me months to realize that the tool I bought to fix my channeling was actually the one creating the tunnels for the water to escape. Most of us are just moving the mess around instead of actually fixing the bed density. Today, I am going to help you figure out if your technique is the problem or if your gear is sabotaging your morning brew.
Stop Turning Your Portafilter into a Construction Zone
We have all been told that the Weiss Distribution Technique (WDT) is the holy grail of consistency. And it can be! But if you are like I was, you might be overworking the coffee bed or using needles that are way too thick for the job. Early in my journey of choosing the best barista gear, I made the classic mistake of using a cheap 3D-printed tool with 1mm thick needles. Instead of fluffing the grounds, I was essentially plowing rows into the coffee, creating massive air pockets that water loves to exploit. This is a common way your distribution tool might be ruining your extraction without you even noticing until the pump kicks on and the mess begins. You think you are being precise, but you are really just creating a roadmap for channeling.
Is this little needle tool actually worth the headache?
You might be skeptical. After all, shouldn’t more stirring always mean more evenness? Not necessarily. According to puck physics research from experts like Socratic Coffee, needles thicker than 0.4mm actually displace more coffee than they distribute, leading to what is known as “mechanical channeling” where the needles themselves leave paths behind. Have you ever seen your shot spray everywhere despite five minutes of careful stirring? If so, you are likely a victim of this displacement. I will show you how to spot these flaws in your workflow and why consistent puck compression starts long before your tamper ever touches the basket. We are going to strip away the over-complicated fluff and get back to the physics of a perfect pull.
The Right Way to Stir Your Coffee
The goal of distribution isn’t just to make the top of the basket look pretty. You are trying to ensure that every single particle of coffee is evenly spaced. Think of it like organizing a crowded subway car; if everyone huddles at the doors, nobody gets through. If everyone is spread out, the flow of pressurized water is smooth and predictable. When I first started mastering the art of home espresso, I used to just swirl my tool around the top layer. The result? A beautiful-looking surface hiding a chaotic, uneven mess underneath. You have to reach the bottom of the basket to make a real difference.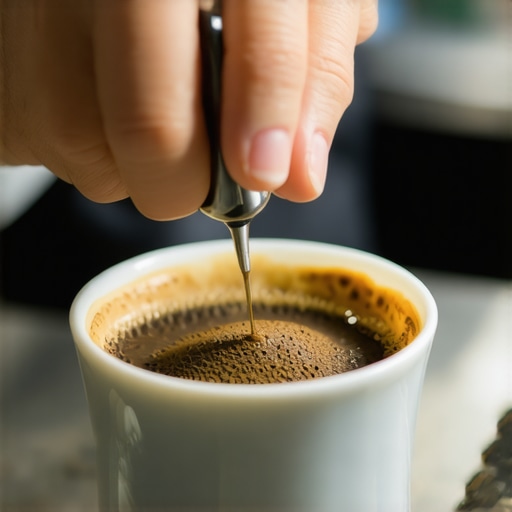
Stop Digging Holes in Your Espresso Bed
Start your distribution at the very bottom of the portafilter basket. Use a circular motion, moving from the center outward in a spiral. If you have a dosing funnel, use it—it’s one of those essential pieces of barista gear that keeps your kitchen from looking like a volcanic eruption. As you stir, slowly spiral your way upward toward the surface. I remember a Tuesday morning when I was in a rush and skipped the deep stir. I watched my bottomless portafilter spray espresso directly onto my kitchen backsplash. The deep stir breaks up the dense clumps that form as grounds fall from your grinder’s chute, which is especially common after you how to select the perfect coffee grinder and realize it produces static-heavy mounds.
Why Needle Thickness Changes Everything
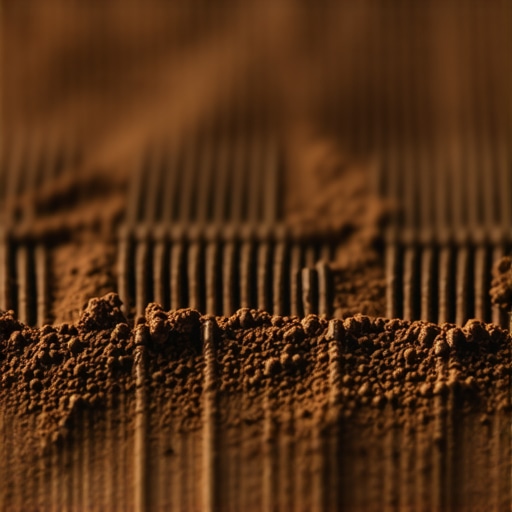
If your needles are thicker than 0.4mm, you aren’t distributing; you’re gardening. Thicker needles act like shovels, pushing coffee into dense walls and leaving canyons behind. This creates mechanical channeling. To fix this, look for 0.3mm or 0.35mm acupuncture needles. They should be flexible enough to dance through the grounds without resistance. I once tried using a thick sewing needle in a pinch. The needle was so rigid it literally pushed a quarter of the coffee to one side of the basket, leading to a shot that tasted thin and metallic. If you find your coffee scale is giving you inconsistent readings during the pull, check your needle diameter first.
One Tap to Rule Them All
Once you’ve finished your deep-to-shallow stirring, you’ll have a fluffy, slightly domed mound of coffee. Don’t just tamp it yet. Give the portafilter one sharp, vertical tap on your tamping mat. This settles the grounds and removes any large air pockets you might have accidentally created while stirring. Think of it like settling a bag of flour on a counter. This single tap is the essential bridge to more consistent puck compression. If you skip this, your tamper might tilt, creating a slanted bed that no amount of pump pressure can save. You want a level surface so the water hits a solid, uniform wall of coffee.
The Final Leveling Act
Before the tamper makes contact, ensure your bed is flat. Some people love dedicated leveling tools, but if your stirring technique is solid, your finger or the WDT tool itself can do the job. The key is horizontal uniformity. When you’ve spent time finding the true zero point on your grinder, you don’t want to waste that precision on a lopsided bed. I’ve found that even a one-degree tilt in the coffee bed can cause the water to rush to one side, leading to an uneven flow where one side of the basket is blonding while the other is still dark.Most people think that more pressure equals more flavor, but that is a dangerous trap. While many entry-level units boast 15 bars of pressure, you are actually much better off aiming for 6 to 9 bars. High pressure compresses the puck so tightly that it often causes ‘choke’ points, leading to a bitter, over-extracted mess. If you notice why your espresso machine pressure gauge stays at zero or fluctuates wildly, you might be fighting against the machine’s internal limiters rather than your grind size. In my experience, slowing things down often yields a much sweeter, more balanced cup than trying to force water through at maximum force.
Why does my shot still taste sour even when I grind finer?
This is the ultimate frustration for home baristas. You grind until the machine almost chokes, yet that sharp, acidic tang remains. This usually happens because of uneven extraction—likely caused by your distribution or, more subtly, by how to tell if your espresso grinder burrs are dull. If your burrs aren’t sharp, they produce a massive ‘fines’ spread, where some particles are microscopic dust and others are boulders. The water rushes past the boulders (sour) and over-extracts the dust (bitter). Coffee researcher Jonathan Gagné has noted that particle distribution is often more important than the average grind size itself. If you are using a cheap setup, why your plastic tamper is making your espresso sour might also be the culprit, as it fails to provide the level surface needed for even water flow. 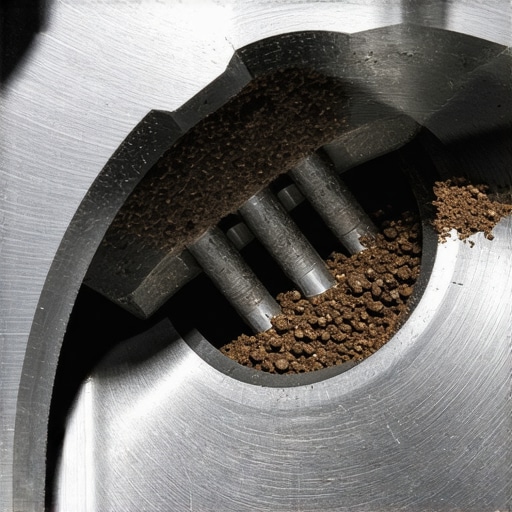 One of the biggest ‘oops’ factors I see involves the water itself. There is a common myth that using distilled water is ‘cleaner’ for your machine. Please, stop doing this immediately. The truth about using distilled water in your machine is that it is chemically ‘hungry.’ Because it lacks minerals, it will actually leach metal from your boiler and sensors, leading to catastrophic failure. Plus, without minerals, the water can’t effectively extract the coffee oils, leaving you with a flat, metallic-tasting brew. Even when the espresso is perfect, I see people stumble at the finish line with milk. Many struggle with why your milk frother creates bubbles instead of foam. They think they need more air, but usually, they need more ‘vortex.’ If you aren’t integrating the air quickly, you just end up with a dry cap of foam sitting on top of hot milk. For those using standalone units, check out milk frothers that transform your coffee experience to see which ones actually handle microfoam correctly. Have you ever fallen into this trap of over-pressurizing or using the wrong water? Let me know in the comments below, and let’s troubleshoot your setup together.
Even after you have nailed the distribution and pressure, your journey as a home barista is far from over. I have seen too many enthusiasts invest in top-rated espresso machines only to let them become scale-filled paperweights within a year because they ignored the boring stuff. If your machine is the heart of your kitchen, the maintenance is its pulse. I learned this the hard way when my first machine started tasting like charred rubber because I didn’t realize why your machine needs a backflush every single week. Coffee oils are delicious in the cup, but once they bake onto your shower screen for a month, they turn rancid and bitter.
Clean Gear is the Secret to Tasting the Roast
Your grinder is just as prone to neglect as the machine itself. You might notice a stale, oily odor coming from your setup; if that is the case, you need to learn how to get the old coffee smell out of your hopper. Those leftover oils oxidize quickly, and if they are sitting on the burrs, they will taint even the most expensive Geisha beans you just bought. When I switched to a high-end flat burr grinder, I realized that the right way to align your flat burrs for better shots was the difference between a ‘good’ espresso and a ‘god’ shot. Alignment ensures that the particles are uniform, preventing that frustrating mix of sour and bitter notes I mentioned earlier.
How do I maintain my espresso machine’s performance over years?
Consistency over the long haul requires a proactive mindset. According to the La Marzocco Home maintenance documentation, replacing your group gasket every six months is non-negotiable to maintain a perfect seal under pressure. If you wait until it leaks, you have waited too long. You should also be vigilant about your local environment; specifically, how to tell if your water hardness is damaging your boiler is a skill that will save you thousands in repair bills. I personally use a simple titration kit every month to test my tap water, ensuring my filtration system is still doing its job. For a deeper dive into preservation, I recommend establishing the best routine for a weekend deep clean which includes removing the shower screen and soaking the portafilter baskets in a specialized espresso detergent.
Don’t Let Your Workflow Become a Cluttered Mess
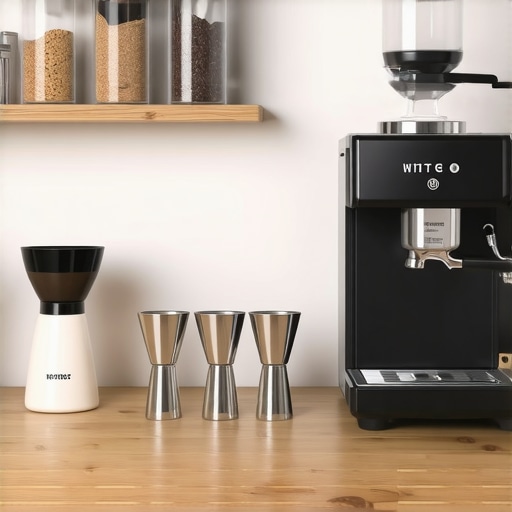
As you gather more barista gear, your countertop can quickly start looking like a laboratory explosion. I found that my shots actually got worse when my station was cluttered because I was rushing to clear space instead of focusing on the puck. Learning how to organize your barista tools in a single drawer changed my morning routine from a stressful chore into a meditative practice. I predict that in the near future, we will see a massive shift toward ‘smart’ maintenance, where machines will use internal sensors to alert you exactly when the group gasket is losing elasticity or when the pump is beginning to fail. We are already seeing this in prosumer units that track shot counts for descaling cycles.
If you are looking to take your extraction to the professional level today, don’t ignore the breaking-in period of your equipment. Many people complain about inconsistent shots with a new grinder, but they often forget the best way to season new grinder burrs fast. Run a few pounds of cheap, old beans through it to smooth out the factory burr edges. My challenge for you this weekend is to take ten minutes to inspect your group gasket; if it feels hard or brittle when you poke it with a pick, you need to learn how to replace a group gasket without scratching the chrome before your next brew session.
Hard Truths I Found at the Bottom of a Shot Glass
After years of obsessing over every milligram of coffee, I have realized that even the most expensive top-rated espresso machines cannot save a lazy workflow. One lesson that still humbles me is that why the first shot of the day is always a throwaway is a reality of physics, not just a superstition; the thermal mass of the group head and those few grams of stale grounds in the grinder chute need that initial purge to wake up. I also learned the hard way that chasing the perfect extraction shouldn’t come at the cost of your sanity. If you are constantly adjusting your grind but ignoring the fact that your dosing cup doesn’t fit your portafilter correctly, you are likely losing half your precision to simple kitchen mess. Another lightbulb moment was realizing that water temperature is the silent killer of flavor; understanding the move for better temperature stability on entry level units can often bridge the gap between a sour shot and a syrupy one without spending a dime on new hardware.
The Gear That Actually Earned a Spot on My Counter
I have tested dozens of gadgets, but only a few have survived the ‘morning rush’ test. For those looking to upgrade their station, I highly recommend looking into how to pick a coffee mat that doesn’t absorb odors because nothing ruins the aroma of a fresh roast faster than the smell of stale, damp rubber. I also swear by a high-quality dosing funnel and a precise 0.1g scale. When you are choosing the best barista gear, focus on the tools that reduce friction in your workflow rather than the ones that add complex steps. A simple, well-aligned flat burr grinder and a consistent tamping surface will do more for your coffee than any five-hundred-dollar distribution tool ever could. I personally trust tools that prioritize mechanical simplicity over flashiness, as they are easier to maintain and much harder to break during a pre-caffeine fog.
Your Journey to the Perfect Extraction Starts Tomorrow
Don’t let a few bad shots or a messy bottomless portafilter discourage you from the craft. Every professional barista you admire has a graveyard of sink-shots and spilled milk behind them. The beauty of mastering the art of home espresso is that it is a tactile, evolving skill that rewards patience and observation. Even if your latte art always ends up at the edge of the cup, remember that the flavor profile and the ritual itself are the real rewards. Keep your gear clean, trust your palate more than the influencers, and don’t be afraid to experiment with one variable at a time. Have you ever felt like your distribution tool was actually making your shots worse instead of better? Let me know in the comments below, and let’s troubleshoot your puck prep together!