Why Your Latte Art Always Ends Up at the Edge of the Cup
I remember the morning it finally clicked for me. I was standing in my kitchen, bleary-eyed, clutching my favorite ceramic mug. I’d finally mastered the secret to silky microfoam after weeks of producing what looked like dish soap suds. I tilted the pitcher, expecting a centered, elegant heart. Instead, the white foam zoomed across the surface of the espresso like a hockey puck on ice, pinning itself against the far wall of the cup. It was a perfect heart, just two inches away from where it was supposed to be. If you’ve ever felt that sting of ‘so close, yet so far,’ you’re in the right place. We’re going to fix your alignment today so your art actually stays where you put it. Have you ever felt like your milk has a mind of its own once it hits the crema?
The Hidden Physics Behind the Drifting Heart
The reason your art is making a run for the border usually comes down to ‘the push.’ When you start your design, if you aren’t pouring into the literal center of the liquid’s surface, the momentum of the milk carries the foam toward the nearest edge. I spent months making the mistake of pouring too far away from myself, which naturally shoved the design toward the back of the cup. Even if you are using top-rated espresso machines, the physics of the fluid dynamics don’t change. You have to anchor the foam. A study on fluid impingement published in the Journal of Fluid Mechanics suggests that the velocity and angle of a secondary liquid significantly alter the distribution of surface particles—in our case, that beautiful white microfoam. If your angle is too steep or your landing spot is even a fraction off-center, the foam will always follow the path of least resistance straight to the rim. I used to think I could just ‘wiggle’ my way out of a bad start, but once that momentum carries the foam to the edge, it’s nearly impossible to pull it back without ruining the definition.
Do you really need a professional pitcher to get this right?
I used to think my cheap, unbranded pitcher was the culprit. I almost pulled the trigger on a $90 competition-grade model just to solve this one problem. But here’s the reality: while choosing the best barista gear definitely helps with control, a fancy spout won’t fix a bad landing. You can center your art with a standard pitcher once you understand how to pierce the crema correctly. It is about the relationship between your spout and the surface of the coffee, not the price tag on the stainless steel. If your milk is coming out too thick and sitting on top like a blob, you might want to check this trick for thicker milk, but even then, the centering technique remains the same. Let’s look at why your hand position is likely the real saboteur in your morning routine.
Drop the Pitcher Until It Kisses the Crema
The first mistake almost everyone makes is staying too far away from the liquid. Think of your milk pitcher like a landing plane. If the pilot stays 500 feet in the air, the passengers never get home. To get that white foam to actually stay on top, you have to bring the spout down until it is less than half an inch from the surface. This is where the secret to perfecting your milk texture on a single boiler comes into play. If your milk is too thin, it dives under the surface; if it is too thick, it sits on top like a stiff peak. You want that glossy, wet-paint look. I once spent a whole Saturday morning wasting a liter of milk because I was too timid to get close to the crema, resulting in nothing but ‘monk’s heads’ that were off-center and blurry.#IMAGE_PLACE_HOLDER_B#
Stop Chasing the Foam to the Rim
When you finally drop the spout and start the ‘wiggle’ for your heart, your natural instinct is to follow the foam as it moves away from you. Don’t do it. If you chase the foam, you’re just pushing it faster toward the edge of the cup. Instead, keep your pour targeted at the geometric center of the surface. As the cup fills and you tilt it back to level, the design will naturally expand outward. I found that even if I used the move for better espresso distribution without fancy tools to get a perfectly level bed of coffee, my art still drifted because my hand wasn’t steady. You have to anchor your pouring hand against the rim of the cup or use your other hand as a stabilizer to prevent that micro-shaking that sends the heart off-course.
Why Your Milk Texture Might Be the Hidden Culprit
If you’ve nailed the position but the foam still won’t stay put, look at your aeration. If your milk frother creates bubbles instead of foam, those large air pockets lack the surface tension to ‘grip’ the crema. They act like marbles on a glass floor, rolling wherever gravity takes them. You need microfoam that is integrated. If you find your foam is separating into a layer of hot milk and a layer of ‘dry’ fluff, you need to learn how to stop your milk foam from being too dry. When the foam is integrated properly, it has enough weight to sink slightly into the crema and anchor itself, while maintaining enough buoyancy to stay visible on the surface.
The Pivot Point Your Wrist is Missing
Watch your wrist carefully. Most beginners pour with their whole arm, which creates a sweeping motion that drags the milk across the cup. Instead, think of your wrist as a simple hinge. The pitcher should pivot, not travel across the horizontal plane. I remember the breakthrough I had when I stopped moving my elbow and started just ‘nodding’ the pitcher with my thumb. Suddenly, the milk landed in the same spot every time. This precision is what separates a messy blob from a defined heart. Even if you aren’t using the most expensive barista gear, mastering this pivot will immediately center your designs.
I see it all the time in coffee forums: the obsession with maximum steam pressure. Beginners often assume that if their machine doesn’t have the punch of a three-group commercial beast, they can’t achieve professional results. In my experience, extremely high pressure is actually a trap for the home barista. When you’re using top-rated espresso machines designed for the kitchen, too much steam velocity can actually ‘blind’ your technique. It creates a chaotic vortex so fast that you have zero time to incorporate the air properly. I’ve found that perfecting your milk texture on a single boiler is actually easier when you have a slightly slower, more controlled roll. It gives you the window needed to stretch the milk without creating those dreaded ‘soap bubbles’ that refuse to stay centered.
High Steam Pressure Might Be Your Worst Enemy
The contrarian truth is that a ‘whisper’ aeration is superior to a ‘tearing’ aeration. Most guides tell you to listen for the sound of paper tearing, but if that sound is too aggressive, you’re introducing large air pockets that act as buoyant anchors, dragging your heart toward the rim. By keeping the tip just below the surface for a more subtle hiss, you create a denser liquid-foam hybrid. This is crucial because when your milk is too thick, it loses its fluidity. To avoid a mess, you must learn how to stop your milk foam from being too dry. Dry foam doesn’t flow; it clumps. When that clump hits the crema, it doesn’t spread out into a heart—it sits there like a heavy weight, causing the rest of the pour to deflect around it. This uneven flow is the primary reason your designs end up pinned against the side of the cup.
Avoid the Dry Foam Clump That Ruins Your Symmetry
The ‘Oops’ factor often happens right before you even tilt the pitcher. If you let your milk sit for even ten seconds while you tap your portafilter, the foam and liquid begin to separate. This micro-separation is the silent killer of symmetry. If you find your milk is separating too fast, it might be an issue with your steam wand’s consistency. For instance, why your steam wand tip holes keep getting clogged is a question of maintenance that directly impacts your art; uneven steam distribution prevents a proper emulsion. I always tell people to keep the pitcher moving in a circular motion until the very second the spout touches the cup. If the milk stops moving, the art stops being centered.
Does your grinder actually impact the way your milk sits?
It sounds counterintuitive, but your latte art begins in the hopper. If you haven’t mastered how to select the perfect coffee grinder for your brew, you might be struggling with brittle crema. According to a study on the stability of espresso foam published in Food Research International, the concentration of surfactants, specifically proteins and lipids, in the crema provides the necessary surface tension for milk to glide. If your grind is inconsistent, you’ll see why your espresso shot has no crema even with fresh beans—and without that stable ‘canvas,’ your milk foam has nothing to ‘grab’ onto. It just slides across the surface like oil on a wet pan. 
Before you blame your pouring hand, check your workflow. Little maintenance habits, like understanding why your portafilter handle should never be tightened too far, ensure your machine operates at the same thermal equilibrium every time. Consistency in temperature means consistency in crema, which leads to predictable art. Have you ever fallen into the trap of thinking a more expensive pitcher would automatically fix your drift? Let me know in the comments. Let’s keep refining that pour together.
Keep Your Gear from Sabotaging Your Skills
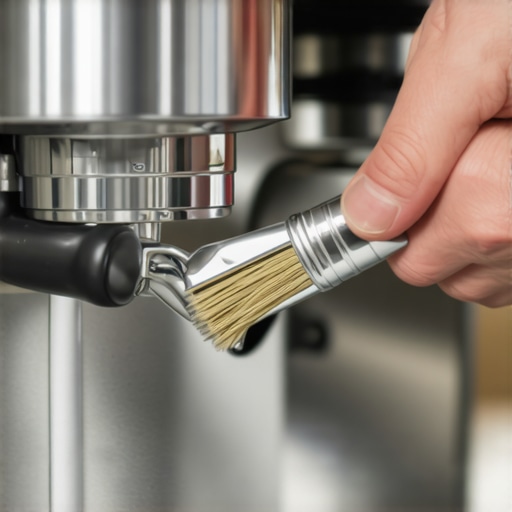
It doesn’t matter how much you practice your pour if your equipment is fighting you from the inside out. I spent my first year in this hobby wondering why my shots gradually became bitter and my steam pressure felt sluggish, only to realize I was neglecting the most basic chores. For instance, knowing why your machine needs a backflush every single week isn’t just about cleanliness; it’s about preventing old, rancid oils from coating your group head. According to James Hoffmann in The World Atlas of Coffee, these oils can chemically degrade, imparting a ‘dirty’ taste that no amount of fancy bean sourcing can overcome. If you’ve noticed your espresso tastes like vinegar after cleaning, you might be using too much chemical or not rinsing enough, but the point remains: a clean machine is a prerequisite for a perfect heart.
How do I keep my setup running like new?
Maintenance isn’t a once-a-year event; it’s a rhythm. I’ve found that the easiest way to stay on top of it is to integrate it into my weekend routine. This includes checking for mineral buildup, because how to tell if your water hardness is damaging your boiler is the difference between a machine that lasts two years and one that lasts twenty. Limescale acts like an insulator, forcing your heating element to work harder until it eventually snaps. I also make it a point to inspect the seals, as learning how to replace a group gasket without scratching the chrome saved me a $100 service call last spring. Don’t forget the reservoir either; failing to clean it regularly is how to stop your water tank from growing algae and ensuring your water stays neutral and fresh.
#IMAGE_PLACE_HOLDER_D#
Small Tools That Save My Sanity
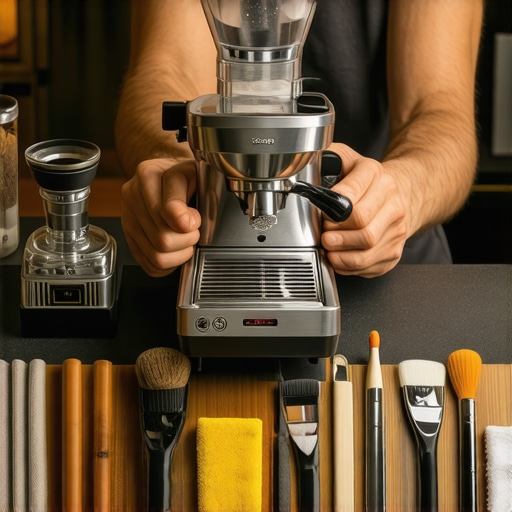
Beyond the machine itself, the workflow tools you choose define your morning experience. I personally swear by a high-quality rubber mat. When I was how to pick a coffee mat that doesnt absorb odors, I realized that many cheap options trap moisture and smell like stale grounds within weeks. A good mat protects your counter and your portafilter. I also highly recommend investing in a precise scale. If why your coffee scale is giving you inconsistent readings is a daily frustration, your dose will be off, and your latte art will never be centered because your crema volume varies every time. In the future, I predict we will see more entry-level machines with built-in sensors that teach you how to calibrate your machines volumetric settings automatically, but for now, we have to be the brains behind the operation.
When choosing the best barista gear, focus on the items you touch every single day. A heavy, ergonomic tamper or a well-balanced pitcher might seem like luxuries, but they reduce the physical variables that cause mistakes. I challenge you to try a full backflush tonight—you might be surprised how much ‘brightness’ returns to your morning cup once that hidden sludge is gone.
Why Your First Morning Pour Is Usually a Lie
I’ve learned the hard way that you can’t judge your skills by the very first cup of the day. There is a scientific reason why the first shot of the day is always a throwaway—from temperature fluctuations in the group head to the way the first few grams of coffee retain old flavors. Give yourself the grace of a ‘practice’ cup. I also discovered that my art became wildly inconsistent as the bean level dropped; understanding why your shots taste different on a full hopper helped me realize I needed to adjust my grind daily to keep that stable crema ‘canvas’ for my hearts. The most subtle shift in bean pressure can change the flow rate, and a faster flow rate means a thinner crema that won’t hold your design in place. Remember, your hand might be steady, but if the foundation is moving, the art will follow.
Tools That Actually Earn Their Spot on My Counter
If I had to start my journey over, I would be much more selective about my initial kit. First, skip the generic blades and learn how to select the perfect coffee grinder for your brew right away; it is the single most important variable in your control. While I love my high-end machine, I’ve seen beginners get incredible results using specific milk frothers that transform your coffee experience when paired with a solid technique. I also trust my precision scale above all else—consistency in weight is the only way to troubleshoot your pour. If you don’t know exactly how much coffee is in your basket, you’ll never know if the drift is your hand or your extraction. Focus on the tools you touch daily, like a well-balanced pitcher and a ergonomic tamper.
#IMAGE_PLACEHOLDER_E#
Turn Your Kitchen Into Your Favorite Cafe
The path to home espresso mastery is paved with spilled milk and blurry blobs, but that’s where the growth happens. Every time you consciously drop your pitcher lower or adjust your wrist pivot, you are building the muscle memory that separates the amateurs from the pros. Don’t be afraid of the ‘ugly’ cups; they usually taste just as good. For a structured path forward, I highly recommend mastering the art of home espresso tips for beginners to solidify your foundation. Your morning ritual should be a source of joy, not frustration. Have you ever struggled with the milk ‘shooting’ across the surface the second you start your wiggle? Let me know in the comments below!