The Fast Way to Unclog Your Steam Wand Tip
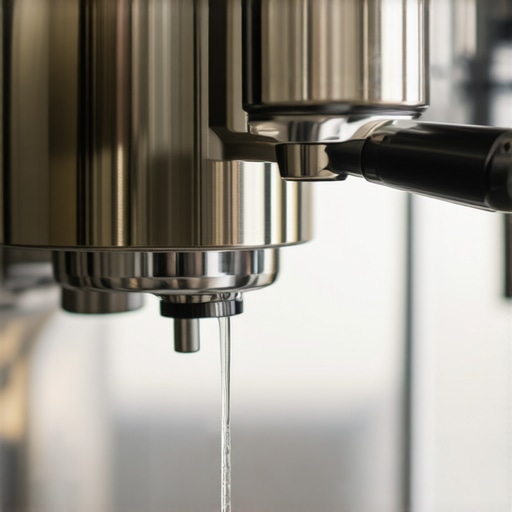
I stood there in my pajamas, staring at the milk pitcher like it had betrayed me. The sun wasn’t even fully up, and my only path to consciousness—a silky latte—was blocked by a piece of calcified milk no bigger than a grain of salt. My machine was up to temp, the pressure gauge was pegged at 1.5 bar, but when I opened the valve, the wand just gave a pathetic, wet ‘thwip’ and died. It’s a specialized kind of morning heartbreak. I’d spent a small fortune on top-rated espresso machines for coffee lovers in 2025 to have it fail over a splash of old milk. I felt that familiar pit of “Oh no, I’ve ruined the boiler.” In reality, I’d just been lazy with my purge routine.
Stop Poking It with a Paperclip and Try This Instead
We’ve all been there. You finish your latte, you’re running late for work, and you skip the purge. Huge mistake. Milk is essentially liquid glue when it dries. Early in my journey, I actually used a sewing needle to try and clear the holes, which ended up scratching the internal chrome and making the milk stick even faster next time. It was a classic rookie move that almost cost me a new tip. If you are currently struggling with how to fix a steam wand that has lost its power, the fix is often simpler and less invasive than you think. Today, I’m going to show you how to melt those proteins away without reaching for the toolbox or damaging your carefully chosen barista gear.
Milk proteins, specifically Casein and Whey, begin to denature and create a hard film at temperatures as low as 140°F. According to research from the Journal of Dairy Science, these proteins can form complex polymers that bond specifically well to stainless steel when heat is applied. This means every time you skip a proper purge of your steam wand, you’re adding a new layer of “cement” inside those tiny tip holes. It builds up until your machine feels like it’s choking.
Will a Clogged Wand Actually Break My Boiler?
It’s the question that keeps us up at night: am I blowing up my machine by letting this pressure build up? While a clogged tip won’t immediately cause an explosion, it creates unnecessary backpressure that can stress the seals in your steam valve. More importantly, it creates a breeding ground for bacteria. Have you ever noticed a slightly sour smell when you finally get a puff of steam out? That’s yesterday’s latte coming back to haunt you. If you’re seeing bubbles instead of microfoam, it’s a dead giveaway that your airflow is restricted. Have you ever felt that sinking feeling when your machine just stops performing? Drop a comment and let me know—I’ve definitely been there.
Don’t Force the Steam Just Yet
When your machine is choking, the instinct is to crank the valve wide open and pray. Don’t. You’re just compacting the debris. Think of milk proteins like road tar on a car; if you try to scrape it off while it’s dry, you’re going to ruin the finish. You need a solvent and time. I remember a Tuesday morning after a frantic Zoom call where I’d left a latte-filmed wand for three hours. It looked like it had been dipped in white candle wax. I tried to blast it, and the backpressure actually caused a hiss from the internal boiler seals—a sound that usually means a very expensive repair bill. I stopped immediately and went for the soak method instead.
Give Your Wand a Twenty-Minute Bath
The first step is a thermal shock. Fill your steaming pitcher with very hot water—not boiling, but hot tap water—and submerge the wand entirely. Let it sit for at least 20 minutes. This softens the outer ‘skin’ of the milk. For many milk frothers that transform your coffee experience, the build-up happens right at the tip where the heat is most intense. By soaking it, you are allowing water to penetrate the porous structure of the dried casein proteins. If the clog is particularly stubborn, you can add a specialized milk cleaner to the water. These alkaline solutions are designed specifically to eat through fats and proteins without reacting with the stainless steel of your carefully chosen barista gear.
The Science of Using a Dedicated Cleaner
While some people swear by vinegar, I’ve found it can leave a lingering funk that ruins your next ten lattes. Use a dedicated blue liquid cleaner. These are non-corrosive and break down the calcium bonds that turn milk into ‘stone.’ If you are working on perfecting your milk texture on a single boiler, you know that steam dry-down is faster because of the higher temperatures. This makes the cleaning step even more critical. After the soak, you should see white flakes floating in the pitcher. That is the victory you’re looking for. It’s a similar logic to how you would clean an automatic milk frother without taking it apart—chemical breakdown is always safer than physical force.
Clear the Holes with Pressure Not Pins
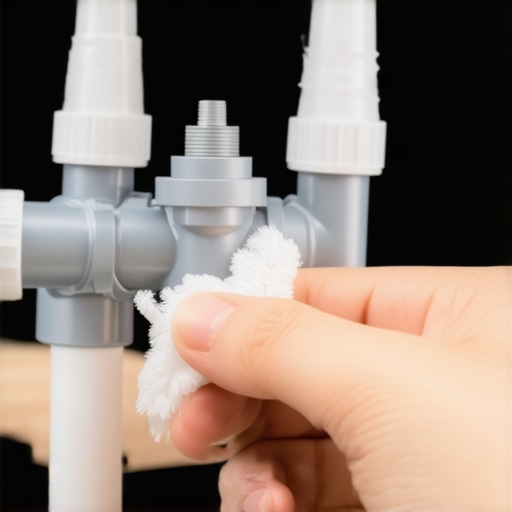
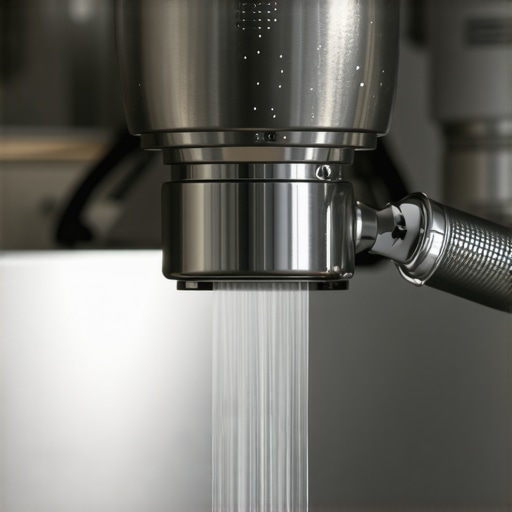
Once the soak is done, take a damp microfiber cloth and wrap it tightly around the wand. Now, open the steam valve in short, half-second bursts. You aren’t trying to steam milk here; you are using the internal boiler pressure to ‘sneeze’ the softened gunk out of the holes. This is the best way to purge your steam wand because the cloth catches the debris and prevents it from spraying across your kitchen. If you’ve followed the steps, you’ll hear the pitch of the steam change from a muffled whistle back to a sharp, aggressive hiss. This restored airflow is essential for steaming cold milk faster and achieving that elusive microfoam. If a hole is still blocked, repeat the soak. Never, ever use a paperclip or a needle; even a microscopic scratch inside the steam tip gives milk a new place to grip, ensuring a faster clog next time.
While physical maintenance is crucial, what we put inside the machine is arguably more important and more misunderstood. Most enthusiasts think they’re doing their machine a favor by using distilled water to avoid scale. It seems logical: no minerals, no buildup, right? But this is one of the most dangerous myths in the home barista community. I learned this the hard way when a friend’s high-end machine nearly melted its heating element because the auto-fill sensor literally couldn’t ‘see’ the water. The truth about using distilled water in your machine is that it lacks the ions necessary for conductivity sensors to work. Without those ions, your boiler thinks it’s empty even when it’s full, leading to a dry-fire that can end your machine’s life in seconds. Beyond the hardware risk, distilled water is a solvent that will aggressively leach metals from your copper pipes and brass fittings. According to the Specialty Coffee Association (SCA) water standards, water needs a specific mineral balance for both proper extraction and machine safety. If you’re worried about buildup, learning how to tell if your water hardness is damaging your boiler is far better than stripping the water of everything it needs. The mistake of using distilled water in your boiler can lead to repairs that cost more than the machine itself.
Your PID System Might Be Lying to You
We talk a lot about pressure, but temperature is where the real nuance lies. You might notice why your machines water temperature fluctuates every few minutes even on a high-end PID system. This is often due to ‘thermal mass’ issues rather than a faulty thermostat. I’ve seen people spend hundreds on new sensors when all they needed was a better warm-up routine. Even if the screen says 200°F, the group head—where the coffee actually lives—might still be 180°F. If you are struggling with consistency, look into the move for better temperature stability on budget machines. Have you ever fallen into this trap where you blame the gear for a problem that was actually just physics? Let me know in the comments.
Why Does My Restored Steam Pressure Still Result in Bad Foam?
If you’ve cleared the clog and your wand is roaring but you’re still seeing why your milk frother creates bubbles instead of foam, the issue is likely your tip angle or your pitcher’s material. A common mistake is thinking more pressure always equals better foam. In reality, too much pressure in a small pitcher creates a chaotic ‘washing machine’ effect that tears the proteins apart before they can emulsify. It’s a similar logic to why your distribution tool might be ruining your extraction; more movement isn’t always better movement. Sometimes, the most advanced thing you can do is back off and let the physics of the steam tip do the work.
The Fake Panic of a Zeroed Pressure Gauge
One of the biggest ‘oops’ factors for new owners of top-rated espresso machines for coffee lovers in 2025 is the panic that sets in when the gauge doesn’t move. You might find yourself searching for why your espresso machine pressure gauge stays at zero, assuming the pump is dead. In reality, most of the time it’s because the grind is too coarse to create any resistance. The pump is fine; the coffee is the problem. It’s a classic case of blaming the expensive hardware for a simple brewing error. Before you call a technician, check your grind size and ensure you aren’t just pushing water through a sieve of coffee grounds.
Once you’ve tackled the immediate crisis of a clogged steam wand, you have to look at the long-term health of your entire setup. I used to think that a quick wipe-down was enough, but after three years of daily use, my shots started tasting ‘muddy’ regardless of the beans I bought. I realized that my grinder was holding onto a secret history of every coffee I’d ever brewed. If you want to avoid that slow decline in quality, you need to master the mess-free way to clean a conical burr grinder without essentially dismantling your kitchen. Coffee oils are organic compounds that oxidize and turn rancid; when they coat your internal chutes, they impart a bitter, metallic tang to even the most expensive specialty roasts.
Stop Letting Old Grinds Ruin Fresh Beans
I’ve found that the biggest enemy of consistency isn’t the machine’s electronics, but simple retention. Every time you grind, a small amount of coffee gets trapped. I personally use a small, high-powered handheld vacuum combined with the trick for getting ground coffee out of tight corners—usually a stiff-bristled nylon brush. If you aren’t doing this, you’re essentially mixing 5% stale coffee into every fresh basket. This is especially problematic when the weather shifts. You’ve likely noticed why your grinders static gets worse in winter, leading to a massive mess on your counter and even more retention inside the burr chamber. A tiny drop of water on your beans (the RDT method) can help, but nothing replaces a physical deep clean.
How do I maintain my grinder’s precision as the seasons change?
The key to longevity is understanding that your equipment is a living system influenced by its environment. According to technical documentation from Mahlkönig, the friction and heat generated during grinding can slightly expand the metal of the burrs, meaning your ‘zero point’ at 7:00 AM might not be the same at 10:00 AM if you’re pulling back-to-back shots. To maintain precision, you need to establish the best routine for a weekend deep clean that includes checking for burr wear. I often get asked how to tell if your espresso grinder burrs are dull; if you find yourself having to grind significantly finer than you did six months ago for the same result, it’s a sign that the ‘teeth’ are losing their edge. For most home users, this takes years, but keeping them clean prevents the premature dulling caused by friction against built-up debris.
Smart Tech and the Future of Dialing In
Looking ahead, I predict we are moving toward a ‘smart’ era of home espresso where machines and grinders communicate via Bluetooth to adjust grind size based on real-time flow rate data. We are already seeing this in high-end commercial environments, and it won’t be long before selecting the perfect coffee grinder for your brew involves looking at software integration as much as burr size. This automation will take the guesswork out of the ‘first shot of the day’ frustration, but it will also make basic mechanical hygiene even more critical—sensors can’t work if they are covered in gunk. Whether you have basic barista gear or a prosumer lab, the fundamentals of cleanliness remain the only way to ensure your gear survives the decade. My challenge for you: Run a vacuum through your grinder’s exit chute this weekend and see how much the clarity of your next latte improves—you’ll likely be shocked at the difference.
The Hardest Lessons My First Machine Taught Me
After years of making every mistake in the book, I’ve realized that home espresso is 10% equipment and 90% discipline. First, your workflow is more important than your budget; even the most expensive setup fails without a solid foundation in mastering the art of home espresso tips for beginners. Second, small errors compound. If your coffee scale is giving you inconsistent readings, you will chase your tail for hours adjusting a grinder that isn’t actually the problem. Finally, the best cup of coffee is the one you actually enjoy making. If the maintenance feels like a chore, you won’t do it, and that’s when the ‘cement’ milk starts to build up.
The Tools I Actually Use Every Morning
You don’t need a thousand gadgets, but a few specific items are non-negotiable for my daily routine. I always keep a bottle of alkaline milk cleaner on hand—it is the only way to effectively clean an automatic milk frother without taking it apart or to rescue a neglected steam wand. I also recommend a dedicated stiff-bristled brush for the grinder chute. When you are selecting the perfect coffee grinder for your brew, look for one with an accessible exit path; it makes the daily purge much easier. Lastly, a simple 20-minute soak for your steam tip every Sunday will prevent 99% of the issues we discussed today.
Go Ahead and Pull the Best Shot of Your Life
The path to the perfect latte isn’t always smooth—sometimes it’s blocked by a tiny grain of calcified milk or a stubborn air pocket in the pump. But now that you know how to handle the physics of steam and the chemistry of milk proteins, you are in control of your machine instead of the other way around. Even the most top-rated espresso machines for coffee lovers in 2025 are just tools; the real magic happens when you understand the ‘why’ behind the ‘how.’ Go back to your kitchen, give that wand a proper purge, and enjoy the ritual. Have you ever accidentally ‘bricked’ your steam wand with dried milk? Let me know your recovery stories below.