The Reason Your Portafilter Gasket Is Getting Brittle
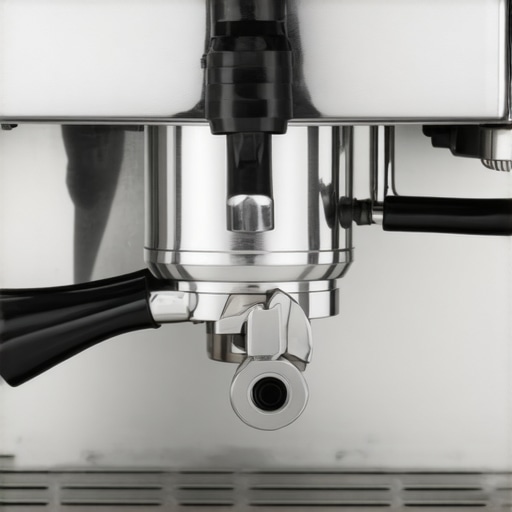
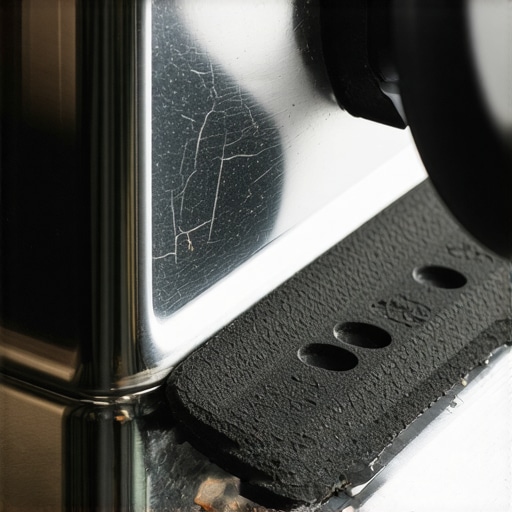
I remember the first time I heard the dreaded ‘hiss’ mid-shot. I was pulling a double for a friend, feeling like a total pro with my new bottomless portafilter, until a jet of scalding water sprayed across my white t-shirt. I peeked under the group head, expecting a loose basket or maybe a stray coffee ground, but instead, I found a piece of rubber that felt more like a stale cracker than a gasket. It was dry, cracked, and completely dead. If you’ve noticed that your portafilter requires a Herculean effort to lock into the six o’clock position, or if you see water weeping from the sides like a leaky faucet, you aren’t alone. Today, I’m going to walk you through exactly why that rubber ring is failing you and how you can stop it from happening every three months.
The Heat Is Cooking Your Rubber Seals
The primary culprit behind a brittle gasket is the very thing that makes your coffee possible: relentless heat. Most entry-level and prosumer machines come stock with traditional EPDM rubber. While it’s durable enough for a few hundred shots, it has a finite lifespan when exposed to 200-degree temperatures for hours on end. Years ago, when I was just mastering the art of home espresso, I made a classic beginner mistake: I left my machine on from 6 AM until dinner time. I thought I was being efficient by keeping the boiler ready. In reality, I was slow-roasting my group head components. Continuous heat cycles cause the plasticizers—the stuff that makes rubber stretchy—to leach out, leading to that ‘stone-hard’ texture. This brittleness is exactly why your portafilter handle should never be tightened too far; if you’re cranking it just to stop a leak, you’re actually crushing what little life is left in that seal. Scientific research in the International Journal of Polymer Science confirms that thermal aging in elastomers leads to increased cross-linking, which reduces flexibility and causes eventual cracking. If you notice your machine is leaking from the steam valve as well, it’s a clear signal that heat is taking a toll on all your internal seals, not just the one you see every day.
Are Silicone Gaskets Actually Worth the Extra Cash?
You might be skeptical. Is a ten-dollar piece of blue or red silicone really going to change your coffee game? From my personal experience at the workbench, the answer is a resounding yes. Unlike rubber, silicone doesn’t rely on the same chemical plasticizers to stay flexible, which means it stays soft almost indefinitely. I spent far too many Saturday mornings learning how to replace a group gasket without scratching the chrome because my old rubber ones had literally fused to the metal group head. It’s a nightmare job that involves picks, screws, and a lot of swearing. Switching to a higher-quality material is the single best ‘quality of life’ upgrade you can make. Have you ever had to pry a shattered gasket out in pieces, or is your machine still sealing like a dream? I’d love to hear if you’ve faced the ‘stuck gasket’ battle yet. It’s a rite of passage for every home barista, but it’s one I’d prefer you skip.
Spot the Warning Signs Before the Spray Happens
You don’t need a degree in mechanical engineering to know when a seal is failing, but you do need to pay attention to the ‘behavior’ of your machine. A healthy gasket should allow your portafilter to lock in firmly with a smooth, progressive resistance. If you find yourself having to crank the handle way past the 6 o’clock position just to prevent a leak, you aren’t fixing the problem; you’re just compressing a dead piece of rubber. This excessive force is often how to fix a portafilter that keeps popping out in the short term, but it eventually warps the metal ears of the portafilter itself. Look for small pools of water on the top of your puck after a shot, or watch for the tell-tale ‘weeping’ where water drips slowly down the handle. These are the early warnings. If you ignore them, you’ll eventually notice the reason your drip tray is filling up faster than normal is because half your brewing water is bypassing the coffee basket entirely and running down the outside of the group head.
Pull the Old Seal Without Killing the Chrome
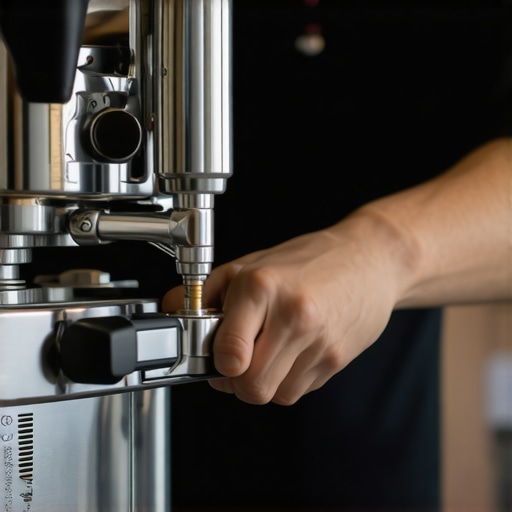
Removing a fossilized gasket is the part most people dread. When rubber has been heat-cycled for years, it becomes as hard as a hockey puck. I’ll never forget working on an old Rancilio Silvia I picked up at a garage sale; the gasket was so brittle it didn’t come out in a ring—it came out in dozens of tiny, glass-like shards. I made the mistake of using a flathead screwdriver as a pry bar and ended up with a nasty gouge in the soft brass of the group head. Don’t do that. Instead, use the ‘screw method.’ Take a thin wood screw and gently drive it a few millimeters into the center of the rubber gasket. Then, use a pair of pliers to pull on the screw head. The gasket will usually pop out in one or two large pieces. This is a critical skill to learn when you are mastering how to replace a group gasket without scratching the chrome. Once the old seal is out, use a stiff nylon brush to scrub the groove. Any leftover carbonized coffee will prevent the new seal from seating correctly, leading to ‘phantom leaks’ even with a brand-new part.
Seat the New Ring for a Perfect Lock-In
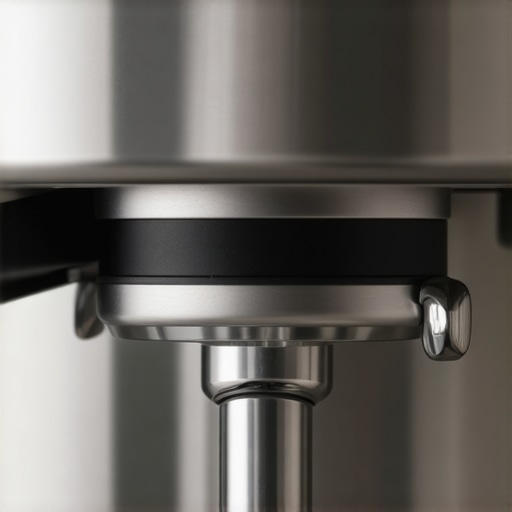
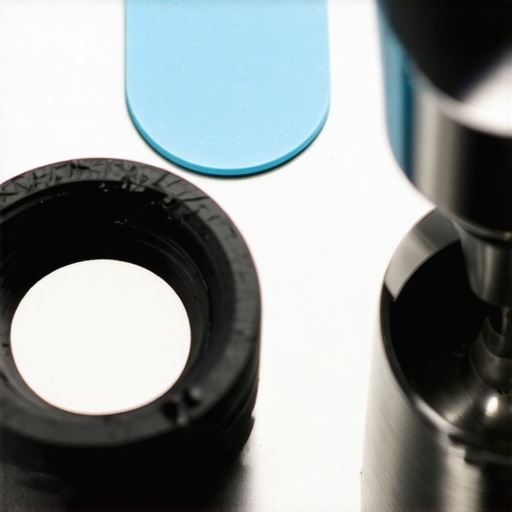
Before you push that new silicone ring into place, check the orientation. Most gaskets have a flat side and a beveled or rounded side. Usually, the rounded side faces up into the machine, and the flat side faces down to meet the portafilter basket. If you’re using silicone, you’ll notice it’s much more ‘grippy’ than the old rubber. I like to use a tiny bit of food-grade Molykote or Dow Molykote 111 on the outer rim of the gasket just to help it slide into the channel. Once it’s tucked in, don’t just use your fingers. Put the shower screen back on, insert your portafilter (without coffee), and lock it in firmly. The mechanical advantage of the portafilter handle will seat the gasket perfectly level. This is an essential step in the best routine for a weekend deep clean because a misaligned gasket is the number one cause of uneven extraction and channeling. If you feel a ‘bounce’ when you lock in, it means the gasket is twisted; pull it out and try again.
Keep Your New Gasket Soft for the Long Haul
The secret to making a gasket last two years instead of six months isn’t just the material; it’s how you treat the machine after the last shot of the day. Every time you brew, tiny coffee particles get shoved up between the gasket and the shower screen. If they stay there, they bake into the material and act like sandpaper. This is exactly why your machine needs a backflush every single week with a dedicated espresso cleaner. The detergent breaks down the oils that would otherwise cause the seal to lose its ‘grab.’ Also, get into the habit of leaving your portafilter loosely engaged in the group head when the machine is off. If you leave it locked in tight while the machine cools down, you’re essentially ‘setting’ the gasket into a compressed state, which leads to permanent deformation. Treat it like a high-performance engine: it needs a clean environment and a bit of breathing room when it’s not under load.
Beyond the physical seals and mechanical parts, there is a silent, chemical war happening inside your espresso machine every single day. Most enthusiasts believe that as long as they perform a regular descaling cycle, their machine is safe. However, in my years of refurbishing high-end boilers, I’ve found that the ‘descale-it-all’ approach is often a recipe for disaster. In fact, over-descaling can lead to pitting in the metal and premature failure of internal components. You need to learn how to tell if your water hardness is damaging your boiler before the damage becomes irreversible, rather than just reacting to the white flakes in your group head.
The Hidden Trap of Using Zero-TDS Water
One of the most common pieces of advice given to beginners is to use the purest water possible to avoid scale. This is a massive mistake. People often think they’re being safe by using 0 TDS water, but the truth about using distilled water in your machine is that it can actually prevent your auto-fill sensors from working correctly. Most espresso machines use a conductivity probe to detect water levels; if the water is too pure, the probe won’t trigger, and your pump will keep running until the boiler overfills. Furthermore, pure water is ‘hungry.’ It seeks to reach an equilibrium by leaching minerals directly out of your brass and copper components. This is the classic mistake of using distilled water in your boiler; it lacks the magnesium and calcium ions necessary to extract the sweet compounds from the coffee, leaving your shots tasting flat and thin.
Why Does Your Double Ristretto Still Taste Like Vinegar?
If you have spent thousands on the top rated espresso machines for coffee lovers in 2025 and your shots still lack balance, the culprit is likely the mineral ratio. A 2014 study by chemist Dr. Christopher Hendon, published in the Journal of Agricultural and Food Chemistry, revealed that the ratio of magnesium to calcium is what actually dictates how much flavor is pulled from the bean. Magnesium is exceptionally good at pulling out bright, fruity notes, while calcium helps provide body. If you’ve balanced your temperature and grind but the reason your double ristretto tastes like vinegar still eludes you, the answer likely lies in the mineral content of your reservoir. High bicarbonate levels can act as a buffer, neutralizing the acids in the coffee and making it taste dull, while low-mineral water emphasizes sharp, acetic notes that mimic the taste of vinegar. Have you ever fallen into this trap or had a sensor stop working due to ‘pure’ water? Let me know in the comments.
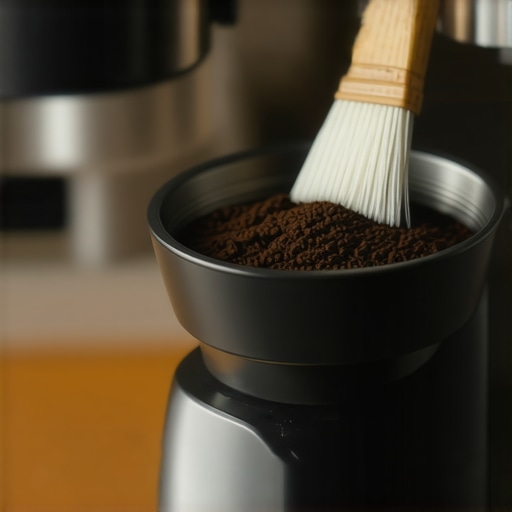
Once you have sorted out your water chemistry, the next battle for consistency happens inside your grinder. I used to think that as long as the motor was spinning, my beans were fine. I was wrong. Over time, coffee oils oxidize and turn rancid, coating the internal burr chamber in a sticky, bitter film. This is exactly how to get the old coffee smell out of your hopper and keep your shots from tasting like cardboard. I personally keep a dedicated handheld vacuum and a set of nylon brushes specifically for my grinder’s exit chute. If you aren’t clearing that area, you are likely brewing with 2 or 3 grams of ‘stale’ coffee from yesterday’s session. This is how to clean the grinder chute without taking it apart, which saves me at least twenty minutes of recalibration every weekend. If you’ve ever wondered why your shots taste different on a full hopper compared to a nearly empty one, it’s usually a mix of bean pressure and those lingering stale particles being pushed through.
How can I keep my grinder running like new for years?
Maintenance isn’t just about cleaning; it’s about mechanical alignment. I’ve seen brand-new, expensive grinders produce muddy shots because the burrs weren’t perfectly parallel. High-end enthusiasts often use the ‘marker test’—painting the edge of the burrs with a dry-erase marker to see where they touch. In my experience, taking the time to learn the right way to align your flat burrs for better shots is the difference between a ‘good’ espresso and a ‘god’ shot. It ensures that your particle distribution remains tight, preventing the fine-migration issues described by astrophysicist and coffee researcher Jonathan Gagné in his technical analysis of flow dynamics. He notes that even a slight misalignment causes an uneven ‘fines’ production that clogs the filter basket and leads to channeling. If you find your shots are still messy despite a perfect grind, check why your bottomless portafilter is making a huge mess, as it often points back to this mechanical inconsistency.
Looking toward the future, the industry is moving rapidly toward ‘zero-retention’ technology and smart-scale integration. We are already seeing top rated espresso machines for coffee lovers in 2025 that can automatically adjust pump pressure based on real-time flow data. However, all the tech in the world won’t help if your manual workflow is flawed. For instance, many people use WDT (Weiss Distribution Technique) incorrectly by dragging the needles along the bottom of the basket. I discovered why your wdt tool is actually causing more channeling was due to my deep-raking technique, which was actually creating air pockets rather than removing them. I highly recommend you try ‘top-layer’ WDT only for one week and see if your shot times stabilize. It is a small, advanced tweak, but it dramatically changes the resistance of the puck. If you really want to level up your game today, go grab a dry-erase marker and perform an alignment check on your burrs—it’s the single most effective way to ensure you are getting the most out of your high-end gear.
The Maintenance Mistakes That Nearly Cost Me a Boiler
Over the years, I’ve realized that the biggest barrier to great coffee isn’t a lack of expensive equipment; it’s a lack of mechanical awareness. I used to ignore the subtle signs my machine was giving me until it was too late. For example, I once ignored a tiny hiss for weeks only to find out why your espresso machine trips the circuit breaker after a massive internal leak. I also spent months wondering why the first shot of the day is always a throwaway, failing to realize that temperature surfing and stale water in the group head were the real enemies. These lightbulb moments taught me that your machine is a partner, not just a tool. If you listen to it, it will reward you with consistency you never thought possible.
My Essential Kit for Every Barista Workbench
You don’t need a garage full of tools, but a few specific items are non-negotiable. I always recommend choosing the best barista gear for coffee enthusiasts who are serious about longevity. My kit always includes a high-quality silicone gasket, a jar of food-safe lubricant, and a dedicated cleaning brush. I even took the time to figure out how to pick a coffee mat that doesnt absorb odors, because a clean workspace is just as important as a clean boiler. If you are ever in doubt about a part or a procedure, don’t hesitate to reach out via our contact us page; there’s no shame in asking for a second opinion before you start prying at your chrome.
#IMAGE_PLACEHOLDER_E#
Embrace the Ritual of the Perfect Shot
Maintenance shouldn’t feel like a chore; it should be part of the ritual. When you take care of your gear, you are removing the variables that stand between you and a delicious cup. Whether you are just mastering the art of home espresso or you are a seasoned pro, the goal is always the same: a balanced, sweet, and satisfying shot. Don’t be afraid to get your hands a little dirty. The more you know about the internals of your machine, the more confidence you’ll have during your morning brew. Have you ever faced a mechanical disaster that changed the way you view your morning coffee routine? Let me know in the comments below!