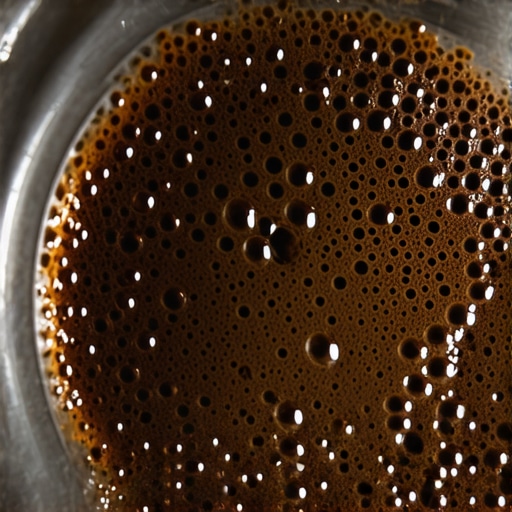
Why High Pressure Shots Taste Like Battery Acid
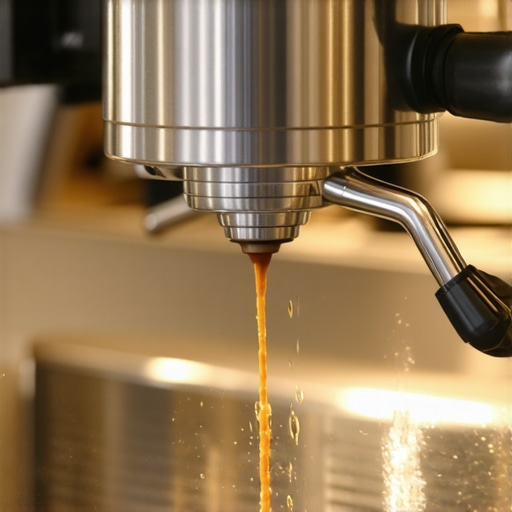
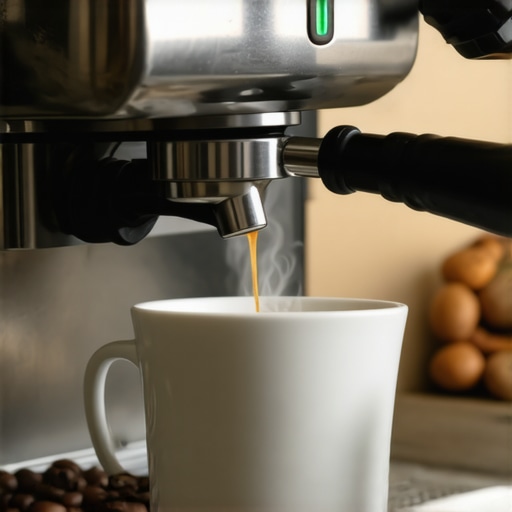
It was late evening, and I was eager to enjoy my carefully crafted espresso. I pulled the shot, but instead of that rich, sweet aroma I love, my taste buds were assaulted by a sharp, acrid tang—like licking a battery. It was a gut-punch, and I immediately knew something was off. For a home barista, few experiences are as discouraging as brewing a shot that tastes wrong, especially when you’ve invested so much in your gear and routine.
That moment marked a turning point for me. I realized that not only was my equipment affecting the flavor, but I also lacked understanding of what causes this acrid taste, particularly in high-pressure espresso shots. The good news? Once I uncovered the root causes, I was able to reverse the problem and enjoy my coffee again. Today, I want to share that journey with you and help you troubleshoot your own brews.
Discovering Why Your High Pressure Shots Taste Like Battery Acid
Many home baristas face a perplexing and disappointing issue: shots that taste sour, acrid, or downright unpleasant. One common culprit is the brewing pressure and temperature, which, if not properly calibrated, can cause over-extraction of bitter compounds. Over-extraction happens when water is forced through the coffee too quickly or at too high a pressure, pulling out undesirable flavors. Interestingly, studies have shown that high-pressure brewing at improper temperatures can escalate the release of chlorogenic acids, contributing to an unpleasant metallic or battery-like taste (source: Espresso Tech Guide).
But beyond temperature and pressure, another critical yet often overlooked factor is the cleanliness of your machine. Residual old oils, coffee grounds, or mineral build-up can leach into your brew, adding unwanted bitterness or metallic flavors. One initial mistake I made was neglecting to regularly clean my group head and shower screen, which resulted in a persistent off-taste. Now, I always make a point to give my machine a thorough clean before each session, knowing it makes a visible difference in flavor quality.
Have you faced this issue with your espresso shots? If so, keep reading. Together, we’ll delve into practical fixes that can turn your bitter and battery-like brews into delightfully smooth espresso.
Next, we’ll look at how to optimize your machine’s pressure and temperature settings, as well as routines to prevent flavor contamination. Navigating these adjustments can seem daunting, but with a few simple steps, you’ll be tasting the difference in no time. Ready to give your espresso the quality it deserves? Let’s get started.
.
Start With a Thorough Machine Clean
Before adjusting settings, ensure your espresso machine is spotless. Remove old oils, coffee grounds, and mineral deposits by performing a deep clean. Use a descaling solution if necessary, following the manufacturer’s instructions, to eliminate limescale buildup that can impart bitter or metallic tastes. This step is crucial because residual gunk can contaminate your brew, especially if you neglect regular maintenance. I once neglected cleaning my group head, which resulted in a persistent burnt flavor. After a detailed cleaning using a water tank cleaning method, the taste improved significantly.
Adjust Brew Temperature and Pressure
Proper temperature and pressure are vital for extracting sweet, balanced espresso. Use a
calibration tool to ensure your machine’s boiler temperature is set within the optimal range (around 90-96°C). If your shots taste sour or metallic, your brew temperature might be too low, causing under-extraction that accentuates acid flavors. Conversely, excessively high temperature can over-extract bitter compounds, leading to acrid tastes. Adjust your pressure regulator to hold steady at 9 bars during extraction. I recall a time I increased my pressure slightly, which unexpectedly made my espresso more complex and less metallic, illustrating how sensitive these settings are.
Control Grind Size and Dosage
Grind size directly influences extraction timing and flavor clarity. Aim for a medium-fine grind that resembles sand—too fine and water struggles to pass through, causing over-extraction, too coarse and it leads to under-extraction and sourness. Use a quality
coffee grinder with consistent settings. When I experienced a bitter shot, I experimented by increasing my grind coarseness slightly and reducing the dose to prevent over-extraction. Always weigh your coffee for accuracy, as inconsistent doses can produce unpredictable flavors.
Optimize Extraction Time
Extraction time affects flavor extraction—aim for a shot time of about 25-30 seconds. Use a timer to measure your pull; if your shot pulls faster than 20 seconds, it’s likely under-extracted, risking sourness and metallic notes. Extend the grind or tamp pressure to slow down the shot. I once adjusted my tamp pressure and grind size, which brought my extraction time to an ideal window, dramatically improving flavor balance.
Ensure Your Equipment Is Properly Maintained
Check your portafilter, shower screen, and group head regularly. Loose or clogged parts can cause uneven flow and undesirable flavors. Remove and inspect your shower screen, cleaning it with a safe cleaning method. Also, verify your gasket isn’t worn or hardened, as leaks can introduce air or improper pressure. I replaced my worn gasket after noticing irregularities, resulting in smoother, cleaner shots.
Use Filtered Water and Proper Storage
Water quality impacts extraction significantly. Use filtered or bottled water to reduce mineral deposits and unpleasant tastes. Store your coffee beans in an airtight container away from light and moisture to preserve freshness. During a particularly humid season, I kept my beans in a sealed jar in the fridge—a mistake that caused moisture to clump the beans and affected grind consistency. Now, I always store beans properly to keep flavors pure, avoiding metallic off-notes caused by stale or contaminated beans.
Implementing these concrete steps will systematically eliminate common causes of battery-like or metallic flavors in your espresso. Regular practice and equipment checks help maintain the delicate balance necessary for perfect extraction. For more advanced tips, explore mastering your home espresso routine to refine your craft further.
Many enthusiasts jump into the world of home espresso with high hopes, but there’s a less obvious truth behind great coffee: misconceptions about barista gear often lead beginners astray. Contrary to popular belief, expensive machines or flashy accessories don’t guarantee perfect shots. For instance, a common myth is that owning the latest espresso machine automatically results in café-quality brews. In my experience, even top-tier equipment can produce mediocre espresso if you overlook nuanced settings or maintenance routines. According to expert barista training programs, mastering appropriate gear selection and understanding its intricacies are more crucial than the brand alone.
Another prevalent error is assuming that milk frothers are always creating perfect microfoam. In reality, many home frothers lack the precision to replicate professional results, especially if users neglect proper steaming techniques. The key lies not just in having the right tool but in knowing how to use it correctly. For example, advanced milk frothing tips reveal pitfalls like overfilling or incorrect pitcher angles that ruin texture.
When it comes to coffee grinders, there’s a misconception that more expensive models always produce better grounds. However, high-priced grinders can be a trap if their burrs aren’t properly aligned or if they’re used at improper settings. Studies show that consistent grind size is vital—regardless of price—and many users unknowingly compromise flavor by using unsuitable grind levels (source: Journal of Coffee Science). The crucial point is understanding your grinder’s calibration and how to fine-tune it for optimal extraction.
What about misjudging home espresso machines? Many believe that experienced baristas rely solely on automatic features, but in reality, manual control often yields superior results once mastered. Automation can be helpful, but mastering manual tamping, temperature tweaking, and pressure profiling unlocks the full potential of your equipment. If you’re interested, check out top-rated machines for 2025—not just for their features, but for their flexibility in skilled hands.
Beware of the ‘more is better’ trap. Overspending on gear without understanding its nuances often leads to frustration and wasted resources. Instead, focus on gaining in-depth knowledge of your current tools; this approach helps avoid costly upgrades that don’t solve the root issues. Regular calibration, cleaning, and practicing technique outperform the most expensive equipment in producing consistent, flavorful espresso.
Have you ever fallen into this trap? Let me know in the comments. Remember, mastery is less about gear and more about understanding the intricacies that define great coffee. For comprehensive insights into dialling in your setup, visit this guide and elevate your home brewing game.
Proper Maintenance for Consistent Results
Ensuring your espresso setup remains reliable requires a dedicated maintenance routine. I personally dedicate 15 minutes after each session to cleaning essential parts like the group head, portafilter, and steam wand. Using a 30-second flush helps prevent rancid oils buildup, which can taint your flavors over time. Regular descaling with appropriate solutions preserves boiler efficiency and prevents mineral deposits that impact temperature stability, vital for consistent extraction.
What tools make maintenance easier and more effective?
One tool I swear by is the single leveling tool. It guarantees my machine sits perfectly on the counter, reducing vibrations and uneven pressure during extraction. For cleaning grinder burrs, I use a dedicated burr cleaning brush—a small investment that drastically improves grind consistency and taste.
Why invest in quality replacement parts?
Over time, components like gaskets and shower screens wear out, impacting shot quality. I keep spare gaskets and shower screens handy to replace at the first sign of degradation. These small parts are affordable but crucial for maintaining the correct pressure profile and avoiding off-flavors.
How do I maintain my equipment over time?
Developing a schedule tailored to your gear’s usage prevents breakdowns. For example, I set monthly reminders to descale my machine and clean burrs, which safeguards against costly repairs. Additionally, inspecting seals and valves quarterly ensures they are functioning optimally. Staying proactive with such maintenance not only prolongs your equipment’s lifespan but also guarantees that every shot meets your flavor expectations.
Looking ahead, industry trends point toward smarter, IoT-enabled espresso devices that self-monitor and alert you to maintenance needs. While still emerging, embracing these technologies could revolutionize home barista workflows, making perfect espresso even more accessible. For now, investing in robust tools and sticking to a disciplined maintenance routine is your best strategy to keep your gear performing flawlessly.
Get Hands-On: How do I keep my espresso machine working smoothly over time?
The key is establishing a thorough routine that includes regular cleaning cycles, component inspections, and timely replacement of wear parts. I recommend trying the flush method to keep oils fresh and reduce buildup. Start implementing a monthly descaling schedule and keep a small toolkit for quick fixes—your future self will thank you for it. When practicing these maintenance basics, you’ll find your shots becoming more consistent, and your machine will thank you in return.
What I Wish I Knew About Espresso Gear Before I Started
One of the most eye-opening lessons was realizing that even the most expensive equipment won’t compensate for technique and maintenance. Prioritizing regular cleaning and understanding the nuanced settings on my espresso machine transformed my brewing process more than any upgrade. I also learned the hard way that misaligned grinder burrs or worn-out gaskets subtlety sabotage flavor, proving that understanding your gear is just as vital as choosing it.
Tools and Resources That Made a Difference on My Coffee Journey
Personally, I swear by the single leveling tool for ensuring my machine’s stability, which drastically improved shot consistency. The best coffee grinder guide helped me choose a durable, easy-to-tune grinder that suited my brew style. For routine maintenance, the quick flush method became my go-to for keeping oils and old grounds at bay. These resources combined have been key in elevating my home espresso game.
Keep Your Passion Alive with Practical Steps and Community
Diving into home espresso can be daunting, but remember: mastery isn’t about having the most expensive gear; it’s about understanding and caring for what you have. Regularly cleaning your machine, learning to fine-tune your grinder, and experimenting with your settings can unlock flavor profiles you never thought possible. Join online forums or local barista workshops—sharing experiences and troubleshooting tips makes the journey lighter and more rewarding. The key is to stay curious and proactive; your perfect espresso is just a few adjustments away. If you’ve had a breakthrough or an ongoing challenge, I’d love to hear your story below—let’s inspire each other to brew better every day.