The One Mistake People Make When Cleaning a Steam Wand
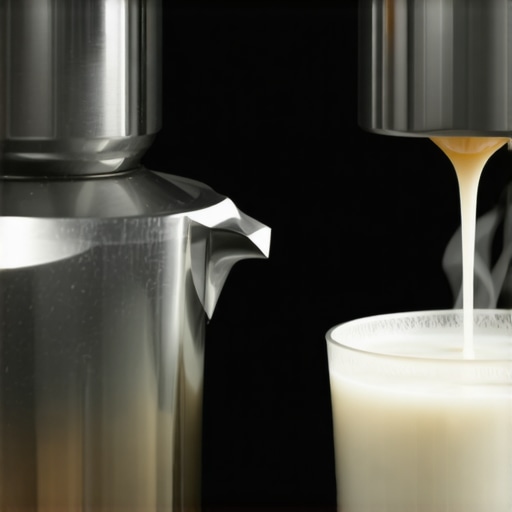
Everyone who has ever owned a home espresso machine has likely wrestled with the stubborn gunk that clogs the steam wand. One morning, I was mid-frothing milk for my weekend latte when suddenly, the wand sputtered and spat, refusing to produce the silky steam I was craving. That frustrating moment was my lightbulb moment—I realized I had been making a critical mistake every time I cleaned it. It’s easy to think a simple wipe or rinse will do, but that’s not enough.
Why Your Steam Wand Gets Clogged and How You’re Sabotaging Your Efforts
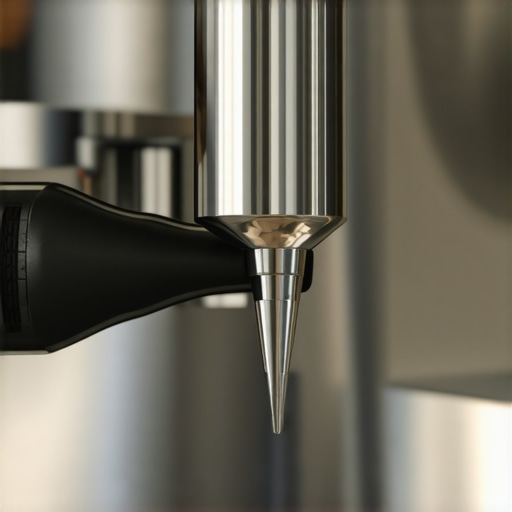
What if I told you that the most common mistake — and the one that’s secretly ruining your espresso experience — is neglecting to thoroughly clear the internal steam pathways? Many home baristas, myself included early on, focus only on external cleaning, leaving the internal valves and tiny holes clogged with old milk residues and mineral deposits. The result? Reduced steam power, uneven frothing, and even lingering off-flavors in your milk.
The crazy part? This mistake is incredibly easy to fix once you understand the deeper cleaning steps. Proper internal maintenance ensures your steam wand performs at its best, saving you money and frustration.
🧼 Have you ever faced inconsistent steam performance even after cleaning? If yes, you’re definitely not alone. I’ve been there, and I’ve learned a lot through trial, error, and research—like reading that according to industry experts, mineral buildup inside the wand is among the top culprits impacting steam quality (source: Espresso Tech Guide).
This article will walk you through the simple yet often overlooked steps to ensure your steam wand stays clear, efficient, and ready to create those perfect microfoam textures every barista dreams of. If you’re tired of sputtering, leaks, or weak steam, keep reading — your espresso game is about to level up.
Disassemble the Steam Wand Carefully
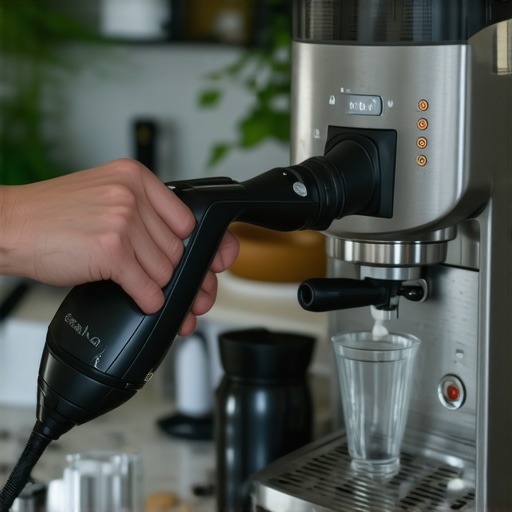
Start by turning off your espresso machine and unplugging it. Gently remove the steam wand if your model allows, or locate the quick-access points for internal cleaning. Use a screwdriver or the tool provided, and take care not to force delicate parts. Remember, proper disassembly is crucial to access internal pathways that often trap residue.
Flush Out the Internal Pipes
Connect a clean, filtered water source to your machine or use a dedicated cleaning kit. Run water through the internal pipes by activating the steam function without milk or other attachments attached. This step loosens and flushes out milk residues, mineral deposits, and dust buildup that cause clogs. I once ran this process, and the difference in steam performance was night and day, with the wand producing a steady, powerful jet instead of sputters.
Use Compatible Cleaning Solutions
Choose a cleaning solution specifically designed for espresso machine components. Avoid harsh chemicals that could damage internal parts. Fill the water reservoir with the solution and run it through the internal pathways following the manufacturer’s instructions. This breaks down stubborn deposits and keeps everything running smoothly.
Scrub Tiny Nozzles and Holes
Dab a soft brush, such as a toothbrush, into a vinegar solution or a specialized cleaning pick. Focus on the small holes and nozzles, which are prime spots for milk protein buildup and mineral deposits. Gently brush to dislodge any residual gunk. For tight spots, a pin or needle can help clear clogs—think of it like clearing a jammed needle on an old record player. Things get messy here, but the results are worth it.
Reassemble and Test the System
Once cleaning is complete, reassemble all parts carefully, ensuring every component is seated correctly. Fill the water reservoir with fresh, filtered water and run the steam function again. You should notice a more consistent, vigorous stream—indicative of a clean, unobstructed pathway. Regular internal maintenance not only improves performance but extends your machine’s life.
Pro Tip: Schedule Routine Deep Cleans
To prevent future clogs, develop a cleaning routine. Every 1-2 weeks, perform internal flushing after steaming milk. Incorporate descaling if you notice mineral buildup, especially in hard water areas. For detailed steps, check out this guide.
When to Call in a Professional
If internal clogs persist despite meticulous cleaning, consider seeking professional servicing. Sometimes, stubborn deposits require specialized tools or replacement parts. But with regular internal maintenance, you’ll minimize the need for costly repairs and keep your espresso machine performing at its peak.
Many coffee enthusiasts believe that investing in high-end barista gear automatically guarantees professional-quality espresso at home. However, the truth is more nuanced. A common misconception is that the best grinder or milk frother alone can elevate your brew without considering proper technique and maintenance. For example, choosing a shiny, expensive grinder doesn’t mean you’ll always get consistent grind size if you overlook grinder calibration or burr condition. Regularly calibrating your coffee grinder and inspecting burrs is crucial; neglecting this can lead to uneven extraction and bitter flavors, regardless of equipment quality. Moreover, there’s a myth that manual milk frothers produce richer microfoam than electric ones. But in reality, advanced electric frothers with precise temperature control can outperform manual options if used correctly. Beware of falling into the trap of assuming that premium gear compensates for poor technique. The real secret lies in understanding each component’s nuances and how they work together.
Why do many home baristas struggle to perfect their espresso despite high-quality equipment?
Often, it’s because they underestimate the importance of consistent tamping pressure, shot timing, and machine calibration. According to industry experts, even the best machines falter without proper routine maintenance and proficiency in technique (source: Espresso Tech Guide). Regular cleaning, descaling, and calibration ensure your gear performs optimally, preserving the integrity of your investments. Remember, tools are only as good as how you use and maintain them. Don’t forget to explore detailed guides on choosing the right equipment and maintaining it properly—these are your keys to consistent espresso success. Want to avoid common pitfalls? Schedule routine deep cleans and stay informed on the latest maintenance tips by visiting our privacy policy. Have you ever fallen into this trap? Let me know in the comments.Achieving café-quality espresso at home isn’t just about having top-tier equipment; it’s equally about knowing how to keep that gear running smoothly over time. Investing in reliable, high-quality tools tailored to your specific setup can make all the difference in maintaining consistency and prolonging the lifespan of your machines and accessories. For instance, I personally swear by the Mazzer Mini Electronic Grinder because its stepless grind adjustment and durable burrs allow me to dial in my shots with precision, reducing the hassle of frequent recalibration and ensuring uniform extraction. Moreover, regular use of a burr cleaning tool keeps my grinder at peak performance, preventing old coffee oils from contaminating new beans. Looking ahead, I predict that integrated smart sensors will become standard, helping baristas and enthusiasts alike monitor machine health remotely and schedule maintenance proactively.
How do I maintain my espresso equipment over time?
The secret lies in a disciplined routine: weekly cleaning of grinder burrs, monthly descaling, and regular calibration checks. Using a precision calibration tool ensures your espresso machine dispenses the correct volume and pressure, optimizing flavor consistency. Additionally, maintaining valves and gaskets with manufacturer-approved lubricants prevents leaks and pressure drops. Always keep an eye on wear parts—like shower screens and group head gaskets—and replace them at the first sign of deterioration to avoid brewing disruptions. To streamline long-term maintenance, I recommend documenting your routine with checklists, so nothing gets overlooked. Remember, diligent upkeep not only preserves your investment but also guarantees that every cup meets your high standards. If you’re eager to elevate your espresso game further, try adopting a *monthly deep-cleaning protocol* with specialized cleaning powders, which can eliminate stubborn coffee oils and mineral deposits more effectively than regular rinses. For detailed guidance on selecting the right tools for your setup, check out this resource. Consistent maintenance and having the right equipment create a foundation for spectacular brewing day after day, week after week—so don’t overlook the power of investing in quality tools and establishing a strict upkeep routine.
Loftiest Lessons From a Lifelong Home Barista
One of the most eye-opening realizations I had was that even the most expensive espresso machines can underperform if neglected internally. For instance, I once thought that simply wiping the steam wand after each use was enough—only to discover that mineral deposits inside the tiny nozzles can cause sputtering and weak vapor. The lightbulb moment was understanding that deep, regular cleaning of internal pathways keeps the machine performing optimally, saving money and coffee quality over time.
Another personal insight was that calibrating my grinder isn’t a one-and-done task. I used to assume a grind setting was universal; however, environmental factors like humidity and bean age influence grind size. Regular calibration with a good calibration tool made my shots more consistent, and I realized that maintenance and adjustment are ongoing processes integral to great espresso.
Lastly, I learned that passionate home brewing is less about gear and more about technique and mindfulness. Even with high-quality equipment, rushing your process or skipping routine cleaning can sabotage your brew. The most meaningful lesson is treating your equipment with care and patience—this is what turns good coffee into an exceptional experience for you and your guests.
Tools and Guides That Have Transformed My Coffee Routine
My trusted arsenal includes a burr cleaning kit which keeps grind consistency sharp, and a comprehensive guide on barista gear that helps me choose equipment tailored to my needs. For maintaining my machine, I rely on resources like these selection guides to ensure everything functions smoothly. Additionally, staying informed through industry blogs and expert advice keeps me motivated and aware of best practices, making my journey as a home barista continually rewarding.
Your Coffee Adventure Continues—Be Courageous
Every espresso enthusiast’s journey is filled with discoveries, adjustments, and moments of pride. Remember, the tiny details—like internal cleaning routines and precise calibration—hold the key to unlocking your machine’s full potential. Embrace the learning curve, stay curious, and make your daily brew a reflection of your dedication. With consistent effort and a love for the craft, your home espresso setup can rival the cafes—and even outshine them in personal satisfaction.
What’s the biggest cleaning challenge you’ve faced with your espresso gear? Share your story below and let’s help each other improve!
,