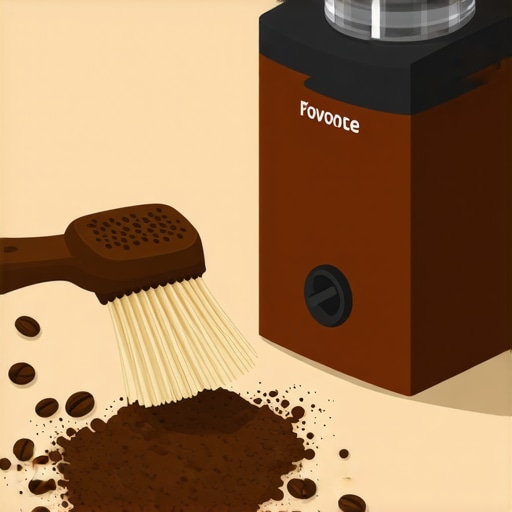
How to Purge Your Grinder Without Wasting Expensive Beans
Have you ever pulled out your trusty coffee grinder only to find it clogged, stubborn, or worse—wasting a precious handful of your best beans in the process? I can’t tell you how many times I’ve been halfway through grinding my morning brew when suddenly, the machine jams or spits out uneven grounds. That sinking feeling of losing good coffee because I didn’t know how to clear the grinder efficiently is all too familiar.
One morning, after a frustrating session of tinkering and waste, I had a lightbulb moment. What if there was a way to purge my grinder, cleaning out old grounds and preparing it for fresh beans, without throwing away a single scoop? Since then, I’ve dedicated myself to discovering the best methods—methods that save money, preserve flavor, and keep my brewing routine smooth. And now, I want to share this knowledge with you.
Why Purging Your Grinder Properly Matters More Than You Think
Many home baristas overlook the importance of regular grinder maintenance. But the truth is, neglected grinders can lead to uneven extraction, bitter flavors, and even equipment malfunction. According to industry experts, residual coffee oils and old grounds build up and can interfere with the taste of your espresso or drip coffee. Plus, constantly grinding stale grounds can dull your burrs faster, costing you more over time.
Early on, I made the mistake of simply tapping out the old grounds or blowing compressed air into my grinder. While temporarily effective, those tricks only scratched the surface. The real problem lies in stubborn grounds stuck deep within the burrs or chute—grounds that are best removed carefully and thoroughly. Not doing so can escalate the problem, and waste your expensive beans in the process. That’s why I now follow a simple, proven routine that ensures my grinder stays clean and ready without wasting a single bean—something I highly recommend trying.
Is It Really Worth the Effort to Clean Your Grinder Regularly?
Absolutely. A clean grinder means better tasting coffee, longer-lasting equipment, and fewer surprises on busy mornings. I remember early in my journey, I ignored this step and ended up with waterlogged beans and inconsistent flavor. Not knowing how to properly purge my grinder cost me both money and time. Since mastering a simple cleaning technique, my espresso shots have become more flavorful, and I’ve avoided costly repairs. Curious? Keep reading, because I’ve got some practical tips that will make this process straightforward and budget-friendly. And if you’re unsure whether your grinder needs a clean, check out this water tank cleaning guide to keep everything in tip-top shape.
Are you tired of wasting beans during cleaning? Or maybe you’re just tired of inconsistent grounds? Either way, you’re in the right place. Let’s dive into the how-to steps that will make your grinder cleaning routine simple, effective, and waste-free. Trust me, your wallet—and your taste buds—will thank you.
Unclog Your Grinder Like a Pro
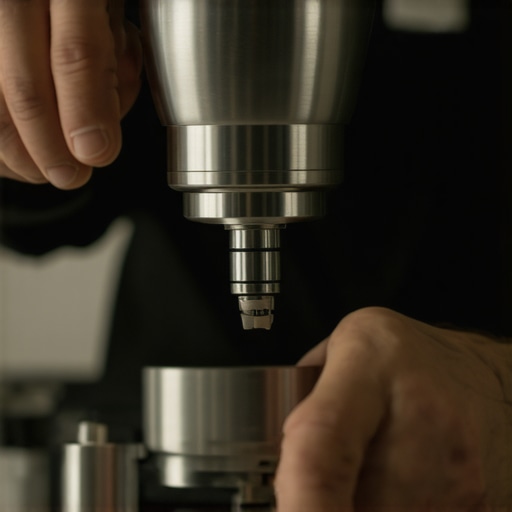
Start by unplugging your grinder to ensure safety. Remove the hopper and burrs—use the manufacturer’s manual if needed. Use a soft brush or a dedicated grinder cleaning brush to sweep away loose grounds from the burrs and chute. For stubborn residues, dampen a cloth with a bit of isopropyl alcohol and wipe the burr surfaces—avoid soaking. Reassemble the components, ensuring they are dry before reinstallation. This routine prevents old grounds from clogging your grinder and ensures every bean is freshly ground.
Clear Residual Grounds Effectively
When your grinder feels resistant or uneven, it’s time for a thorough purge. Place a few coarse grounds into the hopper and run the grinder for 10-15 seconds—this flushes out stuck particles. For machines with a doser, remove and tap out residual grounds; for others, use a brush or compressed air. I once encountered a stubborn jam with my conical burr grinder—pinched grounds caused an unusual noise. Running a purge session cleared the blockage, restoring smooth operation and preventing bean waste. Regular purging maintains flavor integrity and prolongs equipment lifespan.
Deep Cleaning for Long-Term Care
Every month, dismantle your grinder for a deep clean. Remove the hopper and burrs, then use grinder cleaning pellets—these are designed to break down oils and residues—following the package instructions. Run the pellets through the grinder without beans, which helps eliminate oils trapped deep within the burrs and chute. Afterward, wipe all parts with a damp cloth and allow them to dry completely. This process is akin to a carburetor flush in a car, ensuring optimal performance and flavor preservation. Neglecting deep cleaning accelerates wear and diminishes coffee quality.
Prevent Static and Dust Build-Up
Static electricity can cause grounds to cling to the chute or hopper, leading to mess and inconsistent dosing. To reduce static, lightly dampen a cloth and wipe the chute and hopper surfaces. Consider installing a grounding strip if static problems persist. Additionally, placing a small magnet near the chute can trap fine dust—making cleanup easier. I implemented this trick, and it cut my cleaning time in half, keeping my workspace neater and my grounds fresher. Minimizing dust and static preserves grind consistency and saves beans.
Optimize Your Routine with Smart Techniques
Implement specific habits to maintain a clean grinder effortlessly. Use a dedicated brush after each use to remove grounds from burrs and chute. Schedule a monthly deep clean to prevent buildup. Store beans in airtight containers away from direct sunlight—this is vital to avoid introducing moisture or oils that can gum up the burrs. Adjust grind settings gradually, and always purge before changing to a finer or coarser grind. These proactive steps mirror fine-tuning a musical instrument, ensuring every shot is perfect. Over time, these small habits lead to better flavor, fewer clogs, and extended grinder life.
Remember, regular maintenance isn’t just about cleanliness—it improves every cup you brew. If your grinder is blinking or grinding unevenly, revisit these steps and ensure no residual grounds or oils are locking up your burrs. For detailed insights on selecting the perfect grinder or optimizing your setup, check out this guide. With consistent practice, grinder maintenance will become second nature, transforming your coffee experience from routine to exceptional.
When it comes to home espresso setups, many enthusiasts assume that choosing popular gear or following common advice guarantees perfect results. However, even seasoned hobbyists often fall prey to misconceptions that hinder their progress. Let’s dispel some myths and reveal advanced pitfalls that can sabotage your coffee experience.
First, a widespread misunderstanding revolves around milk frothers. Many believe that all frothers are created equal, but in fact, the type—manual, electric, steam wand—significantly impacts microfoam quality. For silky, barista-quality milk, a steam wand often delivers superior texture, but only if used correctly. Overlooking the importance of technique or not properly calibrating the steam pressure can produce flat or bubbly foam. Want to master this? Check out these expert tips for perfect milk frothing.
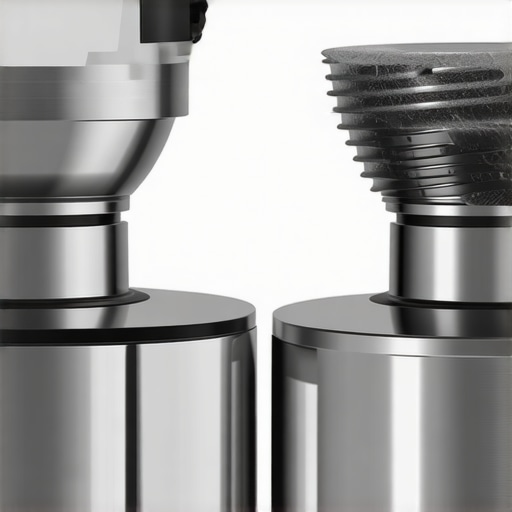
Next, many home baristas underestimate the nuance in coffee grinders. Choosing a grinder based solely on price or brand doesn’t guarantee optimal flavor. The critical factor lies in burr geometry, motor stability, and grind consistency. A common trap is using a grinder with misaligned burrs or dull blades, which can cause uneven extraction or bitter flavors. Regular calibration and maintenance are essential; a simple test for burr sharpness can prevent unnoticed dullness that wrecks your shots.
When upgrading your espresso machine, many focus on high-pressure ratings or fancy features. Yet, the real game-changer often lies in understanding how to finely tune flow rate and temperature stability. An espresso machine that can’t sustain consistent temperature or flow can produce inconsistent shots, regardless of the fancy latest model. Advanced baristas monitor pressure curves and pre-infusion times—features some overlook initially. To avoid costly missteps, review top-rated machines and their real capabilities.
Moreover, an often-overlooked element is workspace organization. Cluttered equipment or disorganized tools can cause delays, mistakes, and even damage over time. Small tips, like placing magnets in specific spots to clear static or using custom tool holders, might seem minor but significantly enhance workflow efficiency. Need some ideas? Dive into this organizational guide.
Finally, advanced enthusiasts ask: How much does water quality influence machine longevity and flavor? A study published in the *Journal of Coffee Science* emphasizes that mineral content impacts extraction and machine corrosion. Using distilled water isn’t always the answer; instead, aim for balanced mineralization tailored to your equipment. Consult best practices for water and maintenance.
Have you ever fallen into this trap of assumptions? Let me know in the comments! Digging deeper into these nuances ensures you’re not just another home barista but a true coffee craftsman.
Keep Your Coffee Gear in Peak Condition
Ensuring your espresso setup runs smoothly over time requires investing in reliable tools and following disciplined maintenance routines. I personally rely on a few key tools that have proven indispensable in my journey towards consistent, café-quality brews. These aren’t just gadgets; they’re investments in flavor preservation, machine longevity, and your overall brewing experience.
Precision Calibration Tools
A good example is the paper towel test for burr sharpness. I use this simple yet effective technique monthly to gauge when my grinder’s burrs are dull, preventing unbalanced grinds that compromise flavor. Calibration gauges also help fine-tune grind size, ensuring you get the most out of your beans and machine. Regular calibration with these tools maximizes consistency and minimizes waste, which is especially crucial when scaling your setup for more advanced use.
Deep Cleaning Equipment
Proper cleaning is foundational to long-term performance. I swear by grinder cleaning pellets, which effectively break down oils and residues deep within the burrs and chute. Running these pellets through your grinder, per manufacturer instructions, keeps oils from gumming up your machine—an ongoing problem that can diminish flavor and cause clogs.
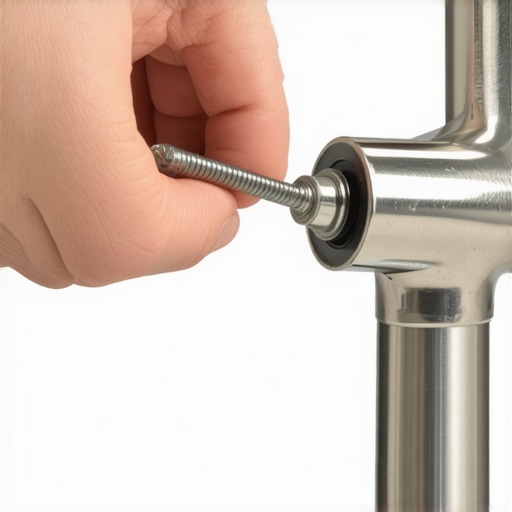
Additionally, tools like group gasket removal kits allow for quick gasket replacements, extending the lifespan of vital components without the need for costly professional repairs. Routine deep cleaning with the right tools is akin to maintaining a fine car engine—preventing costly breakdowns and ensuring peak performance.
Static and Dust Management Aids
Static buildup can be a sneaky troublemaker. I employ small grounding strips and magnetic dust traps, which are inexpensive and straightforward. These gadgets significantly reduce static cling and fine dust in your workspace, making routine cleaning faster and more effective. Check out this simple magnet trick for clearing jammed solenoid valves—a subtle yet powerful addition to your toolkit.
Scaling Up with Software and Automation
When moving towards larger setups or even home commercial grade, technology can help. Software like brew profiling tools allow for precise adjustments, ensuring consistency and reproducibility. Automated calibration routines and monitoring systems can alert you to potential issues before they turn into costly repair needs.
Predictive maintenance, supported by software and connected sensors, is gaining popularity. As industry insider industry experts suggest, embracing these tools will become standard as more hobbyists and professionals scale their setups.
How do I maintain my tools over time?
Consistent upkeep is crucial. Schedule monthly calibration checks, deep clean with designated pellets or cleaning kits, and replace worn parts proactively. Storing tools properly in organized, dedicated containers enhances their lifespan and your efficiency. Remember, your investment in these tools pays off by protecting your machine, ensuring flavor integrity, and reducing downtime. For example, regularly inspecting and replacing your tamper with this simple technique can save you from having inconsistent espresso pours.
On the horizon, I predict smarter, connected tools—integrating sensors and AI-driven diagnostics—will become the norm. Such innovations promise to make long-term maintenance even more straightforward, turning complex tasks into routine checks. Until then, investing in high-quality calibration and cleaning tools remains the best strategy to keep your home espresso setup performing at its peak. So, I challenge you to try calibrating your grinder with a simple paper test today—small steps lead to spectacular coffee.
The Lessons I Never Expected From My Grinder Journey
One of the most impactful lessons I learned was that even the smallest oversight—like neglecting to wipe down my burrs—could sabotage my entire brew. I once thought a quick tap or a blast of compressed air was enough, only to realize stubborn grounds and oils were silently dulling my flavor. The lightbulb moment came when I discovered that thorough, scheduled cleans and calibration aren’t just maintenance—they’re the backbone of great coffee.
Another revelation? Static and dust buildup may seem trivial, but they significantly affect grind consistency and cleanliness. Installing a simple grounding strip and magnetic traps transformed my workspace, making every session smoother and reducing bean waste. It’s these often-overlooked intricacies that truly elevate the home barista experience, turning routine chores into ritualistic acts of mastery.
Finally, I learned to approach my equipment as a living system—one that benefits from proactive care rather than reactive fixes. Deep cleaning with trusted pellets, regular calibration checks, and investing in quality tools like a precision gauge or gasket removal kit extend not just the life of my gear but also the richness of my cups. This holistic approach has been my game changer, and I invite you to embrace it fully.
Gear Up with the Tools That Elevate Your Coffee Game
Over the years, I’ve curated a suite of tools that keep my setup in top shape. The simple paper test regularly warns me when my burrs dull and needs attention—preventing bitter flavors before they start. Grinder cleaning pellets have become a staple, protecting my investment and ensuring oil residues don’t compromise taste.
The gasket removal kit allows for quick swaps, avoiding expensive repairs down the line. Magnetic dust traps, small grounding strips, and organized tool containers — these seemingly minor upgrades make an immense difference in my workflow and maintenance routines. For those venturing into more advanced territory, software-powered calibration tools can achieve unprecedented consistency; I’ve found they’re invaluable as I scale my passion for coffee.
Your Next Leap Starts Now
Embracing the detailed care routines for your coffee gear isn’t just about prolonging equipment life—it’s about transforming your daily brew into a ritual of excellence. Every cleaning, calibration, and organizational tweak adds up to more flavorful shots, fewer surprises, and the confidence to experiment. I encourage you to start small: try the paper towel burr test or add static strips today. These tweaks cost little but yield big rewards.
What’s your favorite tip for keeping your espresso setup in peak condition? Share your secrets and let’s learn together—after all, every great barista started with a simple step.