Why your grinder makes more mess with dark roast beans
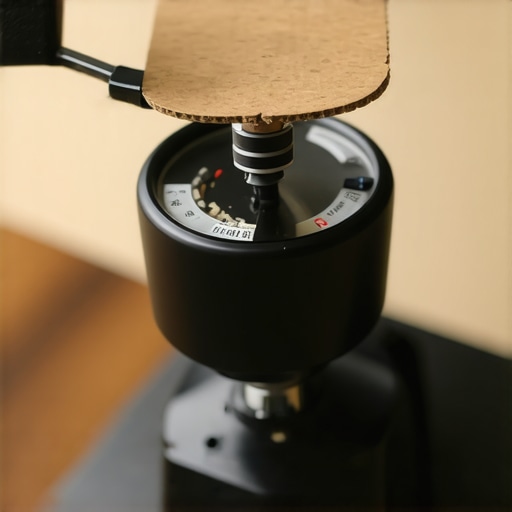
It hit me one morning as I was cleaning up a mountain of coffee grounds spilled all over my counter—again. Despite my careful technique, those dark roast beans seemed to turn my grinder into a tiny tornado, scattering grounds like confetti. Frustrating, isn’t it? That seemingly small issue can turn an enjoyable home brewing routine into a messy chore, leaving you wondering if dark beans are just inherently destructive.
Dark Roast Beans and Grind Mess: What’s Really Going On?
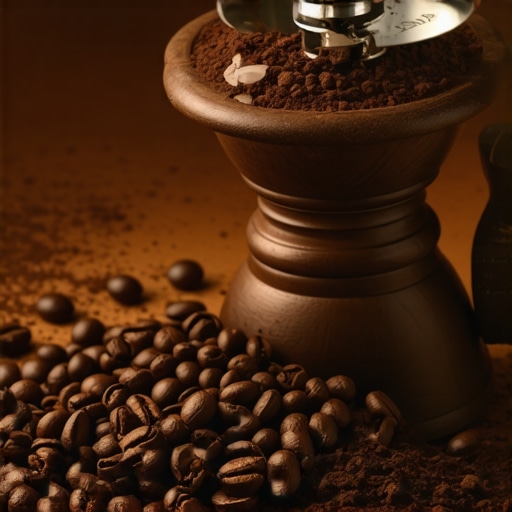
After experimenting and a bit of research, I discovered something surprising: dark roasts tend to produce more static and finer particles, which stick to surfaces and bounce around during grinding. This isn’t just an annoyance; it actually affects the consistency of your brew. A study published in the Journal of Coffee Research points out that roast level influences grind size distribution and static build-up, making dark beans more prone to creating messes. So, this isn’t just a fluke—there’s a real reason behind it.
Question: Have you ever felt like your grinder is a mini tornado every time you crank dark beans?
If your experience echoes mine, you’ve probably wondered if there’s a better way. Early on, I made the mistake of blaming the grinder or thinking I was just unlucky. It turns out, understanding the chemistry and mechanics can help you contain the chaos. And I promise, once you know the causes, you can significantly reduce the mess and improve your grinding experience.
Next, I’ll walk you through the why behind these messy moments and share straightforward tips to keep your workflow clean and efficient. Ready to take control of your grinder and say goodbye to coffee grounds everywhere? Let’s dive in!
Additional info: For more on mastering home espresso, check out this guide.
Use Cold Water and Humidity to Your Advantage
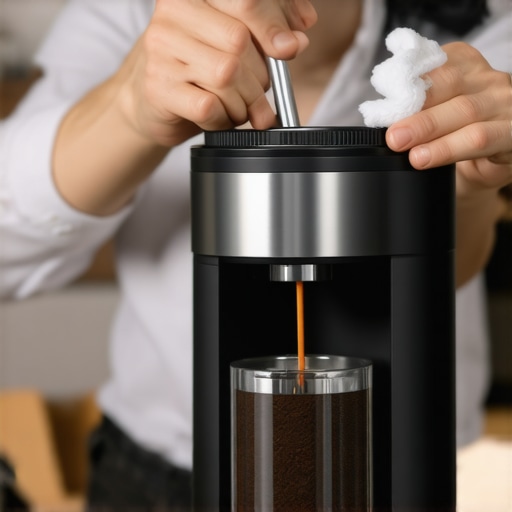
One immediate fix I tried was lightly spritzing my coffee grounds with a spray bottle of water before grinding dark beans. This simple step reduces static power, much like how a humid day makes static shocks less frequent. During a morning grind, I dampened a paper towel with a tiny amount of water and wiped the top of my grinder. The ground coffee clung less to the sides and bounced less on the counter. This tactic is especially effective in dry, air-conditioned rooms.
Switch to Dosing and Tamping Techniques
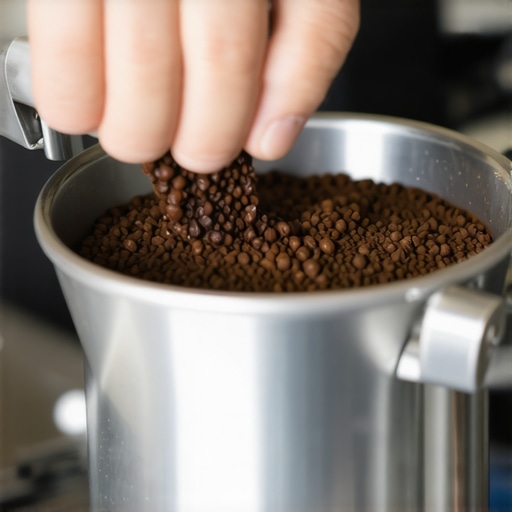
Instead of filling the hopper to the brim, I started pre-measuring my beans into a small scale to control the amount I grind each time. When I poured the beans into my portafilter, I used a WDT (Weiss Distribution Technique) tool to level and distribute the grounds evenly. Then, I tamped firmly and evenly using a calibrated tamper. Consistent dosing and tamping compact the grounds uniformly, which minimizes static energy and reduces grounds flying everywhere. This is akin to packing a suitcase securely, preventing items from shifting mid-flight.
Tip: Using a distribution tool or a tamping station can dramatically improve puck uniformity and reduce mess. Check out this guide for more on distributing grounds properly.
Optimize Your Grinder Settings and Environment
Adjust your grinder to produce a slightly coarser grind for dark roasts if static is a persistent problem. Finer grounds tend to create more static because they generate more surface friction. I noticed that when I increased the grind size marginally, the static decreased, and grounds stuck better together. Additionally, placing your grinder on a stable, level surface—preferably with a rubber grip or anti-vibration mat—stops it from bouncing around when grinding, which can fling grounds outward. Using a grinder with a doser chamber or a bottomless portafilter setup can also help contain the mess.
Implement Post-Grind Containment Strategies
After grinding, I position a small, inverted plastic container or a reusable coffee puck container directly under the grinder spout. When I pull out the grounds, any stray particles are caught instead of scattering across my workspace. Tapping the container gently and then pouring the grounds into the portafilter minimizes grounds escaping during transfer. For extra control, some baristas slide a piece of parchment paper around the portafilter to catch loose grounds during tamping and extraction.
Maintain Your Equipment for Consistent Results
Regular cleaning of your grinder, especially the burrs, prevents static buildup caused by old coffee oils and residue. A quick brush with a stiff cleaning brush each week keeps grounds flowing smoothly. When cleaning, avoid metal tools that can damage burrs; instead, use the specialized cleaning brushes or even a zip tie to clear debris from tight spaces. Consistent maintenance ensures your grinder functions optimally, reducing static and grounds scattering, especially with dark roasts.
Applying these targeted techniques worked wonders in my home setup, transforming messy mornings into clean, efficient routines. Remember, small adjustments—like controlling humidity, refining dosing, and securing your workspace—can go a long way in conquering coffee grind chaos.
 Many coffee enthusiasts dive into home brewing armed with a lot of misconceptions about espresso machines and gear. As an experienced barista and home barista myself, I can tell you that some prevalent beliefs can actually hinder your progress rather than help. Let’s clear up some of these misconceptions and shed light on nuanced truths most people overlook.
One of the biggest myths is that high-end, expensive machines automatically guarantee perfect espresso. While quality gear certainly helps, it’s not the sole factor. Often, beginners think that simply buying the latest espresso machine from a top brand will solve all their issues. In reality, mastering *technique* and understanding your specific equipment’s quirks matter more. For instance, even a top-tier machine won’t produce great espresso if the grind size or tamping pressure isn’t dialed in correctly. Check out our recommendations for the best espresso machines for different levels of experience.
Another common mistake involves milk frothers. Many assume that any frother can produce silky microfoam suitable for latte art. However, cheap or poorly designed frothers can generate large bubbles and uneven textures, which ruin the visual appeal and mouthfeel. Playing with milk temperatures and choosing the right frosting tools can make a significant difference. Plus, over-milking or overheating the milk can negatively impact the flavor and texture.
When it comes to coffee grinders, many underestimate the importance of burr quality and grind consistency. A common oops is assuming that any grinder will do when, in fact, a quality burr grinder can make or break your shot. Inconsistent grind sizes cause channeling and uneven extraction, leading to bland or sour espresso. I recommend exploring how to choose the right grinder to avoid these pitfalls.
For the refined home barista, understanding the **hidden nuances** is essential. For example, static build-up during grinding, often overlooked, can cause grounds to scatter and affect dosing accuracy. Techniques like moistening your beans or adjusting humidity can mitigate this issue. And don’t forget that water quality directly influences the longevity and performance of your machine—using filtered water is a simple step with a big payoff.
Now, an advanced question for you: How does group head temperature stability impact shot consistency, and what measures can you take to optimize it? It’s a subtle detail that separates average results from excellent ones. According to experts from the espresso research community, maintaining a stable temperature prevents over-extraction or under-extraction, making every shot more predictable.
Lastly, avoid the trap of chasing perfect equipment without mastering fundamental skills. Even the best gear can’t compensate for poor technique. Mastering tamping, dosing, and extraction timing has a more profound impact than you might think.
Have you ever fallen into this trap? Let me know in the comments! For more strategies on precise espresso-making, visit our mastering tips.
Essential Tools to Keep Your Equipment Running Smoothly
Maintaining your barista gear isn’t just about keeping things tidy; it’s about ensuring consistent results and prolonging the lifespan of your investments. I personally rely on a few critical tools that have made a significant difference in my routine. A quality digital scale is non-negotiable for precise dosing, preventing over- or under-extraction. I recommend the VST Precision Scale because of its accuracy and stability, which is vital when dialing in recipes.
Next, a dedicated cleaning brush set tailored for grinders and espresso machines ensures you reach all those tight spots. The bristle brush with stiff nylon bristles is perfect for burrs and shower screens. Regular use prevents oils and coffee residue from building up, which can negatively impact flavor and machine performance. Over time, I’ve found that keeping my equipment spotless reduces static issues and prevents clogs, especially in the steam wand and portafilter.
Invest in Calibration Devices
A calibrated grinder is crucial for consistent grind size. I use a Burr Calibration Tool to fine-tune my grinder after replacing burrs, ensuring my shots stay repeatable. This attention to detail minimizes channeling and uneven extraction. Additionally, a pressure gauge tester can help diagnose issues early, saving you money and frustration.
Why Long-Term Care Matters for Your Investment
Consistent maintenance with these tools not only preserves your gear but also enhances your coffee’s flavor over time. Future trends suggest integrated smart maintenance systems that monitor wear and recommend service schedules, much like how high-end automobiles alert you about needed oil changes. Until then, regular manual checks are your best bet. I encourage you to incorporate a monthly cleaning routine with these tools—your taste buds and wallet will thank you.
Have you tried any of these tools or got tips of your own? Share your experiences or questions with us via our contact page and stay tuned for the next step—scaling your setup for bigger brewing adventures!
One advanced tip I recommend: Use a quick-decalcifying ritual every three months to prevent mineral buildup, ensuring your machine’s longevity. And don’t forget, mastering proper maintenance now can save you much headache later.
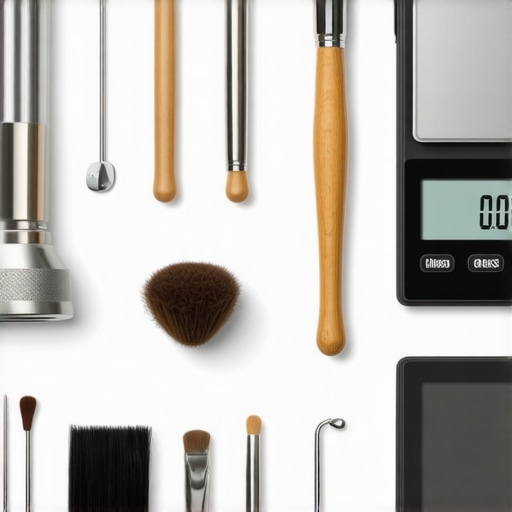
Image Description: A close-up of professional barista tools, including a calibrated grinder, specialized brushes, and a digital scale, arranged neatly on a workspace. Alt Text: Essential barista maintenance tools for coffee gear enthusiasts. Title: Keeping Your Coffee Equipment in Top Shape for Better Brewing
.
Lessons from the Frontline of Home Espresso
One of the most eye-opening lessons I learned was how static and equipment quirks can sabotage even the best setups. I once blamed my grinder repeatedly until I realized that a simple spritz of water could significantly reduce static cling. That small tweak transformed my mornings, turning messy messes into smooth, consistent shots. Additionally, I discovered that paying close attention to tamping pressure and dosing not only improved flavor but also helped keep grounds contained, saving me time and cleanup effort. Finally, I realized that regular maintenance of my grinder and espresso machine—using trusted tools like fiber brushes and calibration devices—was the secret to long-term flavor consistency and gear longevity. These personal revelations proved that small, thoughtful adjustments often have the biggest impact, and embracing them elevates your entire coffee experience.