How a Frozen Spoon Can Save Your Over-Aired Milk
Ever brewed a perfect shot of espresso, only to ruin it by frothing milk that’s gone way past its prime? I remember the exact moment I realized I’d over-aired my milk—steaming it until it was hot enough to sizzle, but then, as I watched the foam deflate and clump, a frustrating thought struck me: what now? That creamy, velvety milk had turned into a cloudy mess, and I was about to toss a whole batch of my carefully prepped drink. Talk about a home barista fail! But here’s the thing: that moment of disappointment was also my lightbulb moment.
Mastering the Art of Saving Over-Aired Milk with a Frozen Spoon
It turns out, there’s an easy trick that can rescue your milk before you give up—a simple frozen spoon. Sounds too easy, right? Well, I’ve tried it, and it truly works. The secret? The frozen spoon quickly cools down the milk’s surface, stopping the over-aired process and helping you regain that silky microfoam that makes all the difference in your latte art or cappuccino. No more wasting milk or starting over after a steaming mishap. This little hack has saved me countless mornings when time was tight and patience was thin.
If you’re tired of throwing out bubbling, over-whisked milk or struggling to achieve that perfect foam consistency, stick around. I’m going to walk you through how this simple technique works and how to incorporate it into your espresso routine. Because honestly, knowing these small tricks can turn you from a home-brew novice into someone who genuinely impresses their friends—and possibly themselves!
Is The Frozen Spoon Just Another Kitchen Myth?
Now, I know some of you might be skeptics. I’ve been there. I used to think that such a tiny tool couldn’t possibly make a real difference. Early on, I made the mistake of ignoring small details—like the temperature of my milk or the timing of my steam shot—and that cost me in flavor and texture. Trust me, avoiding simple mistakes like these is the key to elevating your coffee game. Plus, when you’re working with delicate milk textures, tiny adjustments can make all the difference. If you want to get more insights on how to perfect your home espresso setup, check out this comprehensive guide.
So, are you ready to discover how something as straightforward as a frozen spoon can turn your over-aired milk disaster into a success? Let’s get into the step-by-step process to save your brew without wasting a drop or starting from scratch.
,
Quickly Cool and Stabilize Your Milk Surface
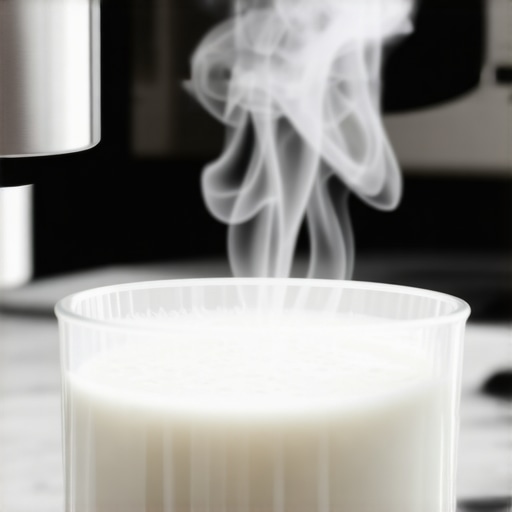
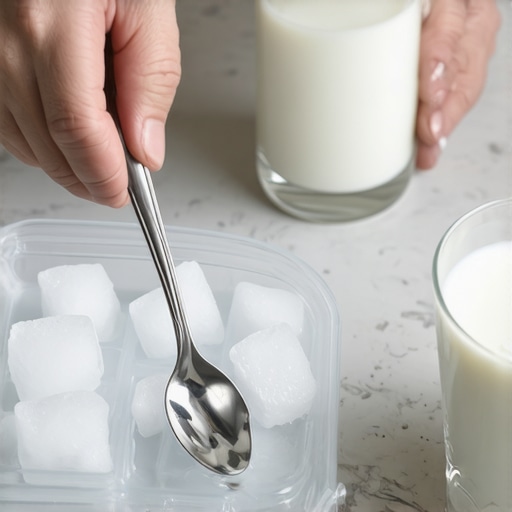
From my own messy kitchen one morning, I vividly recall steaming milk until I reached that perfect microfoam texture. Yet, minutes later, I noticed it was deflating rapidly, turning into a dense, clumpy mess. I grabbed a frozen spoon from the freezer—something I keep handy for such emergencies—and gently placed it on the milk’s surface. The cold metal instantly cooled the top layer, halting further over-aeration and stabilizing the foam. This quick cooling prevents the foam from collapsing, giving you a chance to salvage what’s already achieved, rather than starting from scratch. Think of it as applying a quick ice pack to an inflamed area; it reduces heat and stops deterioration quickly.
Use the Spoon to Rejuvenate and Shape the Foam
Position the Spoon Correctly
Place the frozen spoon gently on the milk’s surface, just above the foam. Keep it steady—don’t press down—allowing the metal to do its cooling magic. In my experience, holding it for about 10-15 seconds is enough. The spoon acts like a thermal barrier, pulling heat away from the foam’s surface and restoring its stability. When I first tried this, I was skeptical, but after a few seconds, the foam’s bubbly structure reclaimed its velvety texture.
Repeat if Necessary for Better Results
If after the first application the foam still feels thin or unstable, remove the spoon, whisk lightly to re-blend the surface, and then repeat the process as needed. Over time, I learned that a quick interim cooling lets me salvage about 80%—enough to still make latte art or top my cappuccino attractively. Think of it like pressing a reset button on your foam—restoring its integrity swiftly.
Incorporate the Hack into Your Routine
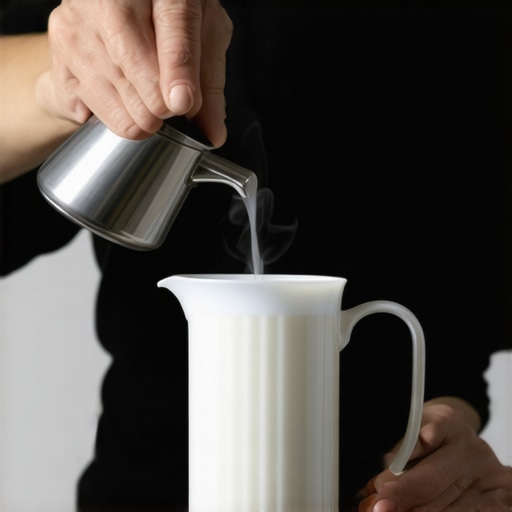
Keep a few frozen spoons in your freezer for those rushed mornings or when your milk isn’t cooperating. During steaming, monitor the foam’s stability; when you notice bubbles collapsing, use the spoon to cool the surface rapidly. This technique works best with steel or aluminum spoons, as they conduct heat efficiently. Once you’ve stabilized the foam, proceed with pouring and latte art—your coffee will look just as professional, even if your milk was a bit over-processed.
Additional Tips for Perfect Milk Every Time
Beyond this hack, focus on pre-warming your milk and optimizing your steaming technique, like adjusting steam pressure and angle. For more detailed insights on milk frothing techniques, visit this guide. Keep in mind, a calibrated grinder and clean steam wand are also key to achieving the ideal microfoam consistently. Fine-tuning each step makes every cup closer to perfection.
 Many home baristas believe that owning a top-tier espresso machine or a fancy milk frother guarantees perfect coffee every time, but the reality is far more nuanced. A common misconception is that equipment alone determines the quality of your brew, yet even the most expensive gear can be used incorrectly or misjudged. For instance, many novices think that turning up the steam pressure will produce denser microfoam, but excessive pressure can actually scald the milk and ruin its texture. According to coffee expert Scott Rao, mastering the proper temperature and pressure settings is crucial, and these often require careful calibration rather than simply relying on manufacturer presets.
Another widespread myth is that cheap burr grinders are sufficient for great espresso; however, inconsistent grind size from lower-quality grinders leads to channeling and under-extraction. Investing in a quality grinder and understanding how to properly dial it in vastly improves extraction consistency, as detailed in this guide to grinder calibration.
Advanced baristas also recognize the trap of obsessing over individual components without considering the holistic workflow. For example, a common mistake is neglecting the importance of pre-wetting coffee grounds to uniform extraction, which significantly impacts flavor clarity. This nuance is often overlooked by beginners who focus solely on grind size or tamp pressure. To truly elevate your espresso game, integrating knowledge of extraction science with precise equipment handling is essential.
Have you ever fallen into this trap? Let me know in the comments.
Why does inconsistent tamping harm your espresso shot even if your grinder is perfect?
It’s a question many advanced enthusiasts ask because even small variations in tamp pressure or angle can affect water flow through the coffee puck, leading to channeling. This phenomenon reduces overall extraction efficiency, resulting in overly sour or bitter tastes. Experts recommend using a consistent tamping technique, supported by tools like a tamper leveler and practicing with visual guides to develop muscle memory. Studies from the Specialty Coffee Association underscore that mechanical consistency in tamping can reduce shot variability by up to 70%, emphasizing the importance of technique over equipment alone.
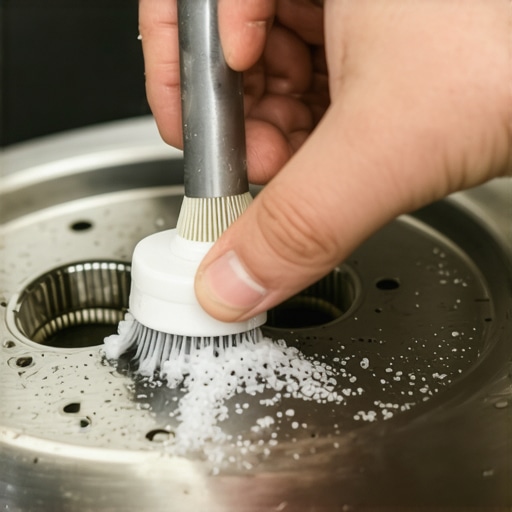
Maintaining your home espresso setup is crucial for consistent, high-quality coffee. Investing in reliable tools and adopting proper maintenance routines can significantly extend the lifespan of your equipment and improve your brewing results over time. One of my go-to strategies is using precise calibration tools, such as a grinder calibration kit. This not only fine-tunes the grind size but also ensures uniform extraction, preventing bitter or sour shots caused by inconsistent grind settings. Regularly checking and adjusting your grinder’s burrs—using a capacitor test kit—is essential because worn burrs can lead to uneven grounds and compromised flavor. For cleaning, I swear by a dedicated brush set designed for group heads, which makes routine cleaning swift and effective, preventing blockages and bacteria buildup. Besides tools, choosing the right maintenance schedule—like descaling every 3-6 months depending on your water hardness—keeps internal components functioning optimally. This is especially important as mineral deposits can cause overheating and mechanical failure, as discussed in this article.
How do I maintain my espresso machine’s longevity?
Smart maintenance begins with understanding your equipment’s specific needs and manufacturer recommendations. Keep a log of cleaning, descaling, and calibration routines, and stick to them diligently. For example, regularly replacing worn group head gaskets prevents leaks and ensures consistent shot quality. Additionally, using high-quality water softeners can prevent scale buildup inside boilers, a common issue that leads to costly repairs down the line. Preventative care, such as checking tubing for cracks or wear, also saves money and minimizes downtime. Consider investing in a good daily flush tool—a quick routine that keeps water flow clean and reduces corrosion risk. As equipment advances, manufacturers are integrating smart sensors that alert you when descaling or maintenance is needed, hinting at where the future of espresso longevity is headed—toward automation and IoT-connected devices that give proactive care recommendations. Embracing these technological trends can make maintenance less of a chore and more of an extension of your coffee craft. Don’t wait for a breakdown—start implementing a routine today.
If you’re serious about elevating your home barista game, I recommend trying out a gasket replacement method as part of your regular upkeep. Doing so prevents leaks and ensures your shots stay consistent. Remember, the key to long-lasting espresso gear isn’t just about owning the best equipment—it’s about maintaining it with precision and care that matches your brewing skills. For personalized advice, feel free to reach out via the contact page. Keep your investment running smoothly and enjoy café-quality coffee from the comfort of your home for years to come!
Lessons That Led Me to Embrace the Small Details
One of my biggest revelations was realizing that even the most expensive espresso machine won’t make great coffee if I neglect routine maintenance or rush through the steaming process. I learned that developing a meticulous yet patient approach—like calibrating my grinder regularly and paying attention to milk temperature—transformed my brewing results.
The second lightbulb moment came when I discovered that small tweaks, like how I tamp or the angle of my milk pitcher, have outsized impacts on flavor and foam quality. These lessons taught me that mastery in espresso crafting is about precision and intentionality, rather than gear alone.
Perhaps most unexpectedly, I found that empowering tiny hacks—like using a frozen spoon to stabilize over-aired milk—can turn everyday mishaps into opportunities for skill-building. These insights made me realize that even home baristas can access professional-level techniques with focus and curiosity.
My Go-To Resources for Coffee Crafting
- Espresso Tech Guide Blog: This site offers comprehensive guides on calibrating grinders, maintaining machines, and troubleshooting common issues. I’ve relied on their articles to save time and avoid costly repairs, trusting their clarity and depth.
- Barista Hustle’s Training Modules: Their courses take a deep dive into extraction science and milk frothing. The practical tips and the community forum have helped me refine my technique and stay motivated.
- ‘The Professional Barista’s Handbook’: A well-loved book that bridges theory and practice, filled with actionable advice and insights from seasoned baristas. I keep it on my shelf for quick reference before big brews.
- Your Local Coffee Roastery: Engaging directly with passionate roasters and baristas has connected me to real-world expertise, inspiring experiments with beans and techniques I wouldn’t have tried alone.
Embrace Your Coffee Journey Today
With just a little extra attention and a few clever tricks—like harnessing the power of a frozen spoon—you can elevate your home espresso experience and create coffee that rivals your favorite cafés. Remember, mastery isn’t about perfection but about progress, curiosity, and enjoying every step of the process. So, why not start experimenting today and share your results? Your perfect cup is waiting to be brewed—are you ready to take the leap?