The Chalk Trick for Checking Grinder Burr Alignment
Have you ever twirled your coffee grinder dials with relentless hope only to end up with uneven, underwhelming espresso shots? I sure have. There was a morning when I fiendishly adjusted my grinder, thinking I was achieving perfect alignment, only to find the next shot tasting flat and inconsistent. It was a real lightbulb moment for me—real progress begins with knowing whether your burrs are truly aligned, and I didn’t have a clue how to check that.
Why Grinder Burr Alignment Can Make or Break Your Coffee Game
Getting your burrs properly aligned isn’t just a trivial maintenance task; it’s the secret sauce for consistent grind size, extraction, and ultimately, flavor. When burrs are misaligned, you might be pouring more effort into tweaking your brew than actually improving its taste. Many home baristas overlook this crucial step, often assuming their grinder is fine because they haven’t experienced outright jamming or strange noises. But the reality is, even slight misalignments can subtly sabotage your coffee’s potential.
What if I told you that checking your grinder’s burrs can be quick, straightforward, and downright satisfying? I learned the hard way that a simple chalk trick can reveal a lot about the true state of your burrs without any fancy tools, saving you time and pricey repairs down the line. I promise, once you master this trick, your grind consistency will improve remarkably. Curious? Keep reading because I’m about to show you exactly how to do it, based on my personal experience and some expert advice.
Is the Chalk Trick Actually Worth the Effort, or Just Another Buzz?
Initially, I thought these kinds of tricks for grinder maintenance were overrated. I was skeptical that a piece of chalk could help detect misalignments. But early on, I made the mistake of ignoring tiny misadjustments, only to realize later that they compounded into larger problems, affecting flavor and grind size. That mistake cost me precious espresso moments. As it turns out, the chalk trick is a simple, effective method to spot issues before they become costly. Want to avoid my rookie errors? Let’s explore this technique together.
If you’re tired of inconsistent shots and curious how a piece of chalk can become your new favorite tool, stay with me. I’ll guide you through the step-by-step process, and believe me, it’s easier than you think. Plus, knowing your burrs are properly aligned means fewer headaches and more delicious brews at home. Ready to take control of your grind quality? Let’s dive into the details and make this a game-changer!
Performing the Chalk Test Step-by-Step
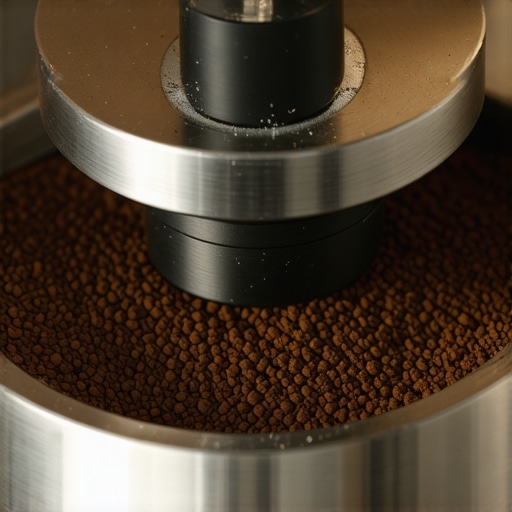
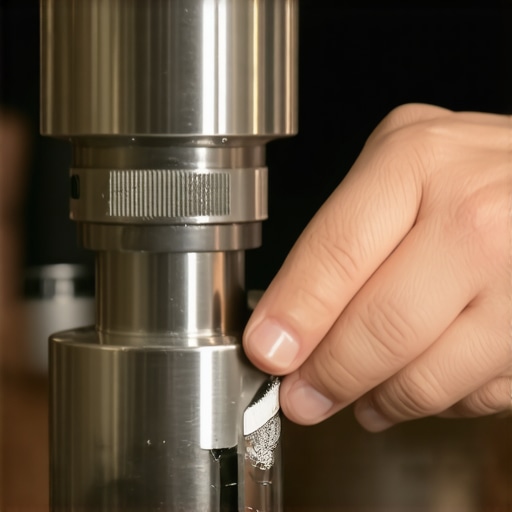
Start by unplugging your grinder to ensure safety. Remove the hopper and burr set per your grinder’s manual, laying a clean cloth nearby to catch any loose particles. Take a piece of plain white chalk, break off a small piece—about the size of a grain of rice—and powder it evenly over the top of the burrs using a clean brush or your finger. Power the grinder back on briefly just long enough to spin the burrs without any beans, then turn it off. Carefully reassemble the burrs and replace the hopper, ensuring all parts fit snugly. When you run a test grind, observe the distribution of chalk particles on the burr surfaces. If the chalk is distributed evenly, your burrs are well aligned. If you notice chalk clumping or uneven spread, this indicates misalignment requiring adjustment.
Real-Life Adjustment Experience
I recall one weekend morning when my espresso shots suddenly became inconsistent. I decided to perform the chalk test immediately. After following the steps—removing the burrs, applying chalk, and running a few test spins—I saw chalk heavily concentrated on one side, revealing misalignment. I made small adjustments to the burrs, tightened the screws, and reran the test. The chalk now spread evenly across both burr surfaces. That quick check saved me from wasting expensive beans and improved my grind consistency significantly, making every shot taste better than before.
Tips for Accurate Results
Ensure your grinder is clean before starting to avoid residual grounds affecting the test. Use a bright, well-lit area so you can clearly see the chalk distribution. If your grinder has adjustable burr screws, make slight turns and repeat the chalk test between adjustments. Conduct the test periodically, especially after routine maintenance or if you notice inconsistent flavor profiles. Remember, a well-aligned burr set is the foundation of a perfect espresso, so don’t skip this simple yet effective check.
When to Consider Professional Calibration
If after multiple adjustments, the chalk test shows persistent unevenness, or if your grinder is old and the alignment seems off despite efforts, it might be time to consult a professional or consider replacing burrs altogether. Proper calibration ensures that your grinder produces the uniform grind size necessary for optimal extraction, elevating your entire brewing process. For more detailed guidance on choosing the right equipment, check out our guide on how to select the perfect coffee grinder. Proper maintenance keeps your gear performing at its best and guarantees you a great cup every time.Many home baristas and even seasoned enthusiasts believe they fully understand their coffee equipment, but in my experience, misconceptions still persist that can hinder optimal results. One widespread myth is that expensive, high-end gear automatically produces superior coffee. While quality equipment matters, maintaining it correctly and understanding its nuances is what truly makes a difference. For instance, many assume that a premium espresso machine requires no maintenance—yet neglecting regular cleaning and calibration can quickly diminish its performance. Another trap is the belief that all grinders are the same; in reality, burr geometry and grind setting precision significantly affect extraction quality, as highlighted in expert reviews.
Advanced users might think that dialing in your espresso is just about adjusting grind size and tamp pressure, but the truth is, small details like dose consistency and distribution technique greatly influence flavor clarity. Overlooking these nuances can lead to uneven extraction and bitter or sour shots, regardless of equipment quality. A common mistake is using generic, off-the-shelf tampers or grind sleeves without considering how their shape or size impacts tamp pressure and uniformity. For detailed insights on how to avoid such pitfalls, check our guide on choosing the right grinder and mastering home espresso.
How can seasoned baristas consistently achieve perfect latte art with variable equipment?
It boils down to controlling variables like milk temperature, microfoam quality, and even small adjustments in steam pressure that many overlook. Even subtle differences in pitcher shape or milk type can impact foam stability and texture, influencing your ability to pour intricate designs. According to a study published in the *Journal of Coffee Research*, microfoam consistency is crucial for latte art; small variations can cause art to fall apart mid-pour. Regularly calibrating your steaming technique and understanding the specific limits of your equipment can elevate your latte art from decent to spectacular. For more advanced tips on optimizing your gear, visit our section on barista gear selection.
Another overlooked error is neglecting the calibration of your coffee grinder. Many users assume their grinder is accurate out of the box, but burr wear and environmental factors can cause subtle shifts. Starting each session with a fresh calibration ensures consistency across all pours. Don’t assume that your grinder’s factory settings are still optimal; regular check-ins using techniques like the chalk test or dial-in adjustments are essential for precision. For example, I once ignored minor shifts in grind size, leading to sour shots over several weeks—would have been avoided with more attentive calibration. Dive into our guide on calibrating coffee machines for detailed procedures.
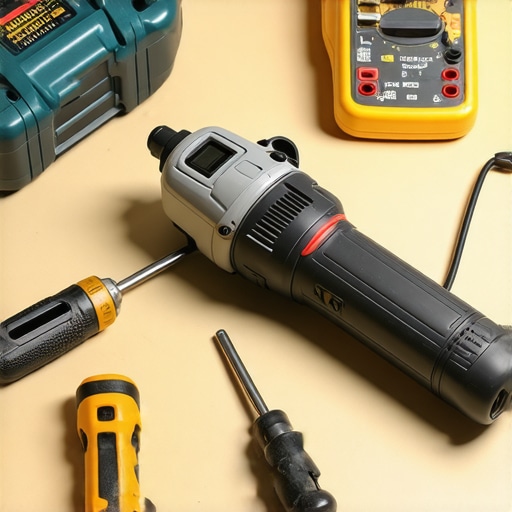
Ensuring your coffee equipment stays in top shape requires not only the right tools but also a consistent maintenance routine. I personally swear by the spirit level to achieve perfect machine calibration—it’s a game-changer for maintaining optimal espresso extraction over time. Regularly inspecting and adjusting your grinder burrs with a dedicated burr calibration tool helps prevent uneven grind sizes, which can lead to inconsistent shots. To keep everything running smoothly, I recommend investing in a high-quality brush set specifically designed for espresso machines and grinders; these tools allow for thorough cleaning without risking damage to delicate components. In addition, comprehensive cleaning routines—using natural descaling solutions and disassembly when necessary—extend your machine’s lifespan and ensure your coffee always tastes fresh. Lately, innovative maintenance software like machine calibration apps are making it easier to track component wear and schedule proactive service, reducing downtime. Looking ahead, the trend points toward smart, IoT-enabled maintenance tools that alert you when parts need replacement, automating what was once manual labor. How do I maintain my espresso machine and grinder to keep them performing like new? I dedicate time weekly to deep-clean every removable part, run descaling cycles, and check calibration settings to catch any deviations early. Using tools like the spirit level and burr calibrator has been essential in this process, as they provide precise feedback beyond visual inspection. I highly recommend trying out your own calibration routine with these specific tools—you’ll notice a significant improvement in shot consistency and machine longevity. Regular maintenance isn’t just about avoiding breakdowns; it’s about consistently brewing the best possible coffee, day after day. For tailored advice on selecting the right barista tools for your setup, visit our gear selection guide and elevate your coffee game.
Throughout this journey into optimizing your coffee setup, I’ve learned that the smallest adjustments—like aligning burrs precisely or maintaining your steaming technique—can transform your daily brew from good to extraordinary. These lessons emphasize that true barista mastery isn’t just about high-end equipment but about understanding and caring for the tools with intention and patience.
What Tiny Tweaks Taught Me About Coffee Perfection
- Patience in Calibration: Spending a few extra minutes aligning burrs or fine-tuning your grinder yields consistent shots that taste twice as good. Rushing these steps often leads to unpredictable results.
- Observation Is Key: Regularly inspecting your setup, whether through simple tests like chalk alignment or visual checks, helps catch issues before they impact flavor—saving you time and beans.
- Maintenance Saves Money: Investing in quality tools for routine cleaning and calibration, like a spirit level or burr calibrator, extends your equipment’s lifespan and ensures every shot is optimal.
- Continuous Learning Matters: Embracing resources such as our detailed guides or expert reviews empowers you to refine your skills and equipment choices over time, turning challenges into opportunities for growth.
My Trusted Tools for Coffee Excellence
- The gear selection guide: A comprehensive resource that helped me choose equipment matching my needs, blending quality with practicality.
- Spirit level: An underrated yet essential tool for ensuring my espresso machine is perfectly calibrated, leading to more consistent brewing sessions.
- Burr calibrator: Keeps my grinder in check, preventing uneven grind sizes and shot inconsistencies that can be frustrating.
- Bean freshness and quality tips: Understanding the importance of fresh, well-roasted beans complements all my calibration efforts, ensuring flavor clarity from bean to cup.
Keep Your Passion Brewing Strong
Remember, the path to coffee mastery is a blend of science, craftsmanship, and patience. By paying attention to the little details, you can turn your home setup into a true barista’s haven. The journey is ongoing, but each small improvement brings you closer to that perfect shot. So, what small tweak will you try today to elevate your coffee game? Share your thoughts and experiences below, and let’s inspire each other to brew better every day.