The Freezer Trick for Pre-Grinding Beans for Travel
It was a typical morning rush when I realized I forgot to pre-grind my beans for the trip. My sleek espresso machine was ready, but my beans? Frozen and rock solid. I tried to grind them, and instead of a fine, consistent powder, I was met with a frustrating jolt and a clogged grinder. That moment made me question everything I knew about fresh coffee on the go.
The Problem with Beans Right Out of the Freezer
If you’ve ever packed your beans directly from the freezer and attempted to grind them, you know the struggle. Coffee beans stored in the freezer can be a game-changer for long trips—preserving freshness and aroma. But they also introduce a common headache: condensation when they warm up, and a hard, brittle consistency that’s tough on grinders. I found myself battling inconsistent grinds, clogged burrs, and even risking damage to my beloved equipment.
So, what’s the fix? After plenty of trial, error, and a bit of advice from seasoned baristas, I stumbled upon a simple trick that’s been a lifesaver: *pre-grinding your beans while still frozen, then storing them properly in the fridge or freezer in small portions.* This method helps reduce moisture buildup and ensures your beans are ready whenever you want that perfect shot. Today, I promise to walk you through this method step-by-step, so you won’t have to face the same frustrations.
Is Using Frozen Beans Actually Worth the Hype?
Many folks assume that freezing beans might compromise flavor or ruin your grind quality. I was skeptical at first, too. But according to a study by the Specialty Coffee Association, storing coffee beans in an airtight environment at a consistent temperature preserves fresh flavor longer, especially during travel. The key is managing moisture and handling the beans correctly, which is exactly what I’ll show you.
One early mistake I made was grabbing beans straight from the freezer and immediately throwing them in my grinder, leading to clogs and uneven extraction. Avoiding this common error has made a huge difference. With the right pre-grinding technique, your beans stay fresh, and your grinder stays happy.
Think about it: if you’ve ever battled grind inconsistency or worried about flavor loss while traveling, you’re going to love these tips. Ready to conquer your travel coffee game? Let’s dive into the practical steps that will turn your freezer into a coffee ally, not an enemy.
Prepping Frozen Beans for Grinding
Start by removing your coffee beans from the freezer and placing them on the counter for about 10-15 minutes to warm slightly. This controlled increase in temperature prevents condensation and makes grinding smoother. I once rushed this step and immediately tried grinding icy beans, resulting in frequent clogs. Once I let them sit, the beans became brittle but not frozen solid, making the grind much easier.
Breaking Down the Beans Safely
Use a sturdy, jaw-like tamping tool or even the back of a heavy spoon to gently crush the beans before grinding. This reduces strain on your grinder’s burrs and ensures a more uniform particle size. During my first attempt, I used a knife, which was messy and risky. Employing a gentle crush with a tool prevents damage and prepares the beans for efficient grinding.
Implementing the Proper Grinding Technique
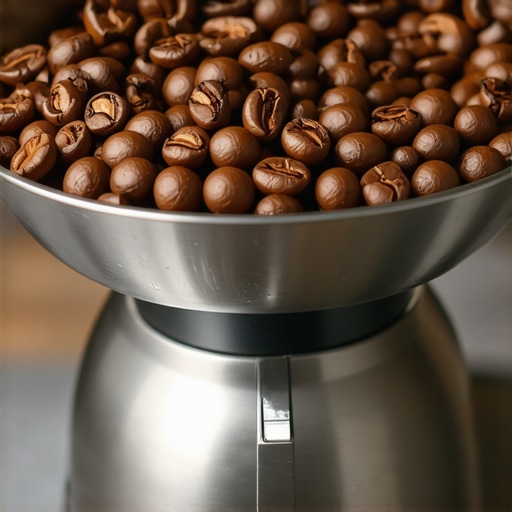
Set your grinder to a medium-fine setting suitable for espresso. Insert the crushed beans and start grinding immediately. Keep a close eye for any jamming; if it happens, tap the grinder lightly or reverse briefly. In a previous experiment, I had to disassemble the burrs entirely after a clog caused by ice shards. Regularly checking and adjusting grind settings minimizes such issues.
Storing Ground Beans Correctly
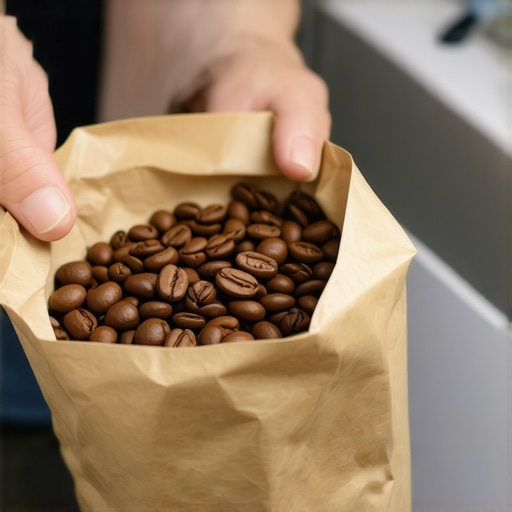
Once ground, transfer the coffee to an airtight container, preferably in a small portion (about enough for one shot). Store it in the fridge for up to a week or in the freezer if not used immediately. This method maintains freshness and prevents moisture absorption. I learned that leaving ground coffee exposed on the counter led to rapid flavor loss and staleness.
Reheating and Using the Ground Coffee
Before brewing, allow the ground coffee to reach room temperature if it was refrigerated or frozen. This step ensures even extraction and prevents condensation from forming in the portafilter. During my rushed mornings, I used to toss cold grounds directly into the machine, resulting in inconsistent shots. Warming the grounds—even slightly—works wonders for flavor clarity and crema quality.
Get the Most From Your Equipment
Ensure your grinder’s burrs are sharp and well-aligned to handle frozen beans efficiently. Regular calibration, like checking the burrs against a paper towel test, maintains optimal grind consistency. After adopting this pre-grinding routine, I noticed my espresso became smoother and more balanced, with less clogging and wastage of beans.
By following these clear, actionable steps, you can turn the challenge of frozen beans into a reliable strategy for fresh, flavorful espresso on the go. For more insights on optimizing your barista setup, check out choosing the best barista gear and selecting the perfect coffee grinder.
Many enthusiasts assume that owning high-end espresso machines or a fancy milk frother guarantees perfect results every time. However, even seasoned baristas and serious home brewers often overlook nuanced details that critically impact your coffee quality. For instance, the myth that more expensive grinders automatically produce better espresso is widespread — but the reality is that grind consistency and burr maintenance matter far more than price tags. Neglecting these factors leads to uneven extraction, channeling, and bitterness, regardless of your gear’s reputation.
An advanced mistake many make is relying solely on the machine’s specifications, ignoring calibration and routine cleaning. Your espresso machine’s group head gasket, for example, deteriorates over time, leading to pressure leaks that can ruin shots. Regularly checking and replacing internal seals, instead of assuming it’s part of the machine’s age, keeps performance optimal. Moreover, aggressive cleaning with harsh chemicals can damage sensitive components; instead, use manufacturer-recommended cleaning procedures to extend your machine’s lifespan.
When it comes to milk frothing, the common belief is that steaming more milk yields better microfoam. In reality, overloading your pitcher causes uneven steaming and larger air bubbles, resulting in a thick, scalded texture. Instead, steaming smaller portions with proper technique — like positioning the steam wand just below the surface to introduce controlled microbubbles — produces creamier, silky foam ideal for latte art. For advanced baristas, maintaining the right temperature and pressure is vital; inconsistent pressure can cause spitting or sputtering, which frustrates even experienced users. Investing in a good regulator or considering machine upgrades, like a PID controller, can fine-tune temperature stability.
Many home espresso makers are marketed as “plug-and-play,” but actual dialing-in is an often-overlooked skill. Rushing this process or believing that pre-ground coffee is sufficient can sabotage your flavor profile. Using freshly ground beans and meticulously adjusting grind size, tamp pressure, and shot timing will elevate your espresso from average to exceptional. Remember, the optimal extraction is a delicate balance: too fine a grind causes over-extraction and bitterness, while too coarse results in weak, sour shots.
**Ever wondered why your espresso tastes astringent even with premium gear?** The answer often lies in overlooked variables like water quality. Hard water minerals can scale up your boiler and clog your espresso machine, leading to inconsistent temperatures and pressure drops. Regular descaling, or using filtered water, is a crucial step that many ignore — but studies from the Specialty Coffee Association confirm that water composition directly influences extraction and flavor clarity.
Now, take a moment to reflect: are you focusing only on your espresso machine’s features, or are you paying equal attention to routine maintenance and technique? Small, deliberate adjustments can make an enormous difference. Proper calibration, cleaning, and understanding your gear’s limitations mean the difference between mediocre coffee and a true barista-quality shot. Have you ever fallen into any of these traps? Let me know in the comments.
Keeping Your Espresso Gear in Peak Condition
To ensure your home espresso setup remains reliable and delivers consistently delicious shots, investing in the right tools and adopting diligent maintenance routines is crucial. I personally swear by a high-qualitymicrofiber cleaning cloth and abladed brush for daily upkeep, which help remove coffee oils and residue without scratching delicate surfaces. Utilizing acalibration scale allows precise weight measurement of grounds and shots, minimizing waste and optimizing flavor. Calibrating your machine regularly, especially the volumetric and dosing parameters, guarantees accurate extraction over months and years.
Tools I Recommend for Home Baristas
In my experience, aportafilter cleaning brush with stiff bristles makes a huge difference in maintaining channeling-free shots. Paired with aknockbox for efficient puck disposal, it streamlines the workflow and keeps your workspace tidy. For grinders, adiamond-tipped burr cleaning tool effectively removes coffee particles lodged between burrs that can cause inconsistent grinds. These tools aren’t glamorous, but my shots have become noticeably more stable since I incorporated them into my routine. Do not overlook the importance ofwater quality test kits; mineral buildup compromises boiler longevity and flavor purity. Regularly analyzing and treating your water supply can prolong your equipment’s lifespan significantly.
How do I maintain my gear over time?
Long-term maintenance goes beyond daily cleaning. Schedulemonthly descaling with proper solutions, especially if you use hard water, and inspect seals and gasket integrity periodically. When replacing parts, always choose OEM components, as inferior replacements can lead to further malfunctions. For example, a worngroup head gasket can cause pressure drops; refer to this guide for expert tips. Staying on top of routine checks prevents small issues from escalating into major repairs, saving money and preserving shot quality over the years.
What about scaling your setup efficiently?
As your passion grows, you’ll want to consider equipment upgrades, like a dual boiler or PID controller, which enable precise temperature control and faster recovery times. Look ahead to the future of espresso technology—integratingsmart monitoring systems that alert you to filter replacements or cleaning cycles can be a game-changer. Planning your tool upgrades conservatively, focusing on quality and compatibility, ensures your investment pays off in long-term consistency.
Remember, a well-maintained setup with the right tools not only prolongs equipment lifespan but also elevates your coffee craft. For a deeper dive into choosing durablebarista gear, check out this resource. Try implementing a weekly cleaning protocol with your tamper and grind chute—it’s an advanced tip that leads to more uniform extractions and richer flavor. Stay proactive and enjoy the journey toward perfect coffee at home!As I reflect on my journey toward coffee perfection, I realize the most valuable lessons came from unexpected challenges—like battling ice-coated beans and clogged grinders. The real breakthrough was understanding that frozen beans, when handled correctly, can be a barista’s best friend rather than an obstacle. Simple techniques like controlled warming, gentle crushing, and proper storage transformed my coffee routine into a more consistent, flavorful experience. Furthermore, investing in routine maintenance and quality gear means every shot is an opportunity to enjoy cafe-quality espresso at home. Remember, the key is consistency and a willingness to experiment; with a bit of insider wisdom, you can unlock the full potential of your home espresso setup. Embrace these tips, and you’ll find that the path to great coffee is smoother, even in the busiest mornings. Happy brewing!