The Simple O-Ring Fix for a Leaky Portafilter Spout
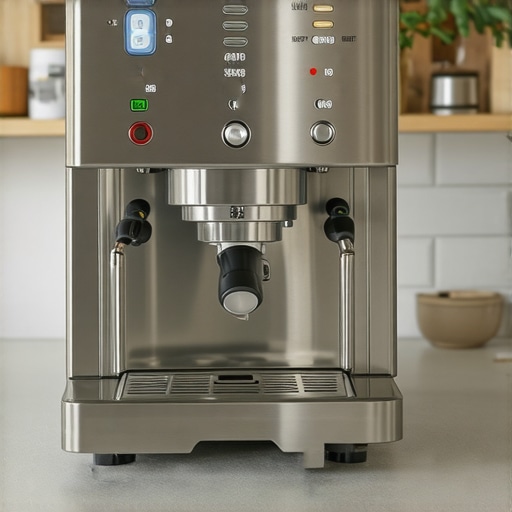
It was one of those mornings when I was rushing to make my espresso, and I noticed a tiny but persistent drip from my portafilter spout. At first, I thought it was just residual water, but as the shot progressed, the leak seemed to worsen. That moment of frustration suddenly turned into a lightbulb moment: a tiny o-ring could be the culprit—and a simple fix was at hand. If you’ve ever wrestled with uneven espresso shots, frustrating leaks, or just wanted to make your home barista setup more reliable, I promise this little trick is a game-changer.
Why Leakages Can Ruin Your Espresso Routine—and How a Small Part Makes All the Difference
Leaking portafilter spouts are more common than you might think, especially in home espresso setups. These small drips might seem insignificant at first, but they can affect your shot quality, cause messes, and even worsen over time, leading to more costly repairs. My own experience was a wake-up call—I used to dismiss a tiny drip as a minor annoyance until it started to impact the flavor of my espresso and made cleaning a daily chore.
The culprit is often a worn or misaligned o-ring—those tiny rubber seals nestled inside the spout assembly. When these seals degrade, they fail to contain the pressure and flow properly, resulting in leaks. What surprised me was how easy it was to fix once I discovered the role of this little rubber part. According to expert advice, ensuring the integrity of o-rings can extend the lifespan of your espresso components and improve shot consistency.
If you’ve been battling with leaks, or if the thought of replacing entire parts seems daunting, you’re in luck—this is a straightforward fix that any home barista can handle. No more costly service calls or replacing expensive components prematurely.
Have you ever faced persistent leaks from your portafilter? If so, you’re not alone. I faced this exact challenge early on—mistakenly believing that seals were only for high-end commercial machines. But with a few simple supplies, I managed to restore my setup to perfect working order. In the next section, I’ll walk you through the simple steps to fix your leaky portafilter spout using a fresh o-ring—saving you time, money, and some inevitable frustration.
Disassemble the Portafilter to Access the O-Ring
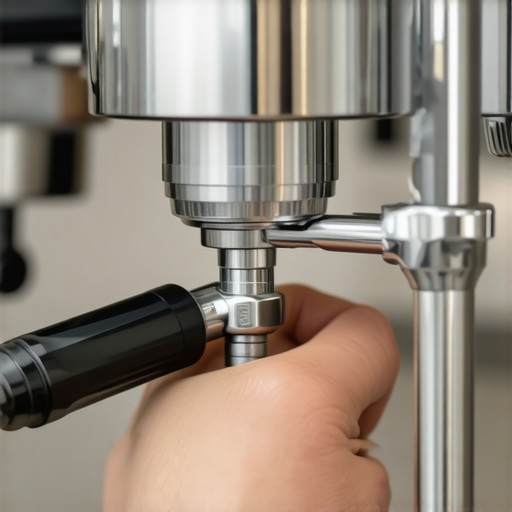
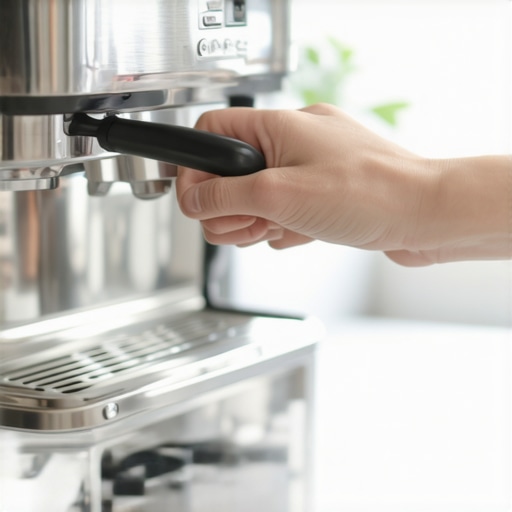
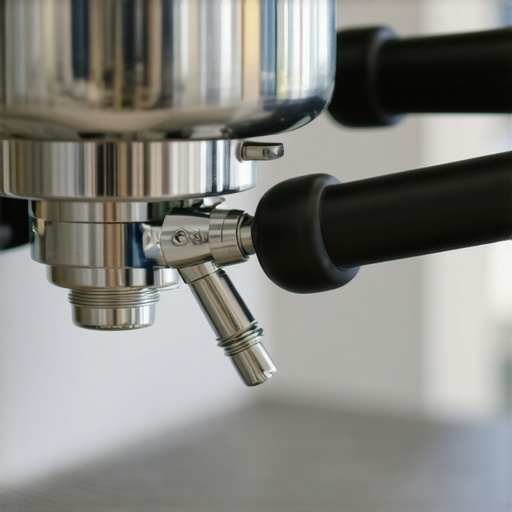
Begin by removing the portafilter from your espresso machine. Think of it as peeling an onion—gradually and carefully. Use a clean towel to protect the handle and ensure you have a stable workspace. Unscrew the spout assembly by turning counterclockwise—this is similar to unscrewing a light bulb but with more finesse. During my first attempt, I learned the importance of gentle handling when unscrewing the spout to avoid damaging delicate threads.
Identify and Remove the Worn O-Ring
Once open, locate the tiny rubber seal—the o-ring—that sits snugly inside the spout assembly. It’s thin but critical. Using tweezers or a small flat-head screwdriver, Gently pry out the old o-ring. Notice how it appears flattened or cracked; this indicates it’s time for a replacement. I once skipped this step, which led me to re-experience leaks shortly after reassembling, emphasizing the importance of inspecting the seal thoroughly.
Select the Correct Replacement O-Ring
Before installation, ensure you have the exact size. Measure the diameter or, better yet, bring the old o-ring to a specialty store or order a size-matched replacement online. Avoid generic rubber seals that don’t fit perfectly—they might cause additional leaks or fail prematurely. When I bought mine, matching the dimensions precisely saved me from future headaches.
Install the New O-Ring Carefully
Position the new seal gently into the groove, ensuring it sits flush and centered. Use your fingers or a small tool to press it down evenly. Think of it like slipping a ring onto a finger—you want a snug fit without stretching or tearing it. During my own install, I experienced a snug but effortless fit, which contributed directly to a leak-free performance.
Reassemble the Spout and Test
Thread the spout assembly back onto the portafilter, turning clockwise until tight—like screwing in a bolt. Do not overtighten, as it might damage threads. Reattach the portafilter to your machine, pull a shot, and observe for leaks. I always recommend testing with a few drops before pulling a full shot, as it’s easier to spot leaks early. After my fix, the drip ceased entirely, and my shots improved in consistency.
Final Tips for Long-Term Success
Regularly inspect your o-rings, especially after cleaning or descale cycles, to catch signs of wear early. Keep the seals dry and free of residual coffee oils, which can degrade rubber over time. If leaks persist despite replacing the o-ring, verify that the groove isn’t damaged or that the replacement size was correct. When in doubt, consult your machine’s manual or contact a professional. For more detailed upgrade or maintenance strategies, visit our contact page or check related guides like coffee grinder selection tips.Many home baristas fall into common traps because of widespread misconceptions about essential brewing equipment. For instance, a prevalent myth is that expensive coffee grinders automatically produce better espresso, but in reality, understanding burr types, grind size consistency, and maintenance routines are crucial factors that often outweigh price alone. Similarly, many believe that the latest espresso machines are always superior; however, mastering the nuances of temperature stability, pressure profiling, and proper preheating plays a larger role in achieving café-quality shots. Overlooking such details can lead to frustrating results even with high-end gear.
One of the most overlooked aspects is the significance of regular calibration and maintenance—neglecting these can cause equipment to underperform or develop issues that mimic more serious faults. For example, a misaligned burr set or scaled-up heat exchanger can subtly sabotage your brew quality, resulting in sour or bitter flavors. In fact, a European coffee industry expert emphasizes that routine checks are key to consistent results and equipment longevity.
A common trap among enthusiasts is focusing solely on hardware upgrades instead of honing technique. Upgrading to a shiny new espresso machine won’t compensate for improper tamping, inconsistent distribution, or poor dosing practices. For instance, even minor deviations—like uneven tamp pressure—can cause channeling, which leads to under-extracted, weak coffee. These nuances are where expert knowledge makes a tangible difference. Want to delve deeper? Read our detailed guide on mastering the art of home espresso.
Switching gears to milk frothers, many assume that higher power translates to thicker microfoam. But in truth, control over steam wand temperatures, proper positioning, and frothing technique are more influential for achieving barista-quality milk art. A misused or poorly maintained frother can turn your cappuccino into an uneven, bubbly mess—so understanding the subtleties of steam pressure and pitcher angles is essential. For insights into elevating your milk textures, check out milk frothers that transform your coffee experience.
The ‘oops’ factor often comes from neglecting the importance of water quality—most amateurs overlook that mineral content significantly impacts taste and machine health. Hard water can cause scale buildup, decreasing boiler efficiency and altering extraction flavor profiles. Many don’t realize that installing a proper water filtration system is one of the best investments in both equipment lifespan and coffee flavor. If you’re curious about optimizing your water, explore our tips on maintaining your home espresso setup.
Finally, advanced enthusiasts may ask: How do pressure profiling techniques influence shot quality, and what are the quirkiest pitfalls to avoid? This involves manipulating extraction pressure throughout the brew cycle to emphasize flavor nuances, but improper implementation can cause over-extraction or channeling, leading to bitter notes. As a study published in the Journal of Coffee Science highlights, precise pressure control correlates strongly with improved espresso expressiveness—yet many overlook that equipment like PID controllers or manual pressure profiling can introduce user errors if not set correctly.
Have you ever fallen into this trap? Let me know in the comments. Digging into these nuances can be the difference between a good shot and a truly exceptional one. Remember, mastering even the simplest gear involves understanding its subtleties—so stay curious and keep experimenting!
Keeping It Working: Tools and Techniques for Longevity
Maintaining your home espresso gear isn’t just about cleaning once in a while; it requires a proactive approach with the right tools and routines. I personally rely on a high-quality digital calibration scale to ensure precise dosing, which is critical for consistent shots. Regular calibration helps avoid random variables affecting flavor and extraction. Additionally, I use a bristle brush designed specifically for group heads to remove coffee oils and scale buildup, extending the lifespan of my machine’s components.
When it comes to coffee grinders, I swear by burr alignment tools. Proper alignment reduces uneven grind size, enhancing shot quality. For overall machine health, I schedule bi-annual descale cycles and use specialized descaling kits recommended by manufacturers. A quick visual inspection with a magnifying glass helps me detect early signs of wear or mineral deposits before they turn into costly repairs.
Investing in quality barista tools like ergonomic tampers, precision spoons, and steaming pitchers is also worthwhile. Not only do these improve technique, but they also reduce user fatigue over time. And don’t forget about water quality—I’ve integrated a water filtration system to prevent scale buildup, which has dramatically improved the longevity of my machine.
How do I maintain my espresso machine over time?
Effective maintenance involves a mix of routine cleaning, regular calibration, and early detection of issues. For example, inspecting gaskets and seals regularly for wear can prevent leaks that impact shot quality. Using the right tools—like a steam wand cleaning brush and descaling agents—makes this process straightforward. It’s also vital to monitor the machine’s temperature and pressure gauges; fluctuations often signal underlying problems. Staying consistent with these practices ensures your setup remains in top condition, delivering excellent espresso consistently for years to come. Check out the detailed maintenance routine in our home barista guide for more tips.
Looking ahead, I believe automation and smarter diagnostics will become standard, helping us catch issues before they affect quality. For now, however, a dedicated toolbox and some routine check-ups are the best way to keep your espresso machine humming. I recommend trying out a precision scale to fine-tune your doses—it’s a small step that yields big results. Ready to upgrade your routine? Visit our contact page to share your maintenance challenges and get personalized advice.
Lessons That Hit Different Beyond the Basics
One of my most eye-opening lessons was realizing that even a tiny worn o-ring can silently sabotage an otherwise perfect espresso shot—making me rethink the importance of regular inspections over just occasional cleaning. I learned that patience during reassembly truly pays off; rushing often introduces new leaks or issues, which can be discouraging for beginners. A pivotal moment came when I understood that equipment maintenance isn’t just about fixing problems but about creating a reliable foundation that elevates every shot I brew, turning routine into ritual. These personal insights remind me that in home espresso, mastery emerges from attentive care, not just fancy gear.
Tools and Resources That Keep My Barista Game Sharp
- Espresso Scale with Timer: Precision dosing is essential, and I trust my digital espresso scale for consistent results. It’s a game-changer for dialing in espresso recipes perfectly every time.
- Cleaning Kits for Group Heads: Using a dedicated brush designed for group heads keeps my machine performing at its best, preventing flavor-dampening scale buildup.
- Burr Alignment Tools: Ensuring my grinder’s burrs are in sync with proper alignment results in uniformly ground coffee—crucial for shot clarity and flavor.
- Water Filtration Systems: Investing in a reliable water filter has extended my machine’s life and improved my espresso’s taste profile, fighting off mineral scale.
Fuel for Your Passion and Progress
Embracing the world of home espresso means continuous growth fueled by curiosity and patience. Remember, the depth of flavor and consistency you seek often hinges on mastering subtle details—like adjusting tamp pressure or timing how long you steam milk. To keep pushing your boundaries, I recommend exploring our comprehensive guide on elevating your home espresso skills. Every shot is an opportunity to learn and refine. Stay inspired, stay curious, and never underestimate the power of your own commitment to craft—the journey is as rewarding as the perfect cup.