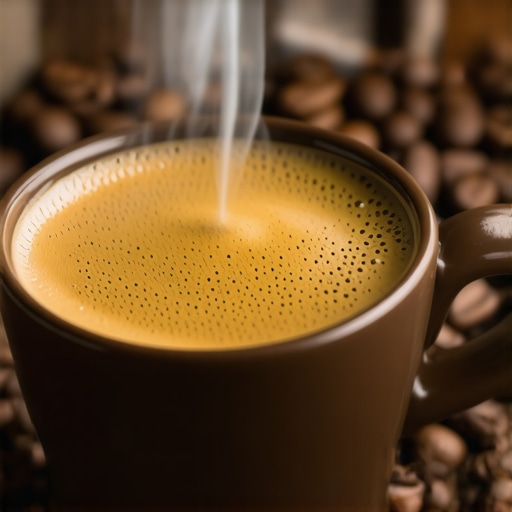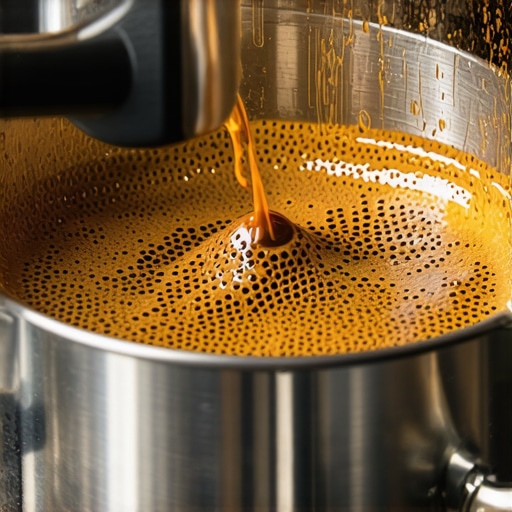
Why your espresso shot is channeling on the left side only
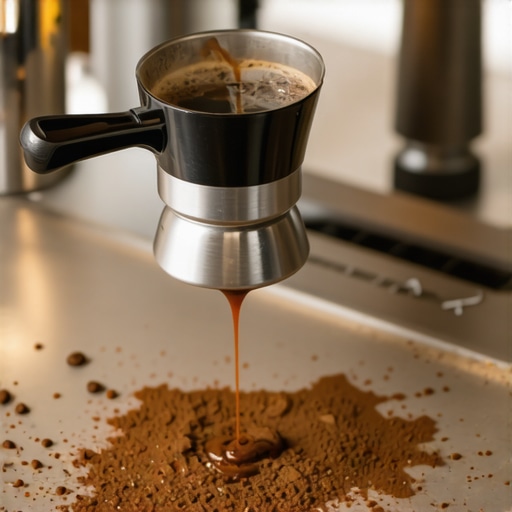
I remember the first time I pulled an espresso shot and saw that stubborn, uneven stream shooting out just on the left side of my portafilter. It was like watching a black river flood only one bank of a tiny, unbalanced creek. Frustrated, I wondered if I’d somehow ruined my grinder—or worse, my machine. Turns out, I’d overlooked a small, but crucial detail that many home baristas miss: the alignment and tamping technique can be the culprits behind channeling. And that left-only flow? It’s a clear sign something’s out of whack.
Getting to the Root of Channeling on One Side
Before we dive into fixes, I want to share a quick truth: uneven extraction isn’t just a visual annoyance. It directly impacts your coffee’s flavor, strength, and consistency. Think of it like a race car—you want all tires properly aligned for optimal performance, right? Similarly, your espresso machine and grind setup need to be perfectly tuned.
In my early days, I made a mistake that many beginners do—pressing the tamper too hard and unevenly, which created a mound on one side instead of an even bed of coffee. This uneven bed made water prefer the path of least resistance, escaping through the thinner side—highlighting a classic case of channeling. I discovered that ensuring uniform tamping and proper distribution of coffee grounds can make a world of difference.
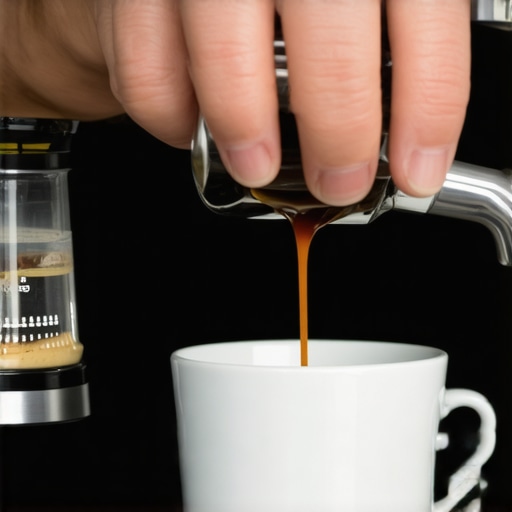
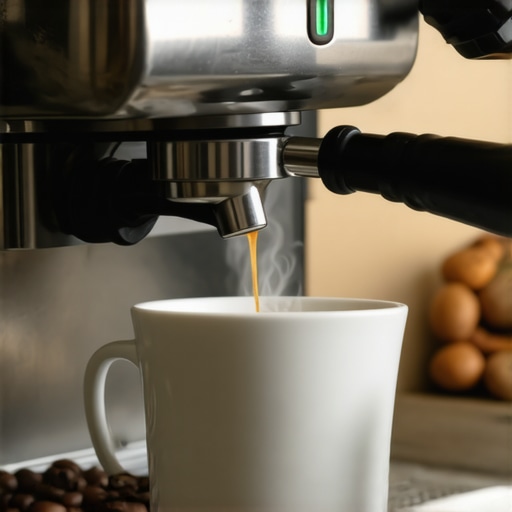
So, how do you identify if your shot is channeling on one side? The tell-tale sign is a stream that flows unevenly, often appearing as a split or a sluggish flow that favors one side. If you notice this, it’s time to check your technique and equipment setup.
Now, are you someone who has faced the frustration of a super uneven pour yet struggles to pinpoint why? Don’t worry—we’re about to tackle the most common causes and solutions to set things right. And if you’re still unsure whether your machine’s alignment is true, I recommend exploring some simple methods to verify your setup, like the [simple trick for grinder burr alignment](https://espressotechguide.com/the-chalk-trick-for-checking-grinder-burr-alignment) which can reveal hidden issues affecting your shots.
Stay tuned; we’re going to dive into practical steps to eliminate channeling and achieve that perfect, balanced extraction you’ve been craving.
Check Your Grind Consistency
Start by examining your coffee grind. An uneven grind size can cause water to tunnel through one side. Use a high-quality grinder with consistent burrs—if you’re unsure, review how to select the perfect coffee grinder. Properly calibrated burrs produce uniform grounds, preventing water from favoring one side. I once used a old, uneven burr grinder and watched my shot flow unevenly; after replacing the burrs and calibrating, my streams became smooth and balanced.
Distribute Coffee Grounds Evenly
Before tamping, ensure the coffee is spread evenly across the basket. Tap the portafilter gently or use a distribution tool—like the simple cork trick—to level the surface. Inconsistent distribution leads to thin spots where water escapes preferentially. I once manually leveled grounds with a small spoon, which improved my extraction significantly.
Apply Firm, Uniform Tamping
Use a consistent, level tamp—apply about 30 pounds of pressure—avoiding excessive force that can cause unevenness. Visualize tamping like stamping a pancake: firm, even, and centered. I learned this by practicing with my tamper on a scale, aiming for uniform pressure each time. Remember, uneven tamping creates channels for water, resulting in uneven streams.
Align and Level Your Equipment Properly
Position your machine on a flat surface to prevent tilting. If your machine has adjustable feet, level it meticulously—an off-kilter setup can amplify uneven extraction. For added precision, check tinfoil shim trick to fine-tune your grinder alignment. I once placed a small shim under my machine’s foot, which stopped the side-streaming problem entirely.
Perform Test Shots and Observe Stream Quality
Pull a test shot and analyze the flow. Watch for a steady, even stream without splitting or favoring one side. If the flow still prefers one side, revisit your grind and tamp. Remember, small adjustments can have a big impact. I recommend checking signs of channeling for visual confirmation.
Use Light Tamping and Fedora Shots to Fine-Tune
Light tamping reduces the pressure that causes channeling. Pull a lighter shot, then analyze the flow. Too fast or uneven? Slightly increase tamp pressure or adjust grind size. This iterative process helps you find the sweet spot where water flows uniformly. I often experimented, gradually increasing tamp pressure until my shot was perfectly balanced.
Implement Routine Maintenance and Calibration
Regularly clean your equipment and calibrate your grinder to prevent grind size drift. Dirty burrs or misaligned parts can creep into your routine, causing uneven extraction. Check cleaning tips and calibration procedures to keep your setup optimal. After a thorough cleaning and recalibration, my shots became consistently smooth and equal in flow.
Conclusion: Consistency is Key
Mastering these steps takes practice. Focus on small, incremental adjustments—grind, distribution, tamp, and equipment level—until your espresso flows evenly. With patience, your stubborn channeling on one side will become a thing of the past, unlocking the full flavor potential of your beans.
Many home baristas fall into common traps when it comes to espresso machines, milk frothers, and grinders, often based on misconceptions that hamper their brewing results. One widespread myth is that investing in the most expensive gear guarantees perfect coffee. While top-tier equipment can improve consistency, mastering the nuances—like grind size, tamping pressure, and milk steaming technique—is far more impactful. For example, many overlook the importance of grinder calibration; a high-quality grinder with misaligned burrs can produce uneven grounds, leading to channeling and uneven extraction, regardless of how fancy your espresso machine is. To truly perfect your home setup, it’s vital to understand these nuances rather than focusing solely on brand hype or price tags.
A common oops involves milk frothing—people often assume that any frother can produce silky, barista-quality microfoam. But the secret lies in the technique and the equipment’s steam wand quality. Cheap or poorly maintained frothers tend to create thick, bubbly foam, making latte art and smooth texture difficult. Properly cleaned and calibrated milk steam wands are essential; neglecting this can result in inconsistent microfoam and even harm your machine over time.
Advanced enthusiasts sometimes believe that automatic milk frothers eliminate the need for skill. However, they often produce inconsistent results because they lack the control needed for perfect microfoam. The true advantage comes from learning to steam milk manually, adjusting steam pressure, and technique—these are the skills that elevate your drinks beyond basic. For insights into creating perfect microfoam, I recommend exploring this detailed guide.
Another misconception relates to espresso grinders. Many think that bigger burrs automatically mean better flavor extraction. In reality, the quality, sharpening, and calibration of the burrs matter more. An overrated grinder with dull or misaligned burrs can introduce uneven particle sizes, causing water to find the path of least resistance—leading to channeling and uneven pulls. Regular calibration and maintenance are often neglected, but these simple steps can vastly improve shot consistency. Check out this guide to see how proper grinder selection and upkeep make a difference.
On the topic of barista gear, many assume that investing in several tools is necessary for professional results. But often, the problem is not the gear itself but how it’s used. For instance, a high-end tamper won’t help if you don’t apply even pressure or distribute grounds properly beforehand. Skillful execution beats equipment gimmicks every time.
Are Your Equipment Choices Harming Your Coffee or Helping It?
Let’s be honest—it’s easy to chase after the latest must-have gadget instead of focusing on fundamental techniques. Remember, the equipment is only as good as the hands behind it. Regular maintenance, calibration, and knowledge of proper use are the real keys. Neglecting these can turn your investment into a burden rather than a boon. For holistic tips on optimizing your setup, I suggest revisiting mastering the art of home espresso.
Have you ever fallen into this trap? Let me know in the comments.Maintaining your espresso setup is essential for long-term success and consistent quality. Regularly calibrating your grinder ensures particle size remains uniform, preventing channeling and uneven extraction. I personally use a digital caliper to measure burr alignment every few months, which is a small step that pays off with noticeably better shots. Additionally, deep cleaning your machine and accessories, such as descaling the boiler and cleaning portafilters thoroughly, prevents buildup that can impair performance. For grinder calibration, check out this detailed calibration guide, which has saved me countless frustrating pulls.
How do I maintain my equipment over time?The Hardest Lesson I Learned About Milk Frothers and Home Espresso
One of the most surprising truths I stumbled upon was that even high-end equipment can’t compensate for inconsistencies in technique. I once believed that investing in a premium milk frother would instantly produce silky microfoam, but I overlooked the importance of proper steaming technique and cleaning. Real progress came when I focused on routine maintenance and mastering my own touch — transforming my basic frother into a microfoam maker. Consistency in pouring and steaming often outshines fancy gear.
Why Upgrading Your Coffee Gear Isn’t Always the Answer
Many enthusiasts fall into the trap of constantly chasing the latest espresso machine or grinder, thinking it will improve their results overnight. I learned that understanding how my grinder’s calibration and tamping technique influence shot quality made a much bigger difference than upgrades. Sometimes, it’s about calibrating your grinder or practicing even tamping, rather than buying new gear. The real secret lies in mastering the tools you already possess.
The Hidden Cost of Neglecting Routine Maintenance
Overlooking regular cleaning and calibration quickly leads to inconsistent extraction, channeling, and flavor loss. I used to neglect descaling my espresso machine, which caused buildup and uneven pressure, leading to those stubborn uneven streams. Now, I set aside time every month for deep cleaning, and my shots flow more smoothly. It’s a small habit with a big payoff, and it extends the lifespan of your beloved equipment. For practical tips, check out this cleaning guide.
How Combining Technique and Equipment Transforms Your Coffee
The most valuable lesson I learned is that technique and gear are two sides of the same coin. Adjusting grind size, distribution, tamping, and machine leveling, alongside using quality equipment, creates harmony that results in perfect shots. For instance, a properly calibrated grinder paired with even tamping minimizes channeling and uneven streams. Don’t underestimate the power of small tweaks — the difference between a good shot and a showstopper often comes down to attention to detail. Want more tailored advice? Explore this resource.