The Best Way to Purge Your Steam Wand Without Getting Burned
It was 6:45 AM, and I was still half-asleep when I reached for the lever. Sss-POP! A jet of boiling water and pressurized steam shot straight into the palm of my hand because I thought a thin, single-layer kitchen towel was good enough to catch the purge. I dropped the rag, the milk hissed onto the counter, and I spent the next ten minutes with my hand under cold water instead of enjoying my latte. It was a classic rookie mistake, and honestly, it was one of many I made while mastering the art of home espresso. Today, I want to make sure you never have to do the ‘hot water hop’ across your kitchen floor. We are going to fix your technique so you can clear that wand with confidence and zero pain.
Stop Treating Your Steam Wand Like a Loaded Weapon
Purging is the unsung hero of great microfoam, but if you are afraid of your machine, you are never going to get that silky texture we all crave. We purge to clear out the condensation—the ‘dead water’—so only dry steam hits your milk pitcher. If you skip it, you get watery lattes. If you do it wrong, you end up with a nasty scald. I used to think I could just ‘quick-flick’ the valve and hope for the best, but that is how you end up with huge bubbles in your milk. To do this right, you need to understand that the steam is your tool, not your enemy.
Is a Little Steam Burn Really That Big of a Deal?
You might think it is just a splash of water, but the steam coming out of your boiler is often reaching temperatures well above the boiling point. According to the Burn Foundation, liquids at 140°F can cause a third-degree burn in just five seconds; espresso steam is significantly hotter than that. My early mistake was using a wet rag. Once a cloth is damp, it conducts heat instantly. If you are struggling with a steam wand that loses pressure or just feels erratic, you might be tempted to get your hands closer to ‘fix’ it. Don’t. Have you ever had that heart-stopping moment where the steam hissed just a bit too close to your fingers? We have all been there. The key is developing the 2-minute habit of proper cleaning and purging that keeps the hardware safe and your skin intact. In the next section, we are going to dive into the specific ‘shield and flick’ method I use every single morning.
Empty the Pipes Before You Froth
Think of your steam wand like a garden hose that has been sitting in the hot sun. When you first turn that tap, you aren’t getting a cool mist; you are getting a concentrated blast of scalding water that was trapped in the line. In the world of top-rated espresso machines, this is called ‘dead water’ or condensation. If you don’t clear this out, that half-ounce of water goes straight into your milk pitcher, diluting your latte and ruining any chance of achieving that velvet texture. I remember one morning I was in such a rush that I skipped the purge entirely. I plunged the wand into a fresh pitcher of oat milk, expecting creamy results. Instead, the trapped water caused the milk to ‘vomit’ out of the pitcher, splashing my white shirt and leaving me with a watery, sad excuse for a cappuccino. Since then, I have never skipped the ‘shield and flick.’
The Shield and Flick Technique
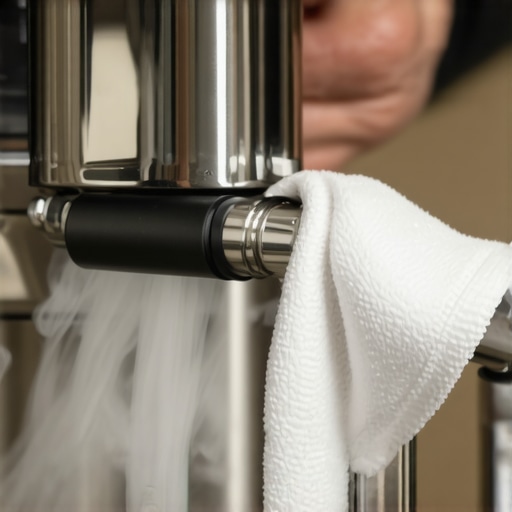
This is the specific movement that saved my hands and my kitchen walls. You want to wrap a thick, dedicated microfiber cloth—part of your essential barista gear—around the wand, forming a loose ‘tent’ or shield. Do not grip it tight; you want a pocket of air between the cloth and the metal. Point the wand toward the drip tray, and flick the steam valve open for exactly two seconds. You will hear a sharp thwack as the water hits the cloth, followed by a clean, dry hiss. That hiss is your signal that the line is clear. 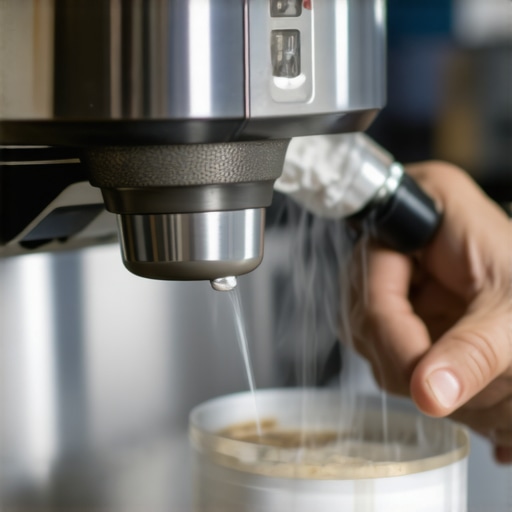
How to Keep Your Steam Pressure Consistent
If you notice that your steam wand only blows out weak air, you might be dealing with a partial blockage or a boiler recovery issue. Consistency is key. After you finish frothing, you must repeat the purge immediately. This prevents milk from being sucked back into the wand as it cools—a vacuum effect that is the leading cause of why steam tip holes keep clogging every single day. I once let a wand sit for just five minutes without a post-steam purge, and the milk ‘baked’ inside the tip so hard I had to use a needle to pick it out. It is a tedious job that you can avoid by simply blowing out the remnants for one second while the wand is still hot.
Don’t Let the Pressure Drop Mid-Steam
There is nothing more frustrating than getting your whirlpool started and then feeling the power fade away. If you find your steam wand loses pressure halfway through frothing, it is often a sign that you are starting your steam before the boiler has fully recovered from pulling the shot. On single-boiler machines, wait for the ‘steam ready’ light to stay solid. On heat exchangers, give it a 10-second rest. By timing your purge right before you submerge the tip, you ensure you are working with the maximum ‘dry’ steam available. This is especially vital when you are learning the secret to steaming alternative milks, which are much less forgiving than dairy and will collapse into a bubbly mess if the steam pressure fluctuates. Every movement should be deliberate: purge, wipe, froth, and purge again. It sounds like a lot, but once it becomes muscle memory, you’ll do it faster than you can grind your beans.Everyone tells you to keep that steam wand spotless, and they aren’t wrong. But here is the nuance most beginners miss: a soaking wet rag is your worst enemy. I see it all the time in home setups—a dripping wet dishcloth draped over the wand. Not only is this a recipe for the ‘hot water hop’ I mentioned earlier, but it also introduces excess moisture into the very environment you’re trying to keep dry. In my experience, a slightly damp microfiber is the sweet spot, but if it’s soaking, you’re just inviting a steam-burn-by-conduction.
Stop Wasting Your Pressure Before You Even Start
One common ‘oops’ factor I see with advanced home baristas is over-purging. Yes, you need to clear the lines, but if you’re working on a smaller machine like many top-rated espresso machines for home use, every second of steam you waste is pressure you won’t have for your froth. You want to be surgical. Two seconds, no more. If you purge until the steam is ‘super hot,’ you might find that your steam wand pressure cuts out right when you’re trying to integrate that foam. It’s a delicate balance between clearing the ‘dead water’ and preserving your boiler’s energy for the actual work. 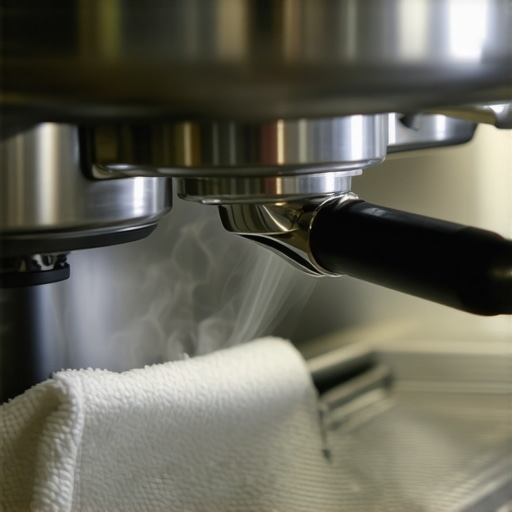
Is Your Water Too Soft for Your Boiler?
This is where we get into the nitty-gritty of maintenance that affects your steam quality. While we focus on the wand, the boiler is the heart of the operation. A study by the Specialty Coffee Association (SCA) on water standards notes that even minor mineral buildup can act as an insulator, forcing your heating element to work twice as hard. If you’ve noticed the hidden reason your machine is taking forever to heat up, it’s likely scale acting like a thermal blanket. Conversely, water that is too soft can sometimes prevent your sensors from reading levels correctly, leading to erratic steam behavior.
Why Your ‘Clean’ Cloth Might Be Ruining Your Seal
Another common myth is that once the machine is ‘ready,’ you can just blast away. But have you ever noticed huge bubbles in your milk even after a perfect purge? This usually happens because of a micro-layer of milk proteins baked onto the inside of the tip. Even if the holes look clear to the naked eye, a slight restriction changes the steam’s velocity, turning your silky microfoam into a soapy mess. This is why the 2-minute habit of deep cleaning the tip with a dedicated tool is non-negotiable for anyone serious about latte art. Have you ever fallen into this trap of over-purging or using a soaked rag? Let me know in the comments. We’re all here to learn from those sticky, steam-filled mistakes. If you’re still struggling with your setup, choosing the best barista gear tailored to your specific machine can save you a lot of headache before you even pull your next shot.After you have mastered the daily purge, the real work begins under the hood. Most home baristas wait until they see a puddle on the counter before they suspect a problem, but by then, the damage is often done. If you notice your espresso machine is leaking steam from the top, you are likely dealing with a degraded O-ring or a vacuum breaker valve that has reached the end of its life. I personally keep a maintenance log taped to the inside of my cupboard because consistency is the only way to protect a multi-thousand-dollar investment.
Your Machine Heart Needs More Than Just a Rinse
Scale is the silent killer of even the top-rated espresso machines. It acts as an insulator, forcing your heating element to run longer and hotter to reach the same temperature. You need to learn how to tell if your machine boiler is accumulating lime scale before it clogs the tiny copper pathways. I remember my first descaling attempt; I followed a generic guide and was horrified when my next shot tasted like a bag of pennies. If your espresso tastes metallic after descaling, it usually means the acid has stripped the protective patina from the copper or you haven’t flushed the boiler enough times. According to the La Marzocco Home preventive maintenance schedule, specific components like vacuum breaker valves and pressure stats are ‘wear items’ that require inspection every 12 months to prevent catastrophic failures. 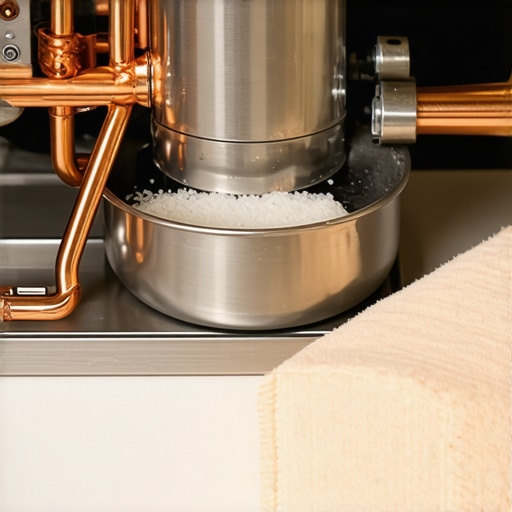
How Do I Keep My Gear Running Like New for Decades?
The secret lies in your water and your gasket. If you find that your group head gasket is leaking after just one month, you are either over-tightening your portafilter or using a low-quality silicone that cannot handle the heat cycles. Invest in high-quality barista gear, specifically food-grade silicone gaskets which tend to stay soft and pliable much longer than traditional rubber.
Stop Blaming Your Beans and Check Your Burr Alignment
We spend hundreds on beans, yet many people ignore the health of their grinder. When you how to select the perfect coffee grinder for your brew, you are buying the burr geometry, not just the motor. Over time, those burrs can drift. I recommend you use the chalk trick for checking grinder burr alignment at least once a year. It is a simple, five-minute process that ensures your grind distribution remains uniform. Also, please, for the love of your equipment, remember why you should never use rice to clean your high-end grinder. The starch and hardness of uncooked rice can actually put enough stress on the motor to blow a capacitor or dull the burr edges. I predict that in the next few years, we will see ‘smart’ burrs with built-in sensors that alert your phone the second they lose alignment or need sharpening. Until then, the burden of maintenance is on us. I strongly encourage you to try the chalk trick on your grinder tomorrow morning; it is the single most effective way to improve your shots without spending a dime.
Lessons My Coffee Counter Taught Me the Hard Way
I used to think a shiny machine meant great coffee, but I quickly learned that mastering the art of home espresso is 90% maintenance and 10% equipment. One major lightbulb moment was realizing that the move for better espresso without buying a new machine often starts with something as simple as cleaning your shower screen or checking your gasket. I also learned that you should never chase a ‘perfect’ shot every single morning; instead, focus on making your workflow consistent. If your routine is stable, your coffee will follow. Finally, stop being afraid of the steam valve. It is a tool for texture, not a weapon of destruction, as long as you respect the purge. #IMAGE_PLACEHOLDER_E#
The Essential Kit for Every Serious Barista
When you are choosing the best barista gear for coffee enthusiasts, focus on the tools that impact your daily physics. I personally trust a set of heavy-duty microfiber cloths that stay exclusively at my coffee station—never mix them with kitchen grease. I also highly recommend investing in a food-grade silicone grease for your group head; it makes a world of difference when your group head gasket is leaking or feeling stiff. If you are just starting out and find the machine intimidating, exploring milk frothers that transform your coffee experience can be a great low-stakes way to practice your milk integration before moving to the high-pressure wand. For those ready to level up, knowing how to select the perfect coffee grinder for your brew is the single best investment you can make for flavor clarity.
Step Into Your New Morning Ritual
The journey of home espresso is one of patience and small, satisfying wins. Every time you purge that wand correctly or align your burrs using the chalk trick, you are building the muscle memory that separates the hobbyists from the pros. Don’t be discouraged by a messy counter or a shot that runs a little fast; every ‘bad’ latte is just data for your next great one. Keep brewing, keep cleaning, and most importantly, keep enjoying the ritual that starts your day. What is the one maintenance task you always find yourself skipping until it’s too late? Let me know in the comments below!