The Best Way to Clean a Wood-Handled Portafilter
It happened right after I’d finally dialed in a bag of light roast that had been giving me fits. I was feeling like a pro, looking at my gorgeous setup, when I noticed it. My walnut portafilter handle—the one I spent extra on because it looked so ‘Instagrammable’—was starting to crack at the seam. It was a heart-sinking moment. I had been so focused on mastering the art of home espresso that I completely ignored the basic maintenance of my most tactile tool. I was throwing the whole thing into a bowl of hot water and detergent every night. Rookie move. Wood and soaking are mortal enemies, and I was basically drowning my investment.
Why Your Cleaning Routine is Killing Your Walnut Handle
I see it all the time in the home barista community: someone buys a beautiful top-rated espresso machine for coffee lovers in 2025, pairs it with a custom wood handle, and then treats it like a piece of industrial plumbing. If you keep soaking that wood, the fibers will expand, the finish will strip, and you’ll end up with a splintery mess that looks more like a piece of driftwood than a premium tool. The metal part of your portafilter needs chemical de-greasing to remove those rancid oils, but the handle? That needs a spa day, not a chemical bath. I learned this the hard way when my first olive wood handle literally snapped off in my hand while I was trying to how to check if your portafilter gasket is actually sealed. It was embarrassing, messy, and totally avoidable. According to the USDA Forest Products Laboratory, wood is hygroscopic, meaning it constantly exchanges moisture with its environment, and rapid saturation leads to internal stresses that no amount of wax can fix later.
Won’t my espresso taste like old oils if I’m too gentle?
This is the biggest fear I hear from my fellow coffee nerds. You want that basket and spouts to be surgically clean, and you should. But you have to learn the ‘separation of gear’ when it comes to your routine. You can deep clean the metal without ever letting a drop of detergent touch the grain. Have you ever noticed your handle feeling ‘gritty’ or looking dull after a cleaning session? If so, you’re already halfway to a crack. Tell me, have you ever accidentally dunked your expensive wood gear into the sink, or are you just now realizing why it’s looking so gray?
Mastering the Two-Zone Cleaning Method
To keep things pristine, you need to think of your portafilter as two distinct tools. The stainless steel head is a high-heat, high-pressure component that handles the danger of leaving old coffee oils in your portafilter spouts, while the handle is a delicate piece of furniture. You wouldn’t wash your dining table in the dishwasher, right? The same logic applies here. You need to start by protecting the wood whenever possible, especially if you’re about to do a deep soak of the metal head. If it’s starting to feel wobbly, you might need the simple shim fix for a loose portafilter handle once you get it back together, but for now, keep the wood dry while the metal gets the scrub. Let’s look at the actual steps to keep that wood gleaming.
Stop Soaking the Whole Assembly
Think of your portafilter as a dual-component tool. The stainless steel head is like a car engine; it handles the heat and the grease and needs heavy-duty cleaners. The walnut handle is the leather interior; you wouldn’t spray degreaser on your seats. When you are choosing the best barista gear for coffee enthusiasts, you have to commit to this manual separation. I once left my entire portafilter submerged in a tub of hot water and Puly Caff while I went to watch a movie. When I came back, the walnut had turned a ghostly grey and felt like sandpaper. It was a $75 mistake I don’t want you to repeat. When you are first mastering the art of home espresso, it is easy to forget that the ritual includes maintenance as much as it does puck prep.
Take the Handle Off Before the Deep Clean
Most modern portafilters are threaded. Grab a rubber grip or a dry towel and unscrew the wood from the metal. If it feels stuck, don’t force it with a wrench—you’ll mar the finish. Instead, use the residual heat from the machine to slightly expand the metal, then twist. Once they are apart, your metal head is ready for the heavy lifting. This is the only way to ensure you aren’t leaving residue that explains why your espresso shot tastes like cardboard because of old oils. 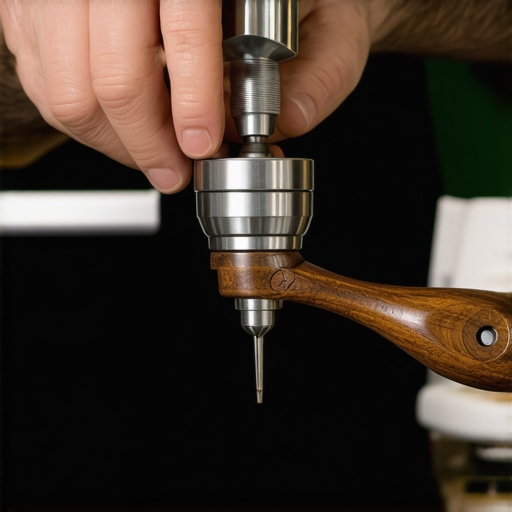
Use Chemicals Only Where It Counts
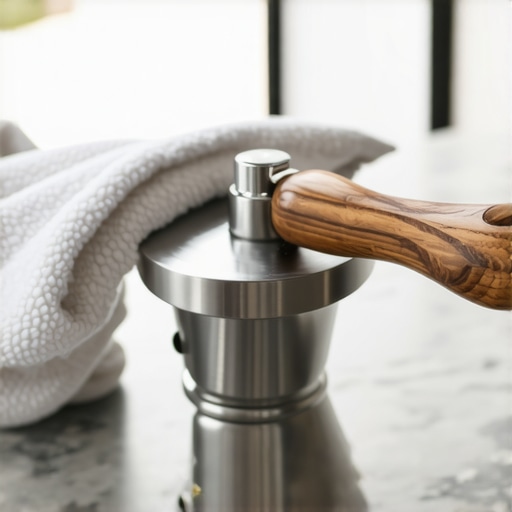
With the wood safely set aside on a dry towel, drop the metal head and the basket into a solution of hot water and espresso machine cleaner. This removes the polymerized oils that cause bitterness. While that’s soaking, take a damp microfiber cloth and wipe down the walnut. No soap, just water. If you notice a bit of coffee spray near the metal bolster, a soft-bristled toothbrush can flick it away without scratching the grain. Just like you might learn the best way to clean a grinder without taking it apart, keeping water usage minimal on the wood is the key to longevity.
Feed the Wood with a Food-Safe Conditioner
Wood needs hydration, but not from the tap. Once every month, or whenever the walnut starts looking dull, apply a thin layer of food-grade mineral oil or a beeswax blend. Rub it in with your fingers—the warmth helps it penetrate—and let it sit for twenty minutes before buffing it off with a clean cloth. This creates a hydrophobic barrier. If you’ve already noticed a slight wiggle after reassembling, you might need the simple shim fix for a loose portafilter handle to get that rock-solid feel back. This routine keeps your gear looking like it belongs on the list of top-rated espresso machines for coffee lovers in 2025 rather than in a scrap heap.
Stop Leaving Your Wood Handle Locked in the Group Head
Most guides tell you that for maximum thermal stability, your portafilter must live inside the group head. While this is true for the stainless steel components, it is a slow death sentence for premium wood. When you are choosing the best barista gear for coffee enthusiasts, you are often buying a marriage of two very different materials. Keeping a walnut handle subjected to 200°F dry heat for ten hours a day causes the lignins in the wood to become brittle. I’ve found that the best results come from locking the metal head in to preheat, but leaving the wooden handle resting on the drip tray or a side mat. This preserves the internal structure of the wood while ensuring your shot temperature stays consistent. If you find your shots are still off, it might be why your espresso tastes burnt even with light roast beans, rather than a thermal issue with your handle.
The Rancid Oil Trap You Need to Avoid
A common mistake I see among intermediate home baristas is reaching into the kitchen pantry to ‘oil’ their wood handles with olive or vegetable oil. This is a massive ‘oops’ factor. These organic oils will eventually go rancid, creating a sticky, foul-smelling residue that can actually migrate toward the basket and ruin your flavor profile. Always stick to food-grade mineral oil or specialized butcher block conditioners. This level of detail is truly the move for better espresso without buying a new machine because it preserves the tactile experience of your workflow. According to a study published in the Journal of Wood Science, long-term thermal exposure at typical espresso machine idling temperatures can lead to the thermal degradation of hemicellulose, which is what gives your walnut its structural integrity and flexible strength. 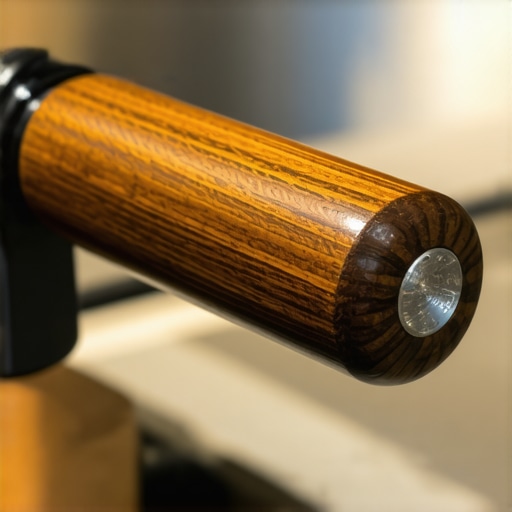
Why does the wood grain feel rough even after a fresh polish?
This is usually a result of ‘grain raise.’ If you’ve previously let the wood get too wet or used a water-based cleaner, the tiny fibers of the walnut stand up and then harden. To fix this, you don’t need more oil; you need a very high-grit sandpaper (around 600 to 800 grit) to lightly knock those fibers down before your next conditioning session. While you are at it, don’t forget to check your machine’s mechanical health; learning how to properly lubricate your E61 group head cam is just as important as maintaining your handle. Once you’ve smoothed the grain, apply your conditioner, and you’ll get that ‘glass-like’ finish back. If the handle still feels unstable after all this care, you may simply need to apply the simple shim fix for a loose portafilter handle to bridge the gap between the metal threads and the wood. Have you ever fallen into this trap of over-cleaning or over-heating your wood gear? Let me know in the comments.
Keep the Guts of Your Machine Running Like New
Beyond the aesthetics of walnut handles, the real longevity of your setup lives inside the boiler and group head. I’ve found that the biggest threat to a consistent shot isn’t just a dirty handle, but the silent buildup of calcium. If you start noticing your warm-up times getting longer, you need to know how to tell if your machine boiler is accumulating lime scale before it chokes your flow rate entirely. I make it a habit to pull my shower screen every Sunday morning. It sounds like overkill, but it takes thirty seconds and prevents that bitter, swampy buildup that ruins a delicate light roast. If yours hasn’t been off in months, be careful not to torque the screw too hard; I actually had to learn the trick to removing a stuck shower screen without stripping the screw after I nearly rounded mine off with a cheap screwdriver.
The Maintenance Tools That Actually Earn Their Counter Space
When I was first mastering the art of home espresso, I bought every gadget in the catalog. Now, my maintenance kit is lean and functional. I swear by a dedicated group head brush with a steam deflector—it saves my knuckles from burns while I’m scrubbing the gasket. Speaking of gaskets, the La Marzocco Service Manual suggests replacing your group head seal every six months to a year, depending on use, to ensure a perfect 9-bar seal. Ignoring this is why you’ll eventually see why your espresso machine steam is wet and spluttery or leaking from the sides. I also keep a small bottle of food-grade lubricant in my drawer for the lever pins. It’s these tiny, five-minute tasks that separate a machine that lasts five years from one that lasts twenty. 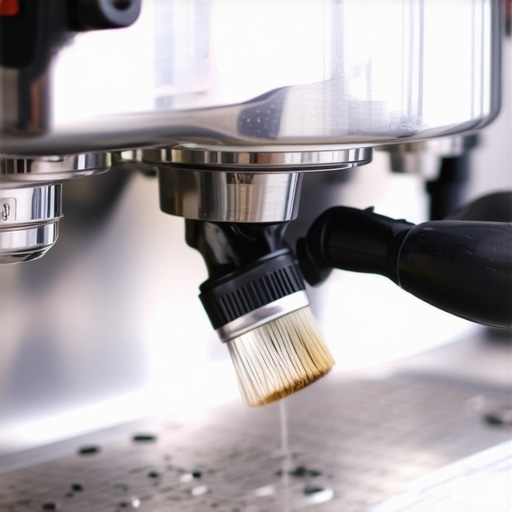
How do I keep my gear running for the next decade?
The secret is water management. You can have the most top-rated espresso machines for coffee lovers in 2025, but if you feed them hard tap water, they are on a countdown to failure. I use a BWT pouch in my reservoir, but you have to stay on top of the schedule. If you neglect the swap, you’ll be searching for the fix for a clogged water filter in your reservoir while your pump struggles to prime. I predict we’re going to see a shift toward even more modular machines that allow us to swap out individual heating elements and scales without a degree in electrical engineering. As home gear gets more expensive, the ‘right to repair’ movement is hitting the coffee world hard, and I’m here for it.
Don’t Forget Your Grinder in the Cleaning Chaos
We talk a lot about the machine, but your burrs are the heart of the operation. When you finally how to select the perfect coffee grinder for your brew, you’re making a massive investment in flavor. I personally use a small handheld vacuum to clear the chute every single morning. It prevents that ‘first shot of the day’ from being 50% stale grounds from yesterday. If you haven’t done a deep clean in a while, I highly recommend trying the best way to clean a grinder without taking it apart using cleaning tablets to soak up the oils that stick to the burr teeth. My challenge to you this week: take five minutes to unscrew your shower screen or vacuum out your grinder chute. You’ll be shocked at the difference in clarity in your next cup.
Hard Lessons from My Cracked Walnut Failures
After years of trial and error, I’ve realized that the small habits are what define your success when mastering the art of home espresso. My biggest takeaway? Wood is a living material, even when it’s attached to a professional-grade machine. If you treat it like plastic, it will punish you. I learned that the hard way when I stopped checking the moisture levels in my kitchen. Another lightbulb moment was realizing that the ‘factory’ setting for maintenance is rarely enough; you have to adapt to your specific environment and water hardness. Finally, I’ve found that high-end barista gear doesn’t just need cleaning; it needs preservation. If you aren’t thinking about the long-term health of your gaskets and wood, you’re just renting your equipment from the repair shop.
#IMAGE_PLACE_HOLDER_E#
The Tool Kit That Actually Protects Your Investment
You don’t need a massive budget to keep your setup in showroom condition, but you do need the right essentials. I personally rely on a few key items that have saved me thousands in repairs. First, always have a dedicated food-safe wax—beeswax blends are my go-to for walnut because they don’t go rancid like kitchen oils. Second, invest in a high-quality water filtration system. Whether it’s a built-in softener or a drop-in pouch, this is the single best thing you can do for top-rated espresso machines for coffee lovers in 2025. I also keep a set of precision screwdrivers nearby; having the right size prevents you from needing the trick to removing a stuck shower screen without stripping the screw. Lastly, once you learn how to select the perfect coffee grinder for your brew, make sure you have a stiff-bristled brush to keep that chute clear of oils.
Your Path to a Lifetime of Perfect Extractions
The beauty of home espresso is that it’s a journey, not a destination. Every time you condition that walnut handle or deep-clean your group head, you’re investing in the quality of your next cup. Don’t be intimidated by the technical side of maintenance. Start small, stay consistent, and your gear will reward you with incredible shots for decades. From the precision of your puck prep to the texture you achieve with milk frothers that transform your coffee experience, every detail matters. When you take pride in your tools, it shows in the flavor of the coffee. Choosing the best barista gear for coffee enthusiasts is only the first step—keeping it pristine is where the true craft lies.
Have you ever found a crack in your wood gear too late, or are you just starting your maintenance routine? Let me know in the comments below!