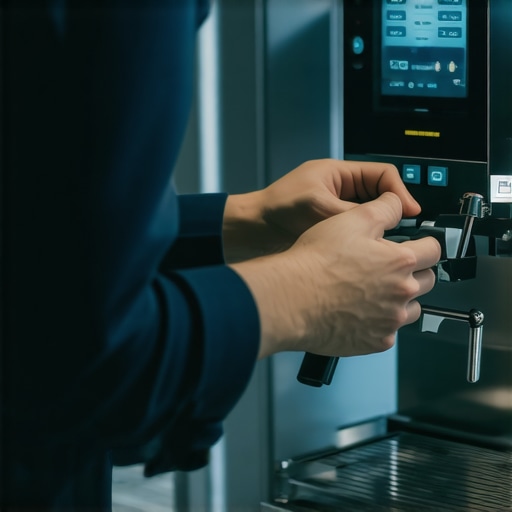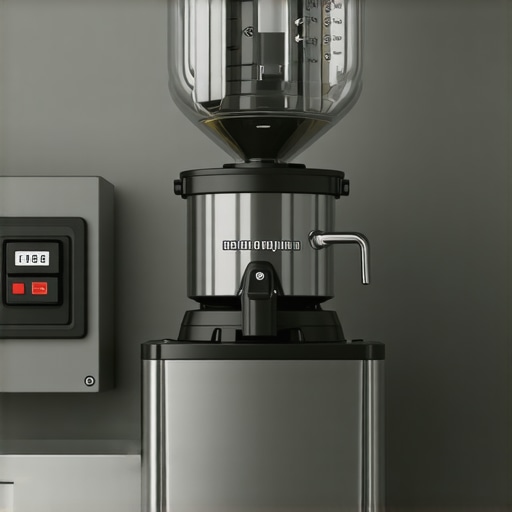
The reason your commercial grinder keeps tripping the breaker
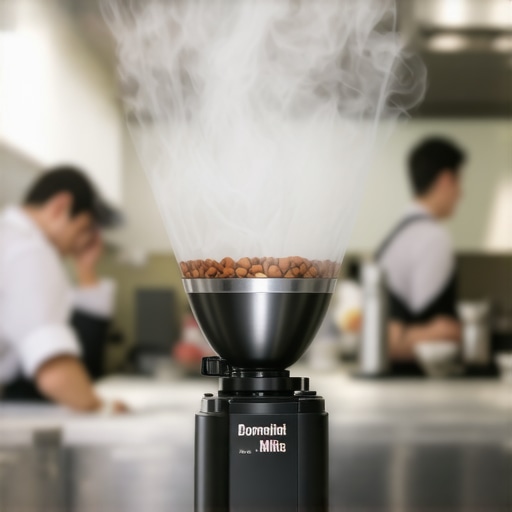
Picture this: it’s 7:00 AM on a Tuesday, the cafe is starting to fill with that first wave of caffeine-hungry regulars, and you’re feeling like a total pro. You go to dose that first double shot, flick the switch on your trusty commercial grinder, and—click. The lights flicker, the hum of the fridge dies, and your grinder sits there like a heavy, expensive paperweight. I’ve been there. In fact, I once spent twenty minutes frantically resetting a breaker in the back room of my shop, convinced that the universe was personally offended by my espresso technique. I made the classic rookie mistake of thinking a tripped breaker was just a random glitch. I kept flipping it back on until I smelled that unmistakable scent of ozone and burnt copper. Don’t be like 2018 me. Today, I’m going to walk you through exactly why your heavy-duty equipment is throwing a tantrum and how you can stop the cycle of power outages before you fry your expensive motor.
The Real Reason Your Shop Goes Dark
When we talk about choosing the best barista gear for coffee enthusiasts, we often focus on grind consistency or heat retention, but we rarely talk about the sheer electrical pull these beasts require. Most commercial grinders, especially those designed for high-volume shops, have a massive “inrush current.” This is a surge of electricity that happens the millisecond the motor starts spinning. If your grinder is already struggling with a jam or if your burrs are coated in sticky, dark roast oils, that motor has to work twice as hard to get moving. That extra effort draws more amps than your circuit can handle, and pop goes the breaker. According to the National Fire Protection Association (NFPA), circuit overloads are a leading cause of electrical fires in commercial kitchens, so that annoying trip is actually a safety feature doing its job. Have you ever noticed your lights dimming right when you start a grind?
Does a Tripped Breaker Always Mean the Motor is Dying?
It’s easy to panic and assume you need to drop two grand on a new unit, but that’s rarely the case. Often, the issue is as simple as how to tell if your espresso grinder burrs are dull. Dull burrs don’t cut; they mash. This creates immense physical resistance, forcing the motor to pull more power just to keep the RPMs up. I once found that a single pebble hidden in a bag of specialty beans had wedged itself into the burr carrier, causing my grinder to trip the breaker every single time I turned it on. Before you call an electrician, check for physical obstructions and look into the move that saves your grinder from unnecessary wear, which is regular deep cleaning of the internal chute and burr chamber.
Why Sharing a Circuit is a Recipe for Disaster
If your grinder is plugged into the same circuit as your top-rated espresso machines or a heavy-duty milk frother, you are asking for trouble. Commercial espresso machines have heating elements that cycle on and off. If that heating element kicks in at the exact moment you hit the ‘grind’ button, the combined load will almost certainly exceed 20 amps. It’s a game of electrical musical chairs, and eventually, someone is going to lose. We’ll dive into the specific electrical requirements and the mechanical tweaks you can make next, so you can get back to pulling shots without the fear of a blackout.
Clear the Path Before You Flip the Switch
If your breaker keeps popping, your motor is screaming for help. Think of your grinder’s motor like a cyclist trying to pedal uphill in high gear. If there is even a tiny bit of extra resistance, the motor draws more current to maintain speed, and that is when your electrical panel gives up. The first thing you need to do is a physical audit. Unplug the unit—safety first—and empty the hopper. I once spent three hours troubleshooting a motor that I thought was dead, only to find a green coffee bean that had petrified into a literal stone, wedged perfectly between the burrs. This is why learning how to tell if your espresso grinder burrs are dull is vital; dull teeth do not slice, they crush, which puts massive torque requirements on the electrical system.
How to Keep Your Burrs from Acting Like a Brake
Most people do not realize that old coffee oils are basically industrial-strength glue. Over months of high-volume use, these oils mix with fine particles to create a thick sludge. When the machine is cold, this sludge hardens. When you hit the power, the motor has to break that seal. This is exactly why the move that saves your grinder from unnecessary wear involves a weekly deep clean of the burr chamber. If you find the motor hums but does not spin before the trip occurs, you likely have a jammed start. Take a stiff brush or a vacuum and clear the exit chute. If you cannot see the metal of the burrs, you are not cleaning deep enough.
Stop Forcing Your Grinder to Fight the Espresso Machine
In a busy cafe or even a high-end home setup, the most common culprit is a shared circuit. If you are running top-rated espresso machines on the same 20-amp line as your grinder, you are asking for an overload. An espresso machine heating element is a power hog. When it clicks on to maintain boiler temp, it can pull 12 to 15 amps instantly. If you start your grinder at that exact moment, the combined draw spikes past the breaker limit. 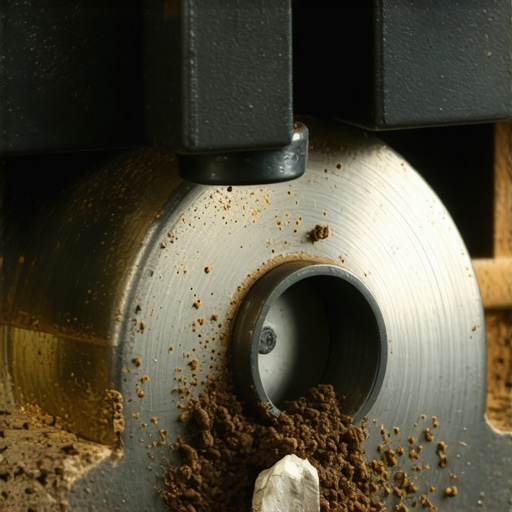
Check Your Internal Connections and Alignment
Sometimes the issue is mechanical friction from within the assembly itself. If you have recently replaced your burrs, you might have them slightly out of kilter. Learning the right way to align your flat burrs for better shots ensures that the motor is not fighting uneven pressure. While you are at it, check the start capacitor if your grinder has one. This little component gives the motor a kick to get it moving. If it is failing, the motor will draw excessive current trying to start on its own, immediately tripping the breaker. If the switch itself feels mushy or unresponsive, look into the quick way to fix a sticky power switch on your grinder to ensure a clean electrical contact every time you dose.The common wisdom in most coffee circles is that darker roasts are “easier” to extract because they are more soluble. However, from a technical maintenance perspective, dark roasts are actually the “final boss” for your equipment. I’ve seen enthusiasts spend thousands on top-rated espresso machines only to have them fail within months because they exclusively use ultra-oily beans. These oils don’t just sit on the surface; they migrate into every crevice of your burrs and internal chutes. This is precisely why your coffee grinder is stalling with dark roast beans—the motor isn’t weak, it’s just fighting a sticky, tar-like build-up that increases torque requirements beyond the breaker’s limit.
Why Does Your Shot Time Drift Even When You Haven’t Touched the Dial?
This is the ultimate frustration for those mastering the art of home espresso. You dial it in at 8 AM, but by noon, the shot is running five seconds faster. Many assume the grinder’s adjustment collar is slipping, but the real culprit is usually the environment. Coffee beans are hygroscopic, meaning they suck moisture out of the air. A study by the Speciality Coffee Association (SCA) highlights how ambient humidity alters the way beans shatter during grinding. When moisture levels rise, beans become more “plastic” and less “brittle,” leading to a change in particle size distribution. If you find why your shot extraction time changes every single day, start looking at your kitchen’s humidity before you blame your burr alignment. 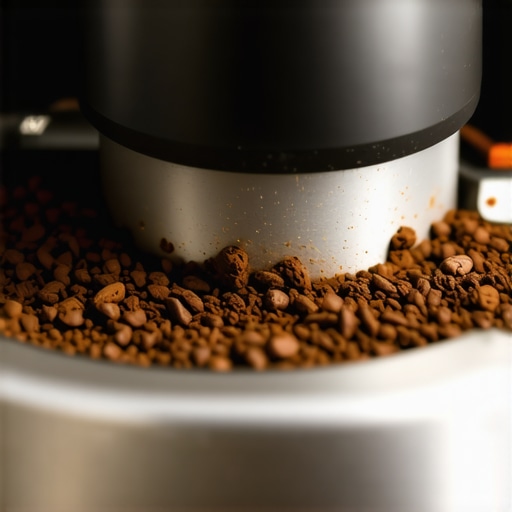
Don’t Destroy Your Gaskets with a Death Grip
One of the most expensive “oops” moments I see involves the way people lock in their portafilters. There is a common myth that the tighter you pull the handle, the better the seal. This is a fast track to a service call. Over-compressing the rubber or silicone seal leads to premature hardening and cracking. Instead of using brute force, you should learn how to check if your portafilter gasket is actually sealed by feeling for the point of resistance rather than the point of no return. Similarly, if your coffee is tasting off, don’t just reach for the descaler. Often, why your espresso shot tastes salty and how to fix it comes down to water chemistry or under-extraction rather than machine failure. Have you ever fallen into this trap of over-tightening your gear or blaming the machine for atmospheric changes? Let me know in the comments.
Stop the Squeak Before Your Lever Snaps
If you’ve invested in one of the top-rated espresso machines with a manual lever, you probably love that tactile click and resistance. But if that lever starts to feel gritty or starts squeaking, you are likely stripping the internal brass cams. Most enthusiasts forget that every time you use a backflush detergent, you are stripping away the essential food-grade grease inside the group head. I personally use Molykote 111 because it’s high-viscosity and won’t wash away after two shots. Learning how to properly lubricate your e61 group head cam is the difference between a machine that lasts twenty years and one that needs a costly rebuild by year three. I make it a habit to do this every time I perform a heavy chemical clean.
How do I maintain my espresso setup for the long haul?
Maintenance isn’t just about the big parts; it’s about the microscopic buildup. You absolutely must understand why your machine needs a backflush every single week. Coffee oils turn rancid quickly, and those oils bake onto the three-way solenoid valve. If that valve clogs, your pressure will spike and then dump, leading to messy pucks and uneven extraction. According to La Marzocco’s Home Preventive Maintenance Guide, failure to replace group gaskets and shower screens every 6 to 9 months is the leading cause of bypass—where water flows around the coffee puck rather than through it. If you’ve ever wondered why your espresso is flowing out of only one spout, a dirty or warped shower screen is almost always the culprit. 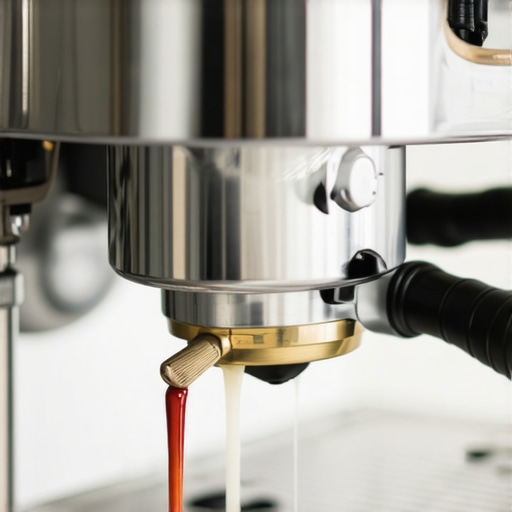
The Reason Your New Grinder Tastes Bitter
You just spent a month’s rent on choosing the best barista gear for coffee enthusiasts, and yet, your shots taste metallic or harshly bitter. Before you panic, consider that your burrs might be too ‘sharp’ in all the wrong ways. New steel burrs have microscopic burrs (the bad kind) from the machining process that create an enormous amount of ‘fines’—dust-like particles that over-extract instantly. You need to learn how to properly season new steel burrs for better consistency. I usually run about 5kg of the cheapest, oldest oily beans I can find through a new grinder just to knock those edges off before I ever try to dial in a specialty roast.
Scaling Your Skills for Perfect Milk Texture
If you are transitioning from a basic setup to a prosumer machine, the steam power will likely scare you. On a budget machine, you have time to think. On a high-end unit, you have about three seconds to get your air in before the milk hits 100°F. If you’re struggling, mastering the secret to silky microfoam on a single boiler machine involves learning the ‘vortex’ early. If you miss that window, you’ll end up with why your milk frother creates bubbles instead of foam rather than that wet-paint texture we all crave. I predict that in the next few years, we will see even more automation in thermal stability, but for now, your manual technique is what separates the sink-shots from the latte art trophies. My challenge for you today: pull your shower screen off with a short screwdriver. If it’s black underneath, you’re overdue for a deep soak in espresso detergent. Don’t let your gear suffer because of a five-minute task.
The Expensive Hard Truths I Had to Learn the Hard Way
One thing no manual tells you is that you should always start your motor before you drop the beans in if you’re dealing with a high-torque situation or a finicky circuit. This simple habit significantly reduces that initial startup strain. I’ve also realized that why the first shot of the day is always a throwaway isn’t just a flavor rule; it’s a mechanical safeguard to clear out expanded, moisture-heavy grounds that put extra pressure on the burrs. Another major lightbulb moment? If your adjustment ring feels stuck, never force it. Knowing how to fix a grinder adjustment ring that wont budge without using heavy tools saved me from a massive repair bill last winter. Finally, listen to your machine. If the motor pitch drops even slightly, it is a warning that friction is winning—stop and clean the unit immediately.
The Small Toolkit That Saves Big Repair Bills
You don’t need a professional workshop to keep your gear in top shape, but there are a few essentials I never go without. First, keep a tube of Molykote 111 for your group head cams to prevent metal-on-metal grinding. Second, a dedicated vacuum for your grinder chute prevents the oil-clogged buildup that causes motor drag. Third, the easy way to test your machines water hardness at home involves using liquid titration drops; I’ve found they are far more reliable than the paper strips included with most machines. Lastly, if you are looking to take the load off your main boiler, exploring specialized milk frothers that transform your coffee experience can be a smart move to reduce the overall scaling inside your primary espresso machine.
#IMAGE_PLACEHOLDER_E#
Your Journey Toward the Perfect Pour
Building a truly reliable home espresso setup is as much about mechanical empathy as it is about the beans you buy. When you treat your barista gear with respect—cleaning the burrs, lubricating the seals, and respecting your electrical limits—it rewards you with a level of consistency that no commercial cafe can replicate. Don’t let a tripped breaker or a squeaky lever discourage you; look at these moments as your machine’s way of asking for a little maintenance and TLC. The craft of espresso is a lifelong learning process, and every small technical fix you master makes you a more skilled barista. Have you ever had your machine shut down right in the middle of a rush? Let me know your survival stories in the comments below!