How to replace a group gasket without scratching the chrome
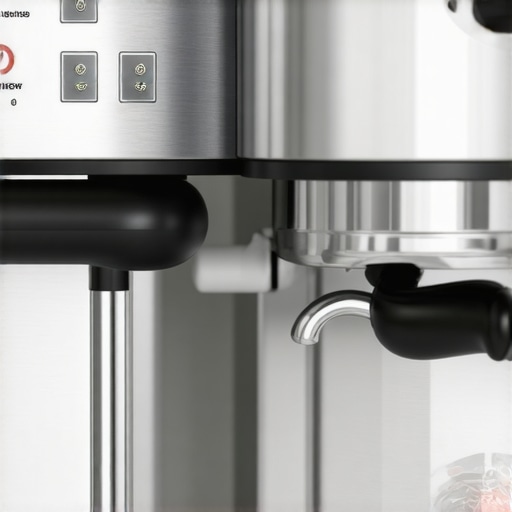
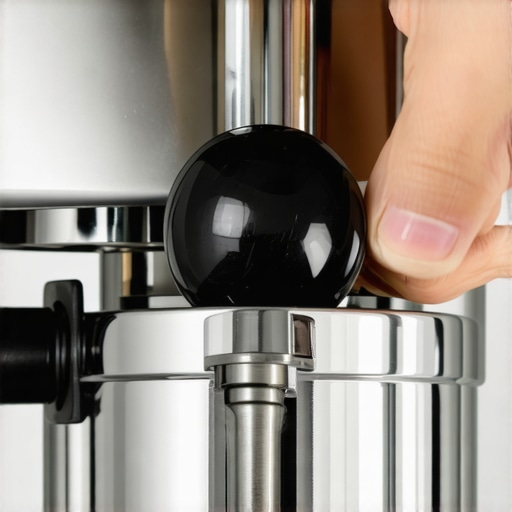
I’ll never forget the afternoon my pride took a massive hit. I was standing in front of my espresso machine, portafilter removed, staring up at a group gasket that had basically fossilized. It was leaking, spraying water everywhere, and I knew it had to go. I grabbed a screwdriver, thinking I’d be ‘careful.’ One slip was all it took. The metal edge bit into the polished surface, and that sickening scratch on the mirror-finish chrome stared back at me for years. It is a mistake I don’t want you to make.
The Day My Screwdriver Slipped and Ruined Everything
If you are reading this, you’ve probably noticed your portafilter isn’t locking in quite right or maybe you’ve seen a slow drip coming from the sides during a shot. It’s time for a change. When I first started mastering the art of home espresso, I thought parts only needed replacing when they broke completely. I was wrong. A hard gasket doesn’t just leak; it messes with your pressure and can even lead to why your espresso puck sticks to the shower screen more often than not.
Is it really worth the risk of doing this yourself?
You might be thinking about calling an expensive technician for what seems like a five-minute job. Don’t. It is a simple task, but the ‘pro’ tools aren’t always necessary if you have the right technique. I made the mistake of using too much brute force early on, but I’ve learned that finesse wins every time. Have you ever felt that heart-stopping moment when a tool slips near your machine? It’s a rite of passage for many, but today we’re ending that cycle.
Why These Little Rubber Rings Become Hard as Rocks
Group gaskets live in a brutal environment. They are constantly subjected to extreme heat and pressure, which eventually bakes the elasticity right out of the rubber. In fact, many high-end manufacturers like Rocket Espresso point out that chrome plating on group heads is incredibly thin—frequently under 50 microns—making it extremely susceptible to mechanical damage from steel tools. If you don’t check if your portafilter gasket is actually sealed regularly, you’ll end up with a ring that is as brittle as glass. This is often why people struggle with the trick to removing a stuck shower screen; the gasket has essentially fused everything together. We need to get that thing out without turning your machine’s face into a scratched mess.
Warm up the machine to soften the fossilized rubber
The biggest mistake most people make is trying to remove a gasket from a cold machine. When the rubber is cold, it is as brittle as a piece of plastic piping from the 1970s. Think of it like a frozen candy bar; if you try to bend it, it just snaps into frustrating little shards. To avoid this, turn your machine on and let it reach full operating temperature. This heat transfers into the group head and makes the rubber pliable again. While I was mastering the art of home espresso, I once spent an hour fighting a cold gasket only to have it come out in twenty pieces. Now, I let the heat do the heavy lifting. Once it’s hot, turn the machine off and unplug it to avoid any electrical surprises while you are poking around the internals.
Pierce the rubber instead of prying against the metal
Instead of using a flathead screwdriver to wedge between the gasket and the wall—which is exactly how I scratched my first machine—use a drywall screw or a sharp awl. This is the ultimate pro move for choosing the best barista gear for coffee enthusiasts who want to maintain their machine’s resale value. You simply screw the tip into the center of the rubber ring. Once it has a firm grip, you can pull straight down with pliers. It works exactly like a corkscrew in a wine bottle. This method keeps your tools entirely away from the delicate chrome finish. I remember a specific Sunday morning where I tried to ‘carefully’ pry a gasket out of an old E61 group. My hand slipped, and I left a jagged gouge that stared at me every time I pulled a shot. If I had just used the screw method, that machine would still look brand new today. 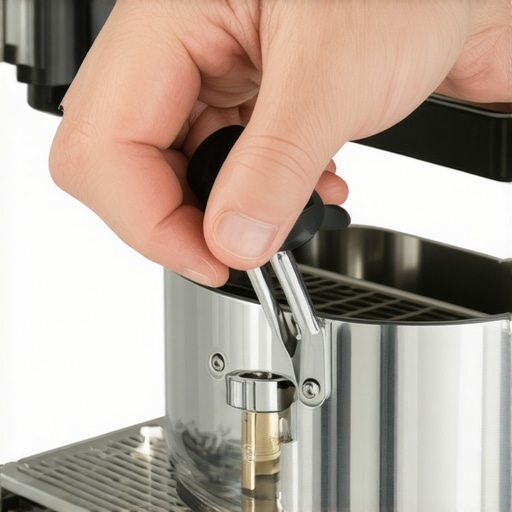
Scrub the brass channel until it shines
Once that old ring is out, you will likely see a layer of black, tar-like coffee oils baked into the brass. This residue is often why your espresso puck sticks to the shower screen even after you think you’ve cleaned it. Take a stiff nylon brush and some warm water to scrub the channel. Do not use a steel brush, as you can create burrs in the brass that will prevent the new gasket from sitting flush. This deep cleaning is just as important as knowing why your machine needs a backflush every single week. If there is even a tiny grain of old coffee trapped in that groove, your new gasket won’t create a perfect seal, leading to those annoying side-leaks.
Lock in the new seal with the portafilter
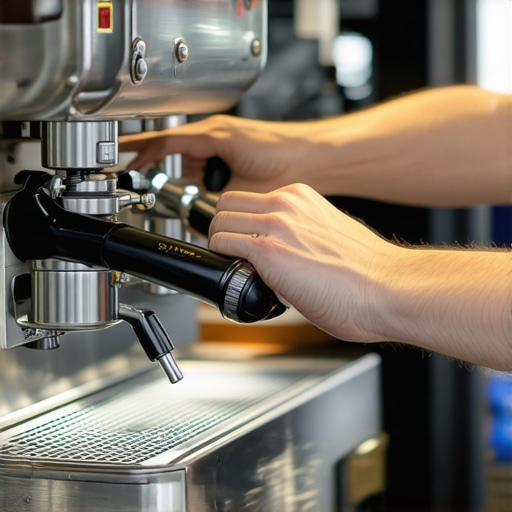
When you are ready to install the new gasket, make sure the text or the beveled edge is facing the right way (usually up into the machine, but check your manual). Don’t try to hammer it in with your fingers. Instead, press it in lightly, then use your portafilter to finish the job. By engaging the portafilter and locking it into the group, you use the mechanical leverage of the ears to press the gasket perfectly flat and even. This is the most reliable way for how to check if your portafilter gasket is actually sealed correctly. If you also had issues with the shower screen, this is the perfect time to apply the trick to removing a stuck shower screen without stripping the screw to ensure everything is aligned. You should feel a firm, smooth resistance as you lock the handle, indicating the rubber is doing its job.Once you’ve successfully swapped that gasket, you might think the job is done, but this is where the real expertise comes in. A common mistake I see among enthusiasts is the ‘over-tightening’ obsession. Most people believe that to get a perfect seal, they need to crank the portafilter handle as far to the right as possible. This is a myth. In reality, forcing the handle past the point of a seal is exactly why your portafilter handle should never be tightened too far. By doing so, you are actually grinding the metal ‘ears’ of your portafilter against the group head, leading to premature wear that no gasket can fix.
Stop the seven o’clock obsession before you break something
Many beginners feel like their machine is ‘broken’ if the portafilter handle doesn’t sit at a perfect 90-degree angle. They try to shim the gasket or use brute force to get it there. Trust me, the angle doesn’t matter nearly as much as the seal. If you force a new, thick gasket to the ‘seven o’clock’ position, you risk snapping a handle or deforming the group. This mechanical stress is often a hidden reason why your espresso machine is making a rattling noise during heat-up; components are being held under unnecessary tension.
Does the material of your gasket actually change the thermal stability of your shots?
This is a question for the real gear-heads. When choosing the best barista gear for coffee enthusiasts, you will face the choice between traditional EPDM rubber and modern food-grade silicone. While rubber is the industry standard, experts at Cafelat have noted that silicone gaskets do not ‘bake’ onto the group head and maintain a more consistent seal over thousands of heat cycles. From a technical standpoint, silicone is also a superior thermal insulator. This subtle difference can slightly alter the benefit of pre-warming your portafilter head, as the silicone prevents less heat-bleed from the group to the portafilter compared to dense rubber. 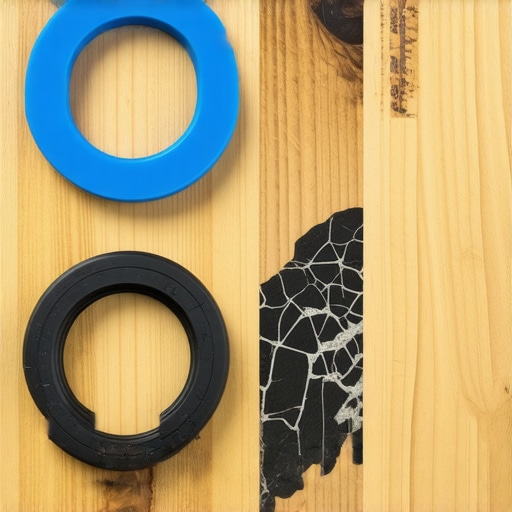
The trap of blaming the seal for poor puck prep
Here is the ultimate ‘oops’ factor: I’ve seen people replace their gasket three times in a month because they still see ‘spritzing’ from the side of the portafilter. They assume the seal is failing, but the culprit is actually channeling. High-pressure water finds the path of least resistance, and if your puck prep is messy, water will spray out with enough force to look like a gasket leak. This confusion is frequently why your shot extraction time changes every single day despite your hardware being in top shape. Before you tear the machine apart again, ensure you know how to select the perfect coffee grinder for your brew to achieve a uniform particle size that prevents these blowouts. Have you ever fallen into the trap of over-tightening your handle or blaming a gasket for a bad grind? Let me know in the comments.
Don’t let rancid oils ruin your morning brew
While changing the gasket is a victory, it is only one part of the preservation puzzle. I spent years thinking a quick wipe of the portafilter was enough, only to realize that coffee oils are essentially a slow-acting poison for your machine’s internals. If you aren’t diligent, those oils polymerize and create a bitter, metallic tang that no amount of expensive beans can overcome. This is exactly why your machine needs a backflush every single week with a high-quality detergent like Cafiza or Puly Caff. When I finally started backflushing regularly, the clarity in my shots improved overnight. You see, the solenoid valve that vents pressure into the drip tray becomes a haven for sludge. If you neglect this, you’ll eventually find why your espresso shot tastes like cardboard even when you follow every other rule of mastering the art of home espresso.
Water chemistry is the silent killer of prosumer boilers
The most expensive repair you will ever face is a total boiler descaling or, worse, a replacement due to corrosion. I used to trust my tap water because it ‘tasted fine,’ but my machine’s copper internals didn’t agree. According to the La Marzocco technical bulletin on water standards, chloride levels exceeding 30ppm can cause irreversible pitting in stainless steel boilers, even if your pH levels appear neutral. This is why I always recommend the easy way to test your machines water hardness at home before you even plug in one of the top-rated espresso machines for coffee lovers in 2025. If you are using a machine with an E61 group head, you also need to think about friction. Every time you use a strong detergent, you strip the lubrication from the internal cam. Learning how to properly lubricate your e61-group-head-cam with food-grade Molykote 111 will keep that lever movement feeling like silk rather than grinding metal.
How do I maintain my grinder consistency over years of use?
Your grinder is the true heart of your setup, but it’s often the most neglected. Burrs don’t just get dull; they get misaligned. Over time, the constant vibration of the motor can cause the tiny screws holding your burrs to shift by microns. This subtle shift is the move that saves your grinder from unnecessary wear and ensures your particle distribution remains uniform. If you’ve noticed your shots becoming ‘muddy,’ it might be time to learn the right way to align your flat burrs for better shots using the marker test method. It sounds technical, but it’s a meditative process that connects you deeply with your gear. Don’t wait until you have to figure out how to tell if your espresso grinder burrs are dull; proactive cleaning with a vacuum and a stiff brush prevents the ‘fines’ from clogging the discharge chute and causing static nightmares. 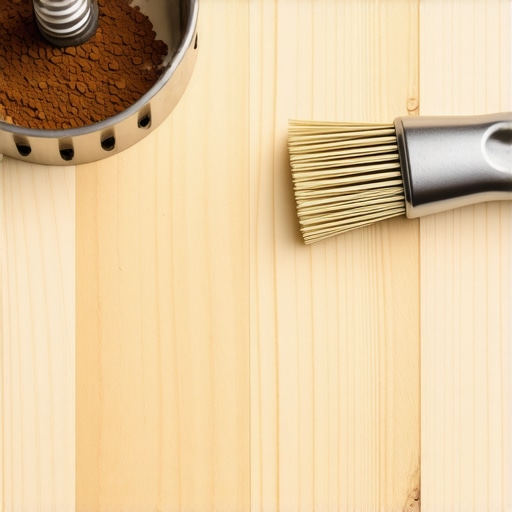
The future of smart maintenance is already here
I predict that within the next few years, the manual guesswork of maintenance will vanish. We are already seeing high-end grinders and machines with built-in sensors that track the total kilograms of coffee processed and alert you precisely when burrs need a swap or a gasket is nearing its end. Until then, we rely on our senses and a solid routine. When choosing the best barista gear for coffee enthusiasts, I now prioritize ease of access over sheer aesthetics. A machine that is easy to open is a machine that will actually get maintained. My challenge for you this week is simple: pull your shower screen off. If it’s covered in black gunk, give it a soak and feel the difference in the water flow. It’s the small wins that lead to the perfect cup.
Hard-Earned Lessons from My Messiest Maintenance Days
Looking back at my first few years of mastering the art of home espresso, I realize that the most expensive repairs were always preventable. First, never ignore a ‘slight’ leak; water is incredibly destructive to the electronics hidden behind your machine’s panels. Second, I learned that high-quality silicone gaskets are a game-changer because they don’t turn into rocks over time like standard rubber. Lastly, I’ve realized that if I see why your espresso machine is discharging too much water into the drip tray, it’s usually a sign that a valve is scaling up, not just a random quirk of the machine.
The Minimalist Toolkit I Swear By
You don’t need a massive workshop to keep your gear in top shape. My go-to arsenal includes a high-temp lubricant like Molykote 111, which is essential once you learn how to properly lubricate your e61-group-head-cam. I also keep a stash of reliable water test strips, because knowing the easy way to test your machines water hardness at home is the only way to prevent scale from the start. Finally, a simple stubby screwdriver and a pair of needle-nose pliers have saved me more times than I can count when dealing with stubborn shower screens. #IMAGE_PLACEHOLDER_E#
Reclaim Your Morning Coffee Ritual
There is a unique sense of pride that comes from pulling a perfect shot on a machine you maintained yourself. It changes the way you view the hobby—moving from a mere consumer to a true technician of your own craft. When you take care of the small things, like the move that saves your grinder from unnecessary wear, your equipment rewards you with consistency that no cafe can match. Your machine isn’t just a kitchen appliance; it’s a precision instrument that deserves a little respect. Have you ever discovered a ‘fossilized’ gasket in your own machine, or are you just getting started with your first deep clean? Let me know below!