How to tell if your coffee beans are truly ‘Espresso’ roast
I still remember the day I almost killed my first real burr grinder. I had just brought home a bag of what I thought were the ‘perfect’ oily, dark beans, convinced that the shinier the bean, the better the shot. I filled the hopper, hit the switch, and instead of a smooth hum, I heard a sickening, muffled groan. I spent the next hour picking gunk out of the burrs with a toothpick. It was a classic rookie mistake, and it happens because the word ‘Espresso’ on a coffee bag is often more of a suggestion than a scientific rule. Today, I’m going to help you skip that frustration and show you exactly how to identify beans that will actually sing in your machine without gumming up the works. We are going to look at roast levels, surface texture, and the actual science behind that ‘second crack.’
Stop Trusting the Marketing on the Bag
For the longest time, I assumed that if a roaster put a picture of a portafilter on the bag, the beans inside were magically optimized for high pressure. That is not always the case. Some roasters use ‘Espresso Roast’ as a catch-all term for ‘we roasted this until it was almost carbon.’ If you aren’t careful, you’ll end up with beans that cause your coffee grinder to stall because of excessive oil buildup. A true espresso roast is about balance—developing enough solubility so the water can pull out the flavors in 30 seconds, but not so much that the bean loses its structural integrity. When you are choosing the right gear, you need to know that the beans are the most important part of the equation. Are you tired of buying bags that taste like a campfire once you pull the shot? I certainly was.
Are roasters just using ‘Espresso’ as a marketing gimmick?
It’s a fair question to be skeptical about. In many ways, yes, it is a label used to guide consumers who don’t know any better. However, technically speaking, an espresso roast usually refers to a bean that has been taken past the ‘first crack’ and into the early stages of the ‘second crack’ to reduce acidity. According to the Specialty Coffee Association, the roast profile significantly affects the chemical solubility of the coffee, which is crucial since espresso extraction happens so rapidly. If the bean is too light, your shot will taste like sour grass; if it’s too dark, it tastes like an ash tray. Finding that sweet spot is the secret to mastering home espresso. If you use beans that are too oily, you might even start wondering if your grinder burrs are getting dull, when in reality, they are just coated in sticky residue. Have you ever opened a fresh bag only to find the beans looked like they were dipped in motor oil? Let me know in the comments, because that’s usually the first sign of trouble.
Spotting the Oil Slick Before It Hits Your Hopper
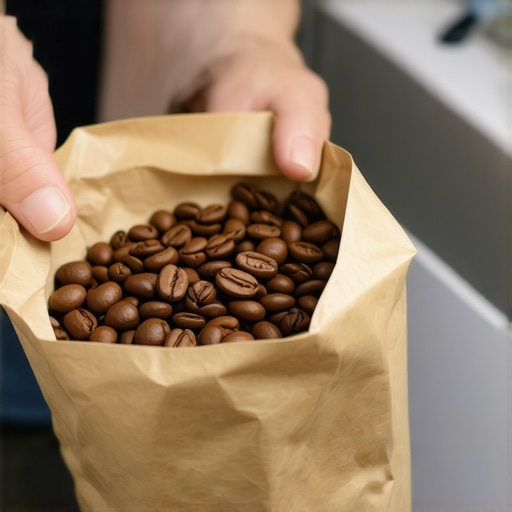
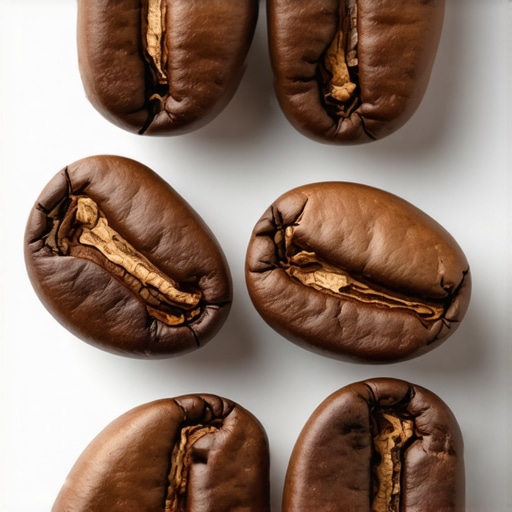
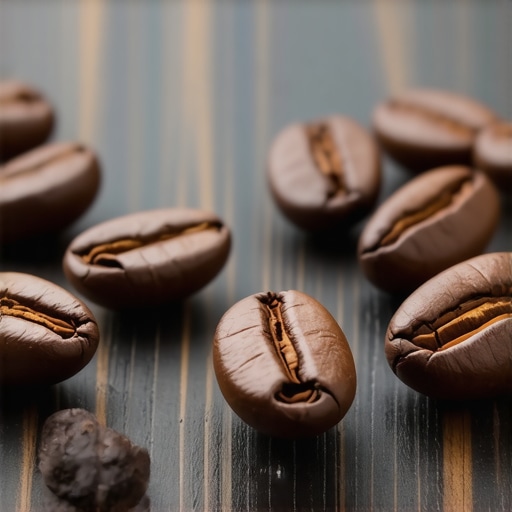
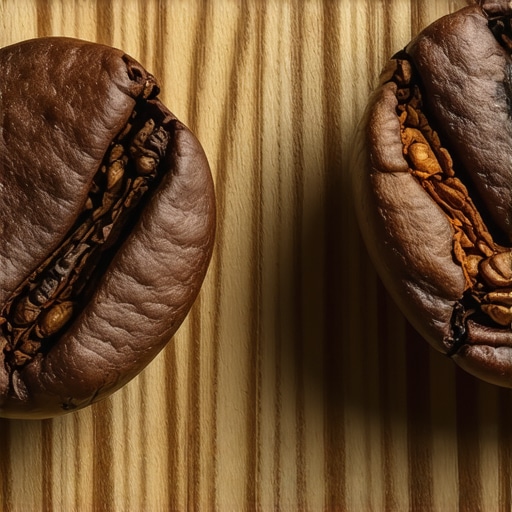
The very first thing you need to do when you open a bag of coffee is a visual inspection. If the beans look like they’ve been polished with furniture wax, you’re looking at trouble. Surface oil is actually a sign that the cell wall of the bean has been carbonized to the point of structural failure. When these oils hit your grinder, they act like a magnet for fine coffee dust, creating a sticky paste that settles into the grooves of your burrs. This is why your coffee grinder is stalling with dark roast beans more often than you’d like. I once bought a ‘Special Reserve’ dark roast that was so greasy I could barely get the beans to slide down the hopper. After just two shots, my grinder started making a thumping sound because the oil had formed a ‘dough’ around the sweepers.
Protect Your Burrs From Unnecessary Friction
Think of your grinder burrs like the tires on a car; they need grip to work. When you introduce excessive oils, you’re basically making them hydroplane. This leads to inconsistent particle sizes and, eventually, a clogged chute. Learning the move that saves your grinder from unnecessary wear starts with choosing medium-to-dark roasts that are matte or only slightly ‘sweaty.’ If you can see your reflection in the bean, it’s probably better suited for a French Press than a high-end espresso machine. When the burrs are coated in gunk, you’ll find yourself constantly questioning if your espresso grinder burrs are dull when they really just need a deep scrub.
The Critical Three-Day Window After Roasting
Freshness is a double-edged sword in the world of espresso. You might think ‘roasted yesterday’ is the gold standard, but for espresso, that’s actually a recipe for a bubbly, sour mess. Coffee beans release carbon dioxide for days after roasting. If you pull a shot too early, that gas creates turbulence in the portafilter, leading to massive channeling. I usually wait at least five to seven days before even thinking about putting a new bag into my hopper. This patience is key to mastering the art of home espresso. If you rush it, your extraction will be unpredictable, and you’ll waste half the bag trying to find the true zero point on your grinder as the beans change chemistry by the hour.
How the Snap Test Saves Your Shot
Before you commit to a full dose, take a single bean and crush it between your fingers or teeth. A bean that is properly roasted for espresso should be brittle and ‘snappy.’ If it feels soft or leathery, it’s likely underdeveloped. Underdeveloped beans are incredibly hard, almost like small pebbles. Trying to grind these can actually damage your motor or cause the adjustment ring to seize. When you are choosing the right gear, remember that even the best motor has limits. A brittle bean grinds cleanly, producing the distinct ‘fluffy’ mound of grounds you need for a level bed. This simple check helps avoid the frustration of why your shot extraction time changes every single day without any obvious reason.
Continuing from my brush with grinder disaster, I’ve realized that the most expensive gear doesn’t always yield the best results. In fact, one of the biggest myths in the home espresso community is that a ‘leveling’ distribution tool is a requirement for a perfect shot. I spent years spinning one of those weighted discs, thinking it was solving my channeling issues, but it was often doing the opposite. If the depth isn’t set perfectly, you’re just compressing the top layer of grounds while leaving the bottom loose and chaotic. This is exactly why your distribution tool might be ruining your extraction instead of helping it. A study by the experts at Barista Hustle revealed that many distribution tools actually lead to uneven density across the puck, which the high-pressure water finds and exploits in seconds. Have you ever fallen into this trap? Let me know in the comments.
Is your leveling tool actually creating invisible air pockets?
The truth is, many professionals are moving back to a simple ‘WDT’ (Weiss Distribution Technique) because it addresses the whole bed of coffee, not just the surface. When you rely solely on a surface leveler, you might find that your bottomless portafilter is creating two streams instead of one, a classic sign of internal puck failure. Deep distribution ensures that the water resists the urge to find a path of least resistance through the center of the basket, avoiding the dreaded micro-channeling that ruins the clarity of your shot. 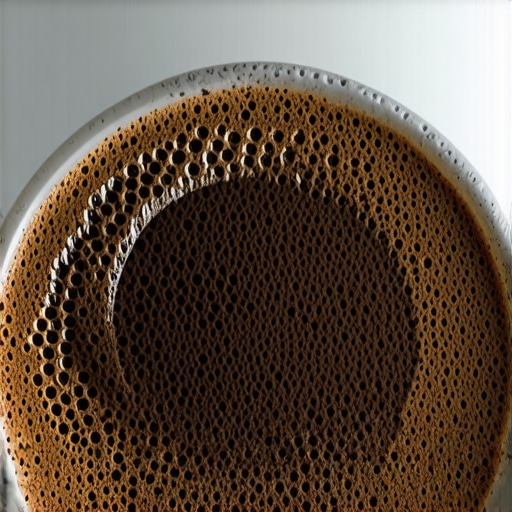
The Dangerous Habit of Over-Tightening Your Gear
One of the most common ‘rookie-turned-intermediate’ mistakes is the belief that more force equals a better seal. I see people cranking their portafilter handle until it’s past the 6 o’clock position, thinking they are preventing leaks. In reality, you are just shredding your group gasket. Knowing why your portafilter handle should never be tightened too far is key to the longevity of your machine. If you keep forcing it, you’ll eventually find that your portafilter gasket isn’t actually sealed anymore because it has been compressed into a flat, useless ring of rubber. When you are choosing the best barista gear, remember that finesse always beats brute force. If you notice leaks even with light tightening, it’s time to replace the gasket rather than pushing the handle harder.
Mastering Thermal Stability Without a $5,000 Machine
Finally, let’s talk about the ‘temp surfing’ nuance that most beginners ignore. Most entry-level machines have a massive temperature swing within the boiler. If you pull your shot right when the ‘ready’ light hits, the water might be 10 degrees too hot, leading to bitterness, or too cold, resulting in sourness. Learning the move for better temperature stability on budget machines—like a short cooling flush—can transform your coffee experience. Don’t forget the benefit of pre-warming your portafilter head; pulling a hot shot into a cold piece of metal is an instant flavor killer. Without these small adjustments, you’ll be left wondering why your shot extraction time changes every single day when your grind settings haven’t moved an inch. Even the top rated espresso machines for coffee lovers in 2025 require a bit of manual intervention to hit that thermal sweet spot.I used to think that a quick wipe-down of the drip tray meant my maintenance was done. I was wrong. The real enemy of great espresso is the invisible sludge that builds up inside the group head. If you aren’t performing a chemical backflush regularly, you are essentially brewing fresh coffee through a layer of rancid, burnt oils. I noticed a massive shift in clarity once I started following the rule for why your machine needs a backflush every single week. It is not just about hygiene; it is about protecting the delicate solenoid valves from seizing up over time. When those valves get sticky, you will notice your pressure behaving erratically, often leading to a situation where your drip tray is filling up faster than normal because the 3-way valve is not sealing correctly.
Stop Fighting Your Grinder and Start Cleaning It
The same logic applies to your grinder. We often focus on the burrs, but the exit chute is where old, stale grounds go to die—and then contaminate your next shot. I have found that learning how to clean the grinder chute without taking it apart saves me at least ten minutes every Sunday. If you ignore this, you might eventually find yourself struggling with how to fix a grinder adjustment ring that wont budge because the compacted dust has migrated into the adjustment threads. Keeping these components clear ensures that your settings actually mean something rather than being a rough guess affected by old friction.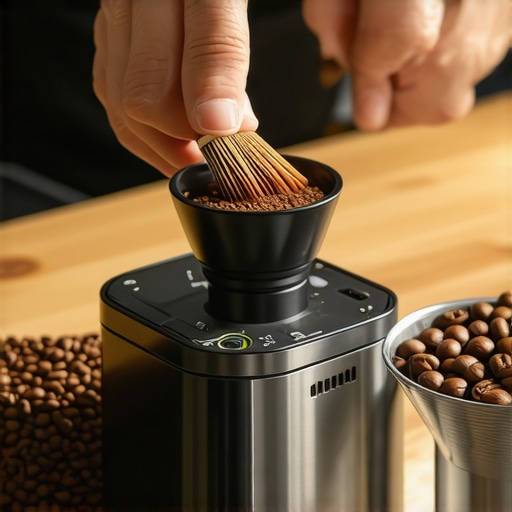
How do I maintain these high-tolerance tools over the long haul?
Consistency is the short answer. You do not need a deep-clean every day, but you do need a rhythm. According to the technical documentation from La Marzocco, over 70% of home espresso machine warranty repairs are caused by scale buildup from poor water quality. This is why I always suggest the easy way to test your machines water hardness at home before you even plug a new unit in. If your water is too hard, you are basically ticking a time bomb inside your boiler. When you are choosing the best barista gear, don’t just look at the shiny stainless steel; look for machines that allow for easy user-serviceability. In the next few years, I suspect we will see more ‘smart’ machines with integrated sensors that tell you exactly when a group gasket is failing or when the flow rate indicates a partial clog. Until then, we have to rely on our own eyes and ears. For example, if you hear an odd vibration, it might be time to check the pump mounts or learn how to stop your milk pitcher from vibrating on the tray.
Don’t Let Scale Kill Your Boiler
If you’ve just upgraded your setup, make sure you know how to properly season new steel burrs for better consistency. Raw burrs can be erratic for the first few kilograms of coffee, leading to a frustrating loop where your coffee scale is giving you inconsistent readings that do not match the visual flow in the cup. My challenge to you this week is to pull your shower screen off and see what is hiding behind it. You might be surprised—and a little disgusted—at what you find. It is the single best thing you can do to immediately improve your flavor profile and ensure your equipment lasts for the next decade.
Lessons Learned While Chasing the Perfect Shot
After years of trial and error, I’ve realized that home espresso is 10% gear and 90% attention to detail. One of the biggest shifts in my workflow came when I stopped obsessing over the brand of the machine and started focusing on the chemical state of my beans. I used to think ‘the darker the roast, the better the crema,’ but I quickly learned that oily beans are just a shortcut to a clogged grinder. Another major revelation was that even the most expensive setup won’t save you if you don’t understand why your espresso shot tastes salty and how to fix it. It’s usually about extraction yield, not just the bean itself.
Moreover, I finally accepted that maintenance isn’t a chore; it’s a flavor enhancer. Skipping a weekly backflush is essentially like cooking on a dirty pan every single day—eventually, everything tastes like burnt carbon. Once you start mastering the art of home espresso tips for beginners, you realize that the ‘pro’ secrets are often just basic cleanliness and patience. Don’t rush the process, and don’t let a bad shot discourage you.
The Toolbelt Every Home Barista Actually Needs
If you want to move beyond the basics, there are a few resources I swear by. First, invest in a simple WDT tool. You don’t need a fancy name-brand version; even the move for better espresso distribution without fancy tools—like using a few acupuncture needles in a cork—will drastically reduce channeling. Second, I highly recommend ‘The World Atlas of Coffee’ by James Hoffmann; it’s the definitive guide to understanding where your beans come from. Third, never skip water testing. I use simple API GH/KH test kits to ensure my boiler isn’t calcifying. When you are choosing the best barista gear, these small diagnostic tools are just as important as the machine itself.
Step Up Your Home Espresso Game Today
The journey to the perfect shot is a marathon, not a sprint. There will be mornings where the sink gets more coffee than your cup, and that’s perfectly okay. Every failed extraction is just data that helps you understand your machine better. By choosing the right beans and keeping your gear in top shape, you’re already ahead of most casual drinkers. #IMAGE_PLACEHOLDER_E# It’s time to stop settling for ‘good enough’ and start aiming for ‘incredible’ with your home espresso setup. Have you ever had a specific bag of beans completely ruin your grinder’s settings? Let me know in the comments below!