Why Your Coffee Puck Is Cracking During Pre-Infusion
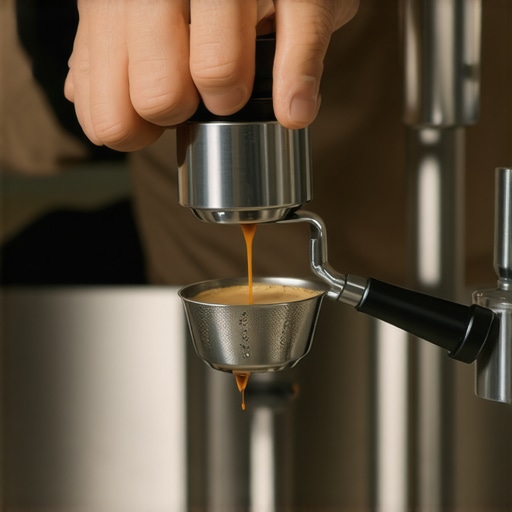
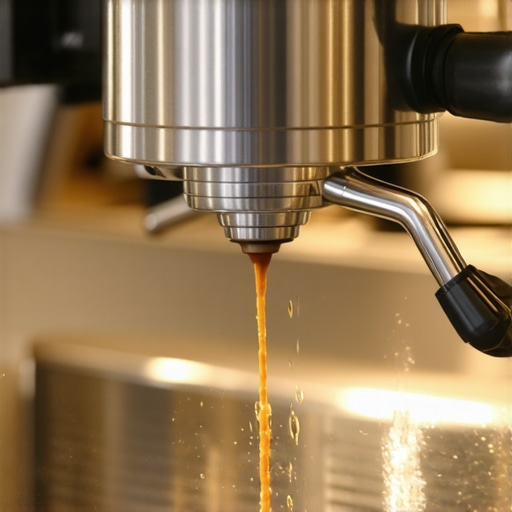
Picture this. You spent ten minutes meticulously prepping your portafilter. You used your favorite barista gear, ran a needle distributor through the grounds, and leveled everything to perfection. You lock it into your machine, engage a low-pressure pre-infusion, and look through your bottomless portafilter expecting a gorgeous, even saturation. Instead, you hear a sharp hiss. A massive fissure splits right down the center of your coffee bed, and suddenly water is spraying everywhere. I used to face this exact issue every single morning, staring in absolute frustration at my dripping kitchen counter. No matter how hard I tamped, my pre-infusion phase was actively ruining my extractions instead of helping them.
The Pre-Infusion Paradox That Ruined My Morning Brews
For a long time, I believed that pre-infusion was a magic safety net. We are told that gently wetting the coffee bed before ramping up to nine bars of pressure prevents channeling. But early in my home barista journey, I made a massive mistake: I assumed more pre-infusion time and higher wetting pressures were always better. In reality, I was unknowingly pressure-blasting my dry puck and causing it to fracture before the actual extraction even started. When water hits dry coffee, the gases inside the beans expand rapidly. If your machine’s initial water delivery is too violent or inconsistent, that expansion turns into a localized explosion, cracking the delicate structure of your compressed coffee bed.
Are Pre-Infusion Cracks Actually Worth Worrying About?
You might wonder if a tiny hairline fracture in a wet coffee puck really makes that much of a difference to your final cup. The answer is a resounding yes. Water is inherently lazy; it will always take the path of least resistance. The moment a crack forms during the wetting stage, your high-pressure extraction bypasses the rest of the sweet, flavorful coffee oils and pours directly through that single tear. This leads to severe, localized over-extraction, leaving you with a cup that tastes both aggressively bitter and hollow. According to coffee extraction research published by the Association for Coffee Science and Information, uneven water distribution during the initial wetting phase can reduce overall extraction yields by up to 15%, leaving valuable flavors trapped in the dry pockets of your puck.
If you have struggled with your shots running incredibly fast or tasting sour, you might be experiencing this exact phenomenon. Have you ever noticed your bottomless portafilter spraying wild jets of coffee during the first few seconds of a pull? Tell me about your messy extraction battles in the comments below. To stop this from happening, we need to look closely at our preparation habits, including everything from how we dry our baskets to how we manage our pump pressures. For instance, many home baristas make the problem with using a wet tamper on dry grounds which introduces moisture unevenly, creating weak spots that easily crack under pressure. Let’s dive into the physical mechanics of why these fractures happen and how you can adjust your routine to get perfectly uniform extractions every single time.
How to Deliver Water Without Destroying Your Puck
Think of your dry coffee puck as a tightly packed sandcastle. If you dump a bucket of water directly on top of it, the structure immediately collapses and washes away. However, if you gently mist that same sandcastle, the water binds the grains together, making the structure incredibly strong. To prevent pressure-induced fracturing, you need to master the exact rate and force of your water delivery during those first crucial seconds.
I remember a painful Tuesday morning when I was testing a high-end pressure profiling machine. I set my initial pre-infusion pressure to a seemingly harmless 4 bars. The moment the pump kicked in, I heard a loud pop. Looking through my bottomless portafilter, a massive split had opened, and the resulting shot tasted like battery acid. That mess taught me that dry coffee cannot handle immediate pressure. You must let the coffee swell naturally before introducing any real force.
Step 1: Lower Your Initial Wetting Pressure
The biggest mistake is letting your pump run wild from the start. You want to aim for a gentle wetting pressure of 1.5 to 2 bars. If your machine allows for manual profiling, keep the flow rate restricted to around 2 grams per second. This slow, steady introduction of water allows the dry gases to escape without blowing the puck apart. For those using entry-level gear, achieving this balance can be tricky. Knowing the move for better temperature stability on entry-level units often helps you understand how your specific boiler and pump behave during the initial heat-up and start phases, which directly impacts how smoothly your machine delivers those first drops of water.
Step 2: Perfect Your Grind Size and Distribution consistency
A puck will always crack at its weakest point. If you have clumps in your basket or an uneven grind, water will exploit those areas instantly. This is why investing in how you prepare your dry bed is just as vital as buying one of the top-rated espresso machines for coffee lovers in 2025. Ensure you are using a high-quality grinder that produces a uniform particle size distribution. While preparing your puck, focus on the move for more consistent puck compression so that there are no low-density pockets waiting to collapse when the water hits. A level, evenly compressed bed of coffee acts as a unified shield, resisting the incoming water pressure uniformly instead of buckling under the strain.
Step 3: Monitor the Drip and Transition Gradually
How do you know when pre-infusion is actually done? Watch the underside of your bottomless portafilter basket. You should see the entire surface slowly darken and bead with tiny, concentrated droplets of coffee. Only when the entire basket is fully saturated should you ramp up the pump to full extraction pressure. Moving to high pressure too early, while parts of the puck are still dry, creates massive internal stress. The wet parts of the coffee bed compress and shrink, while the dry parts remain rigid, tearing the puck apart from the inside out and leaving you with a watery, sour mess.
Many espresso enthusiasts treat pre-infusion as an absolute, non-negotiable rule for better extraction. We are taught that soaking the dry coffee puck is a universal cure-all. But here is my contrarian take: often, the longer you spend pre-infusing, the more you risk ruining the structural integrity of your extraction. Everyone tells you to pre-infuse for 10, 15, or even 20 seconds. In my experience, if your water temperature, grind size, or pump profile is slightly off, an extended pre-infusion actually dissolves the soluble binders holding your puck together too early. By the time your machine ramps up to full extraction pressure, you no longer have a stable coffee bed. Instead, you have a weak, soupy channel-pathway that collapses under nine bars of force.
Why Does Your Seemingly Perfect Pre-Infusion Still Taste Bitter?
When you saturate a dry coffee bed, you initiate a delicate chemical reaction. A study published by the Association for Coffee Science and Information reveals that water acts as a powerful solvent on organic coffee compounds the instant they make contact. If your pre-infusion is too hot or too long, you pre-extract the highly soluble, bitter components before your main shot even begins. This is why many home baristas struggle with a hollow, aggressively dry aftertaste despite using top-tier barista gear.
Another massive trap that home baristas fall into is neglecting the mechanical stability of their equipment during these prolonged contact times. If you are using a cheap, spring-loaded tamper, you might be creating micro-fissures along the outer rim of your filter basket. These tiny structural weak points are highly susceptible to eroding during the wetting phase. Understanding the problem with cheap spring-loaded tampers helps clarify how uneven tamping pressure leaves dry pockets that dissolve prematurely when exposed to water, causing massive side-channeling. Furthermore, you must ensure that your basket is perfectly matched to your tamper; otherwise, you will experience bypass issues. For instance, understanding why your tamper size actually matters for perimeter extractions is critical to preventing bypass channels that form during extended pre-wetting phases.
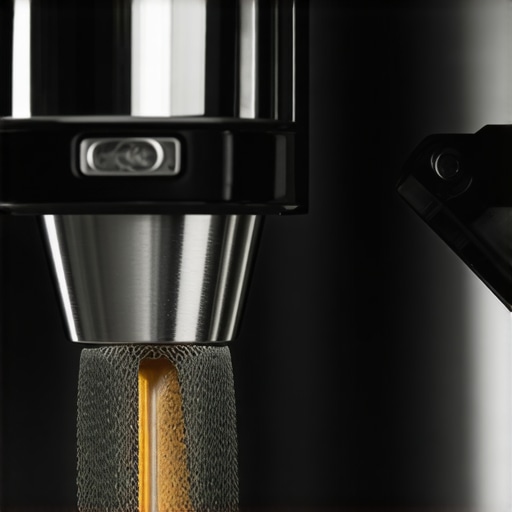
If you want to truly master your extractions, stop treating pre-infusion as a set-and-forget timer. Treat it as a dynamic phase that requires active observation. Watch for the very first bead of coffee on your basket, and ramp up your pressure immediately rather than letting the puck dissolve. Have you ever fallen into this trap of over-wetting your coffee puck? Let me know in the comments below, and let’s troubleshoot your shot dynamics together.
When you start chasing the perfect espresso extraction, it is easy to get hyper-focused on the variables of the brew itself—the exact gram weight, the water temperature, or the profile curves. But after years of dialing in my routine on various top-rated espresso machines for coffee lovers in 2025, I realized that the physical state of your equipment plays a massive, often invisible role in whether your puck behaves or fractures under pressure.
How Do I Maintain Consistent Extractions Over Time?
If you want to prevent sudden, frustrating extraction failures, you have to look past the portafilter and maintain the core mechanical parts of your setup. I used to think my puck prep was getting sloppy every few months, but in reality, my group gasket had hardened to a crisp. For a reliable, daily extraction, you should regularly inspect your group gasket for cracks and hardening. A brittle gasket prevents the portafilter from sealing perfectly, causing micro-leaks that disrupt the pressure build-up and easily shatter your puck. Furthermore, you must keep an eye on your water source; scale build-up inside your boiler alters flow dynamics. Taking the time to tell if your water hardness is damaging your boiler is the single best preventative measure you can take to keep your pump running smoothly and delivering water at exactly 2 bars during that critical wetting phase.
The maintenance does not stop at the machine. Your grinder is your most crucial ally. Old, stale coffee oils build up inside the burr chamber and cause static, which leads to severe clumping. If you have recently opened your grinder for a deep clean, you might run into issues getting it running again. I recommend keeping a guide handy on the fix for a grinder that wont turn on after cleaning so you do not panic when the safety switch refuses to engage. Keeping your burrs clean and perfectly aligned prevents the micro-fines that clog your baskets and cause uneven water resistance.
The Future of Pressure Profiling and Puck Management
Looking ahead, I predict we are going to see a massive shift toward automated, real-time flow profiling even on consumer-grade machinery. Manufacturers are starting to realize that static pressure profiles are not enough; future machines will likely use sensors to detect the exact moment a puck begins to swell and automatically throttle the pump to prevent fracturing. Until then, we rely on our senses and high-quality accessories to manage the physics of extraction.
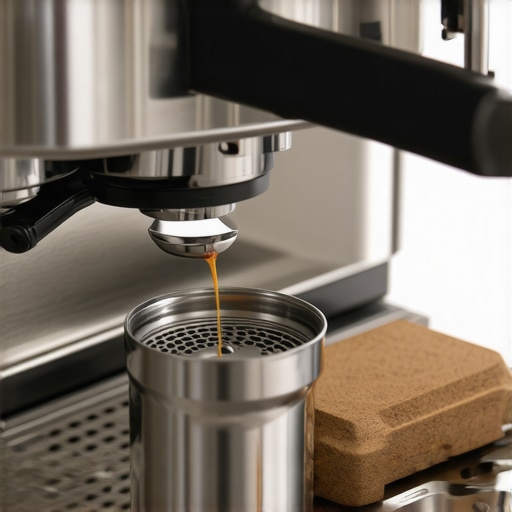
For my daily setup, I rely on a few specific tools to keep everything pristine. I always use a dedicated, dry microfiber cloth reserved solely for my portafilter basket—never use your steam wand rag for this. I also rely on a heavy, non-slip tamping station; utilizing a sturdy stand over a soft silicone mat prevents the basket from tilting during compression. If you are on the fence about your setup, reading up on the truth about plastic vs metal coffee tamping stands can help you choose a stable base that ensures perfectly level, flat tamps every single time. According to the technical guidelines published by the Specialty Coffee Association (SCA), even a half-degree tilt in your tamp can increase the risk of edge channeling by over 30%, highlighting how critical physical precision really is. My challenge to you today: inspect your group head gasket, dry your basket completely before your next shot, and see how much cleaner your bottomless extractions look.
What Espresso Experts Will Not Tell You About Pre-Infusion
Over the years, I have realized that the home coffee community often treats pre-infusion as a flawless, magical shield. But the truth is, a poorly executed pre-infusion is worse than none at all. Here are the three most critical lightbulb moments that completely changed how I approach my morning extractions:
- The longer the wet-time, the weaker the puck: After about 10 seconds of contact, the soluble coffee solids that physically bind your coffee bed together begin to dissolve. If you wait too long to ramp up to full extraction pressure, your pump will slam into a structurally compromised, mushy puck, causing instant channels.
- Gentle water delivery beats high tamping pressure: You cannot tamp your way out of a violent water delivery. If your machine’s pump blasts the dry bed at 4 bars or more instantly, the air pockets will expand rapidly and crack the puck, no matter how hard you compressed it.
- Pre-infusion is dynamic, not a fixed timer: Stop setting your machine to a strict 12-second pre-wet phase. Instead, actively watch the bottom of your filter basket. The moment you see the first rich droplets bead across the metal surface, your puck is fully saturated—ramp up the pressure immediately to lock in the structure.
My Essential Toolkit for Perfecting Shot Dynamics
If you want to move past the frustration of spraying, sour extractions, you do not need to buy the most expensive setup on the market. Instead, focus on these highly specific, reliable tools that keep your extraction physics perfectly balanced:
- A high-precision, correctly sized tamper: Eliminating the tiny gap between your tamper and the basket wall is vital. Using the wrong size leads to immediate edge-channeling, which is why understanding why your tamper size actually matters for perimeter extractions is an absolute game-changer.
- A heavy, stable tamping station: To ensure your coffee bed is perfectly level, you need a rock-solid surface. I highly recommend researching the truth about plastic vs metal coffee tamping stands to find a solid base that prevents your portafilter from tilting during compression.
- A dedicated basket drying cloth: Moisture is the enemy of dry coffee grounds. Keep a clean, dry microfiber cloth nearby and make sure you implement the best way to dry your portafilter quickly before every single shot to prevent weak, pre-wetted spots from forming.
Step Up Your Coffee Game Today
Chasing the ultimate cup of coffee at home is a continuous journey of small, rewarding adjustments. By paying close attention to your initial wetting phase, keeping your equipment in peak condition, and using the right barista gear, you will transform your unpredictable morning routine into a consistent, delicious ritual. Do not let a few cracked pucks discourage you; every messy shot is just data guiding you toward a sweeter, more balanced brew. Dive into the mechanics of your machine, experiment with gentler pressure curves, and elevate your mastery of home espresso today.
Have you ever struggled with your bottomless portafilter spraying wild channels right at the start of your shot? Let me know what machine setup you are using in the comments below, and let’s troubleshoot your extraction together!