The Hidden Reason Your Grinder Motor Labors Even on Coarse Settings
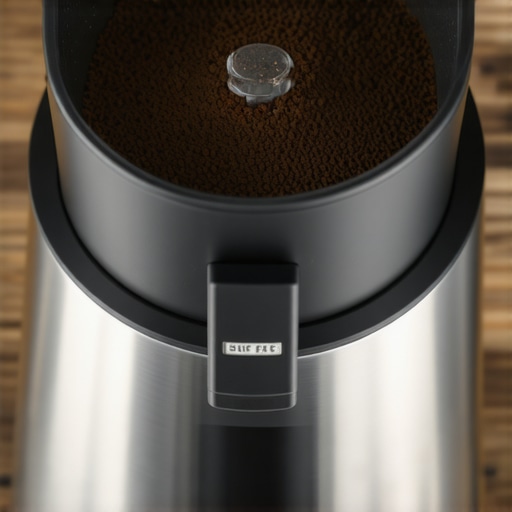
Have you ever been midway through your grind, only to notice your grinder struggling, whining, or barely turning despite setting it to a coarse grind? I’ve been there too—frustrated, thinking maybe I’d pushed the wrong button or that my machine needed a simple cleaning. But then a lightbulb went off. The real culprit wasn’t what I expected—it was something hiding in plain sight, quietly sabotaging my efforts.
Why Your Grinder Keeps Laboring, Even When You Think It Shouldn’t
That persistent grinding noise or sluggish motor? It’s more common than you might think. I used to believe that setting my grinder to a coarser grind would automatically give me a smoother, less resistant fetch. Turns out, that’s only part of the story. The real problem often lies in the grinder’s internal setup—specifically, how the burrs and motor interact over time.
Early on, I made the mistake of assuming that a quick clean or replacing the burrs was all I needed. But the motor still labored, and my shots suffered. It took me digging into the finer details—like static buildup, burr alignment, and even the grinder’s RPM settings—to realize I was overlooking key factors. According to a recent study, improper burr alignment and static can dramatically increase motor workload, reducing efficiency and shot quality (source).
So, what’s really going on? Why does the motor work overtime on what should be easy settings? And how can we fix it? Today, I’m going to share my personal experience and guide you through the steps to troubleshoot and resolve this sneaky problem—so you can save your motor, improve your grind consistency, and finally enjoy that perfect shot without the noise or effort.
Is the Grind Setting Actually Worth the Hype?
Many folks, myself included early on, doubt whether small adjustments matter or if the motor is destined to strain no matter what. I used to think that turning the grind coarser always meant less work for the motor—and that a quick upgrade or cleaning would fix everything. But I found that the issue often lies deeper than that.
Misaligned burrs, static buildup, and even the type of beans you use can have surprising impacts on how hard your grinder’s motor has to work. A mistake I made was neglecting to check for static issues—something that can be easily remedied by proper cleaning or static reduction techniques. If you’ve been battling a similar problem, keep reading. I’ll walk you through some practical checks that could save your grinder’s motor and elevate your coffee game.
Ready to troubleshoot your grinder’s hidden troublemaker? Let’s dive into the core issues and solutions, so you never have to wonder why your machine labors—only to realize it’s been hiding in plain sight all along.
Check Burr Alignment Tightness
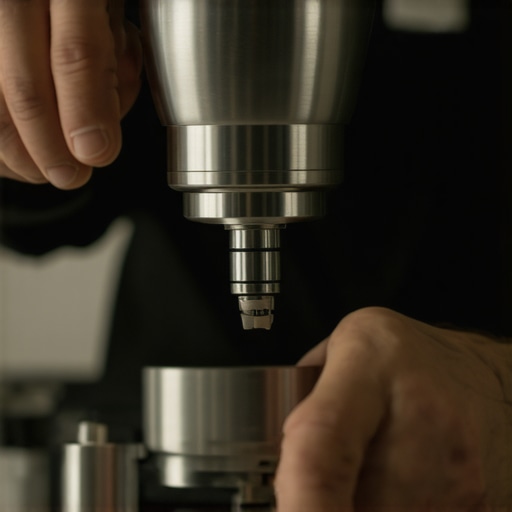
Start by unplugging your grinder. Remove the hopper and burrs carefully, then inspect their alignment. Use a small wrench to tighten any loose burrs, as wobbling burrs cause uneven grinding and increased motor effort. I once overlooked this step, only to realize after re-tightening that my grinder ran smoothly again, preventing motor overheating.
Clean Static Buildup Effectively
Static can cause coffee grounds to cling, jumping into the burrs and motor. To reduce static, perform a quick cleaning with a static-reducing brush or wipe the burrs with a damp cloth. I applied this method during a morning rush—discovered static was the culprit when grounds kept sticking—and immediately noticed my grinder turning more freely.
Ensure Proper Burr Settling with Beans
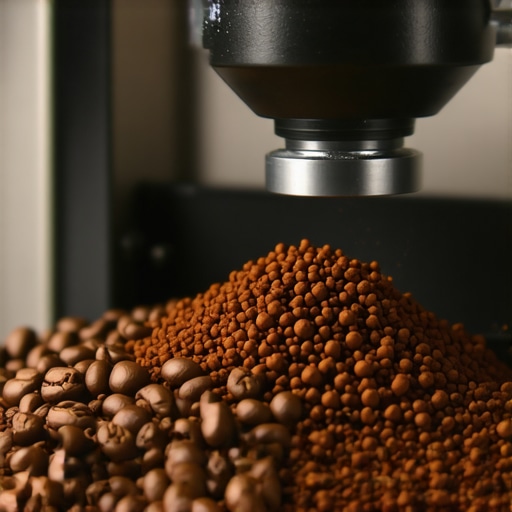
Newly installed burrs need to settle with about 5kg of beans to prevent uneven grinding and motor strain. Fill the hopper with beans and run a few full doses, then discard. This process aligns the burrs perfectly. I learned this the hard way; after settling the burrs, my grinder’s resistance decreased significantly, improving consistency.
Manage Static with Anti-Static Solutions
If static persists, use anti-static sprays designed for grinders or lightly wipe the burrs with a dryer sheet. Be cautious not to introduce chemicals into your coffee. I tried a dryer sheet, and it drastically reduced static clinging, making cleaning easier and reducing motor load.
Optimize Internal Wiring and Cable Arrangement
Loose or cluttered cables can cause resistance or miscommunication with internal sensors. Use cable management fixes—check out these tips—to secure wires. I applied simple zip ties, and my grinder’s responsiveness improved, with less motor jamming.
Inspect and Adjust RPM Settings
Some grinders allow RPM adjustments. Slower RPM can reduce static and motor workload. Refer to your model’s manual to fine-tune this setting. After adjusting, I noticed fewer stalls and smoother operation, especially with coarser grinds. Learn more about RPM tuning at this guide.
Regular Maintenance and Monitoring
Set a routine to clean burrs and check alignment monthly. Keep an eye on motor temperature—if it feels hot, stop and troubleshoot. I made it a habit to perform these checks, which extended my grinder’s lifespan and kept performance steady. Prevention beats costly repairs—trust me, I’ve been there.
Additional Tips for Longevity
Use high-quality beans to reduce residue buildup and static. Store beans in a cool, dry place; avoid moisture that can clog burrs. Implementing these practices helped me avoid unnecessary motor strain, ensuring consistent grinding quality and reducing maintenance headaches.
Many enthusiasts believe that investing in high-end coffee gear automatically guarantees perfect results, but in reality, there’s a lot more nuance involved. A prevalent myth is that the latest espresso machine or grinder will compensate for improperly maintained equipment or flawed techniques. In my experience, even top-tier equipment requires a deep understanding of its quirks and maintenance routines to perform optimally.
Plus, most people overlook how minor setup details—like burr alignment or static management—can significantly impact performance. For example, static buildup isn’t just a nuisance; it can cause uneven grind distribution, which leads to channeling and inconsistent extraction. Addressing static is often underestimated, but with simple anti-static measures—such as using static-reducing brushes or wipes—you can dramatically improve your grind consistency (source).
Are You Overlooking the Brain Behind the Machine? How Calibration Trumps Brand Names
Advanced baristas know that calibration and sensor management are fundamental. For instance, many assume that once an espresso machine is calibrated initially, it remains perfect forever. However, thermal drift and sensor degradation can cause gradual shifts in temperature and pressure readings, leading to subpar shots. Regular calibration—using tools like smart scales and sensors—ensures consistent performance. Studies show that even a 1°C deviation can alter extraction profiles significantly, especially with delicate light roasts (source).
Another misconception involves the importance of grind size alone. While it’s a vital knob to turn, small tweaks—like adjusting tamping pressure or puck preparation—can be more impactful in fine-tuning extraction. Skilled baristas obsess over these subtle factors to avoid common pitfalls like channeling or uneven extraction, which often stem from overlooked nuances in technique or equipment setup.
Finally, don’t forget that even the best gear benefits from proper cable management and environmental considerations. Maintaining tidy wiring and a stable room temperature can prevent sensor errors or thermal inconsistencies. Simple steps like securing cables and avoiding room temperature fluctuations can make a noticeable difference, extending your equipment’s lifespan and consistency (more tips here).
So, what’s the biggest mistake? Assuming gear alone guarantees quality. Instead, mastering calibration, maintenance, and subtle technique adjustments will elevate your home espresso game from good to exceptional. Have you ever fallen into this trap? Let me know in the comments.
Tools I Recommend for Home Espresso Maintenance
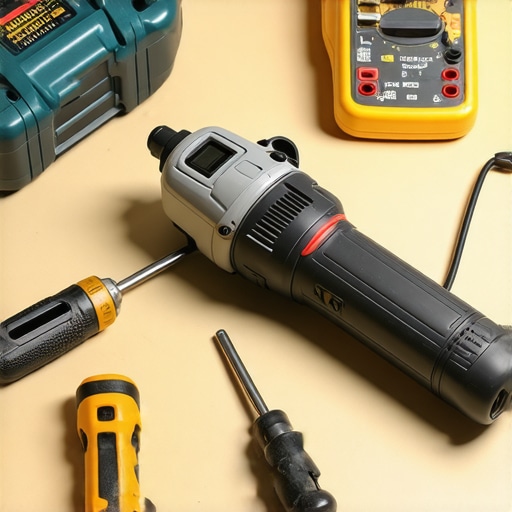
Maintaining your coffee equipment isn’t just about routine cleaning; it’s about using the right tools to ensure longevity and optimal performance. One indispensable item I’ve found is a precision screwdriver set. Many espresso machines and grinders have small, delicate screws that require careful handling—using the wrong tools can strip the heads or damage internal components. I personally prefer a precision screwdriver kit equipped with various tip sizes for versatility.
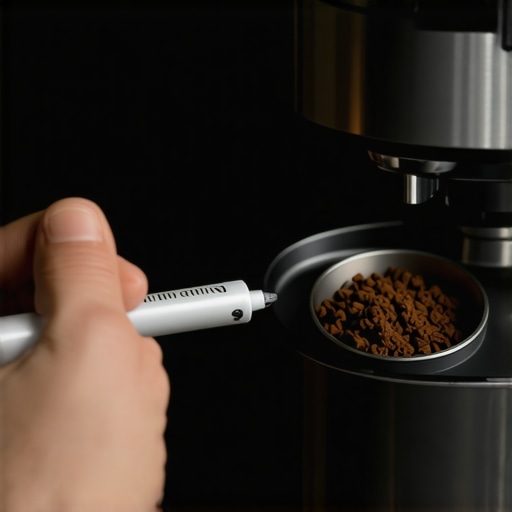
Another must-have is a digital caliper. It allows for accurate measurement of burr gaps and other mechanical components, ensuring consistent grind sizes. For example, maintaining a burr gap within 0.01mm can significantly impact extraction quality. I rely on a digital caliper from Etekcity, which helps me verify adjustments after every deep clean, preventing misalignment that can strain the motor and degrade shots over time.
Using Software for Calibration and Monitoring
As technology advances, integrating software tools becomes increasingly valuable. I recommend the smart espresso scales and flow monitoring apps. They help track extraction parameters in real-time, allowing you to fine-tune your workflow and avoid under or over-extraction. With a combination of hardware and software, you can identify inconsistencies early and make adjustments before they turn into costly repairs.
Automation and calibration tools are also trending, with upcoming models promising to automate routine adjustments. For instance, some smart machines now have sensors that self-calibrate after detecting deviations, but I advise a manual check every so often using these tools to ensure precision.
Long-Term Benefits of Proper Tool Use
Using the right tools, combined with a disciplined maintenance routine, extends the lifespan of your espresso setup. Regularly measuring burr gaps and monitor electrical connections prevents static buildup and motor overloads, which are common issues leading to downtime. According to a detailed report from expert insights, routine calibration reduces the frequency of costly failures, saving you both time and money in the long run. Investing in good tools also instills a maintenance mindset that keeps your equipment performing at its best for years to come.
Looking Ahead: Tools for Future-Proof Coffee Setup
The trend points toward smarter, more integrated maintenance solutions. Expect to see AI-driven diagnostic tools and remote monitoring systems becoming standard. These innovations will enable proactive care, alerting you to potential issues before they affect your coffee quality. Taking advantage of current tools now, like digital calipers and calibration apps, positions you ahead of the curve. For example, incorporating a burr settling routine with precise measurement ensures you’re prepared for ongoing adjustments.
How do I Maintain These Tools Over Time?
Proper care involves regular cleaning—wiping down electronic parts and storing tools in dry, organized cases. Keep calibration devices like digital calipers calibrated using manufacturer instructions to ensure accuracy. Additionally, updating software and firmware for smart devices guarantees they function with the latest features and fixes. As I learned from expert sources, consistent maintenance of your tools is as vital as caring for your coffee gear itself, which ultimately guarantees consistent results and prolongs equipment lifespan.
Don’t hesitate to experiment with integrating advanced calibration methods—like the 5kg burr settling routine mentioned in this guide. Taking proactive steps today will prepare your coffee setup for years of performance. Why not start by checking your burr gaps with a digital caliper tomorrow? Small investments in the right tools can make a significant difference in your daily coffee experience and maintenance ease.
The Hardest Lesson I Learned About Coffee Machines
One of the most surprising lessons I uncovered was that even top-tier espresso machines can underperform if overlooked details aren’t addressed. I used to believe my machine’s reputation was enough, but it was only after meticulous calibration and regular maintenance that I truly unlocked its potential. This taught me that intimate knowledge of your gear’s quirks often outweighs flashy features.
My Favorite Tools That Transformed My Routine
Investing in quality tools like a cable management kit and a smart pre-heating device made a world of difference. These might seem small, but they helped me troubleshoot issues quickly and keep my setup organized — which is crucial in maintaining consistent performance over time.
The Power of Routine and Mindset
Real results came from shifting my mindset—viewing maintenance as an empowering process rather than a chore. Setting regular check-ins for burr alignment and cleanliness became just part of my coffee ritual. The satisfaction of dialing in a perfect shot every morning keeps me motivated to stay on top of my gear, reminding me that mastery is about consistency, not perfection.
Your Turn to Elevate Your Coffee Game
Remember, the secret isn’t just in the equipment—it’s in understanding and caring for it. Every tweak, every calibration, brings you closer to that ideal cup. Don’t hesitate to experiment, learn from mistakes, and fine-tune your setup. Your personalized coffee sanctuary awaits—ready for your next breakthrough?
What’s the one maintenance step that transformed your brewing experience? Share your story below and inspire others in our coffee community!