Why Your Milk Is Splattering Everywhere During the Stretch Phase
I remember the first time I watched milk explode like a volcano during my attempt to make microfoam. It was a complete mess—milk splattered all over my countertop, my clothes, and even the ceiling fan (yes, I was that excited). That frustrating mess was a lightbulb moment for me: I was doing something fundamentally wrong, and it was costing me precious time and good coffee. If you’ve ever faced this chaos during the stretch phase of frothing, you’re not alone. Many home baristas hit this wall early on, wondering why their milk behaves like a wild beast instead of a silky smooth microfoam.
Getting to the Root of the Mess
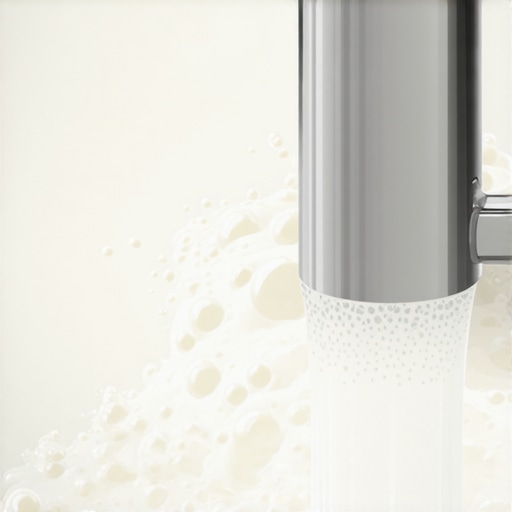
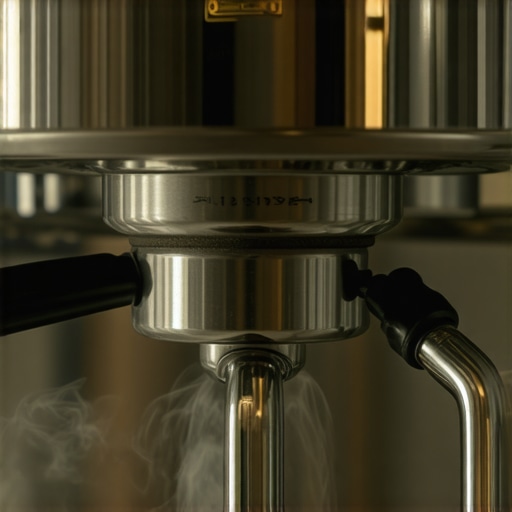
So, why does your milk splatter everywhere during steaming? It turns out, this common problem often stems from how we introduce air and control the steam wand’s position. A key mistake I made early on was positioning the wand too deep in the pitcher, which caused uneven heating and bursts of foam. Over time, I learned that adjusting the angle and height of the wand makes a huge difference. When the wand is placed just right—close enough to introduce microbubbles without shooting into the milk—it transforms your frothing experience. This tiny tweak prevents the violent splattering and helps achieve that perfect, velvety microfoam everyone dreams of.
For a step-by-step guide that can help you avoid this messy scenario, check out this comprehensive fix on pression and steam techniques. It’s a game-changer.
Is Milk Frothing Actually Worth the Hype?
I used to think frothing was just adding some bubbles to warm milk, but I quickly realized it’s about creating a harmonious microstructure that enhances flavor and mouthfeel. If you’re skeptical about investing time into perfecting this skill, consider this: a well-frothed milk can elevate your coffee experience from good to restaurant-quality. Plus, mastering this can save you from a lot of clean-up and frustration. Early on, I also made the mistake of rushing the process, which only increased splattering. Taking your time and controlling the wand’s position is essential.
Addressing this messy issue isn’t just about aesthetics; it directly impacts the quality of your espresso and milk beverage. Once you understand how to control the foam’s formation, you’ll wonder why you ever struggled with splattering in the first place.
Stay tuned, because next, I’ll share my favorite tips and tricks to tame your steam wand and achieve that perfect microfoam every single time! If you’re curious about other common problems, such as pressure drops or shot consistency, I’ve got you covered with detailed guides that can help improve your setup and espresso quality.
Position Your Wand Correctly for Consistent Frothing
Recall a time I struggled with milk splattering wildly until I finally learned to position the steam wand just beneath the milk surface and close to the side of the pitcher. This placement creates a gentle vortex, ensuring even heat distribution and suppressing splashes. To do this, tilt your pitcher slightly and insert the wand about a quarter inch below the surface, angling it to circulate the milk smoothly. Adjusting this depth prevents the rapid agitation that causes messes and results in microfoam with tiny, uniform bubbles, rather than large, unstable ones.
Adjust Your Pitcher Angle and Hand Position
Think of the pitcher as a steering wheel—angle it properly to guide the foam smoothly. Hold your hand steady, keeping the wrist relaxed, to control the wand’s movement. Elevate or lower the pitcher to find the sweet spot where the steam creates a gentle whirlpool. In my experience, small tweaks in tilt and grip can drastically reduce splattering and improve foam consistency.
Control the Steaming Process Step-by-Step
Start with cold milk and a cold pitcher—this slows initial heating, giving you more control. Turn on the steam and slowly introduce air by keeping the wand just below the surface; you’ll hear a gentle hissing. Don’t rush this step; it’s the foundation of creamy microfoam. Once the milk has expanded slightly, submerge the wand deeper and maintain a steady position to heat evenly. A quick tip: monitor the milk temperature with a thermometer, aiming for around 150°F (65°C); over-steaming breaks the microstructure and causes spatter.
Master the Art of Gentle Movement
Wave your wrist slightly to keep the wand dancing in tiny circles, preventing large bubbles from forming. During the heating phase, I used to keep the wand still, which resulted in uneven microfoam and splatters. Instead, gentle, continuous movements create a stable whirlpool, drawing in air smoothly and integrating it seamlessly as the milk heats. Imagine you’re stirring a delicate cream without agitating it too hard; this analogy helps avoid violent splashes.
Practice with a Clear Strategy
Concentrate on doing one thing at a time—position, airflow, and movement. I set a timer and practiced each step separately until it became second nature. For instance, I dedicated one session solely to perfecting wand placement and angle, observing how even minor adjustments affected the splatter. The result was a consistent, glossy microfoam that stayed stable during pouring. Remember, consistency beats speed—rushing only leads to messes and uneven foam.
Investigate Common Mistakes and Fix Them
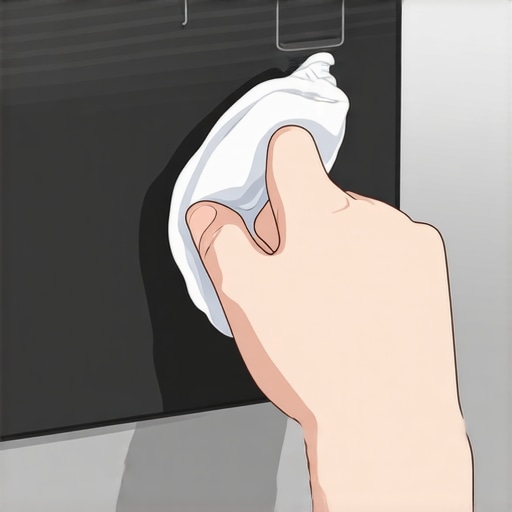
If your milk still explodes despite these efforts, it might be due to a clogged steam tip or a pressure problem. Check and clean the steam wand regularly—something I learned the hard way by neglecting buildup, leading to inconsistent steam flow. For persistent issues, consult detailed guides like this troubleshooting article to identify underlying mechanical problems that cause splattering. Proper maintenance ensures your wand’s performance aligns with your precise technique, making every frothing session cleaner and more predictable.Many passionate home baristas believe they’ve mastered their equipment after a few months, but often, there’s a world of nuance that gets overlooked. One widespread misconception is that high-end gear automatically guarantees perfect results. In reality, even the most expensive espresso machine or grinder can produce mediocre shots if not used with proper technique. For example, many assume that dialing in the grind size is a simple step, but the subtle adjustments—like optimizing the dose distribution or ensuring consistent tamping pressure—are critical for repeatability. These details can mean the difference between a sour shot and a balanced extraction.
Another common trap involves the assumption that maintenance is only necessary when equipment fails. Regular deep cleaning, such as thorough backflushing your machine or replacing worn-out seals, is essential to maintain consistent pressure and temperature profiles. Neglecting these can lead to unpredictable extraction issues, like channeling or sourness, which frustrate even experienced enthusiasts. Be aware that overlooked maintenance, especially on components like solenoid valves, can cause pressure build-up or uneven flow, leading to inconsistent results. For comprehensive tips on cleaning and maintenance, explore our guide on fixing pressure-related problems.
**Hit a snag with your grinder or espresso machine?** Sometimes, a small overlooked detail causes big problems—like a loose burr carrier or a misaligned portafilter gasket. These seemingly minor issues can introduce variability that sabotages your brew quality. Instead of chasing new equipment, consider whether your current gear needs a calibration tweak or a simple adjustment. For instance, addressing grinder static or stuck adjustment rings—discussed in detail on this resource—can dramatically improve consistency.
Addressing advanced mistakes home baristas often make includes understanding the importance of shot timing precision. Even slight deviations in flow rate can cause sour or bitter flavors. Using an espresso scale with flow tracking helps refine your technique, leading to more predictable and enjoyable results. For an in-depth look at optimizing shot timing, check out our article on flow rate and timing adjustments.
Another layer of nuance involves the microstructure of milk froth. Many rely solely on automatic frothers, but understanding the physics behind foam formation enables a barista to produce superior microfoam confidently. Factors like pitcher angle, wand placement, and airflow control are crucial—small tweaks that combined can drastically improve microfoam quality, avoiding the common mistake of large, unstable bubbles. For expert tips to elevate your milk texturing game, see our guide on taming your milk frother.
Remember, every piece of equipment has its quirks—understanding and respecting these can spare you frustration and wasted coffee. Are you falling into any of these traps? Share your experience below and let’s learn together!
Keeping Your Barista Gear in Peak Condition
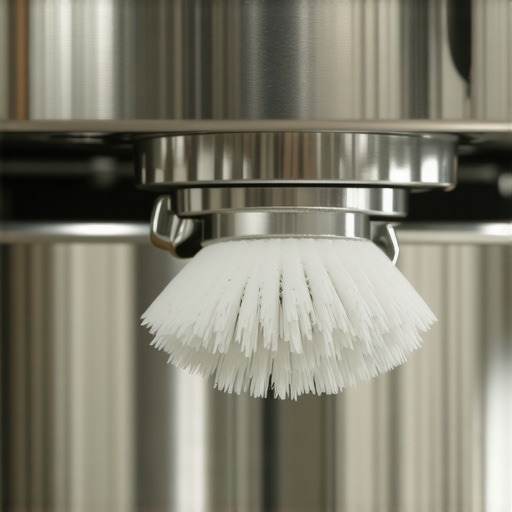
Investing in quality equipment like high-end espresso machines and grinders is just the first step. To ensure longevity and consistent performance, regular maintenance is crucial. For example, routinely cleaning your grinder’s burrs with a dedicated brush or using a simple paper clip trick can prevent clogging and uneven extraction.
Tools I Recommend for Maintenance
I swear by a few precise tools that make upkeep straightforward. A calibrated espresso scale helps monitor shot consistency and detect flow issues early. Additionally, a high-quality cleaning brush designed specifically for portafilters and baskets keeps residues at bay, which is vital for maintaining extraction quality. For clearing stubborn blockages in steam wands, a couple of fine pipe cleaners work wonders, preventing leaks and ensuring dry vapor every time.
Software and Calibration Play a Role
Modern espresso machines often come with smart calibration features. Regularly updating firmware and performing calibration checks—like adjusting grinder zero points or simulating shot pulls—ensures your setup remains aligned. For instance, if you’re noticing sour shots, it might be time to revisit calibration routines. These tweaks may seem minor but have a profound impact over months of consistent brewing.
Predicting Future Trends in Barista Tech
Looking ahead, I predict that smart integration will become standard. Tools that automatically track wear-and-tear or suggest maintenance schedules—possibly via IoT sensors—could revolutionize home brewing. Already, some apps analyze shot data and recommend cleaning intervals, which minimizes guesswork and prolongs equipment life.
How do I maintain my equipment over time?
The secret is consistency. Set a weekly maintenance routine, including descaling your boiler with descaling agents, inspecting seals, and cleaning brewing paths. Regularly checking for wear on key components like portafilter gaskets—as explained in this guide—prevents pressure leaks, ensuring every shot is perfect. Remember, small daily checks coupled with comprehensive quarterly overhauls keep your gear reliable for years to come.

Image description: A collection of precise barista maintenance tools including brushes, black rubber gaskets, calibration scales, and cleaning cloths arranged neatly on a work surface. Alt: Home barista tools for equipment maintenance. Title: Essential maintenance tools for coffee gear.
The Hardest Lesson I Learned About Milk Frothers and Barista Gear
One night, after countless splatters and frustrations, I finally realized that my steam wand’s position and movement were the silent culprits behind my messy microfoam attempts. That lightbulb moment taught me that equipment setup and technique trump even the fanciest gear. Now, I always double-check my wand placement before steaming, saving time and coffee quality.
The Myth That Held Back My Espresso Precision
I used to believe that a high-pressure pump would naturally produce perfect shots. However, juggling pressure and flow rate proved crucial. Regularly calibrating my espresso machine, especially after learning about pressure calibration routines, transformed my brewing from unpredictable to reliable.
When Simplicity Outshines Tech
One invaluable insight was that simple tools, like a dedicated cleaning brush or a timer, often matter more than expensive accessories. I discovered that routine maintenance, such as cleaning my portafilter and backflushing the machine, prevents many common problems. Investing in a quality grinder with easy-to-clean parts kept my espresso consistent and flavorful.
The Reality of Equipment Myths
Many home baristas assume that premium gear yields perfect results without effort. I learned that pairing good equipment with consistent technique is key. For example, even the best grinder needs proper calibration, which I fix using simple adjustment tricks. This realization motivated me to focus on technique rather than gear upgrades alone, leading to improved shots and less frustration.