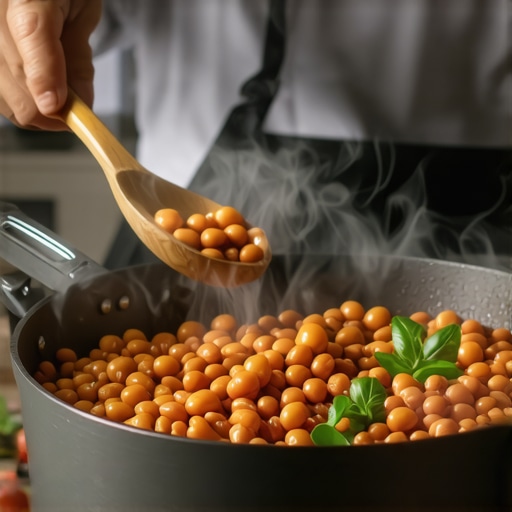
How to Recover the Aroma of Beans That Sat Out Too Long
Ever grabbed a bag of coffee beans, excited to brew that perfect shot, only to be met with a dull, flat aroma? I’ve been there. One morning, I eagerly ground my beans, only to realize they’d been sitting out on the counter overnight. The vibrant, fragrant aroma was almost entirely gone, replaced by a stale, unimpressive scent. It was a lightbulb moment for me—how many times had I wasted good beans just because I didn’t know how to recover their flavor?
In this post, I’ll share what I’ve learned about reviving the aroma of beans that sat out too long, so you don’t have to go through the same disappointment. We’ll explore simple tricks and expert tips to bring back that fresh, complex scent—but only if you know what to do.
Why It’s Worth Saving Your Beans’ Aroma (Even When They Lose Their Freshness)
The aroma isn’t just a pretty part of the coffee experience; it’s a vital part of flavor extraction. When beans sit exposed to air for too long, they lose the essential oils that give coffee its depth and complexity. Once those oils evaporate or oxidize, no amount of brewing magic can truly restore the original richness. Yet, I’ve discovered that even stale beans aren’t necessarily a lost cause. If approached correctly, you can sometimes rekindle some of that lost flavor, saving money and reducing waste.
But here’s where many stumble—without knowing the right steps, you might end up making your coffee worse, not better. I learned this firsthand early on when I ignored the importance of proper storage and mishandled my beans during attempts to revive them. One mistake I made was exposing beans to excess heat, which accelerated flavor loss. That’s why understanding the right techniques is crucial.
If you’re tired of tossing out beans that have lost their zing, stick around. The practical tips I’ll share are rooted in experience and backed by expert guidance, like that from the Specialty Coffee Association, which emphasizes that proper storage and handling can significantly prolong flavor retention.
Ready to discover how to breathe new life into stale beans? Let’s get started with some straightforward methods that have helped many home brewers, including myself, turn yesterday’s beans into today’s aromatic delight.
Store Beans Properly to Preserve Freshness
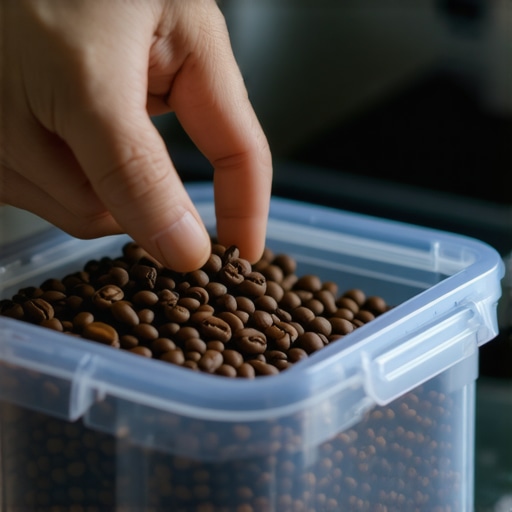
My experience began with realizing that improper storage accelerates aroma loss. Always keep your beans in an airtight container, away from light and heat. I once kept beans in a paper bag on the countertop, leading to quick flavor deterioration. Switching to a sealed, opaque container in a cool, dark place extended their shelf life significantly.
Assess and Prepare Your Beans Before Brewing
Before brewing stale beans, give them a quick sniff. If they lack aroma, lightly toast them in your oven at 350°F for 5 minutes to revive some oils. I tried this when my beans had lost their scent; the warming process brought back a faint aroma and improved flavor, though it’s not a cure-all.
Use a Fresh Grinding Technique
Grind your beans immediately before brewing to maximize aroma. Choose a burr grinder over blade grinders; burrs produce more consistent grounds, which enhances extraction. I once used a blade grinder, resulting in uneven grounds and dull flavors. Upgrading to a premium burr grinder transformed my brew, making the most of revived beans.
Adjust Your Brewing Parameters for Better Flavor Extraction
Optimizing grind size, water temperature, and brew time can mask some staleness. For stale beans, try a finer grind and slightly higher temperature (around 205°F). I experimented by dialing in my espresso shot with these adjustments, achieving a richer aroma and improved taste despite the beans’ age. Be cautious to avoid over-extraction, which can lead to bitterness.
Incorporate Additional Aromatics During Brewing
Add a pinch of cinnamon or cardamom directly into your grounds or water to infuse aroma. I once added a small amount of cinnamon, and it complemented the existing flavors, masking dullness. This trick works best with moderate staleness and can elevate your coffee experience.
Clean Your Equipment Regularly to Maintain Optimal Flavor
Residues from previous brews can dampen aromas. Regularly clean your espresso machine, grinder, and brewing accessories. I found that a thorough cleaning with descaling solution prevented stale flavors from lingering, ensuring each cup showcased the best possible aroma.
Consider Using Fresh Beans for Critical Brews
If aroma is paramount, always opt for freshly roasted beans, especially for special occasions or tasting sessions. Even with revival techniques, fresh beans will always outperform older ones. I learned this lesson the hard way after trying to mask ancient beans during a weekend brunch—it’s better to start fresh when aroma matters most.
Many home espresso enthusiasts believe that simply owning top-tier equipment guarantees professional-quality coffee. However, even seasoned baristas sometimes fall into common traps that undermine their efforts. One widespread misconception is that more expensive machines automatically produce better shots—this isn’t always true. In my experience, understanding the nuanced differences between various grinders, steam wands, and milk frothers can drastically improve your results. For instance, many assume that a high-powered milk frother will always produce perfect microfoam. But if the wand isn’t cleaned properly or the pressure isn’t calibrated, you’ll end up with large bubbles or inconsistent foam, undermining the texture you desire.
Are Modern Machines Over-Hyped at the Expense of Technique?
Many advanced features in newer espresso machines promise convenience but can tempt users into neglecting fundamental skills like tamping and grind calibration. Studies suggest that even the best machines can’t compensate for a poorly dialed grind or uneven tamping, leading to underwhelming extractions. It’s a common mistake to rely solely on machine presets; instead, mastering manual adjustments can unlock hidden potential. Moreover, barista gear like portafilters, tampers, and brushes often receive less attention than high-tech espresso machines but are crucial for consistent results. Dirt residuals or improper tamping can cause channeling or uneven extraction, resulting in sour or bitter shots. Regularly cleaning your portafilter and learning to tamp evenly are often overlooked yet simple ways to elevate your espresso game.
How Do Coffee Grinders Impact Flavor Beyond Grind Size?
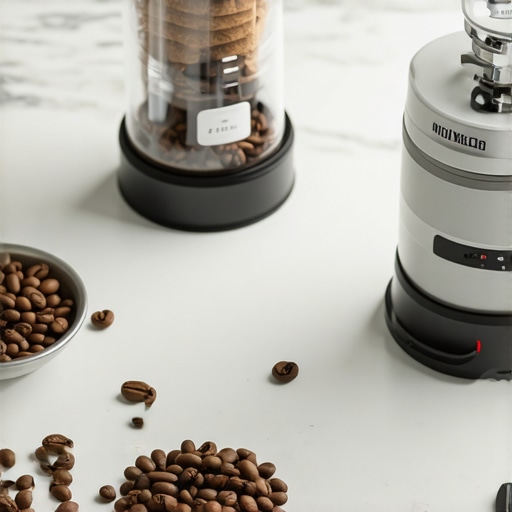
Many assume that setting the grinder to a coarse or fine setting is enough. In reality, the grind quality and consistency influence extraction and flavor profoundly. Cheap burrs wear quickly, leading to uneven particles that over-extract some beans while under-extracting others, dulling the flavor profile. Investing in a quality grinder with durable burrs and routinely calibrating it can prevent these issues. Sometimes, sluggish grinders with clogged chute or worn burrs can cause inconsistent grind size, which manifests as sour shots or weak crema. To prevent this, check out cleaning techniques like using specialized pipe cleaners to clear blockages, as detailed in my guides. Tiny adjustments in grind distribution can also prevent channeling and improve extraction. Don’t forget that grinder maintenance is as vital as selecting the right beans. Including image can help visualize proper grinder cleaning routines.  Imagine a well-maintained grinder with clean burrs and freshly ground coffee, illustrating the importance of proper upkeep.
Advancing your home espresso setup involves more than just buying gear; it requires understanding and fine-tuning equipment nuances. Recognize that often, the smallest tweaks—cleaning the steam wand, calibrating the grinder, or practicing consistent tamping—have the most significant impact. Remember, even the best gear won’t compensate for poor technique. Have you ever fallen into this trap? Let me know in the comments, and happy brewing!Maintaining your coffee gear is crucial for consistent results and prolonged equipment lifespan. A key aspect of this is using the right tools, quality supplies, and establishing a routine that keeps everything functioning optimally. I personally rely on a few specific items that have made a significant difference in my home espresso experience.
First, investing in a **precision burr grinder calibration tool** has been a game-changer. Regular calibration ensures grind size consistency, which directly impacts extraction and flavor. I calibrate mine every 5 kg of beans, following the manufacturer’s guidelines, to maintain optimal performance.
Next, I make sure to have a **set of pipe cleaners** on hand. They’re perfect for cleaning narrow passages like steam wand tips or grinder chute blockages. For example, I use them to unclog my steam tip when I notice uneven steam flow, which can be a sign of buildup. You can find simple guides on how to use these tools effectively in articles like [How to Unclog a Blocked Steam Tip](https://espressotechguide.com/3-simple-pipe-cleaners-that-unclog-a-blocked-steam-tip-faster-than-a-needle). Regularly cleaning your machine’s internal components prevents residue from affecting taste and function.
Another essential item is a **digital flow meter**. This device helps me measure shot volume precisely and tweak my pull times for consistent flavor profiles. When I first started, I struggled with over-extraction, but now, with a flow meter, I dial in my shots perfectly.
For routine maintenance, I schedule monthly descaling sessions with a **descaling solution** compatible with my machine. Over time, mineral buildup can choke boilers and affecting temperature stability. Following manufacturer instructions and using high-quality descalers ensures longevity. If you suspect scale buildup, I recommend checking out [Signs of Boiler Scale](https://espressotechguide.com/is-your-2026-boiler-scale-choked-5-signs-you-need-a-flush-2).
Finally, a **quality knock box** helps me efficiently dispose of used pucks without mess. It also reduces wear on the machine, as excessive force or incorrect disposal can stress various components.
How do I maintain my equipment over time? The secret lies in routine cleaning, precise calibration, and replacing consumables before they fail. Schedule regular deep cleans of your group head and steam wand, and don’t wait until issues occur. Establishing a simple weekly checklist can prolong your gear’s life and improve coffee quality.
Looking ahead, I predict smart diagnostics and IoT integrations will become standard, alerting us when maintenance is due or parts need replacing. This anticipatory approach will save time and prevent costly repairs.
Want to optimize your espresso setup? Try regularly calibrating your grinder with a dedicated tool and keep pipe cleaners handy for quick cleanings. Developing these habits today will pay off with better shots tomorrow.
Lessons I Didn’t Expect to Learn About Barista Gear
One of the most surprising realizations was that even top-tier equipment can’t save a poorly maintained setup. Dirty grinder burrs or neglected steam wands silently sabotage your brewing every time. My lightbulb moment was discovering that consistent cleaning routines outperform expensive upgrades in delivering consistently delicious espresso.
Tools That Made a Difference in My Home Espresso Journey
Investing in a calibration tool for my grinder transformed my approach, ensuring uniform particle size and better extraction. Pipe cleaners, often overlooked, proved essential for maintaining a clean steam wand and chute. A digital flow meter became my secret weapon for perfect shot timing, turning consistent results from a challenge into a habit. These tools are game-changers I trust because they empower me to troubleshoot and refine my process day after day.
Your Path to Mastering Home Espresso Awaits
Now, it’s your turn to experiment and push your skills further. Every tweak, every mini upgrade brings you closer to barista-level results. Start small—schedule regular cleanings, calibrate your grinder, or try adding a pinch of spice during brewing. Remember, the joy of perfecting your craft lies as much in the process as in the final shot. So, why not begin today? What’s the first tweak you plan to try in your espresso routine? Share your goals and let’s elevate our home brewing game together!