How to Clean Burrs Thoroughly Without Taking the Whole Grinder Apart
Ever been mid-morning ritual, only to notice your espresso shot tasting off—bitter, stained, or just not quite right? I’ve been there, standing over my grinder, desperately trying to scrub away stubborn coffee oils and debris, thinking, ‘There must be an easier way.’ That frustrating moment was my lightbulb, realizing I didn’t have to dismantle the whole grinder to keep those burrs clean and running smoothly.
Why You Should Care About Burr Cleaning (Even Without Full Disassembly)
The truth is, espresso gear isn’t just about making good coffee; it’s about maintaining your machine so it works *for* you, not against you. Dirty burrs can lead to uneven grinds, bitter flavors, and even equipment issues over time. Regular cleaning helps preserve flavor integrity and prolongs the life of your investment. But the thought of taking apart your grinder often makes people hesitate—myself included—for fear of messing something up or losing precious time. Fortunately, there are smarter, less intimidating ways to tackle burr cleaning that don’t require a toolbox or a day off.
Is It Really Necessary to Fully Disassemble Your Grinder?
Like many, I used to believe I had to unscrew every piece and clear all the nooks and crannies—until I learned that routine maintenance can be achieved through simpler methods. According to credible sources, such as this article, cleaning the accessible parts regularly prevents buildup without the hassle of full teardown. An early mistake I made was trying to deep clean too often, which actually risks damaging delicate components. Instead, focusing on quick, targeted cleaning routines keeps my grinder performing at its best.
This approach not only saves time but also reduces the risk of errors. Now, you’re probably wondering how exactly to do it—don’t worry, I’ll walk you through the most effective techniques to keep your burrs clean, fresh, and free from oils without disassembling the whole machine. Ready to learn the neighborly tricks that will make your grinder feel new again? Let’s get into it and restore that excellent flavor profile your beans deserve!
Start with Dry Brushing for a Quick Refresh
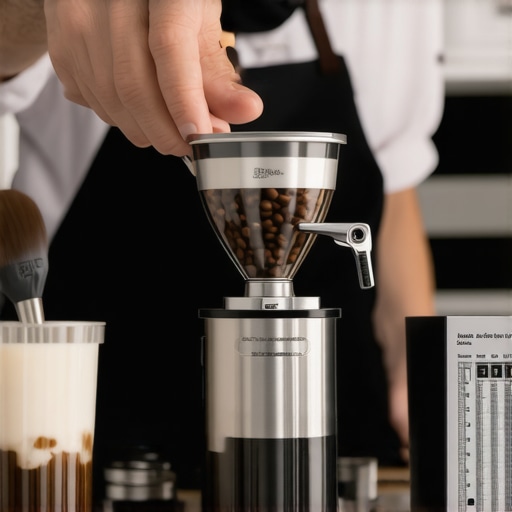
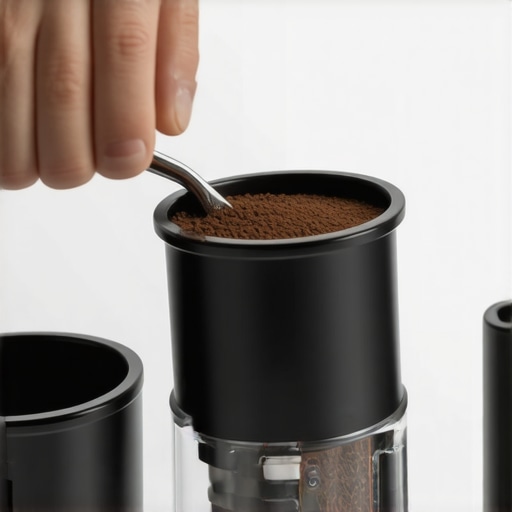
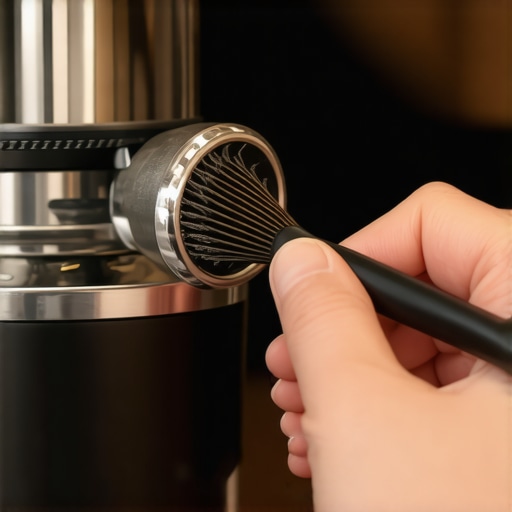
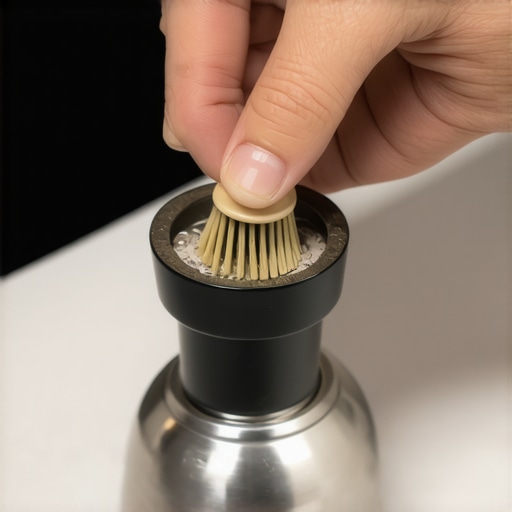
Use a dedicated brush or an old toothbrush to remove loose coffee grounds and oils from the accessible parts of your grinder. I remember my first attempt—just brushing away the visible debris—made a noticeable difference in my espresso flavor. Spend a minute rotating the burrs manually while brushing to reach as many crevices as possible, especially around the burr edges where oils tend to accumulate.
Target the Chute and Hopper
Remove the hopper and use a brush or a vacuum attachment to clear residual grounds. Think of this like cleaning the filter basket in your espresso machine—staying on top prevents buildup that can affect grind consistency. Doing this weekly keeps oils from seeping into the burrs, maintaining a fresh flavor profile.
Use Grinder Cleaning Tablets or Rice for Deep Cleansing
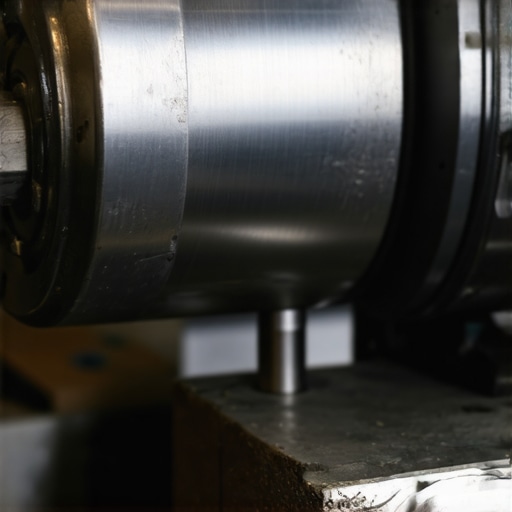
Once the surface is clear, run a cleaning tablet or a small handful of rice through your grinder. The tablet dissolves oils and residues, while rice acts as an abrasive to dislodge stubborn oils and debris, much like a scrub brush. I once used rice on my old grinder—after two cycles, my burrs looked pristine, and my espresso tasted noticeably cleaner.
Run Short Cycles to Flush Residues
Follow the cleaning with a couple of empty grind cycles to flush out any remaining residues. Think of this as rinsing your coffee pot—the goal is to remove any lingering oils or tablets. Be sure to discard this grind, so it doesn’t mix with your fresh beans later.
Maintain Regularly to Avoid Full Disassembly
Set a schedule—weekly or bi-weekly depending on usage—to perform these quick cleanings. This routine is your best defense against bitter flavors and uneven grinds. Remember, no one expects full disassembly for daily maintenance; instead, focus on accessible parts and routine flushing to keep things running smoothly.
For a detailed guide on choosing the right grinder and maintenance techniques, check out this resource. Additionally, mastering these simple steps saves time and preserves the longevity of your equipment, ensuring every shot is as fresh as the first.
 Many home baristas rush into acquiring equipment like espresso machines, grinders, and milk frothers with common assumptions that can lead to costly mistakes. Let’s dig deeper into some misconceptions and advanced nuances that even seasoned enthusiasts often overlook, helping you refine your setup and technique for outstanding coffee every time.
Firstly, a widespread myth is that grinding coarser always results in easier extraction. While some think that dialing the grind size to the coarsest setting will prevent over-extraction, in reality, this can cause under-extraction and sour flavors, especially with conical burrs that are less forgiving at large settings. Instead, mastering grind adjustment—often overlooked—is essential for precision. Check out this guide for expert advice on choosing and fine-tuning grinders.
Another common trap involves milk frothers. Many assume you need an expensive, high-powered frother to achieve silky microfoam, but understanding how to manipulate temperature and milk composition yields better results than chasing gadgets. Moreover, over-reliance on frothers that produce huge bubbles can ruin latte art attempts, a mistake I made early on. The secret lies in proper steaming techniques—yes, even with basic equipment. For advanced tips, see this article.
Now, for the espresso machine itself—it’s tempting to believe that the most expensive unit guarantees perfect shots. However, many new owners overlook the importance of calibrating pressure and temperature settings tailored to their beans. Not all machines come perfectly tuned; some require precise adjustments, similar to selecting the right model and configuring it correctly. Failing to do so can leave you frustrated despite investing heavily.
One advanced misconception is about tamping pressure. Many think greater force produces better extraction; however, excessive tamping can actually choke the flow, leading to bitterness. Mastering consistent tamping—around 30 pounds of pressure—is key, and it’s equally important to consider distribution. A well-distributed puck ensures even extraction, which many overlook. Want to avoid this trap? Consider this simple technique.
Finally, understanding your gear’s limitations and nuances enhances your overall brewing game. A critical but often ignored detail is residual oils and coffee build-up, which can subtly alter flavor profiles over time. Regular cleaning routines, as covered earlier, are not just about maintenance—they are crucial for flavor integrity.
Are you guilty of any of these misconceptions? Have you ever fallen into this trap? Let me know in the comments. Being aware of these subtle but impactful details will set you apart as a home barista, and turning knowledge into practice is how you elevate your coffee experience.
Tools I Trust for Long-Term Espresso Enjoyment
Maintaining your barista arsenal is vital to produce consistently great coffee and extend the lifespan of your equipment. I swear by specific tools designed for precision and ease. A high-quality anti-static silicone mat under my grinder prevents clogs caused by static, which can lead to uneven grinds and channeling. Additionally, a sturdy digital tamping scale—like the Acaia Pearl—ensures that I apply a consistent 30-pound pressure, which is critical for extraction uniformity, as highlighted in this guide. For cleaning, I rely heavily on pneumatic vacuum extractors to quickly and thoroughly clear out residual grounds from hard-to-reach parts without disassembly. These tools reduce downtime and prevent buildup that could lead to equipment failure over time.
Savvy with Software and Calibration
Maintaining consistency isn’t just hardware—software calibration plays a pivotal role. I use specialized calibration apps that sync with my digital scale, ensuring every shot is perfect. Regularly updating firmware and running calibration checks keeps my espresso machine’s pressure and temperature stable, reducing variability, and helping me avoid bitter or sour notes. This approach lets me catch issues early, before they manifest in poor tasting shots or machine damage.
How do I keep my gear running smoothly over time?
Consistency in maintenance routines is key. I schedule bi-weekly cleanings with dedicated tools, like a deep cleaning brush set, to preserve my grinder burrs and espresso seals. Using descaling solutions designed to prevent damaging copper boilers also extends my machine’s lifespan—a tip I learned from this article. Implementing these proactive strategies can significantly reduce unexpected breakdowns and costly repairs.
Future trends in maintaining home espresso equipment
As technology evolves, smart sensors and IoT integrations will likely become the norm, offering real-time diagnostics and automated maintenance alerts. Imagine your machine notifying you when descaling is needed or burrs are dull—saving you time and guesswork. Staying ahead means adopting these innovations early, ensuring your setup remains top-tier.
Try deploying a digital scale with calibration features this week—it’s an accessible step that can dramatically improve your shot-to-shot consistency. Regularly check for updates on maintenance techniques; staying informed is essential for mastering your setup.
< >
>
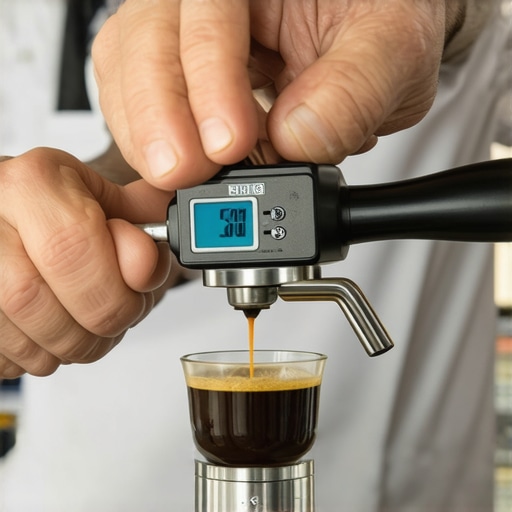
Image Description: A close-up of a barista adjusting a digital scale attached to an espresso machine, illustrating precision in tamping. Alt text: Barista using a digital scale for consistent tamping pressure during espresso preparation. Title: Precision Tamping with Digital Scale
Over time, I discovered that the true art of home espresso goes far beyond just pulling shots. It’s about understanding your gear intimately and continuously refining your routine—these subtle adjustments and lessons learned can elevate your coffee experience from good to unforgettable.
The Hardest Lesson I Learned About barista gear,home espresso,espresso machines,milk frothers,coffee grinders
Initially, I believed that buying the latest high-end machine would instantly improve my coffee. The real revelation came when I realized that consistent maintenance, like regular burr cleaning and calibration, was what kept my machine performing at its peak. Neglecting this is like ignoring the need to tune a guitar—inevitably, your playing suffers.
3 Myths About barista gear,home espresso,espresso machines,milk frothers,coffee grinders That Held Me Back
One common myth was that bigger is better. I assumed that a larger grinder meant better consistency, but I learned that choosing an appropriately sized and well-maintained grinder makes a significant difference. Also, I used to think that expensive milk frothers were necessary for good microfoam—turns out, mastering tamping and steaming techniques yields superior results far more reliably.
What Experts Won’t Tell You About barista gear,home espresso,espresso machines,milk frothers,coffee grinders
Many professionals keep a routine of quick cleaning and calibration that isn’t always glamorous but is incredibly effective. For example, running a few rice cycles or using cleaning tablets periodically keeps my burrs pristine without dismantling the grinder. These tips, though often overlooked, can be game-changers in maintaining flavor quality and equipment longevity.
My Essential Toolkit for coffee gear,home espresso,espresso machines,milk frothers,coffee grinders
I rely on a high-quality anti-static silicone mat to prevent static cling and uneven grounds, and a digital precision tamping scale to perfect my pressure every time. These tools have made consistent brewing easier and more reliable, especially during busy mornings.
Keep Your Passion Alive: Take Small Steps Today
The future of home espresso lies in continuous learning and adopting smart tools—like calibration apps or IoT-connected machines—that can alert you when maintenance is due. Starting with small, manageable routines, such as running a cleaning tablet monthly or calibrating your scale quarterly, can dramatically improve your coffee quality and extend your gear’s life. Remember, the journey toward mastering your home coffee setup is ongoing but incredibly rewarding.
What’s one maintenance habit you’ve recently adopted that made a noticeable difference? Share your experience below—let’s learn from each other’s progress!