How to Dial in Decaf Without Losing Your Mind
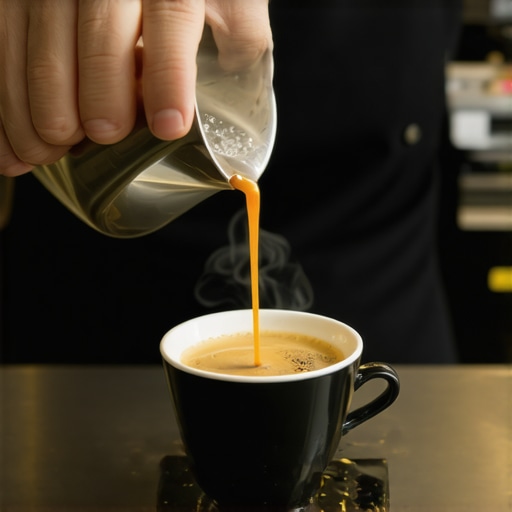
Have you ever brewed a cup of decaf only to be disappointed by its flat, dull flavor? I remember the first time I tried to dial in decaf espresso—it felt like trying to solve a complex puzzle with missing pieces. I was frustrated, wasting beans, and doubting if I’d ever enjoy a truly satisfying decaf shot at home. That lightbulb moment made me realize that decaf isn’t just a watered-down version of regular coffee; it requires a nuanced approach, a bit of finesse, and understanding the subtle differences in flavor extraction.
Why Decaf Dial-In Challenges Are So Common—and How to Fix Them
If you’ve faced the uphill battle of tuning your grinder and espresso parameters for decaf, you’re not alone. Many home baristas stumble because they assume decaf should be easier, but in reality, it demands a different strategy. The goal is to extract full flavor without overdoing it, which can be tricky given decaf’s unique chemical profile. Early on, I made the mistake of simply dialing down my grind size and hoping for the best—only to end up with sour, thin shots that lacked body. Over time, I discovered that decaf requires patience, subtle adjustments, and a keen understanding of your equipment and beans.
Does It Even Matter If I Get Decaf Right?
Absolutely. The right decaf shot can be just as rich, complex, and satisfying as a regular one. Plus, with the increasing quality of decaf beans today, there’s no reason to settle for lackluster brews. But the trick is knowing what adjustments to make, avoiding common pitfalls, and understanding the nuances that separate an average decaf from a stellar one. I’ve learned that a small tweak—like adjusting your brew temperature or grind size—can make all the difference. If you’re tired of wasting beans and pouring bad cups, stick around. I’ll show you how to tap into the full potential of your decaf beans, so you can enjoy every sip without frustration.
Having faced these challenges myself, I can assure you there’s a method to the madness. Trust me, it’s worth it. Ready to transform your decaf brewing game? Let’s dive into the secrets that can turn your decaf into a flavor powerhouse. For specific gear recommendations, check out our guide on how to select the perfect coffee grinder. If you’re feeling overwhelmed, don’t hesitate to reach out for expert advice.
Refine Your Grind Size for Consistency
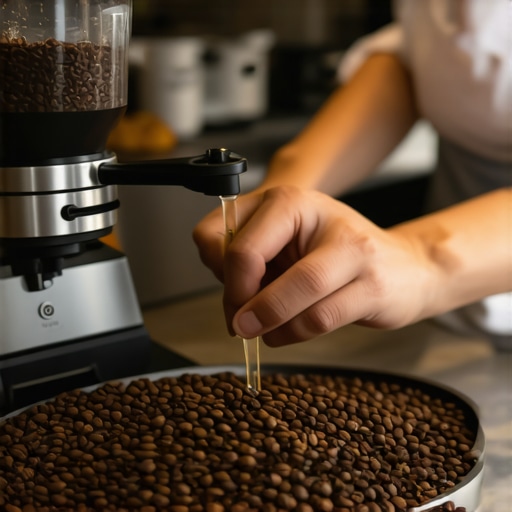
Start by adjusting your grinder in small increments—about 0.1mm at a time—until you find a sweet spot that yields a balanced extraction. I once dialed in my grinder too coarse, resulting in watery shots. After narrowing the grind, the flavors became more concentrated and vibrant. For decaf beans, a slightly finer grind compensates for their lower solubility and helps extract the full flavor profile.
Match Your Brew Temperature
Set your espresso machine’s temperature precisely—aim for around 198°F to 202°F (92°C to 96°C). I used to guess, but measuring with a thermometer revealed that even a 2-degree variation significantly affected taste. Decaf tends to extract more quickly; thus, a slightly higher temperature ensures proper solubilization without over-extraction. Regularly check your machine’s temperature stability using a professional thermometer or a calibrated portafilter thermometer for accuracy.
Adjust Brew Pressure and Shot Timing
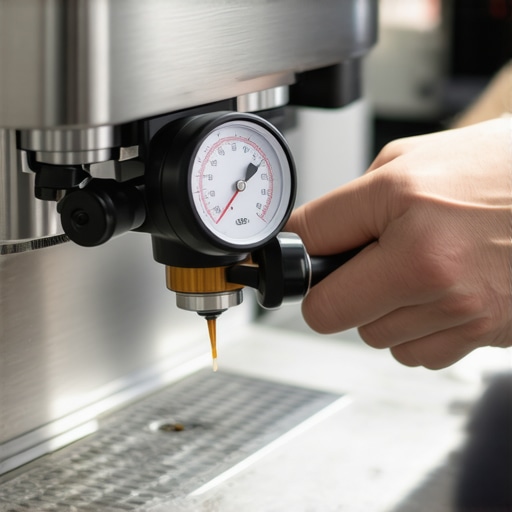
Maintaining between 9 to 9.5 bars during extraction delivers optimal flavor. I experimented by slightly lowering pressure to 8.5 bars, which improved sweetness in my decaf. Use a pressure gauge attachment if necessary, and watch your shot timing—aim for 25-30 seconds. If your shot pulls too fast, tighten the grind; if too slow, loosen it. Timing impacts flavor extraction and body, especially for decaf beans that can over-extract and turn bitter if rushed.
Fine-Tune Your Dose and Distribution
Use a scale to dose accurately—around 18-20 grams for a double shot. Distribute the grounds evenly with a distribution tool or WDT (Wednesday Dosing Technique) to avoid channeling. I once neglected proper distribution and got a channeled shot that tasted flat. Proper dosing and distribution improve water flow and extraction uniformity, which are critical with decaf beans.
Optimize Your Tamping Pressure
Tamp with about 30 pounds of pressure, applying consistent and firm pressure. I used to tamp too softly, resulting in under-extraction, but switching to a calibrated tamp helped me achieve uniformity. Consistent tamping ensures even contact and prevents uneven flow that ruins flavor. Consider using a tamper with a pressure gauge to develop muscle memory for consistent tamping force.
Shoot for the Right Extraction Length
Use a timer and stop the shot around 25-30 seconds. Adjust grind and dose if your flow is too fast or slow. I noticed that extending the shot by a second or two brought out more sweetness in my decaf. Monitoring shot length is vital, especially since decaf beans can be more delicate and prone to over-extraction, leading to bitterness or sourness.
Employ Proper Pre- and Post-Infusion Techniques
Pre-infuse lightly by allowing a few seconds of low-pressure water before full pressure. This technique moistens the puck evenly, preventing channeling. After extraction, immediately purge the group head to clear residual coffee oils. I found that consistent pre-infusion improved crema and flavor clarity—key factors in a pleasurable decaf espresso.
Leverage Consistency and Record Keeping
Maintain a brewing journal noting grind setting, temperature, pressure, dose, tamp force, and shot time. This habit allowed me to replicate great shots and troubleshoot when flavors fell flat. Small variations can significantly impact decaf results, so staying systematic is essential. For more insights on optimizing your setup, check out our guide on choosing the best grinder.
Utilize Quality Decaf Beans
Start with freshly roasted decaf beans from reputable sources. Store them airtight in a cool, dark place to preserve their flavors. I experimented with different brands and found that high-quality decaf beans roasted specifically for espresso provided richer body and complex notes, making the entire process more satisfying.
Align your gear setup with these precise adjustments, and you’ll notice a remarkable improvement in the flavor depth and consistency of your decaf espresso. Keep practicing each step, and over time, you’ll master the art of dialing in decaf just like a pro.
Many home baristas fall into common traps when selecting or using espresso equipment, believing that more expensive gear automatically guarantees perfect results. However, the real secret lies in understanding the nuances that distinguish good espresso from mediocre. For instance, a frequent misconception is that upgrading to a high-end machine will instantly elevate your brewing game. In reality, without proper calibration and technique, even the fanciest machines can produce lackluster shots. It’s crucial to recognize that mastery comes from a combination of equipment familiarity and precise adjustments, rather than just the gear itself.
One often-overlooked nuance involves burr grinder calibration. Many assume that once calibrated, a grinder is set for life. However, burr alignment and wear can drift over time, affecting grind consistency and extraction quality. Regularly checking and re-calibrating your grinder ensures uniform particle size, which is essential for optimal flavor extraction—something that even seasoned baristas pay close attention to. Relying solely on pre-set grind settings can lead to inconsistent shots and wasted beans.
Another common myth revolves around the simplicity of milk frothing. Many believe that a powerful steam wand is all it takes to create microfoam perfect for latte art. Surprisingly, technique beats equipment. Achieving silky microfoam requires mastering the angle, position of the wand, and proper temperature control. Using a subpar milk frother or an overly aggressive approach can lead to larger bubbles or burnt taste, undermining the drink’s overall quality. For advanced tips on milk steaming that elevate your craft, see our guide on milk frothers that transform your coffee experience.
Why Do Precision Matters More Than You Think?
Precision in dosage, tamping, and timing isn’t just for professionals—skimping here can hide flaws and prevent proper flavor development. For example, inconsistent tamping pressure can cause channeling, resulting in over-extraction in some parts and under in others. This subtle variability can drastically alter the flavor profile. As per a study published in the Journal of Coffee Research, precise control over extraction variables leads to more consistent flavor profiles and better cup quality. Investing in tools like calibrated tampers or electronic dose scales can be a game changer for serious enthusiasts aiming for consistency.
Going beyond the basics means developing an understanding of your equipment’s limitations and how small tweaks can yield big improvements. Don’t let the allure of shiny gear distract you from the importance of mastery over subtle details. Choosing the right grinder and understanding its nuances can unlock a new level of flavor. Have you ever fallen into this trap? Let me know in the comments.
Keep Your Equipment Running Smoothly with Precision Maintenance
As passionate home baristas, we invest so much into selecting the right grinder, espresso machine, and accessories — but maintaining these tools is equally vital for consistent quality. From burr calibration to cleaning routines, a proactive approach ensures your gear performs optimally over time. Regular calibration of your coffee grinder prevents uneven grind size and preserves your flavor extraction, saving you time and beans in the long run.
How do I maintain my espresso equipment over time?
Implement a routine of deep cleaning for your espresso machine’s group head and portafilter weekly. Use a descaling solution tailored for your machine—many high-quality models have built-in reminders or cycles. Replace worn shower screens and gaskets annually, as worn parts can cause pressure inconsistencies, leading to subpar shots. For detailed guidance, checking your machine’s manufacturer manual or consulting professional troubleshooting can be a game-changer.
Gear I rely on for long-term excellence
I personally swear by high-quality calibration tools that maintain consistency over many months. For instance, I use a digital tamper with a pressure gauge to regulate tamping force precisely — an investment that results in uniform shots every time. My coffee grinder is a commercial-grade burr model, regularly cleaned and re-calibrated; it’s a small effort that pays dividends in flavor clarity. Additionally, I employ a routine water filtration system dedicated to my espresso setup to prevent mineral buildup, which can harm internal components and affect extraction.
Looking ahead, advancements in smart home espresso gear will likely make maintenance even more automated. For example, sensors monitoring grind consistency and boiler health could send alerts or even adjust settings automatically. Embracing these innovations will keep your setup at peak performance with minimal effort.
Tools that elevate your routine and results
Investing in the right tools makes maintenance less cumbersome and your results more consistent. I recommend a cleaning brush kit designed specifically for burr grinders — the small brushes reach into every nook, removing stubborn oils and old grounds. A calibrated tamping station not only improves shot quality but also enforces consistent pressure, which is critical for decaf or lighter roasts that demand gentle extraction. Keep a set of spare gaskets and seals on hand; these rubber components wear out slowly but surely, and replacing them proactively prevents leaks and pressure loss.
In the future, expect tools equipped with IoT connectivity, alerting you when parts need replacement or calibration. Until then, make it a habit to set aside 10 minutes weekly for equipment checks. Regular maintenance doesn’t just prolong your gear’s lifespan; it ensures every shot is as perfect as it can be.
Don’t overlook the importance of quality water filtration, which can both extend your machine’s life and improve flavor consistency. A quality filter cartridge installed on your water line and replaced per the manufacturer’s guidelines is an underrated hero in the home espresso setup.
Ready to refine your maintenance routine? Start by calibrating your grinder with a precision tool for burr alignment, and observe how your shots improve over the next week. Small gains here compound into superior espresso quality. Keep experimenting, and your home setup will become as reliable and inspiring as your favorite local cafe.
Throughout my journey into home espresso mastering, I uncovered invaluable lessons that often flew under the radar—lessons that transformed my approach and results in ways I never anticipated. One of the most profound realizations was that even the finest equipment can’t hide inconsistent technique; precision and consistency are the true secret ingredients. I also learned that small, deliberate adjustments—like tweaking tamping pressure or timing—have compounding effects on flavor, empowering me to fine-tune shots with confidence. Another eye-opener was recognizing that maintenance isn’t just upkeep but a strategic tool to ensure every brew hits its peak, especially when working with decaf beans that demand gentle handling. These insights aren’t just tips—they’re game-changers that elevate your routine from good to exceptional, unlocking flavors and crema profiles you might have thought impossible at home.