How to Fix an Air Lock in Your Vibration Pump in Under 5 Minutes
Have you ever been ready to enjoy that perfect shot of espresso, only to get hit with a frustrating silence from your machine? I remember the exact moment I realized my vibration pump was trapped in an air lock—my heart sank as the machine hummed, but no water moved. It’s a sneaky problem that can ruin your morning coffee ritual, especially when you’re in a rush. But here’s the good news: I found out firsthand that fixing an air lock doesn’t have to take hours or require a full-blown repair.
Today, I’ll walk you through a proven, lightning-fast method to clear an air lock from your vibration pump in less than five minutes. No need for complicated tools or expensive service calls. Trust me, I’ve been there—making mistakes early on, like tightening fittings too tight and causing leaks, which only complicated the issue. Early on, I also ignored the importance of proper priming, which prolonged the problem instead of solving it.
Is fixing an air lock really worth the hype? Absolutely. If your espresso machine’s pump sounds different—more like a squeal or a dull hum—and water isn’t flowing properly, your machine is likely suffering from an air blockage. Ignoring it can lead to more severe issues, like damage to the pump or seals, which could mean costly repairs. According to the Coffee Science Foundation, maintaining pump health is crucial for consistent shot quality and machine longevity.
Stay tuned, because I’ll share exactly how I get my machine back up and running quickly—so you can too, and get back to enjoying that crisp espresso without long delays. Ready to troubleshoot step-by-step? Let’s get into the practical side of clearing that pesky air lock. First, it’s important to understand why air gets trapped and how to prevent it from happening again.
Secure the Machine and Prepare for Troubleshooting
Start by turning off and unplugging your espresso machine to ensure safety. Remove the water reservoir to gain easy access. Place a towel beneath the machine to catch any drips. I recall a morning when I neglected this step, and water spilled onto my countertop, but careful preparation prevents messes.
Identify the Air Lock Location
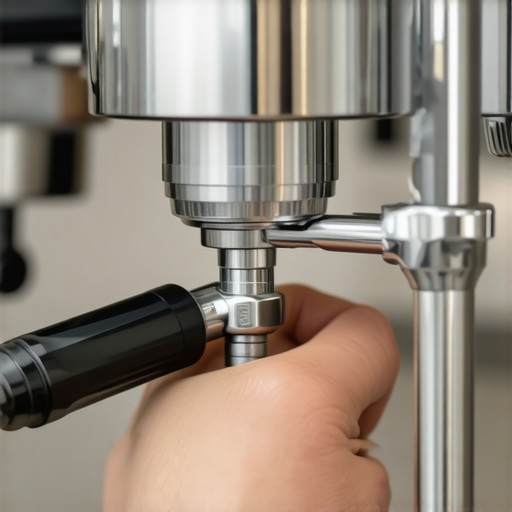
Locate the pump and its fittings—usually near the water inlet. If you’re unsure, consult your machine’s manual or see visual guides on this guide. An air lock often resides where water travels through tight fittings, acting like a kink in a garden hose.
Loosen Fittings to Release the Air
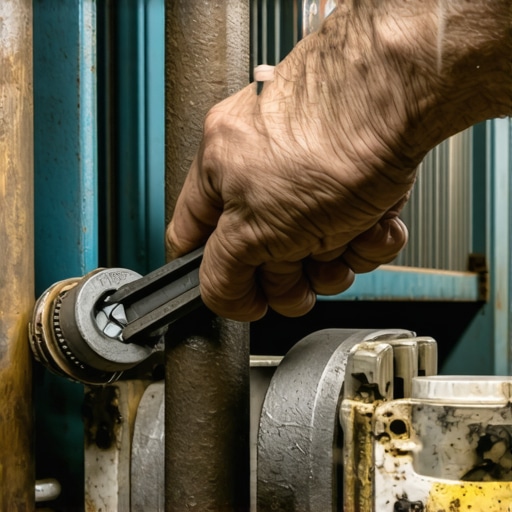
Using a suitable-sized wrench, carefully loosen the fittings connected to the pump—just enough to let trapped air escape. Think of this step like uncorking a bottle to release built-up pressure. When I did this, I felt a small rush of air and water, confirming the air lock was being relieved. Be cautious not to overtighten during reassembly, as it can cause leaks.
Inject a Primer or Water to Encourage Flow
Attach a syringe or small pump to the inlet line. Gently push water into the pump to displace air. This mimics pressing on a deflated balloon to re-inflate it. I once used a turkey baster to introduce water, which effectively pushed the air out, restoring pump priming quickly.
Prime the Pump Manually
If your machine allows, manually activate the pump by pressing the manual brew button or via the machine’s maintenance menu. This forces water through the system, pushing out residual air pockets. Remember, some machines have a dedicated priming mode—consult your manual or this resource for tips.
Reconnect and Test the System
Once you see consistent water flow without sputtering, tighten all fittings snugly but avoid over-tightening. Reinstall the water reservoir and turn the machine back on. Run a test shot or brew cycle to verify operation. When I powered my machine back up, I heard it hum smoothly with water flowing steadily—the telltale sign of an air-free pump.
Prevent Future Air Locks
Regularly bleed the system after cleaning or filling the water reservoir. Keep fittings tight but not overtightened. Maintain proper priming procedures during setup. For more detailed steps on maintaining your gear, visiting this guide can be very helpful. Using quality parts and adhering to proper setup routines reduces the likelihood of future air locks, ensuring your espresso machine performs reliably every time.When it comes to perfecting your coffee experience, many home baristas focus on selecting the latest espresso machines or the fanciest milk frothers, but there’s a common misconception that can trip up even seasoned enthusiasts. Everyone often believes that upgrading gear automatically leads to better coffee, but in my experience, understanding the nuanced limitations and misuses of equipment is what truly elevates your brewing. For instance, many assume that a high-end grinder alone guarantees shot quality, yet neglecting proper calibration and maintenance can undermine its potential.
Are Coffee Grinders Just About Burr Size Or Is There More?
While larger burrs may seem like an obvious upgrade, the real nuance lies in burr alignment and consistency. A study published by the Coffee Science Foundation highlights that even minor misalignments can cause uneven particle sizes, leading to channeling and bitterness. Moreover, many enthusiasts overlook the importance of uniform grind particle distribution, which isn’t solely dictated by burr size but by calibration precision and grinder maintenance routines.
Another common myth surrounds milk frothers: that all frothed milk is equal. This couldn’t be further from the truth. Many beginner baristas believe that the more powerful the frother, the better the microfoam, but in reality, the key lies in controlling temperature and air incorporation. Advanced aficionados learn that slow, steady steam wands and proper stretching techniques produce smoother, denser foam—something a high-powered immersion blender can’t replicate. Check out detailed tips on best practices in milk frothing at this guide.
The importance of understanding espresso machines often goes deeper than initial setup. Many think that simply owning a semi-automatic machine is enough; however, neglecting regular cleaning, descaling, and seal checks can cause subtle pressure drops and temperature fluctuations that drastically affect shot quality. Advanced users realize that routine maintenance is an investment, not a chore. For those managing multiple machines or high-volume use, the mistake of ignoring the machine’s internals is common—leading to costly repairs down the line. More on maintenance routines can be found here.
A critical, often overlooked, nuance relates to the timing of extraction. Beginners may focus solely on grind size, but even with perfect grind, over- or under-extraction can occur due to shot timing misjudgments. Advanced baristas understand that flow rate, tamp pressure, and pressure profiling play a significant role in final flavor. For instance, many are unaware that a slight increase in pressure during the middle phase of extraction can enhance sweetness without risking bitterness. To master this, experiment with pressure profiling capabilities of your machine, if available, and consult expert resources like this article.
In summary, elevating your coffee game isn’t just about gear—it’s about mastering the intricacies of each component and understanding their true capabilities and limitations. Do you ever find yourself caught up in gear upgrades without addressing these subtle but impactful factors? Have you ever fallen into this trap? Let me know in the comments, and share your experience or questions. Remember, coffee is an art of detail—know your gear beyond surface-level, and you’ll unlock new heights of flavor and consistency.
Prioritize Reliable Equipment for Consistent Results
Investing in high-quality barista gear is only the beginning; maintaining it is crucial for longevity. I personally swear by the comprehensive gear guide that emphasizes proper upkeep routines. Selecting durable, easily serviceable espresso machines like the La Marzocco Linea Mini or the Profitec Pro 700 offers not only superb performance but also easier long-term maintenance, reducing downtime and repair costs.
Cleaning and Descaling Beyond Routine
Consistent cleaning with purpose-built solutions dramatically extends your equipment’s lifespan. I recommend using specialized grinder cleaner for burrs monthly, preventing buildup that can cause uneven grind sizes. For espresso machines, descaling every three months with manufacturer-approved agents prevents lime-scale buildup—an often overlooked culprit behind pressure drops and overheating.
Tools I Trust for Accurate Calibration
Proper calibration ensures every shot hits the mark. Personal experience taught me that a high-precision digital scale, like the Hario Drip Scale, is indispensable for weighing doses accurately. Pairing this with a calibration shim can fine-tune grinder settings, preventing inconsistent particle sizes and channeling issues.
Keep Spare Parts Handy to Prevent Downtime
Having essential spare parts like o-rings, portafilter screens, and a spare water pump increases your resilience. For instance, replacing a worn group gasket swiftly can save your shot before it turns sour. I keep a kit from trusted supplier on hand, ready for emergencies. Regular inspections and timely replacements prevent costly repairs and keep your workflow smooth.
Future Trends in Maintenance and Automation
Emerging tech like IoT-connected espresso systems promise remote diagnostics and predictive maintenance, minimizing unexpected breakdowns. As these innovations become mainstream, expect to see automatic descaling alerts and real-time performance monitoring—streamlining upkeep even further. Staying ahead involves following tech developments and integrating smart tools into your routine.
How do I maintain my gear over time?
Establish a routine weekly checkup schedule—cleaning, descaling, and inspecting parts—as outlined in this essential guide. Document your maintenance activities, so you recognize patterns or issues early. This proactive approach keeps your gear in peak condition and ensures your mornings remain free of coffee catastrophes.
If you’re ready to elevate your maintenance routine, try integrating a monthly deep clean with professional-grade cleaning products. Small, consistent efforts are the best investment in your coffee setup’s long-term health. Remember: well-maintained gear performs flawlessly and produces the flavors you crave—day after day. For more expert tips, don’t hesitate to reach out.
Unspoken Truths About Gear That Can Save Your Brew
One of the most eye-opening lessons I learned was that even the most expensive espresso machine can underperform if neglected or misused. Regular maintenance, like cleaning seals and descaling, isn’t just routine; it’s essential for consistent shots. I once ignored this advice, leading to an expensive repair, reminding me that gear mastery involves understanding its limitations and quirks, not just owning it.
Another lesson that truly struck me was the importance of calibration. Precise dose measurement using tools like a digital scale made my espresso more predictable and flavorful. Skipping this step, I realized, is like trying to cook without measuring ingredients—results are always a gamble.
Then there’s the myth about grinder burrs—many believe size alone makes a difference. But after experimenting, I found that proper alignment and routine maintenance are what truly deliver uniform grounds and better extraction. It’s a reminder that paying attention to details most overlook can transform your coffee experience.
Tools That Changed How I Brew
My essential toolkit includes a high-precision digital scale, which ensures accurate dosing every time. Paired with a quality grinder that’s properly calibrated, it elevated my brewing precision. For milk frothing, I trust the best frothers, which help achieve that silky microfoam my shots deserve.
Additionally, keeping spare parts like o-rings and seals from trusted suppliers has prevented minor issues from turning into major disruptions. They’re my insurance, ensuring patience and consistency in my espresso craftsmanship.
Finally, staying informed through resources like this cleaning guide helps me maintain optimal performance without hassle. Continual learning and using reliable tools are the pillars of elevating your home espresso game.
Your next coffee breakthrough starts now
The journey to perfect espresso isn’t just about upgrading gear; it’s about mastering the details that make each shot exceptional. With the right knowledge, tools, and mindset, you’re capable of consistently brewing barista-quality coffee at home. Remember, every brew is a chance to learn, improve, and enjoy the art of coffee. So, why not start today? Dive into those maintenance routines, calibrate your grinder, or experiment with new milk frothing techniques—you might just discover a new favorite.
What’s the one small change you plan to implement to improve your home espresso setup? Share your thoughts below, and let’s elevate each other’s coffee journey!