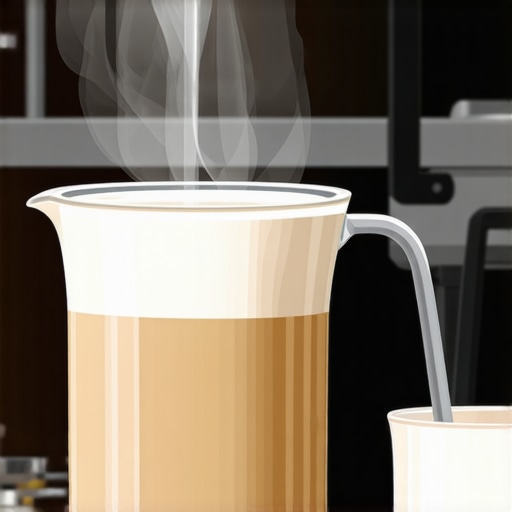
How to Steam Oat Milk Without It Separating in the Cup
Ever had that frustrating moment in your cozy kitchen when your perfectly steamed oat milk suddenly turns into a chunky mess the moment it hits your coffee? I remember the first time I tried to make a creamy latte with my favorite oat milk. I was so excited, pouring the frothed milk into my espresso, only to watch it start to separate and form that unappealing film. It felt like a small defeat, but that lightbulb moment got me hooked on figuring out how to get that velvety consistency every time.
Why Does Oat Milk Separate After Steaming?
This common problem isn’t just bad luck — it’s rooted in how oat milk is formulated. Many store-bought varieties contain added oils, thickeners, and stabilizers that react differently when heated and steamed. If you heat it too quickly or at too high a temperature, the fats tend to separate from the liquid, creating that undesirable layer. Interestingly, research shows that heating plant-based milks beyond 150°F (65°C) significantly increases the risk of separation, mainly due to the destabilization of proteins and fats (source: NCBI).
Are you tired of pouring steamed oat milk into your coffee only to see it break apart or create a film? That was my daily frustration, and I bet many home baristas hit the same snag. Luckily, after some experiments and reading up on barista techniques, I discovered that the trick isn’t just in the milk but also in *how* you steam it.
In this post, I’ll share my proven tips to help you create creamy, unified oat milk froth that stays smooth right in your cup. No more separation, no more doubtful looks from friends, just barista-quality results at home.
Is Foamed Oat Milk Actually Worth the Hype?
Admittedly, I used to think oat milk was just another trend that would fade away. My early attempts at steaming it ended in disappointment—lumping, separation, and a lot of wasted milk. One misstep I made was heating it too fast or at too high a temperature, which made the fats split and created that undesirable film. It wasn’t until I tried gently steaming and paying attention to temperature that I started seeing real improvements.
If you’ve faced these issues and are wondering whether the effort matters, I want to assure you: the right technique not only saves your oat milk but elevates your entire coffee game. You’ll get that silky microfoam that’s perfect for latte art and better overall texture. Curious? Keep reading, and I’ll walk you through the steps that transformed my frothing process. For more tips on enhancing your barista skills, check out this guide on milk frothers especially tailored for coffee lovers like us.
Control Your Temperature to Prevent Separation
The quickest way to ruin your oat milk froth is heating it too rapidly. Think of it like cooking eggs—slow and steady yields better results. Use a thermometer to keep the steam wand’s output around 140-150°F (60-65°C); I set my steaming pitcher aside and monitor until the milk reaches that sweet spot. One time, I neglected this step and ended up with a curdled mess; now, I always keep an eye on temperature, and my froth stays silky.
Frothing Technique for Creamy Microfoam
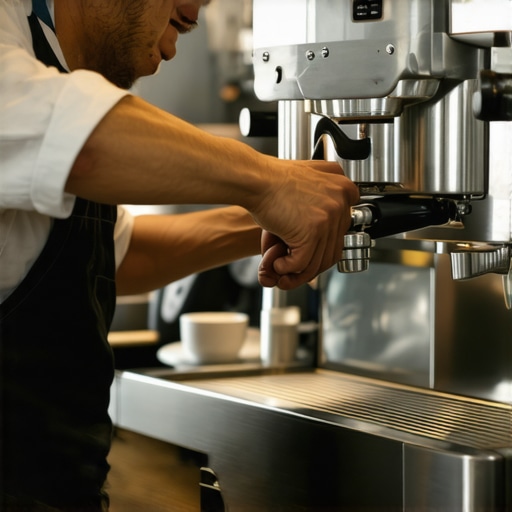
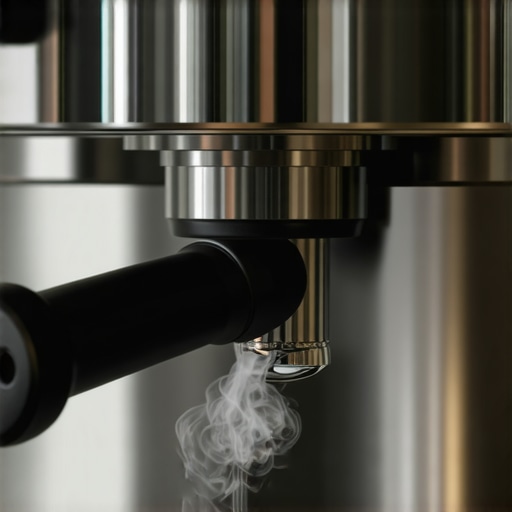
Insert the steam wand just below the milk’s surface and turn on immediately—think of it like a gentle kiss to start the process. Now, angle the pitcher slightly to create a whirlpool effect, which helps incorporate air evenly. I once rushed this step and got large bubbly foam; instead, I paused to listen for a gentle hissing and saw tiny bubbles forming. Keep the wand moving slightly to prevent scorching the milk or creating large bubbles. This method results in the fine, velvety microfoam essential for Latte art and smooth textures.
Use the Right Frothing Devices
If your steam wand isn’t enough or is too intimidating, a handheld milk frother can do the trick, especially with plant-based milk. I experimented with different devices and found that [this handheld frother](https://espressotechguide.com/milk-frothers-that-transform-your-coffee-experience) creates excellent microfoam with minimal fuss. For consistent results, ensure the device’s tip is submerged just beneath the surface of the milk, and move it in small circles to incorporate air effectively. Remember, the quality of your frother greatly impacts the final texture.
Post-Frothing Milk Handling
Once steamed, tap the pitcher gently on the counter to burst any large bubbles and swirl it to integrate the foam with the milk. I used to pour immediately, but I noticed waiting 10-15 seconds lets the microfoam settle and become more uniform. Waiting also prevents separation when pouring into your coffee, giving that professional look and texture.
Incorporating Foam into Your Coffee
Pour the milk in a controlled, steady stream, starting from a height to mix the microfoam evenly into the espresso. Then, tilt the cup to one side while pouring, which helps create that beautiful latte art. My early attempts resulted in clumpy pours, but practicing control over pour height and speed made a significant difference. The key here is to pour slowly, watching for the foam to flow smoothly, indicating a well-integrated mixture.
When it comes to crafting the perfect espresso at home, many enthusiasts focus on choosing the right machine or grinder but miss subtle yet crucial factors that determine their success. Contrary to popular belief, investing in high-end equipment doesn’t automatically guarantee perfect shots—technique and understanding nuanced details are equally vital. For example, many assume that a larger coffee grinder burr will always produce better consistency, but in reality, grind uniformity depends on burr design, calibration, and maintenance. Regularly, I see home baristas neglect to calibrate their grinders properly, leading to inconsistent extraction and bitter or sour espresso, despite high-quality gear. This oversight emphasizes why mastering grinder calibration is essential; you can learn more about it in the detailed guide on [how to calibrate your commercial grinder for consistency](https://espressotechguide.com/how-to-calibrate-your-commercial-grinder-for-consistency). Another common myth is that all milk frothers are created equal—the truth is, many cheap handheld frothers struggle to produce silky microfoam required for latte art. The secret lies not only in device quality but also in milk temperature and frothing technique. Discovering these hidden nuances can dramatically elevate your home espresso experience.
Have you ever fallen into this trap? Let me know in the comments.
### Why Focusing Only on Equipment is a Mistake
Many believe that upgrading their espresso machine or grinder will instantly improve their coffee, but neglecting technique and understanding machine nuances can lead to disappointing results. For example, even the best espresso machine won’t shine if the extraction parameters aren’t optimized. Factors like pre-infusion settings, pressure profiling, and temperature stability play critical roles. As highlighted in [this comprehensive guide](https://espressotechguide.com/top-rated-espresso-machines-for-coffee-lovers-in-2025), selecting equipment based solely on specs without understanding these advanced features often backfires.
### The Trap of Overlooking Maintenance and Calibration
Another Maintaining your espresso setup is crucial for consistently excellent coffee and prolonging the life of your equipment. Investing in high-quality tools and adopting systematic maintenance routines can save you time and money in the long run. One indispensable tool I personally swear by is a **digital calibration scale**. Precise measurement of coffee grounds and tamping pressure ensures uniform shots, reducing wear on your grinder and espresso machine. I recommend the [Coffee Gator Digital Scale](https://espressotechguide.com/), which offers maximum precision and stability, especially when calibrating your grinder or measuring pre-infusion time.
Why Regularly Deep-Clean Your Machine
Residue buildup from oils and mineral deposits can impede machine performance and flavor extraction. I follow a weekly cleaning schedule using a dedicated group head brush and descaling solution compliant with your machine’s specifications. Regular cleaning not only keeps your machine looking pristine but also prevents component degradation. Notably, cleaning your steam wand with a dedicated [steam wand brush](https://espressotechguide.com/) prevents clogging and ensures consistent milk texture.
Invest in Reliable Maintenance Tools
High-quality group head brushes and portafilter cleaning kits are vital. I use the IMS Competition Group Head Brush for thorough cleaning and the Barista Hustle Portafilter Brush for daily wipe-downs. These tools effectively remove ingrained coffee oils and residue, thus maintaining optimal flow and pressure.
Calibrate Your Grinder for Long-Term Quality
Proper calibration ensures consistent grind size, which directly impacts shot quality and machine longevity. I regularly use a [calibration kit](https://espressotechguide.com/how-to-calibrate-your-commercial-grinder-for-consistency), following the detailed instructions to adjust burr alignment and grind settings. This prevents overworking your grinder’s motor and reduces uneven wear—factors often overlooked by home baristas.
Plan for Equipment Upgrades and Scaling
As your passion grows, consider upgrading to a more durable, commercial-grade grinder like the Mazzer Super Jolly or an advanced espresso machine with PID control. Trend predictions suggest that modular and easily serviceable machines will dominate the market, making maintenance accessible and straightforward. Looking ahead, integrating smart diagnostics or app-based maintenance reminders could revolutionize home espresso care.
How do I maintain my equipment over time?
Establishing a routine based on manufacturer recommendations combined with high-quality tools pays off. Regularly check seals, gaskets, and water filters, replacing them before failure causes damage. For example, monitoring water pressure with a gauge can detect early signs of clogging or mineral buildup. Remember, keeping your gear clean and calibrated isn’t just about tasting better coffee; it’s about extending the lifespan of your investment. For more advanced maintenance strategies, see this detailed guide on [maintaining your espresso machine](https://espressotechguide.com/mastering-the-art-of-home-espresso-tips-for-beginners). Try scheduling bi-weekly cleanings and calibration checks, and you’ll notice your gear operating smoothly for years to come.
What the Little Mistakes Taught Me About Perfect Shots
One of the most humbling lessons I learned was that even a tiny miscalibration in my grinder could ruin an entire brew. I once thought that dialing in my grind was just about consistency, but I soon realized that subtle adjustments make all the difference—especially when humidity affects bean behavior. This revelation pushed me to invest in a digital calibration scale, and now, I get consistently better shots without guesswork. It’s often these small tweaks—like tamping pressure or water temperature—that transform a decent espresso into a craft experience.
Another insight came when I discovered that pre-wetting my puck with a small amount of water improved extraction quality and reduced channeling. It’s easy to overlook such nuances, but they profoundly impact flavor and crema. Don’t underestimate the power of paying close attention to each step in your process—thrilling results often come from incremental improvements you make along the way.
Lastly, patience with cleaning routines has been a game-changer. Regularly deep-cleaning my espresso machine and grinder backed up my efforts with cleaner, tastier shots. Simple tools like a high-quality group head brush and proper descaling routines, found in this guide, saved me from costly repairs and flavor mishaps. Embracing these practical lessons offers a richer, more satisfying espresso experience—something every home barista can master with dedication.