The Best Angle for Your Pitcher to Get That Silky Wet Paint Texture
If you’ve spent hours tinkering with your espresso setup only to end up with a froth that’s more bubbly than velvet, you’re not alone. I remember pouring shot after shot, desperately trying to get that smooth, glossy microfoam that makes latte art possible. The frustrating part? Sometimes, it felt like I was fighting with my pitcher angle, trying to find that sweet spot that would turn my frothing into liquid silk.
The Crucial Role of Pitcher Angle in Achieving Texture
Early on, I fell into the trap of thinking the right milk quality or steam pressure was all there was to perfect microfoam. Turns out, the angle of your pitcher can be just as vital. It influences the flow rate, aeration, and ultimately, the quality of your milk texture. When I finally realized this and experimented with different pitcher angles, it was like discovering a secret handshake. My frothing became more consistent, my microfoam smoother—seriously, the difference was night and day. If you’re tired of inconsistent textures or battling stubborn bubbles, mastering your pitcher angle will change your game. Want to learn precisely how to find that ideal angle? Keep reading, and I promise you’ll see results.
Is the Pitcher Angle Really the Missing Piece?
Let me be honest—I’ve made the mistake of ignoring this detail early on. I assumed that adjusting the steam pressure or using a different pitcher would solve all my issues, but in reality, I overlooked how a small change in angle could make all the difference. This oversight cost me countless wasted drinks and frustration, but once I cracked the code, my microfoam transformed. According to coffee technologists, tiny adjustments like pitcher tilt can significantly impact foam quality, affecting aeration and texture (source: Espresso Tech Guide). If you’re wondering whether this is just another myth or a valid tip, I can assure you, it’s a game changer.
So, have you faced similar struggles with milk frothing? Ever felt your attempts at microfoam are just not quite right? Don’t worry—you’re not alone, and the good news is, simple tweaks to your pitcher angle can lead to better results. Next, we’ll dive into practical, step-by-step instructions to find that perfect angle and elevate your home espresso to barista-grade quality.
.
Set the Stage: Prepare for Precision
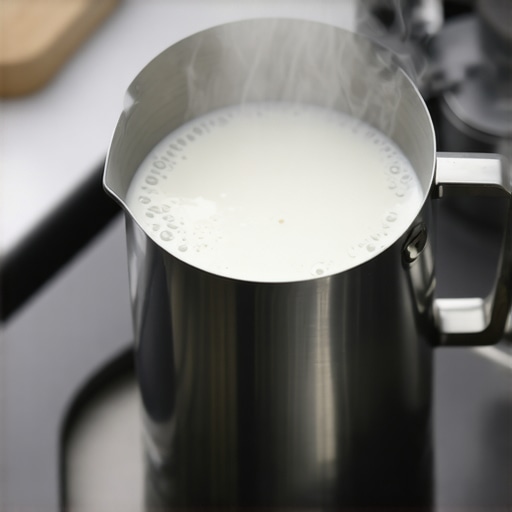
Before diving into pitcher angles, ensure your milk is fresh and cold—this makes a significant difference in texture. Choose a pitcher with a spout that allows easy control—stainless steel pitchers are ideal for heat conduction and durability. Have a towel handy to wipe and adjust your pitcher during the process for better ease of movement.
Identify Your Starting Position
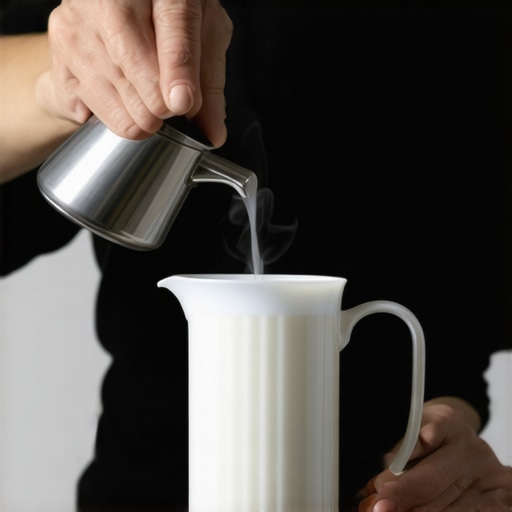
Begin with your pitcher tilted at roughly 45 degrees, with the tip of the spout just below the surface of the milk. This angle encourages aeration without splashing or over-saturation. Moving too upright can cause bubbles to burst prematurely; too flat, and you risk creating large, undesirable foam.
Experiment with Small Adjustments
During my first attempt, I watched videos and tried to copy their exact angles, but I realized subtle tweaks mattered more. Slightly increasing or decreasing the tilt by a few degrees often led to a creamier microfoam. I recall one morning when I was struggling; I adjusted the tilt by just 10 degrees more upright, and instantly, the foam became silkier. Practice this with small, incremental changes to find what works best for your pitcher and milk type.
Maintain the Correct Radius and Position
Keep the spout close to the surface, about 1-2 inches, to introduce air effectively and then sink it deeper as the milk heats and expands. Ensure your wrist remains steady, and focus on a controlled, circular motion. I adopted a habit of watching the milk’s surface closely—dancing bubbles were a sign I needed to adjust the angle slightly to control aeration.
Perfect Execution: The Real Test
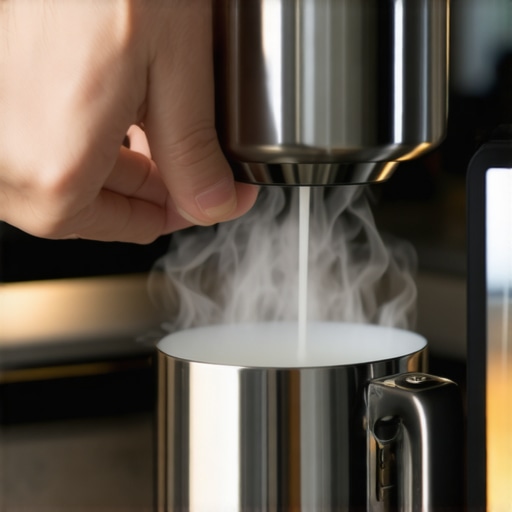
Once comfortable with the initial angle, pay attention to how the milk responds. The movement, speed, and angle all influence the final texture. Use your non-dominant hand to steady the pitcher against the steam wand, mimicking a chef’s finesse. With practice, I found that maintaining a consistent pitcher angle every time resulted in microfoam that was glossy, dense, and ideal for latte art.
Refine Your Technique Continuously
After each frothing session, analyze the outcome. Was it airy or dense? Over-aerated or under-aerated? Adjust your pitcher angle accordingly. Remember, each machine and milk type can require slight modifications. Keep a mental note or a quick journal on which angles produced the best microfoam, and over time, your consistency will vastly improve.
By applying these concrete steps—careful preparation, small adjustments, steady control, and ongoing refinement—you’ll turn pitcher angle from a vague concept into a precise tool that elevates your milk frothing skill. For further insights on gear suited for home enthusiasts, check out this guide to barista gear and enhance your setup for even better results.
 Many home baristas and even seasoned enthusiasts often believe they have the fundamentals down when it comes to coffee gear and brewing techniques, but lurking beneath these basics are nuances that can drastically impact your results. One common misconception is that mastering grind size alone guarantees perfect shots, but in reality, factors like grinder calibration and burr alignment play a bigger role than most realize. Miscalibrated grinders can produce inconsistent particles, leading to unpredictable extraction, which a simple tweak in grind setting cannot fix alone. Regularly checking your grinder’s precision through tests like the paper towel method can reveal issues before they affect your brew — more on this [here](https://espressotechguide.com/why-your-coffee-grinder-is-finally-too-dull-to-use).
Maintaining your coffee equipment is essential for consistently brewing stunning espresso shots and frothing microfoam that rivals your favorite café. Investing in the right tools and adopting systematic maintenance routines can extend the life of your gear and elevate your home brewing experience to new heights.
Choose Quality Calibration Devices
One tool I swear by is a digital burr grinder calibration scale—like the Baratza VarioWE. Regular calibration ensures that your grinder produces uniform particles, crucial for extraction consistency. I use a gentle paper towel test to verify burr alignment and particle uniformity, which helps me catch dull burrs before they impact flavor.
Invest in Proper Cleaning Equipment
Prevent buildup and flavor contamination with dedicated cleaning tools. A small portafilter brush allows for deep cleaning of baskets and group heads, while a steam wand cleaner keeps milk residue from clogging and spoiling your frothing. I also recommend a set of detergent-free cleaning tablets like Urnex Cafiza—using them regularly keeps your espresso machine’s internal parts pristine, ensuring longevity and great taste.
How do I maintain my equipment for long-term use?
Adopt a routine maintenance schedule. For espresso machines, daily cleaning of the group head and steam wand, weekly descaling, and monthly thorough inspections are critical. Regularly check and replace worn gaskets and O-rings to prevent leaks, following resources like this comprehensive guide. For grinders, always brush out grounds from burrs and chute after each session, and replace burrs when dull—typically every 1,000-2,000 pounds of coffee, depending on your model.
Future Trends in Maintenance and Tools
As technology advances, expect smart diagnostics that connect your gear to apps, alerting you to issues before they compromise your brew. IoT-enabled espresso machines are already beginning to provide real-time health reports, saving you downtime and costly repairs. Investing in high-quality, sensor-enabled tools now will make maintenance more intuitive in the future.
To keep your gear performing optimally over years, focus on regularly using precision tools like calibrators and advanced cleaning equipment. Try one advanced tip—such as implementing a monthly burr alignment using a burr alignment jig—to dramatically elevate your consistency. A little extra effort today guarantees perfect shots tomorrow.
” alt=”Close-up of grinder calibration process” title=”Using a calibration jig to ensure uniform coffee grind” />
Amidst the countless tutorials and tips, one detail often escapes the spotlight but holds immense sway over your milk frothing success: the pitcher angle. I learned this lesson painfully after wasted milk and froths filled with stubborn bubbles. When I finally started experimenting with subtle pitch adjustments, everything changed. My microfoam transformed from inconsistent to silky-smooth, perfect for latte art. This revelation taught me that sometimes, the tiniest tweak can unlock the consistency and texture you’ve been craving. So, next time your foam feels off, ask yourself—are you leveraging the power of your pitcher angle?
The Hidden Lesson in Pitcher Placement That Elevates Your Froth
Many home baristas overlook the significance of maintaining a steady, precise pitcher angle during frothing. I realized that elevating my understanding of this simple yet impactful aspect made all the difference. Keeping the pitcher at the right tilt allowed air to integrate smoothly into the milk, resulting in microfoam that’s glossy and velvety. Remember, your goal isn’t just to steam but to finesse the flow and aeration—secret skills that separate good froth from great microfoam.
Practicing with Purpose—The Fine Line Between Bubbles and Velvet
Initially, I relied on trial and error, but a more mindful approach improved my results. I focused on small, controlled adjustments—moving the pitcher slight degrees at a time—and noted the outcomes. I found that even a 10-degree change could make a difference, so patience and attention to detail are your best friends here. Keep experimenting, and you’ll discover the ideal angle that produces microfoam worthy of your favorite café.
Long-Term Gains from Small Shifts
What struck me most was how consistent microfoam comes down to habitual precision. By incorporating these tweaks, I saw my shots improve gradually—less noise, fewer bubbles, a more professional finish. This isn’t about sweeping changes but nurturing a tiny detail that tangibly elevates your entire espresso practice. Curious to see how minute modifications can impact your brew? Start small, stay consistent, and watch your milk frothing skills soar.
Remember, mastery isn’t about complex gadgets or elaborate routines—it’s about paying attention to foundational elements like pitcher angle. Integrate this knowledge into your routine, and you’ll transform your milk frothing from a frustrating hurdle into your secret weapon. Want more tips on perfecting your espresso craft? Dive into mastering the art of home espresso and elevate your barista game today.
Insider Wisdom for Frosting Success That No One Tells You
- The hardest lesson I learned about pitcher angle was how even a slight tilt change could turn frothing from lumpy to luxurious — it’s a subtle dance of angles and control.
- Don’t assume bigger equipment solves everything. Fine adjustments, like pitcher tilt, often matter more than upgrading your steamer or pitcher size.
- Patience fuels progress. Small, deliberate movements and mindful practice beat rushing through multiple attempts — quality over speed applies here.
- Focus on your touch, not just your tools. Your wrist and arm movements combined with pitcher positioning are the real skill builders in microfoam mastery.
- Watch yourself. Recording frothing sessions can reveal subtle mistakes or habits—visual feedback accelerates learning and confidence.
My Go-To Tools for Consistent Microfoam
- Precision pitchers like the best barista-quality pitchers help you control flow and tilt with finesse.
- Adjustable steaming wands give flexibility for different pitchers and milk types, crucial for dialing in your angle and aeration.
- Smart thermometers ensure your milk reaches the perfect temperature for microfoam, since temperature influences viscosity and aeration ability.
- Practice guides and tutorials from home espresso experts reinforce technique and help you stay on track with incremental improvements.
Take Action and Savor the Brew
Armed with this insight about pitcher angles, you’re now set to refine your milk frothing with precision and confidence. Imagine pouring beautifully textured microfoam that elevates your lattes to a work of art—not a chance encounter with bubbles. The journey to barista-level froth involves attention to the smallest details; your pitcher angle is a powerful first step. Enthusiasm, patience, and mindful practice will define your progress—so get pouring, and don’t hold back!
What’s the biggest challenge you face when frothing milk? Share your experience below, and let’s troubleshoot together!
,